
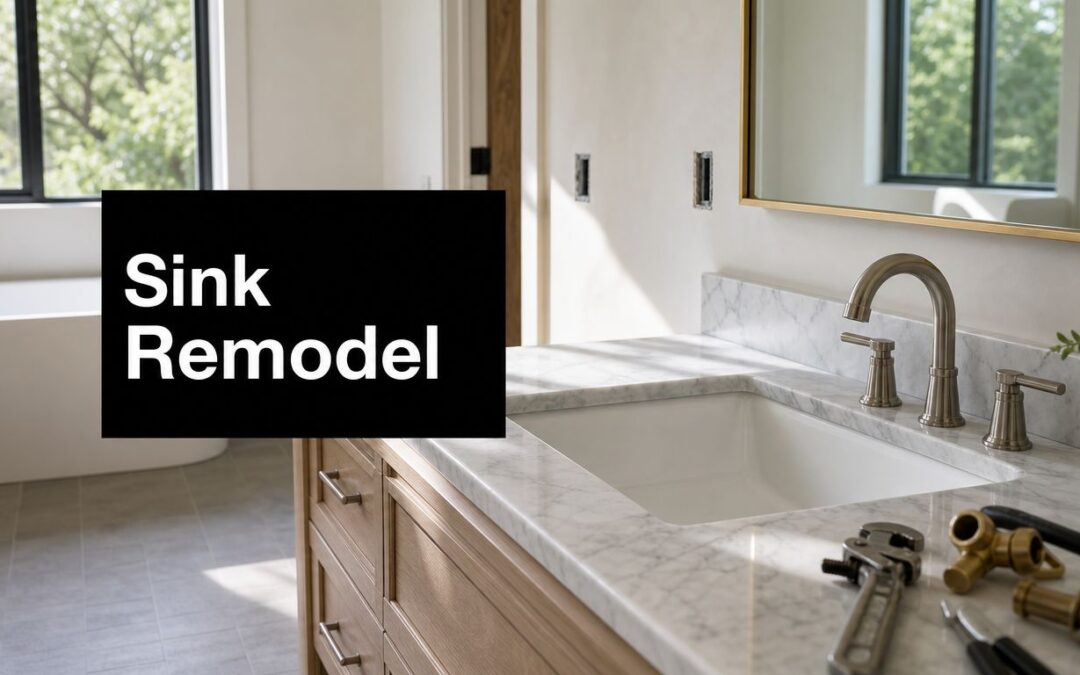
You're probably staring at a bathroom that still works, but only barely. The sink splashes the mirror every morning, the vanity wastes space, the drawer fronts have swollen at the edges, and what looked like a simple swap is starting to feel like a full design decision.
That's the right instinct. Remodeling bathroom sinks isn't just about picking a prettier basin. The sink, countertop, faucet, plumbing rough-in, and vanity cabinet all depend on each other. If you choose them out of sequence, you get the problems remodelers see all the time: faucet holes in the wrong place, shallow bowls that spray water everywhere, drawers that collide with plumbing, and cabinets that look custom but function like an afterthought.
The best bathroom sink remodels start with the cabinet footprint and storage plan. Then the sink choice supports that foundation, not the other way around.
Planning Your Perfect Bathroom Sink Remodel
A good sink remodel starts before demolition. It starts with measurements, routines, and honest priorities.
Bathroom remodels are worth planning carefully because they're meaningful investments. Homeowners achieve an average 74% return on investment, with a median spend of $7,800, and the process from initial idea to final completion takes about 42 weeks on average according to HIRI's bathroom remodeling trends. That long runway is exactly why early sink and vanity decisions matter.

Start with the vanity footprint
Most homeowners shop sinks first because they're visible. In practice, the vanity cabinet is the foundation. It determines storage, walking clearance, countertop overhang, sink centering, and where plumbing can realistically land inside the cabinet.
Measure these before you shop:
- Wall-to-wall width: Know the maximum cabinet size that will fit without crowding the room.
- Plumbing location: Look at the current drain and supply lines so you know whether the new drawer bank or shelf layout will interfere.
- Door swing and traffic flow: The right vanity on paper can still create a cramped bathroom if it blocks movement.
- Daily-use storage: Count what needs to live there. Hair tools, backup soap, cleaning products, extra towels, and cosmetics all change cabinet design.
A floating vanity, for example, may look clean and modern, but if you need concealed storage and the drain sits low, a floor-mounted cabinet often solves more problems.
Build your finish palette after the cabinet decision
Once the cabinet size and style are set, the sink choice gets much easier. An undermount sink wants a countertop material and edge detail that can support a clean cutout. A vessel sink changes faucet height and vanity height. A pedestal sink removes nearly all concealed storage.
That sequence matters more than most guides admit.
Practical rule: If the cabinetmaker and plumber aren't looking at the same measurements before materials are ordered, expect rework.
Create a simple mood board with three categories only:
Cabinet style
Shaker, slab, inset-look, furniture-style, floating, or open console.Counter and sink pairing
Solid surface with undermount, stone top with vessel, integrated top, or drop-in combination.Hardware and faucet finish
Brushed nickel, matte black, polished chrome, unlacquered brass, or mixed finishes if the room supports it.
Keep it tight. Too many finish decisions too early usually hide the more important question, which is how the sink and vanity will function together.
Plan the room like a working bathroom
The best design question isn't “What sink looks good?” It's “What happens here every morning?”
If two people use the room, splash and counter clutter become bigger issues. If kids use it, durability and easy cleaning matter more than delicate shapes. If this is a guest bath, you can be more decorative because the wear pattern is lighter.
For a deeper planning framework, a detailed bathroom remodel planning guide from Sinclair Cabinets is a useful place to organize measurements, storage goals, and finish decisions before ordering anything.
Choosing Your Sink and Vanity Combination
Sink style changes more than appearance. It affects cleaning, splash control, cabinet layout, and even vanity height. Consequently, many bathroom remodels drift off course. Homeowners fall for a sink silhouette without checking whether it works with the cabinet underneath.
A practical reminder belongs here. A 2025 NKBA report indicates 68% of bathroom remodelers now specify sink depth as a primary design factor to prevent water damage and splash-back, as cited in this discussion of bathroom design frustrations. That tracks with what remodelers see in the field. Sink depth and bowl geometry affect your mirror, faucet reach, and daily cleanup.

Sink and vanity pairing guide
| Sink Type | Installation Style | Pros | Cons | Best Paired With (Vanity) |
|---|---|---|---|---|
| Undermount | Mounted beneath countertop | Easy wipe-down, seamless look, works well in busy bathrooms | Needs a compatible top and careful cutout work | Custom vanity with stone or solid-surface top |
| Vessel | Bowl sits above countertop | Strong visual impact, easier sink replacement later | Splash can be worse, uses counter space, changes faucet and vanity height | Furniture-style or slab-front vanity with clean top surface |
| Drop-in | Rim sits on top of countertop cutout | Straightforward installation, forgiving on top materials | Rim collects grime, less refined edge detail | Stock or semi-custom vanity where practicality matters most |
| Pedestal | Standalone sink and base | Small-room friendly, classic shape | Very little storage, plumbing often more exposed | No vanity cabinet, best only where storage isn't needed |
| Console | Sink with open legs or frame | Airy look, open feel, decorative potential | Less concealed storage, open shelves require discipline | Open-frame or hybrid vanity setup |
What works in real homes
Undermount sinks are the most forgiving for daily use. They suit bathrooms where people lean over the sink, wash up quickly, and expect the counter to clean in one pass. If you're building around custom cabinetry, this is often the strongest pairing because the cabinet can be sized for useful drawers while the countertop and bowl create a clean working surface.
Vessel sinks can look sharp, but they're less forgiving than showroom photos suggest. The faucet has to match the bowl height and reach. The vanity often needs adjustment so the finished rim doesn't sit awkwardly high. They also put more visual pressure on the countertop because the entire top remains visible.
Drop-in sinks are often underrated. They're practical and easier to fit in remodels where the top material or budget doesn't favor an undermount. The downside is maintenance. That rim catches residue, and it interrupts the smooth wipe-across surface many homeowners want.
Splash-back is not a minor detail
Most guides treat splash as a nuisance. It's really a design performance issue.
A shallow bowl paired with a faucet that lands too close to the drain often sprays upward and outward. Square profiles can look crisp, but some throw water differently than softer, deeper bowls. Faucet placement matters just as much as sink shape. A beautiful mirror setup loses its charm fast if you're wiping water spots off glass every day.
A deeper sink usually solves more frustration than a trendier shape.
Think about who uses the room. Adults who shave or wash their face need a bowl that catches movement. Kids need a sink that doesn't punish every rushed handwash with a wet counter.
If you're still sorting through cabinet proportions, finish choices, and sink styles together, this bathroom vanity selection guide is a practical reference for tying storage and sink style into one decision.
Navigating Demolition and Plumbing Realities
Demolition day is where the project stops being theoretical. You shut off the water, disconnect supply lines, pull the trap, cut caulk lines, and start easing the old vanity away from the wall. That's usually when the room tells the truth.
Sometimes the old cabinet comes out clean. Often it doesn't. You find swollen drywall behind the backsplash, a floor that dips under one corner, loose shutoff valves, or drain placement that won't work with the new drawer stack you had in mind. None of that is unusual. It's why careful remodelers don't promise a final install plan until the wall and plumbing are exposed.
What to inspect once the vanity is out
Look closely at the wall surface and floor where the old vanity sat. Staining, soft drywall, crumbling baseboard, and blackened caulk lines all tell you moisture has been lingering there. That doesn't automatically mean major damage, but it does mean the new sink and cabinet shouldn't go in until the cause is understood.
Then assess the plumbing layout in practical terms:
- Drain height: A low drain can interfere with deep drawers or pull-outs.
- Supply line placement: Off-center lines may force awkward cabinet cutouts.
- Valve condition: Old shutoffs are cheap to ignore and expensive to revisit.
- Electrical proximity: Vanity lighting, outlets, and accessories can affect what trades need to be involved.
This is also the point where homeowners discover that “simple sink swap” and “sink relocation” are completely different jobs.
Who should do the trade work
Cabinet removal and cleanup are often realistic for a capable homeowner. Plumbing relocation and electrical changes are different.
The trade question matters because licensing problems don't stay invisible. According to Lowe's guidance on questions to ask a bathroom contractor, regulatory updates in major markets now mandate specific licensing for bathroom remodels involving sink relocation, and 72% of homeowners in 2025 reported being blindsided by issues with unlicensed subcontractors. That's not a paperwork detail. It affects inspection, leak liability, scheduling, and who owns the correction if something fails.
Ask who is doing the plumbing and electrical work by trade, not just by company name.
A homeowner should know whether the person moving a drain line is licensed for that work, whether permits apply, and who's responsible if the rough-in doesn't match the cabinet plan.
Demolition mistakes that create bigger problems later
The worst demolition errors are usually rushed ones:
- Prying the vanity loose without cutting caulk and paint lines first
- Damaging finished flooring that was supposed to stay
- Ignoring wall repairs because the new cabinet will “cover it”
- Ordering the replacement vanity before verifying actual rough-in locations
Clean demolition protects the next phase. Rough demolition makes the install crew solve avoidable problems with filler strips, oversized escutcheons, awkward trim, and last-minute plumbing changes.
The Installation Process from Cabinet to Faucet
Good sink installation starts with a cabinet that is square, level, and fixed exactly where it belongs. Not close. Exact.
Professional methodology matters here. Home Depot's bathroom remodeling guide notes that installers should place and level the vanity cabinet first before drilling for plumbing, a sequence that helps prevent misalignment, a pitfall seen in 35% of DIY renovations. The same source notes that hiring licensed plumbers for final connections raises project success to 92%, compared with 64% for unlicensed DIY attempts.
To visualize the sequence, this installation flow helps:

Set and level the vanity first
Start by dry-fitting the cabinet in place. Check the floor for dips with a level. Shim under the cabinet where needed so the box sits flat without twisting. Then fasten it securely to wall framing.
This step controls everything that follows. A vanity that racks even slightly can throw off countertop fit, sink alignment, drawer action, and caulk lines at the wall.
If the wall is out of plane, don't force the cabinet to match it. Scribe fillers, adjust trim strategy, or correct the wall as needed. For cabinet-specific fit and fastening details, this cabinet installation guide is a useful reference.
Cut plumbing openings after placement
Once the cabinet is fixed and level, mark pipe locations from the actual installed position. Then drill or cut openings neatly.
That sequence is where many DIY installs go wrong. People measure off the old vanity, pre-cut the new one, and assume the rough-in is centered and unchanged. It rarely is. A clean cabinet install depends on fitting the box to the room first, then adapting the plumbing penetrations to reality.
Here's a walkthrough video that shows the flow of a sink and vanity install in context:
Install the top, sink, and faucet in the right order
With the cabinet secured, install the countertop. The exact order varies by sink type, but the principle doesn't. The top must be properly supported, the sink must be seated and sealed correctly, and the faucet has to match the sink geometry.
A few field-proven habits matter here:
- Test-fit before sealant: Dry-fit the sink and faucet assembly so you're not solving alignment problems with wet adhesive.
- Keep reveal lines intentional: On undermounts, the cutout and bowl alignment should look deliberate, not approximate.
- Don't overload caulk: Sealant is not a substitute for poor fit.
- Protect finished surfaces: Use pads, not guesswork, when setting stone or finished tops.
The cleanest-looking sink installs usually come from the best cabinet prep, not the fanciest faucet.
Don't ignore wet-area details
If your sink remodel extends into nearby tile or wet walls, use the right substrate. In damp areas like tub and shower surrounds, cement board belongs behind tile rather than standard drywall. That's one of those details nobody sees when the bathroom is finished, but it affects how well the assembly holds up over time.
Final drain and supply connections are where skill pays off fast. A trap that's slightly stressed, an over-tightened fitting, or a supply line under tension may not fail immediately, but it often shows up later as a leak call.
Estimating Costs and Timelines for Your Project
The financial side of remodeling bathroom sinks makes more sense when you separate visible choices from hidden work. Homeowners tend to budget for the sink, vanity, and faucet because those are easy to shop. The full budget is influenced by fit, plumbing condition, wall repair, countertop fabrication, and installation time.
The broader market explains part of that pressure. The U.S. bathroom remodel market is valued at $200.2 billion in 2025 and projected to grow from $208.6 billion in 2026 to $315.9 billion by 2035 at a 4.7% CAGR, with bathroom fixtures accounting for about $51.3 billion of 2025 revenue, according to GM Insights' bathroom remodeling market analysis. In the same market, water-efficient models such as WaterSense-qualified sinks can reduce water flow by over 30% while maintaining performance.

Where budgets usually move
The biggest budget driver is often the vanity and countertop combination because it determines fabrication, finish quality, storage hardware, and sink compatibility. A custom cabinet built around your plumbing and storage needs costs more upfront than a basic off-the-shelf box, but it can eliminate filler strips, awkward cutouts, and wasted interior space.
Other cost drivers show up after demolition:
- Plumbing corrections: Shutoff valves, drain alignment, or line replacement
- Wall and floor repair: Damage hidden behind the old vanity
- Countertop fabrication: Especially if the sink cutout and faucet drilling need precision
- Finish upgrades: Better drawer hardware, better moisture resistance, better sealants
The cheapest-looking quote often assumes the room is straighter and cleaner than it really is.
Timelines that are realistic
A sink remodel can move quickly once materials are on site and the scope is tight. The delays usually happen earlier. Homeowners spend time choosing styles, waiting on cabinets or tops, and revising plans once rough plumbing is exposed.
A practical schedule usually includes:
Design and selections
Vanity dimensions, sink type, top material, faucet, finish detailsOrdering and lead time
Cabinets, stone tops, specialty sinks, and hardwareDemolition and assessment
Removal, inspection, and any needed correctionsInstallation and punch list
Cabinet set, top, sink, faucet, trim, sealant, testing
If you want a planning tool for line-item budgeting, this bathroom remodel cost estimator can help you think through cabinetry, fixture, and labor categories before work begins.
Long-term value isn't only resale
Water efficiency, better storage, easier cleaning, and moisture-resistant construction all have value even when you're not thinking about resale. A sink that doesn't splash your mirror, a vanity that stores daily essentials, and a cabinet finish that stands up to humidity are the kinds of upgrades homeowners feel every day.
When to DIY vs Hiring Sinclair Cabinetry
Some parts of a sink remodel are realistic for a skilled homeowner. Painting, hardware changes, mirror replacement, and in some cases a like-for-like vanity swap can be manageable if the plumbing stays put and the walls are in good shape.
The project changes once cabinetry needs to fit precisely, plumbing has to move, or the room is out of square. That's where DIY often gets expensive. A custom vanity has to account for drain height, drawer clearance, filler spacing, finished end panels, countertop support, and how the sink will be used. Those details don't forgive rough measurements.

A good rule is simple:
- DIY makes sense when the layout stays the same, the vanity is standard-sized, and you're comfortable with finish work.
- Professional help makes sense when the sink and cabinet must be designed together, when storage matters, or when trade coordination affects the result.
Custom cabinet work is where craftsmanship changes the outcome most. A well-built vanity doesn't just hold the sink. It organizes the plumbing, supports the top properly, resists moisture better, and makes the whole bathroom feel settled.
If you care about fit, real wood construction, clean installation, and a bathroom that works as well as it looks, this is the point where experienced cabinetmakers earn their keep.
If you're ready to remodel your bathroom sink with cabinetry that's built around the way you live, Sinclair Cabinetry inc offers custom bathroom cabinetry, professional installation, and decades of craftsmanship to help you get the details right from the start.