
Understanding Your Cabinet Installation Investment
A successful cabinet installation starts with smart budget planning. To build an accurate budget, you need to understand both the direct costs like cabinet materials and the less obvious expenses that often surprise homeowners. This means carefully evaluating cabinet quality and comparing value across different options. For instance, while stock cabinets may cost less initially, their limited options and potential durability issues could mean higher expenses over time.
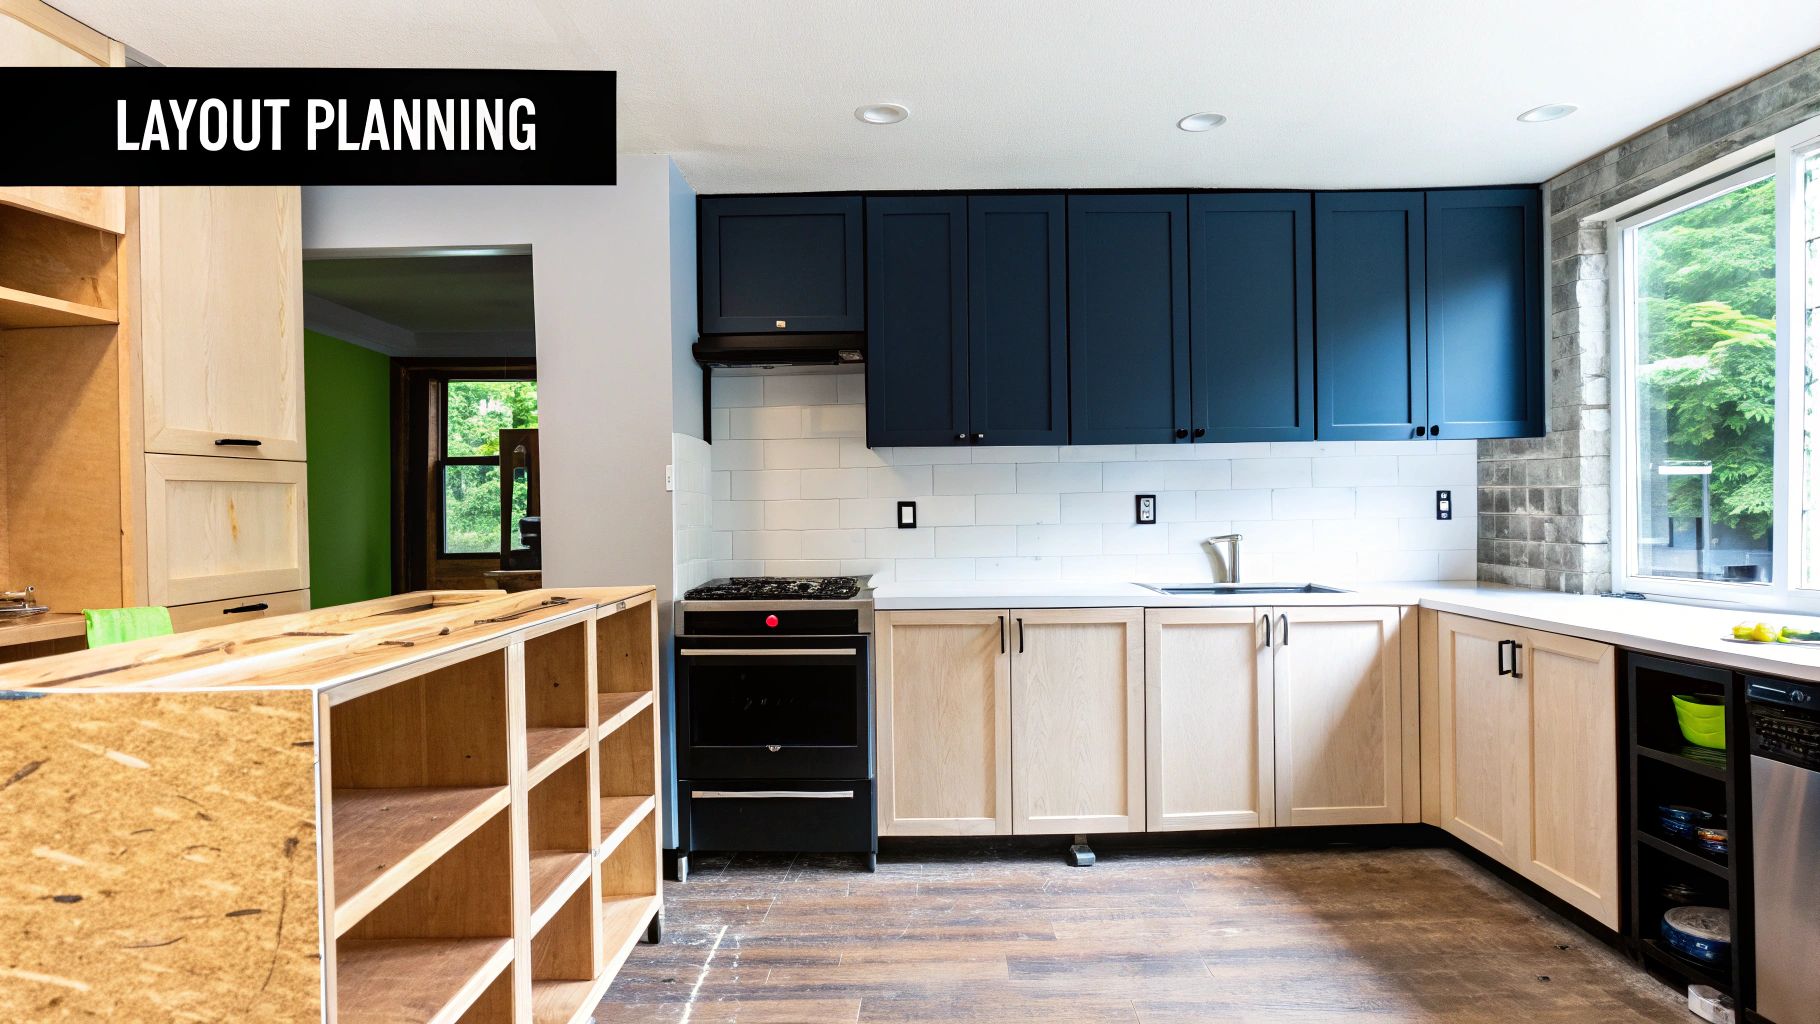
Let's look at the main cabinet tiers: stock, semi-custom, and custom cabinets. Stock cabinets come pre-made in standard sizes and finishes at the lowest price point. Semi-custom cabinets offer some flexibility in size and style while balancing cost and customization. Custom cabinets are built specifically for your space with the highest quality and design options, though they command premium prices.
The total cost of cabinet installation varies based on several key factors. According to current data from Modernize.com, most homeowners spend between $4,000 and $13,000, with $7,500 as the national average. For a 200 square foot kitchen, semi-custom cabinets typically cost $3,000 to $10,000, while custom cabinets range from $10,000 to $24,000. Breaking it down by linear foot, expect to pay $150 to $500 for semi-custom and $500 to $1,200 for custom cabinets.
Evaluating Your Cabinet Installation Options
The choice between professional installation and DIY significantly impacts your final cost. Professional installers bring expertise and efficiency, reducing the risk of costly mistakes. However, skilled DIYers can save money through self-installation. Learn more about installation services here: Our Services.
Consider these key factors when deciding:
- Project Complexity: Basic cabinet replacements may suit DIY, but intricate designs usually need professional expertise
- Your Skill Level: Be honest about your abilities – DIY mistakes often cost more to fix than professional installation
- Time Investment: Factor in all phases: removal, assembly, installation, and finishing work
Maximizing Your Cabinet Installation Budget
Smart planning helps stretch your budget whether you choose professional or DIY installation. Here are key money-saving strategies:
- Focus on Essentials: Choose must-have features before adding luxury upgrades
- Compare Options: Get multiple quotes from suppliers and contractors
- Consider Refacing: Update cabinet fronts instead of full replacement if boxes are solid
- Build in Extra: Set aside 10-15% for unexpected issues during installation
By carefully weighing your options, researching cabinet choices, and planning your budget strategically, you can move forward confidently with your cabinet project while getting the best value for your investment.
Building Your Professional-Grade Tool Arsenal
Getting ready to install new cabinets? Having the right tools is just as important as the cabinets themselves. Just like a chef needs quality knives to create great meals, proper tools are essential for a professional cabinet installation. Let's explore the key equipment that will help you achieve expert-level results.
Essential Tools for Cabinet Installation Success
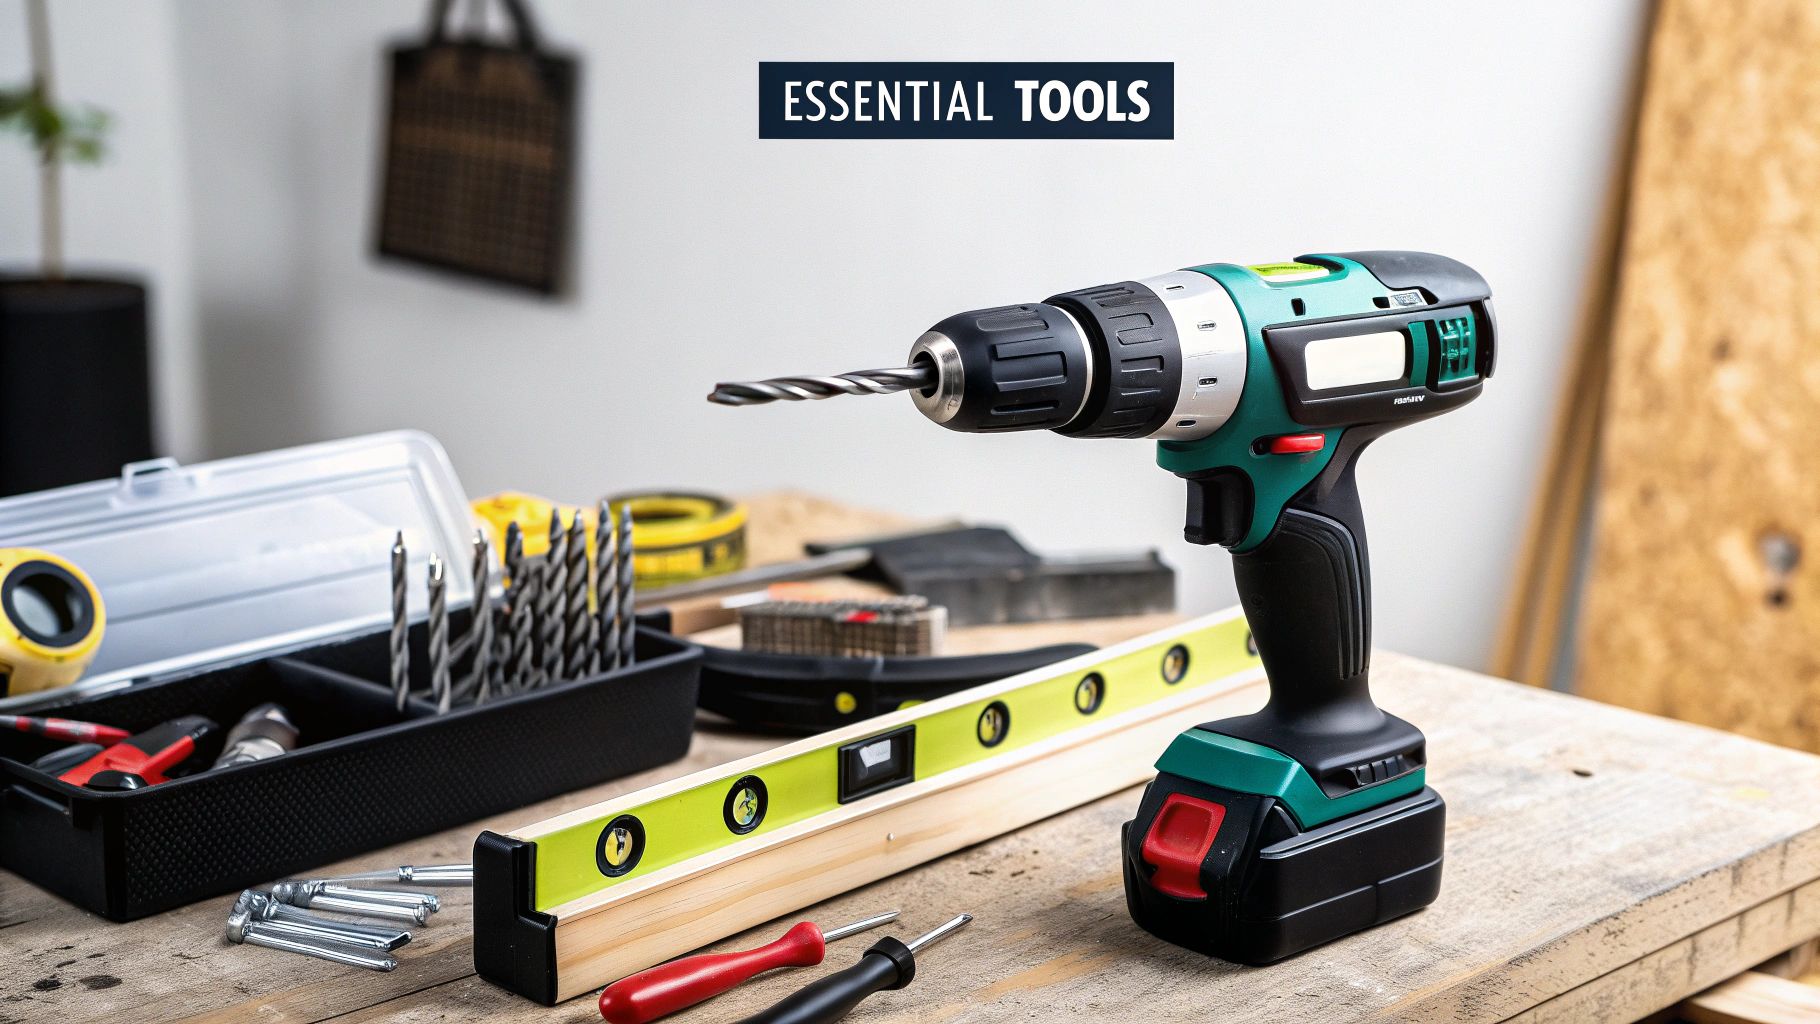
Success relies on having reliable, quality tools for each step of the installation process. Here are the must-have items for your toolkit:
- Level: Get a high-quality 4-foot level to ensure perfect vertical and horizontal alignment. This tool forms the foundation for properly installed cabinets.
- Drill: A good cordless drill with various drill bits and screw-driving attachments will be your most-used tool. Consider it the backbone of your installation work.
- Measuring Tape: Exact measurements prevent costly mistakes. Choose a sturdy 25-foot measuring tape you can rely on.
- Stud Finder: For secure wall cabinet mounting, you need to locate wall studs. A quality stud finder helps you mount cabinets safely and properly.
- Clamps: These act like extra hands during assembly and installation. Clamps hold cabinets steady while ensuring tight, precise joints.
- Safety Glasses and Ear Protection: Never skip safety gear. Protect your eyes from dust and debris, and your ears from tool noise.
Choosing the Right Tools for the Job
Picking the best tools for your specific project makes a big difference. While a basic claw hammer works for some tasks, a finish nailer gives cleaner results with less risk of cabinet damage. A quality jigsaw is also valuable for making precise cuts around pipes and other obstacles.
Maintaining Your Tools for Optimal Performance
Clean, sharp, well-maintained tools work better and last longer. Regular cleaning, blade sharpening, and lubricating moving parts keeps everything working smoothly. Good maintenance also prevents accidents and ensures safer operation. When your tools are in top shape, you're ready to tackle your cabinet installation with confidence. For more cabinet installation guidance, visit our cabinet installation blog.
Mastering the Installation Process
A successful cabinet installation requires careful attention to detail and proper technique. While it may seem simple on the surface, achieving perfect alignment and stability demands precise measurements and methodical work. Thorough preparation forms the bedrock of any successful installation project.
Step-by-Step Cabinet Installation
Start by marking cabinet locations and locating wall studs – this critical first step ensures secure anchoring. Begin with the base cabinets since they provide the foundation. Make sure each unit is level and properly connected to adjacent cabinets before securing to the wall. After the base is set, install wall cabinets starting from corners and working outward, checking that everything stays level and plumb. Use shims as needed to compensate for uneven surfaces and ensure a perfect fit. Learn more about proper installation techniques in this NKBA installation guide.
Advanced Techniques for Professional Results
While uneven walls and tricky corners can be challenging, the right approach makes them manageable. Using shims strategically helps achieve level installation on imperfect surfaces. The proper tools – like clamps for stability and laser levels for accuracy – help achieve professional-grade results. For those wanting to learn more, check out our detailed cabinet installation guide.
Troubleshooting Common Challenges
Even with careful planning, issues can arise during installation. But being prepared helps address common problems like misaligned doors or uneven gaps. Most can be fixed through careful adjustment of hardware and positioning. Know when a challenge exceeds your skill level and don't hesitate to call a professional.
Expert Tips for Precision and Quality
Follow these key tips to maintain quality throughout your project:
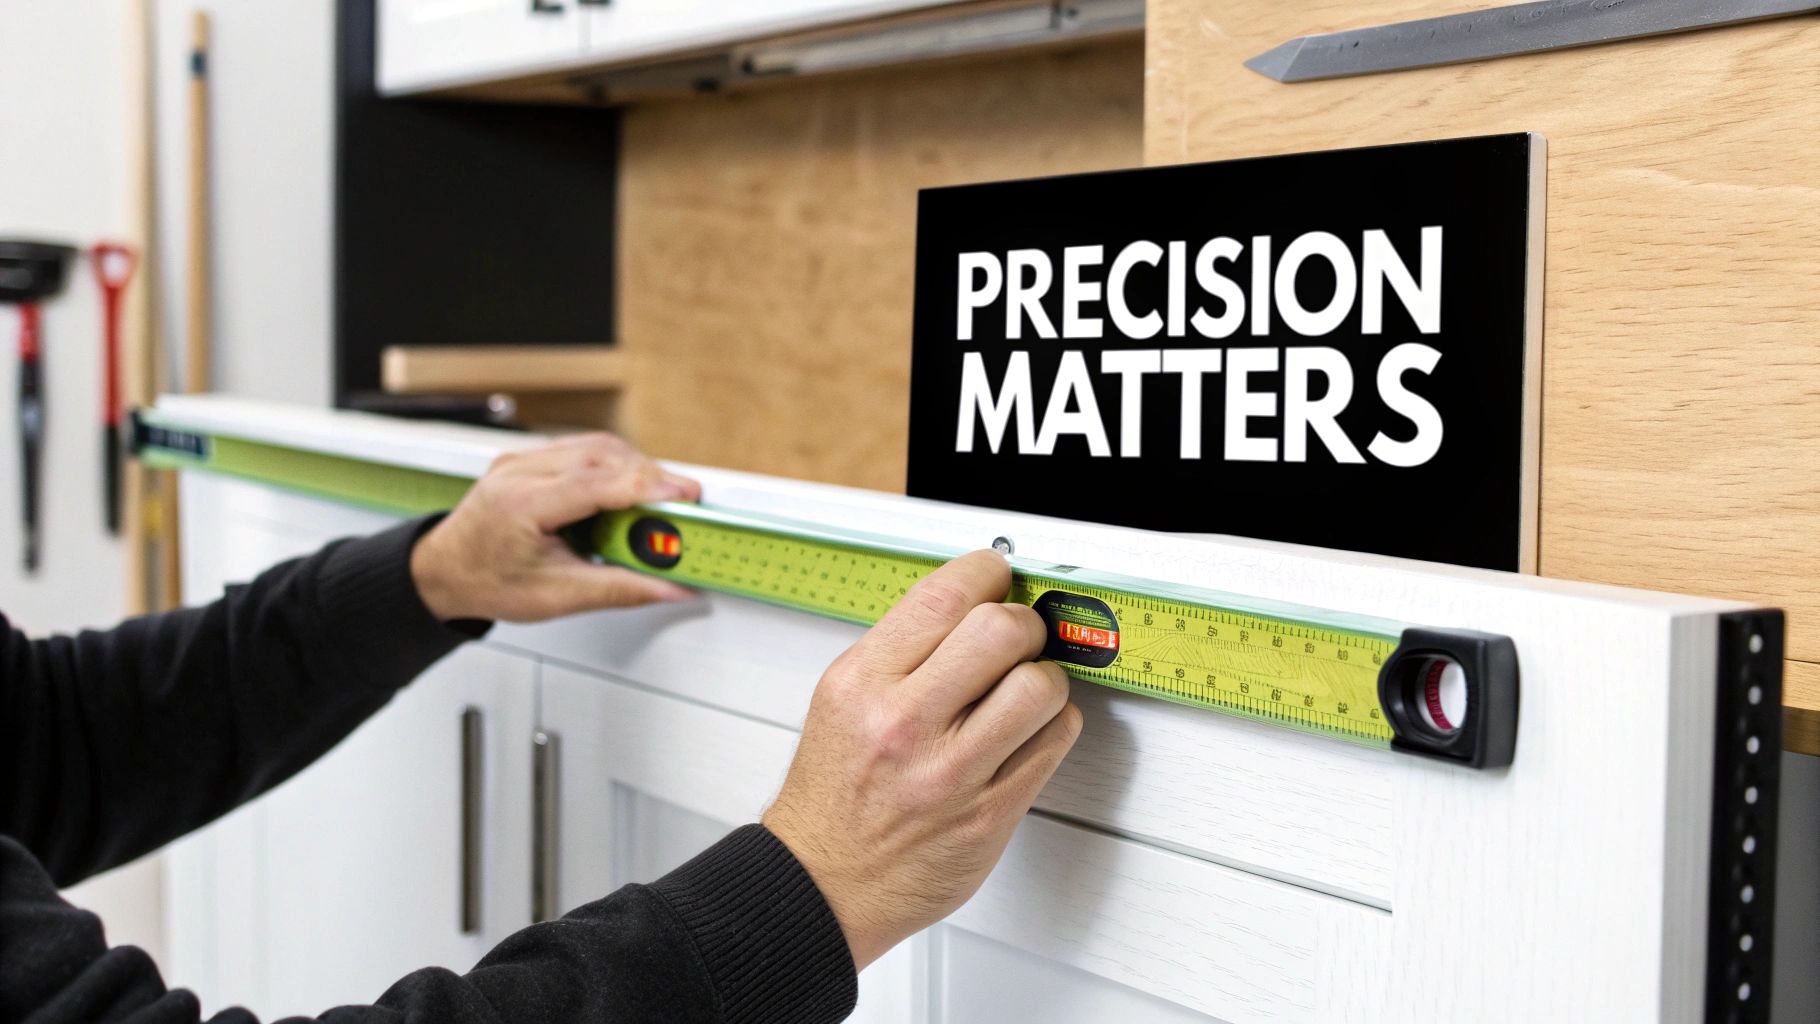
- Double Check Measurements: Taking time to verify measurements prevents alignment problems later
- Use Quality Tools: Invest in reliable equipment like a good level and accurate stud finder
- Follow Proper Order: Starting with base cabinets creates the right foundation for wall units
By mastering these techniques, you can achieve professional-level results. With patience and attention to detail, even DIY enthusiasts can complete an installation they'll be proud of.
Overcoming Common Installation Obstacles
Cabinet installation requires skill and attention to detail, even with comprehensive instructions in hand. This section covers proven techniques for handling common challenges and achieving professional-looking results.
Handling Structural Irregularities
Most homes have walls and floors that aren't perfectly straight. Scribing helps solve this issue – it's a method of tracing wall contours onto cabinets for a precise fit without gaps. Picture it like creating a template that matches your wall's exact shape, ensuring cabinets sit flush against uneven surfaces.
Shimming is another key skill – using thin wedges to level cabinets on uneven floors. When a base cabinet rocks or sits unevenly, strategically placed shims create stability and ensure level counter surfaces.
Managing Unexpected Complications
Installation often reveals hidden challenges like misplaced pipes or studs in unexpected locations. The key is staying flexible and problem-solving. For example, if you find a pipe blocking cabinet placement, carefully measure and cut an opening in the cabinet back to fit around it without causing damage.
Keep essential tools like a quality jigsaw ready for making precise cuts when needed. Taking time upfront to check wall structure and utility locations helps prevent many issues before they arise.
Achieving Perfect Fits in Imperfect Spaces
Working in older homes often means dealing with walls and floors that aren't square. Success depends on careful measuring at multiple points and precise cabinet positioning. Corners are rarely exactly 90 degrees, so verify all angles. Double-checking measurements prevents wasted materials and rework.
Start by installing base cabinets to create a solid foundation before hanging wall units. This ordered approach, combined with methodical adjustments during installation, leads to excellent results even in challenging spaces. Taking your time and being precise makes the difference between an amateur and professional-looking installation.
Perfecting Hardware Installation and Finishing Touches
The final phase of cabinet installation can make or break your kitchen's look and functionality. Getting the hardware placement, door alignment, and drawer adjustments just right ensures everything works smoothly while looking polished. Think of each cabinet as part of the bigger picture – even small details like handle placement affect how the whole kitchen comes together.
Positioning Hardware with Precision
Installing cabinet handles and pulls takes careful planning and measurement for a clean, consistent look. Here are the key points to remember:
- Measure Twice, Drill Once: Always use a template to keep handle distances uniform from door edges
- Focus on Comfort: Place pulls where they're easy to reach – generally 2 inches from drawer tops works well
- For a complete guide on hardware placement, check out: How to master cabinet handles and pulls installation
Adding Modern Features
Today's soft-close mechanisms make cabinets work better and last longer. Here's how to get them working perfectly:
- Install Soft-Close Hinges: Mount them firmly and adjust until doors close smoothly and quietly
- Add Pull-Out Storage: Make sure tracks are anchored well and test that everything glides easily
Perfect Alignment Matters
Getting doors and drawers perfectly aligned makes your kitchen look better and work better. Poor alignment creates gaps and can make cabinets harder to use:
- Fine-Tune All Hinges: Adjust each one carefully to eliminate gaps between doors
- Check Drawer Levels: Use a level to ensure drawers sit straight for smooth operation
Remember – the little details make a big difference. Taking time with alignments and adjustments helps create that professional, finished look that makes your kitchen stand out.
Ensuring Long-Term Cabinet Performance
Good cabinet maintenance is like caring for any valuable home investment – regular attention keeps them looking great and working well for years to come. Understanding proper care techniques, spotting early problems, and knowing when to get professional help will protect your investment.
Preventive Maintenance for Your Cabinets
Regular upkeep is essential for cabinet longevity. Focus on these key maintenance tasks:
- Regular Cleaning: Use a soft, damp cloth and mild cleaner made for your cabinet material. Skip harsh chemicals that damage finishes.
- Check Hardware: Look over handles, hinges and drawer slides monthly. Tighten loose parts and replace worn components.
- Quick Fixes: Don't ignore small issues like sticky drawers or loose doors – they only get worse. Handle problems right when you notice them.
Caring for Different Cabinet Materials
Each cabinet material needs specific care methods. Here's a simple guide:
| Material | Cleaning Method | Maintenance Tips |
|---|---|---|
| Solid Wood | Damp cloth, wood cleaner, polish/wax as needed | Keep dry, shield from heat sources |
| Laminate | Damp cloth, mild soap | Use cutting boards, avoid strong cleaners |
| Painted Wood | Damp cloth, gentle cleaner | Fix scratches quickly |
| Metal | Damp cloth, mild soap, no scrubbing | Dry fully to stop rust |
Recognizing and Addressing Wear and Tear
Even well-maintained cabinets show age eventually. Common issues like warped doors often just need hinge adjustments, while loose handles require tightening. But deeper scratches and water damage may need professional repairs.
When to Call a Professional
While basic maintenance is DIY-friendly, some problems need expert help. Contact a qualified cabinet pro if you see:
- Structural damage
- Extensive water damage
- Complex hardware issues
Trying major repairs yourself can sometimes make things worse.
Quality cabinets are a significant investment in your home. Following these care guidelines helps protect that investment for years of beauty and function. Ready to refresh your kitchen with custom cabinets built to last? Contact Sinclair Cabinetry Inc. today for a free consultation.