
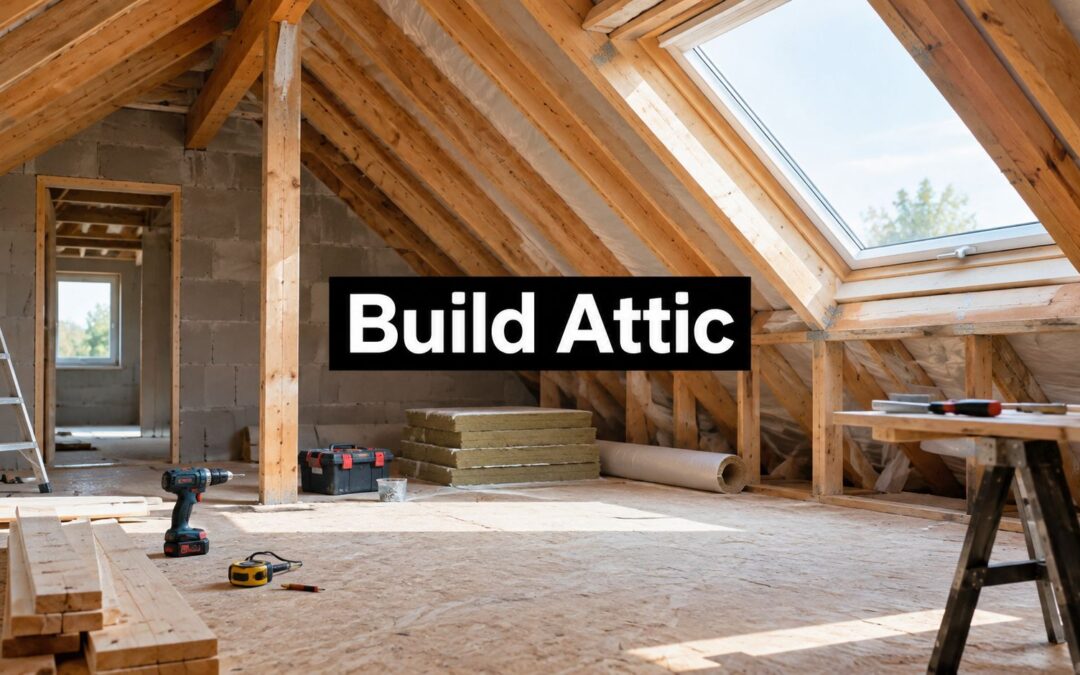
You're standing in the unfinished attic, looking past dusty insulation and roof framing, and seeing a bedroom, a home office, or perhaps a clean place to store seasonal items. The temptation is to start with flooring, drywall, or built-in cabinets. That's usually the wrong starting point. An attic conversion succeeds or fails before the first finish is installed, when you decide what the space must do and whether the existing structure and roof assembly can support that decision.
To build an attic responsibly, treat it as a building-system project rather than a decorating exercise. Storage, habitable space, and a conditioned roofline each demand a different approach to loading, insulation, ventilation, HVAC, access, fire safety, and permits. The right sequence protects your investment and keeps attractive finishes from hiding expensive problems.
Deciding What Type of Attic Project You Need
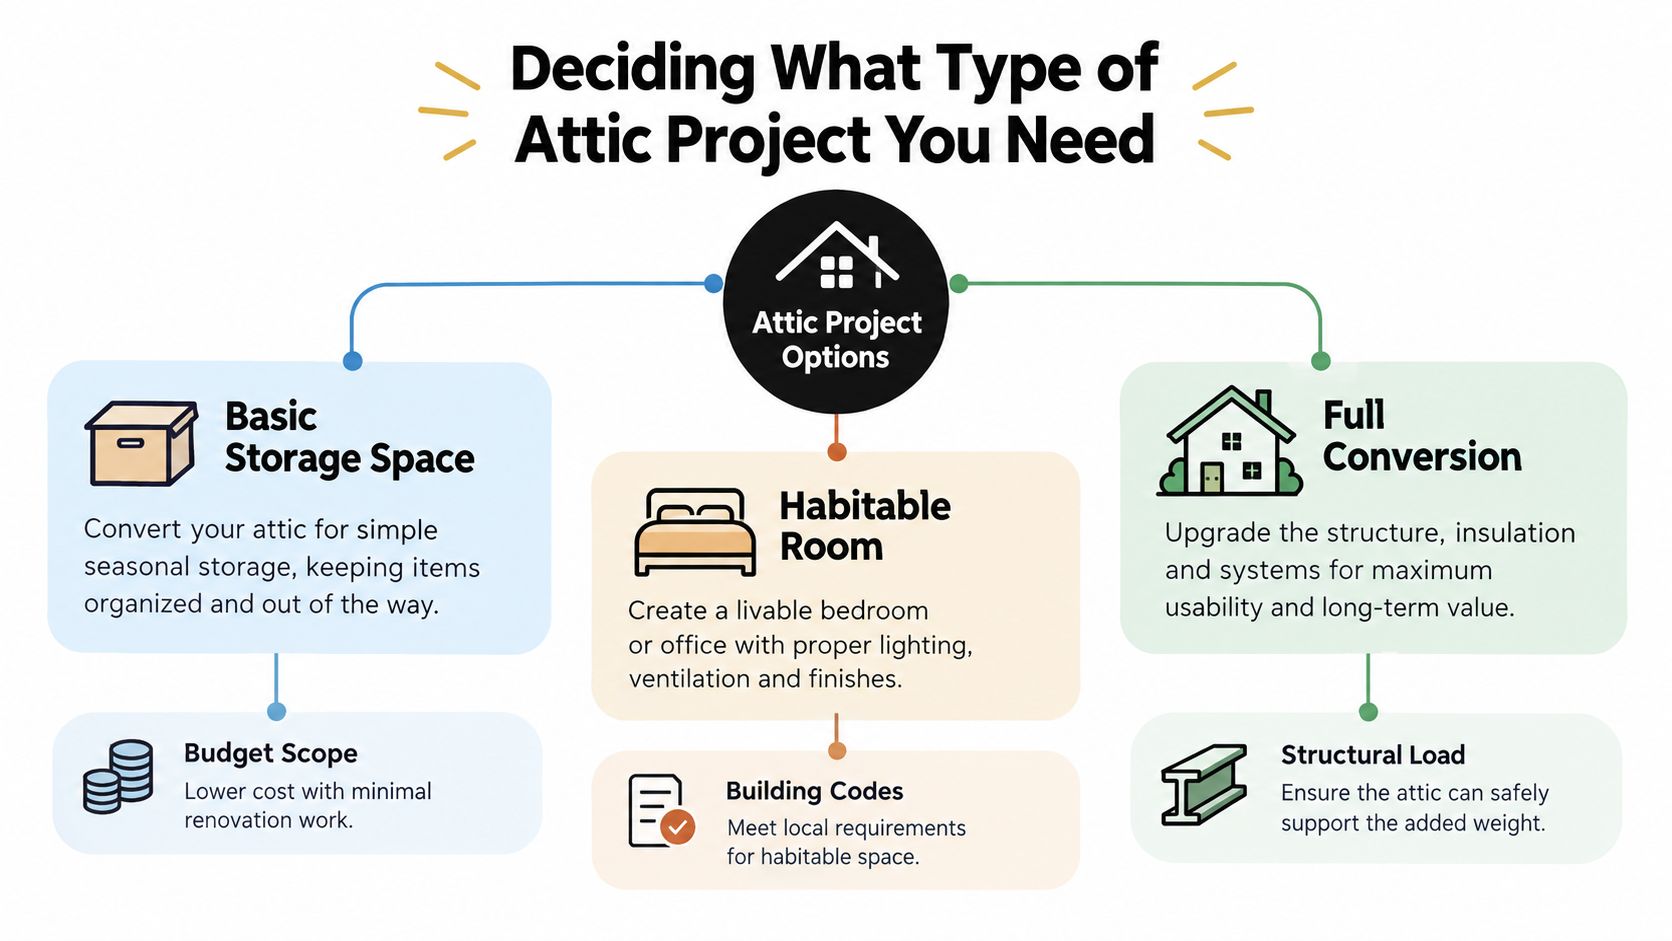
A homeowner may enter the attic wanting “more usable space,” but that goal can lead to three different construction briefs. Seasonal bins and decorations point toward a storage attic. A bedroom, office, playroom, or studio requires a habitable attic. Bringing ductwork and HVAC equipment inside the thermal boundary calls for a conditioned attic, which changes how the roof assembly manages energy and moisture.
Choose that category before anyone cuts framing, orders materials, or selects finishes.
Storage space
A storage attic keeps the work limited. Improvements may include a stronger walking surface, safer access, lighting, and organized storage. Review the existing ceiling framing before adding concentrated loads from shelving, cabinets, or stacked boxes. Preserve soffit airflow, and avoid compressing insulation just to gain a small amount of floor area.
The trade-off is straightforward: storage costs and disrupts less, but it does not create a legal living area or justify the systems required for one.
Habitable space
A habitable attic carries a higher construction standard. A bedroom, office, playroom, or studio may require a code-compliant stair, guards, adequate floor capacity, electrical service, heating and cooling, smoke and carbon monoxide detection, and an approved emergency escape route where required. Ceiling height and fire separation can determine whether the proposed room qualifies as living space.
That makes layout an early decision. A plan that fits furniture may still fail once stairs, clearances, safety systems, and structural work are included.
Conditioned roofline
A conditioned attic moves the thermal boundary from the attic floor to the roofline. The design may insulate and air-seal the roof assembly so the attic becomes part of the conditioned volume. This approach can suit homes with HVAC equipment or ducts in the roof space, but it changes ventilation and moisture-control decisions. It is not automatically better than a vented assembly.
As the DOE notes, air leakage from the home into an attic can introduce significant moisture, while poor ventilation can contribute to mold, damaged insulation, and deteriorated roof framing. Decide the final category first, because a storage floor, finished room, and conditioned roofline require different materials, inspections, and sequencing.
Practical rule: If you cannot describe the attic's final use in one sentence, do not cut framing or buy finishes yet.
Assessing Structure and Securing Permits
The first inspection should concern the load path, not the appearance of the room. A structural professional needs to examine the roof geometry, bearing walls, foundation support, ceiling joists, and any trusses before you remove ties, struts, or webs. An attic designed for storage may have ceiling framing that isn't adequate for habitable-floor loads, and new partitions, cabinets, bathroom fixtures, or stone surfaces can create concentrated permanent loads.
Start with the existing frame
Ask for a written assessment that identifies what can remain, what requires reinforcement, and whether the proposed layout is structurally realistic. The review should account for:
- Floor capacity: Confirm whether existing ceiling joists can support the intended use or whether engineered joists and reinforcement are needed.
- Truss geometry: Never cut a truss member based on a sketch or online suggestion. Alterations can transfer forces into members that weren't designed to receive them.
- Bearing points: Trace new loads through walls, beams, posts, and the foundation. A strong attic floor doesn't solve a weak support path below.
- Deflection control: A floor can appear strong while still moving enough to crack finishes, doors, tile, or cabinetry.
- Service routes: Reserve openings for electrical, plumbing, and HVAC without weakening joists or blocking ventilation.
Building-control guidance identifies new floor adequacy and altered truss members as matters requiring structural checks, and notes that a converted storey may require a fire-resistant floor assembly. The attic conversion guidance from Building Control Northern Ireland is useful even when local rules differ because it illustrates the types of structural and fire questions that inspectors commonly raise.
Treat permits as design inputs
Contact the local building department before construction begins. Provide the proposed floor plan, sections showing roof and floor assemblies, structural calculations, stair dimensions, electrical and HVAC layouts, emergency escape information where applicable, and fire-separation details. Requirements vary by jurisdiction, so a design accepted in one location may not satisfy another.
Permits aren't merely an administrative step at the end. They determine where stairs can go, whether a ceiling can remain exposed, how smoke and carbon monoxide alarms must be arranged, and which inspections must occur before insulation or drywall conceals the work. Build inspection hold points into the schedule.
A practical drawing review also helps everyone work from the same information. Use this guide to reading construction blueprints to understand plans well enough to question dimensions, framing notes, stair locations, and cabinet clearances before materials arrive.
Don't let a contractor promise that an attic conversion is “just framing.” If the structural calculations and permit path aren't clear, the finish schedule is premature.
Once the plans are approved, install the floor system and stair structure before closing walls. Photograph framing, blocking, fire stopping, wiring paths, and insulation clearances for your project records. Those images can help resolve questions later, but they don't replace required inspections.
Mastering Insulation and Ventilation Systems
Before insulation goes in, decide whether the attic will remain storage, become habitable, or join the conditioned space. That choice sets the air barrier, insulation location, ventilation path, duct strategy, and service access. The attic sits between indoor rooms and outdoor temperatures, so the assembly must control air movement, heat flow, and moisture together. Insulation cannot stop humid indoor air from reaching cold roof surfaces, and ventilation cannot correct unsealed ceiling penetrations or wet ductwork.
The U.S. Environmental Protection Agency's ENERGY STAR program estimates that air-sealing a home and adding attic insulation can reduce heating and cooling costs by an average of 15% under its modeled housing conditions and attic sealing and insulation guidance. Results vary by climate and by the condition of the existing envelope. Treat the estimate as support for the investment, not a guaranteed saving for your house.
Choose the assembly before insulating
A vented attic keeps the roof deck outside the conditioned envelope. Insulation belongs at the attic floor, while air must move continuously from soffit intakes to a high exhaust point such as a ridge vent. This arrangement suits storage and some conversions where the roofline remains outside the living area.
An unvented or conditioned roofline places insulation and air control along the roof slope. It can suit a habitable attic or a design that keeps ducts and equipment inside the thermal boundary. The assembly still has to address roof leaks, vapor movement, moisture accumulation, and local code requirements. Conditioning the roofline does not remove the need for sound building-science decisions.
Climate and duct location affect the choice. In a cold climate, indoor air leaking toward a cold roof deck can condense and damage framing. In a hot-humid climate, humid outdoor air meeting air-conditioned surfaces creates a different moisture problem. A Florida building-performance study cited by the Department of Energy found that sealing attic vents increased cooling energy by about 5% when ducts were in the attic and about 18% when ducts were indoors under the tested configurations. The figures, discussed in the department's durable attic guidance, do not prescribe one assembly for every home. They show why climate, duct placement, and ventilation must be evaluated together.
Install the details that protect the roof
For a vented roof, fit a baffle in every soffit-to-rafter bay and preserve at least a 1-inch (25 mm) channel between insulation and roof sheathing, following the building-science guidance on attic ventilation assemblies. Seal the attic-floor plane at drywall joints, plumbing penetrations, electrical boxes, ducts, and recessed fixtures before placing insulation. Use products approved for the substrate and temperature conditions, particularly near lighting and flues.
The same guidance describes a common minimum net-free vent area of 1:300 of ventilated attic area when high and low openings are balanced. 1:150 may apply when required opening or vapor-control conditions are absent. For a 900-square-foot attic, the 1:300 relationship equals 3 square feet of total NFVA, divided approximately between soffit intake and ridge exhaust after the manufacturer's rating is considered. These are design references. Local code and the actual vent product's net-free area control the final layout.
Bathroom and dryer exhaust must terminate outdoors, never in the attic. Ducts outside the building shell should be insulated to at least R-7, and applicable runs should slope upward at 1/4 inch per foot, according to the cited building-science guidance. Check every duct connection, damper, roof penetration, and flashing detail before insulation conceals the work.
A contractor should show you where insulation ends, how ventilation stays open, and how future service access will work. Use this contractor hiring checklist for evaluating installers to compare their proposed materials, sequencing, documentation, and inspection points. Compressed batts, blocked soffits, unsealed penetrations, and exhaust ducts releasing moisture into the roof space are assembly failures, not minor finish defects. They reduce performance and can damage framing after the finished surfaces hide the problem.
Designing Access and Custom Storage Solutions
Access determines whether the attic becomes useful or remains a room you avoid. A pull-down stair may be adequate for seasonal boxes, but it rarely supports moving furniture, carrying laundry, or using the attic as a daily office. A permanent stair takes more floor area, yet it makes the converted space function like part of the home rather than an occasional destination.

Compare the access choices
A pull-down stair has a small footprint and suits light storage. It isn't the right answer for a habitable conversion where the code requires a permanent stair, and it can be awkward when the opening lands beneath a low roof slope.
A space-saving stair can fit a constrained plan, but its geometry, headroom, handrails, and permitted use require careful review. Compact stairs often look attractive on a drawing while becoming uncomfortable when occupants carry boxes or furniture.
A full permanent stair provides the best daily access and a clear route for moving materials. The trade-off is the space it consumes below and above. Locate it early, because the opening can affect joists, ceiling finishes, lighting, doors, and the placement of built-in storage.
Storage planning should follow the roof shape. Low knee-wall zones work well for drawers, shoe storage, luggage, and seasonal items. Taller areas can hold hanging garments, shelving, desks, or media equipment. Leave serviceable access to electrical junctions, HVAC components, valves, and roof areas that may need inspection.
Make the cabinetry follow the envelope
Off-the-shelf furniture assumes square walls and standard ceiling heights. Attics rarely provide either. Custom cabinetry can fit sloped ceilings, awkward corners, and unusual dimensions, allowing the storage plan to use space that freestanding pieces leave unusable. The custom cabinet design guidance describes this advantage directly, especially where a custom layout prevents wasted space.
Build the storage around the way you use the room, not around the largest cabinet that will fit through the stair opening.
A built-in wardrobe under a slope may need doors that clear the roof angle, drawers that remain accessible beside a knee wall, and ventilation gaps where equipment sits nearby. A desk can occupy a shallow wall, while deeper cabinetry belongs in the taller zone. In a storage attic, strong shelving may matter more than decorative doors. In a bedroom, closed cabinetry can reduce visual clutter and protect clothing from dust.
Use a storage plan before the cabinetmaker produces shop drawings. Mark the location of bins, coats, linens, luggage, sports equipment, and cleaning tools. A closet organization systems guide can help translate those categories into hanging space, drawers, adjustable shelves, and accessories.
The sequence matters. Finalize the structure, insulation thickness, drywall build-up, HVAC routes, and stair opening before measuring cabinetry. Otherwise, a cabinet may fit the framing but interfere with a vent, service panel, guard, door swing, or required clearance.
Running Electrical, HVAC, and Final Finishes
Systems work should begin after the framing layout is established and before insulation closes the cavities. Give the electrician, HVAC contractor, plumber, and general contractor one coordinated plan. An attic is difficult to revise after drywall, particularly where sloped ceilings leave little room for junction boxes, duct transitions, or recessed fixtures.
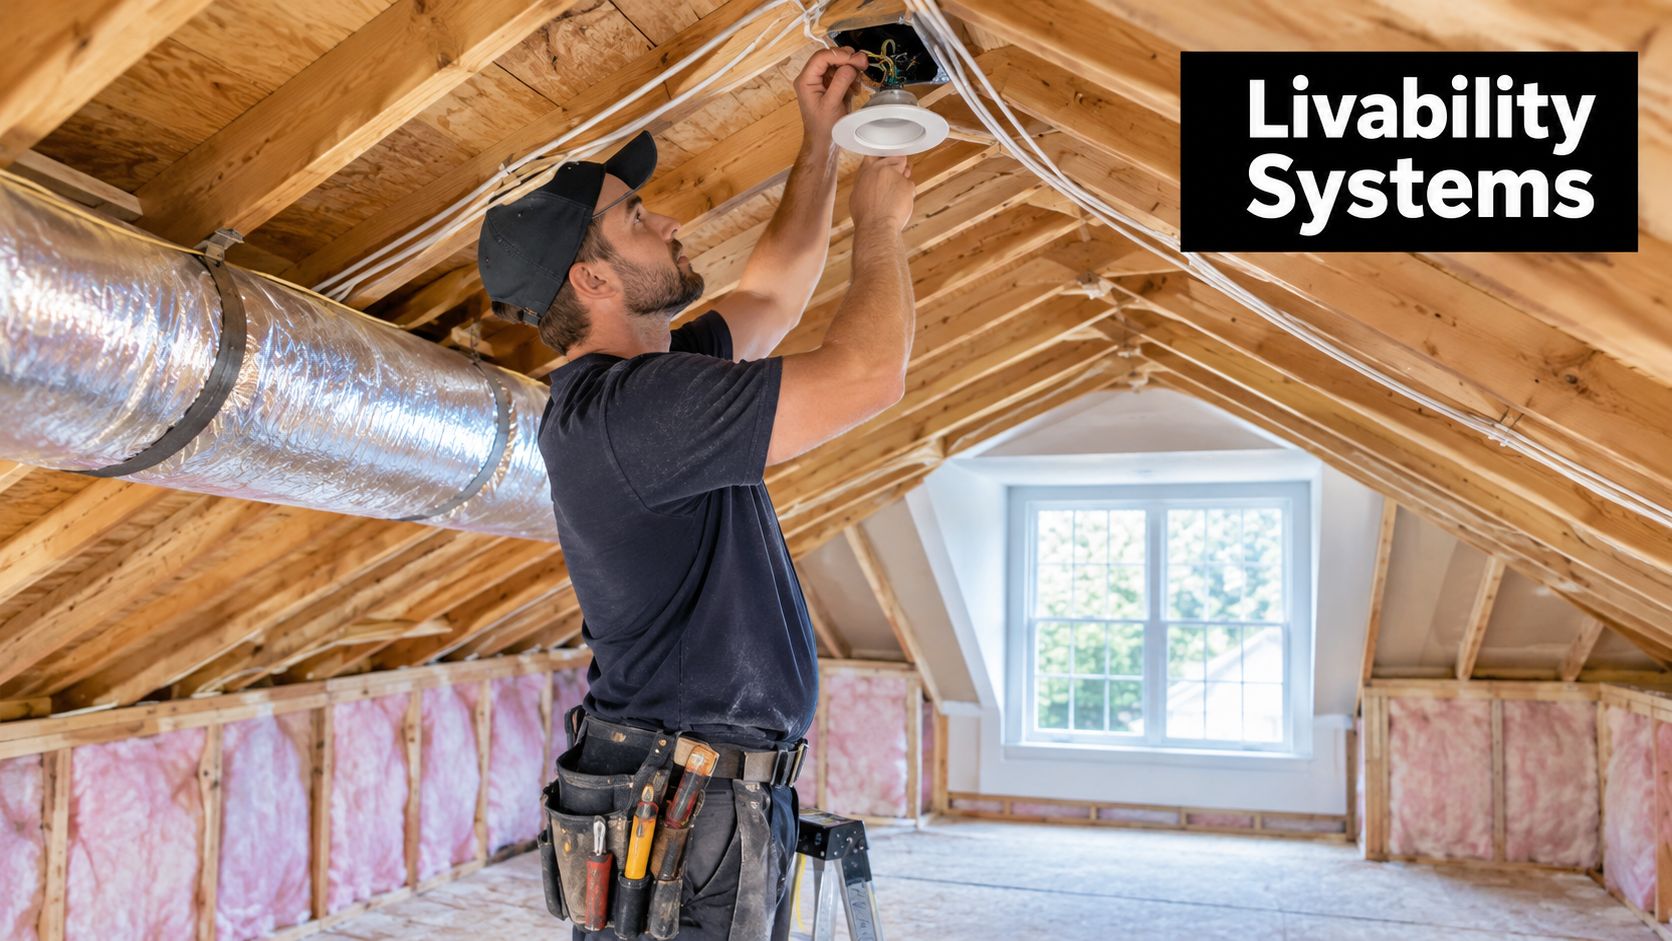
Coordinate services before closing walls
The electrical plan should show lighting, receptacles, switches, smoke alarms, carbon monoxide alarms, dedicated circuits, and access to junction boxes. Place fixtures so insulation can be installed without leaving gaps, and select products approved for contact with insulation when the design requires it. Keep wiring away from locations where later cabinet fastening could damage it.
HVAC requires more than extending a duct from the floor below. A professional should confirm available capacity, calculate the new room's demand, size supply and return paths, insulate ducts in unconditioned areas, and seal connections. A room with supply air but no effective return path may develop pressure and comfort problems. If the attic is conditioned at the roofline, the contractor must coordinate the equipment location with the selected air and vapor-control layers.
Plumbing needs the same discipline. Keep drain slopes, vent routes, shutoffs, and access panels visible in the drawings. Avoid burying connections behind permanent cabinetry unless the design provides proper service access.
Finish in a deliberate order
After rough inspections, install the approved insulation and air-control work. Then close walls and ceilings, install flooring, complete trim, paint, and fit cabinetry. Protect finished floors while cabinet installers and electricians complete their work, but don't install delicate surfaces before dusty or wet trades are finished.
Choose flooring for the room's actual use. A storage attic may need a durable, cleanable surface, while a bedroom or office may prioritize sound control and comfort. Drywall details around sloped ceilings deserve careful layout because uneven joints become highly visible in changing daylight.
Trim should make the room feel intentional. Align casing, baseboards, cabinet fillers, stair rails, and access panels so the irregular roof geometry looks designed rather than patched. Before final paint, verify that doors open fully, drawers clear adjacent walls, vents remain unobstructed, and equipment can still be serviced.
A finished attic should also remain inspectable. Don't cover a roof leak path, electrical box, duct connection, or ventilation channel just to achieve a uniform appearance. Good finishing makes maintenance easier, not impossible.
Avoiding Common Pitfalls and Final Checklist
The most expensive attic mistakes usually begin with an innocent shortcut. A homeowner adds flooring before confirming capacity, cuts a truss to improve headroom, packs insulation into a soffit, or sends a bathroom exhaust fan into the roof space. Each decision may appear small, but together they can compromise structure, moisture control, safety, and the permit.
Check the work in the right order
Use this final review before occupying the room or loading it with belongings:
- Structure: Confirm that approved reinforcement, joists, truss repairs, blocking, stairs, guards, and cabinet supports match the structural drawings.
- Moisture control: Verify roof repairs, flashing, air sealing, duct terminations, and the absence of wet insulation or stained framing.
- Ventilation: Check that every vented rafter bay has a clear baffle path and that insulation hasn't blocked intake or exhaust openings.
- Fire protection: Confirm required fire separation, penetrations, doors, smoke alarms, carbon monoxide alarms, and inspection approvals.
- Electrical safety: Test lighting and receptacles, label circuits, protect wiring from future fasteners, and keep junction boxes accessible.
- HVAC operation: Run the system in the finished room, check supply and return performance, and confirm that ducts and equipment remain serviceable.
- Access: Walk the stairs while carrying a box, test handrails and guards, and confirm that the attic opening and doors operate without interference.
- Cabinet stability: Fasten built-ins to appropriate framing, protect required clearances, and verify that doors and drawers don't obstruct exits or equipment.
- Documentation: Keep permits, inspection records, structural calculations, product information, photographs, and maintenance notes together.
The home renovation checklist can help organize the broader project, but your attic needs a specific closeout review tied to its approved plans. Don't treat final paint as the finish line. The project is complete when the space is safe, comfortable, serviceable, and accepted by the relevant inspectors.
The best attic conversion is the one that still makes sense when the roof needs inspection, the HVAC system needs service, or the family changes how it uses the room.
If you're ready to turn an attic's difficult angles into practical storage, Sinclair Cabinetry inc offers custom real-wood cabinetry, design support, and professional installation for wardrobes, built-ins, closets, and whole-home remodeling projects. Visit Sinclair Cabinetry inc to discuss a cabinet plan that fits your approved attic layout instead of forcing the room to fit standard furniture.