
Choosing Your Perfect Under Cabinet Lighting Solution
The right under cabinet lighting can truly transform your kitchen. It takes a functional workspace and turns it into a warm, inviting, and beautifully illuminated centerpiece of your home. But with so many options available, making the right choice can be tricky. This guide simplifies the process, breaking down the key things to consider for your perfect under cabinet lighting installation.
Types of Under Cabinet Lighting
Understanding the different lighting types is the first step. Each has its own pros and cons, impacting both how your kitchen looks and how well the lighting performs.
-
LED Strip Lights: These flexible strips offer customizable lengths and smooth, even illumination. They’re ideal for following the curves of your cabinets and creating a seamless, integrated look.
-
Puck Lights: Small and round, puck lights provide focused illumination. They're relatively easy to install and are a great option for highlighting specific areas on your countertops.
-
Linear Fixtures: Available in a variety of lengths, linear fixtures produce a consistent light output. These are an excellent choice for a more traditional and uniform look.
Factors to Consider
Once you’re familiar with the types of lighting available, consider these important factors:
-
Light Temperature: A warm white (around 2700K) creates a cozy and inviting atmosphere. A cool white (around 4000K) is better suited for task lighting where you need to see clearly. Think about the mood you want to create and how you typically use your kitchen.
-
Energy Efficiency: LED lights are far more energy-efficient than older options like halogen or fluorescent. This means lower energy bills and a smaller environmental impact. LEDs can last up to 50,000 hours, significantly longer than other lighting types.
-
Installation Difficulty: Some lighting, like plug-in puck lights, is easy to install yourself. Other types, like hardwired linear fixtures, may require professional help. Consider your DIY skills and comfort level with electrical work.
-
Budget: Under cabinet lighting comes in a range of prices. Factor your budget into your decision. Remember to consider the long-term cost savings from energy-efficient options. The under cabinet lighting market is growing, fueled by the demand for energy-efficient solutions. It was valued at USD 4.35 billion in 2022 and is projected to reach USD 8.55 billion by 2030. Find more detailed statistics here.
Comparing Lighting Options
To help you compare the most common options, we've created a table outlining their key features, benefits, and limitations:
Comparison of Under Cabinet Lighting Types: A detailed comparison of the most popular under cabinet lighting options, including their features, benefits, and limitations.
| Lighting Type | Average Cost | Lifespan | Installation Difficulty | Energy Efficiency | Best For |
|---|---|---|---|---|---|
| LED Strip Lights | $20-$50 per strip | 25,000-50,000 hours | Moderate | Excellent | Even illumination, custom lengths |
| Puck Lights | $10-$30 per light | 20,000-30,000 hours | Easy | Good | Accent lighting, specific areas |
| Linear Fixtures | $50-$100 per fixture | 15,000-25,000 hours | Moderate to Difficult | Good | Uniform lighting, traditional look |
This table summarizes the key differences between the three main types of under cabinet lighting, allowing for a quick comparison of cost, lifespan, installation, and ideal use cases.
By considering these factors and comparing the different types of lighting, you can confidently choose the perfect solution for your kitchen. One that not only enhances its beauty but also improves its functionality. For tips on optimizing your kitchen layout, check out this helpful resource: How to master your kitchen layout.
Essential Tools That Make Under Cabinet Lighting Installation Actually Doable
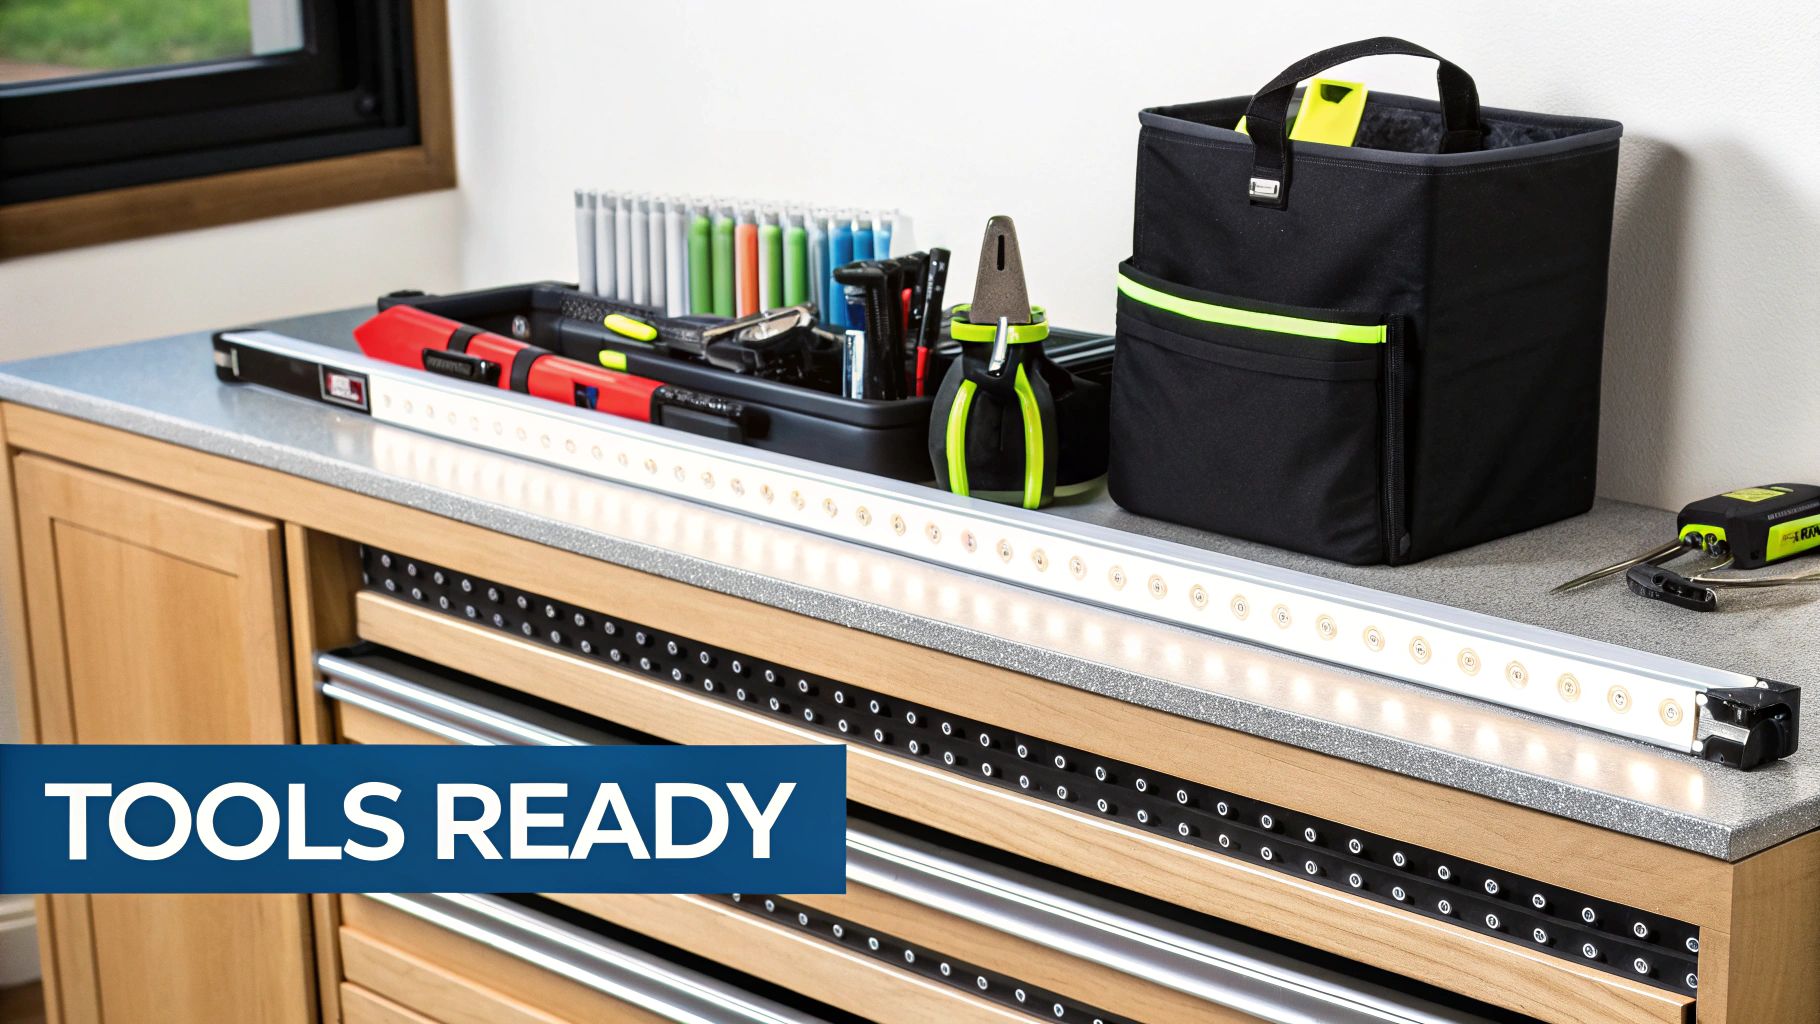
Proper tools are essential for a smooth under cabinet lighting installation. They are the key to minimizing frustration and ensuring a satisfying result. This guide, drawing on advice from professional electricians, outlines the essential tools you'll need, covering both the absolute necessities and helpful additions for future projects.
Must-Have Tools For a Successful Installation
Some tools are non-negotiable for any under cabinet lighting project. These basic tools ensure safety and efficiency:
-
Voltage Tester: Safety is paramount. A voltage tester is crucial for confirming the power is off before starting any wiring, preventing electrical shocks.
-
Wire Strippers/Cutters: These are essential for preparing your wiring. Quality wire strippers ensure clean cuts and accurate stripping, leading to secure connections and a professional finish.
-
Drill with Various Bits: You'll need this for creating pilot holes and running wires through cabinets. A variety of drill bits allows you to adapt to different materials and cabinet designs.
-
Screwdrivers (Phillips and Flathead): These are indispensable for securing fixtures and wiring components. A set with various sizes ensures compatibility.
-
Level: A level ensures your lighting fixtures are installed straight and evenly, creating a polished look.
Tools That Elevate Your Installation (And Save Time!)
Beyond the essentials, these tools can simplify the process:
-
Fish Tape or Wire Snake: These are invaluable for running wires through tight spaces, simplifying wire management. They guide your wires precisely where they need to go.
-
Wire Connectors (e.g., Wago Connectors): Wago connectors offer secure, reliable connections without soldering, making electrical work quicker and easier.
-
Multimeter: While a voltage tester detects power, a multimeter provides more detailed readings, helpful for troubleshooting wiring issues and testing voltage.
-
Cable Management Clips: These keep wiring organized and concealed, creating a cleaner, more professional appearance.
You might find this helpful: How to master cabinet installation. Simple household items like zip ties or chopsticks can also be surprisingly effective for guiding wires.
Avoiding Common Tool Mistakes
Using incorrect tools or improper techniques can create problems. Over-tightening screws can damage cabinets, while dull drill bits can splinter wood. Always select the correct tool and ensure it's in good condition. Investing in quality tools and learning their proper use are crucial for a successful and safe under cabinet lighting installation. This ensures a beautiful and functional upgrade to your kitchen, enhancing both its aesthetic and practicality.
Step-by-Step Installation: From Preparation to Perfection
This guide provides a detailed walkthrough of installing under-cabinet lighting, emphasizing professional techniques for a stunning result. From initial planning to the final wiring, every step is vital for a beautiful and functional lighting system.
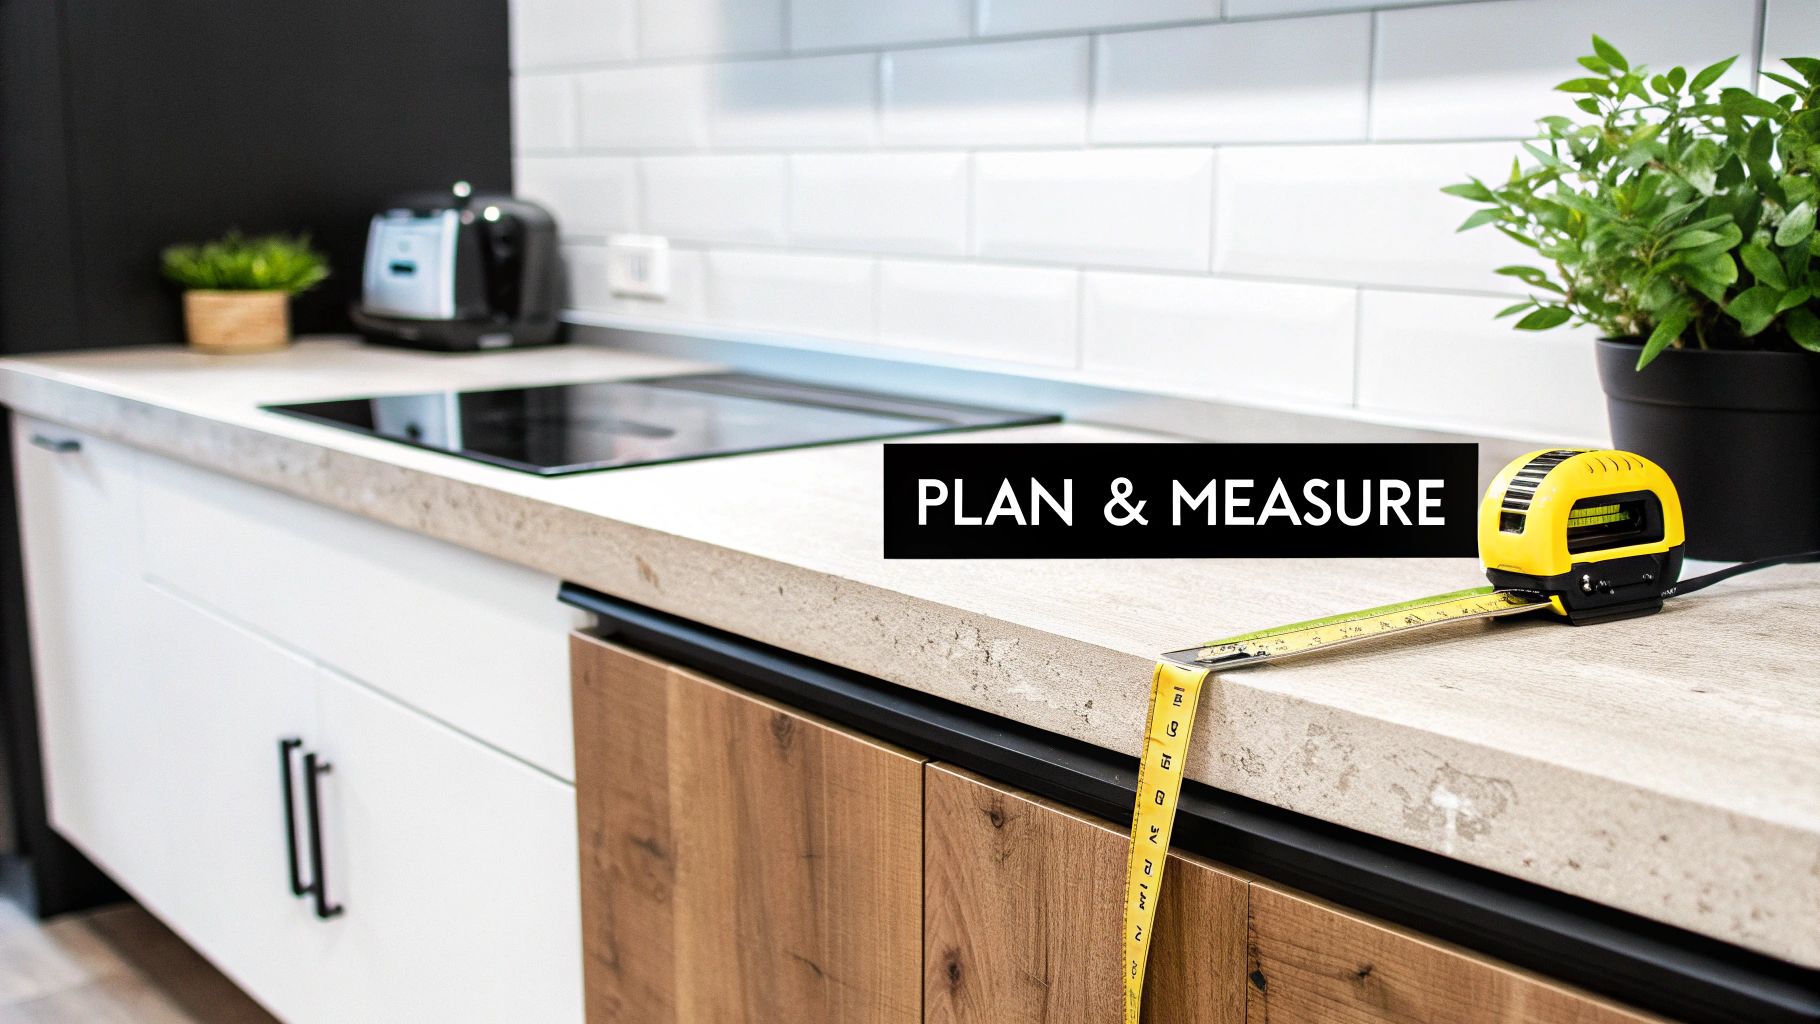
Planning Your Wiring Path: The Foundation of a Seamless Installation
Before starting any drilling, seasoned installers carefully plan the wiring route. This proactive step prevents errors and ensures effective wire management. Consider your power source location. Are you using an existing outlet or connecting directly to your home's electrical system? This decision impacts your overall wiring strategy.
Also, determine the control unit's placement and how wires will run from each light to it. A well-planned path minimizes visible wires, giving your installation a professional look.
Marking and Drilling: Precision for a Polished Look
After mapping your wiring, precisely mark the locations for fixtures and wiring holes. Accurate measurements are key. Professionals use levels, measuring tapes, and marking tools for pinpoint accuracy, preventing uneven lighting and crooked fixtures.
When drilling, select the correct drill bit size for your wiring. A bit that's too small makes it tough to feed wires through, while a bit that's too large leaves unsightly gaps. These details impact the installation's quality.
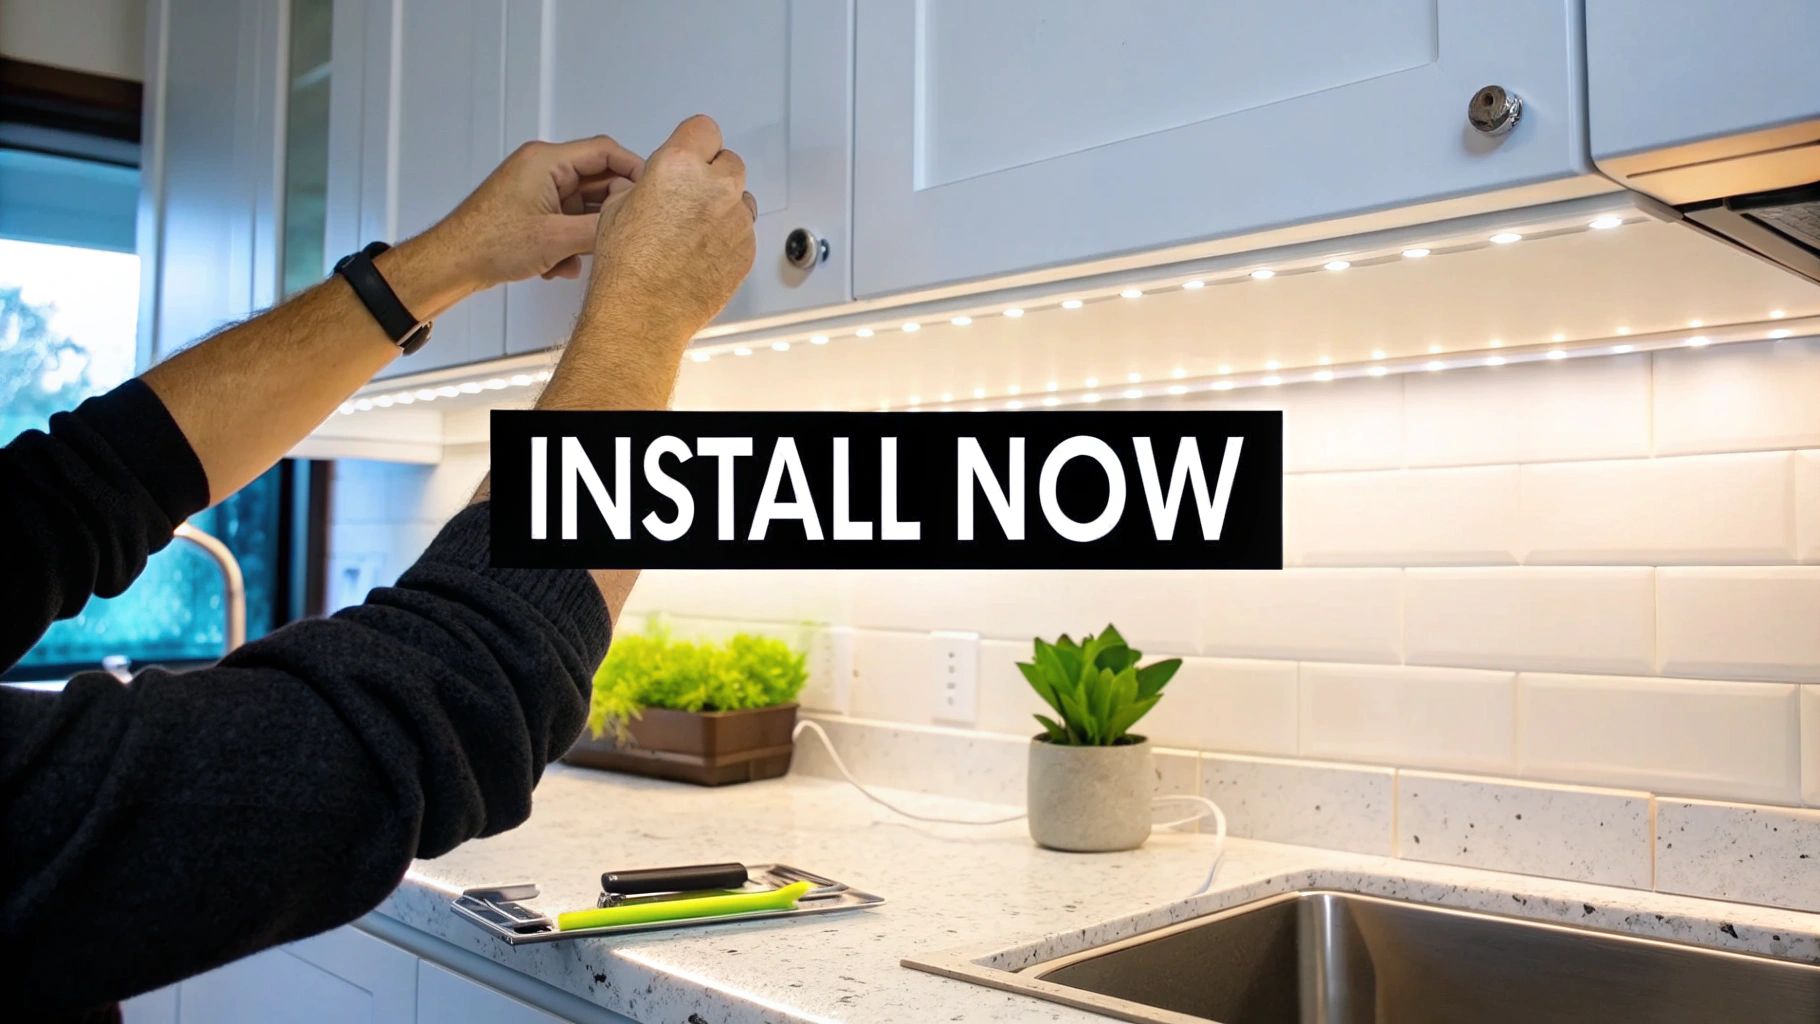
Mounting Your Fixtures: Secure Placement for Long-Term Performance
With the wiring holes ready, it's time to mount the fixtures. This stage requires attention to detail for a secure and aesthetically pleasing result. The mounting method depends on your fixture type. LED strip lights often use strong double-sided tape, while puck lights or linear fixtures might need screws.
Ensure a secure fit to prevent loosening over time, regardless of the method. This adds to the longevity of your lighting. Fixture positioning is crucial for maximizing light and minimizing shadows. Angling fixtures slightly towards the backsplash can improve illumination.
Under-cabinet lighting is a cost-effective way to upgrade kitchen aesthetics and functionality. Homeowners pay around $265 on average for installation, ranging from $230 to $300 per fixture depending on the type and labor. LED puck lights cost roughly $25 each, while LED strip lights are about $20 per 8-foot strip. Energy-efficient LEDs reduce long-term energy costs, making them a popular residential and commercial choice. Learn more about LED options here: Angi – Are LEDs a good option for kitchen cabinet lighting?
Wiring and Connections: Professional Techniques for a Clean Finish
Connecting the wiring is a crucial step. Pay close attention to polarity (positive and negative) and wire organization. Wago connectors offer quick, reliable connections without soldering, and they're safer and easier than wire nuts.
Bundle and secure excess wiring to prevent tangles. Neat wiring improves the installation's appearance and simplifies future maintenance.
Connecting to the Power Supply: Final Steps for Illumination
With the fixtures wired, connect them to the power supply. Turn off the power at the breaker box first to prevent shocks. The wiring method depends on your power source (plug-in or hardwired). For hardwiring, consult a qualified electrician if needed to ensure safety and code compliance.
After connecting, test the system. Adjust the dimmer, if present, to your preferred lighting level. With the final connections made and tested, your under-cabinet lighting is ready.
Final Touches and Troubleshooting: Ensuring Long-Term Performance
Inspect the system for loose wires or misaligned fixtures. Conceal any visible wiring with cable clips for a polished look. This final check ensures a professional finish.
If you have problems like flickering lights or unresponsive fixtures, double-check the wiring connections. Troubleshooting can often resolve simple issues, ensuring your lighting's long-term performance. This meticulous approach sets a professional installation apart.
Mastering the Electrical Side of Your Installation

Understanding the electrical aspects of under-cabinet lighting installation is crucial for a safe and functional setup. This section breaks down the key electrical considerations, simplifying the process and helping you make informed decisions.
Hardwired Vs. Plug-In Vs. Battery-Powered: Choosing the Right Power Source
The first step is selecting the right power source. Each option has its own set of advantages and disadvantages.
-
Hardwired Systems: These connect directly to your home's electrical system. This provides a clean, integrated look. Hardwired systems offer the most reliable power, but typically require professional installation.
-
Plug-In Systems: These are easy to install, simply plugging into a standard outlet. This makes them perfect for DIY enthusiasts. However, managing cords can be a bit tricky, and outlet availability might be limited.
-
Battery-Powered Systems: Offering the easiest installation and ultimate flexibility, battery-powered lights are great for renters or those wary of electrical work. Keep in mind that battery life is a factor, and these systems are generally less powerful, making them best for accent lighting.
Dimmer Switches and LED Compatibility: Ensuring Smooth Control
Many homeowners want the option to adjust their under-cabinet lighting brightness. Dimmer switches provide this control. However, compatibility with LED lighting is key.
Traditional dimmer switches designed for incandescent bulbs may not work well with LEDs. This can cause flickering or other dimming issues. For LEDs, be sure to use LED-compatible dimmer switches for smooth, reliable performance.
Wire Connectors and Safety: Building Lasting Connections
Secure wire connections are essential for a safe and long-lasting installation. Wago connectors offer a great alternative to traditional wire nuts, providing secure, tool-free connections.
These connectors simplify wiring, reduce the risk of loose connections, and enhance safety. Always use connectors rated for the voltage and current of your lighting system.
Wire Management and Flexibility: Preserving Long-Term Performance
Proper wire management keeps your installation looking good and functioning correctly. Neatly bundling and securing wires prevents tangles and simplifies future maintenance.
Avoid bending wires excessively, as this can damage them and shorten their lifespan. Maintaining wire flexibility makes future adjustments or troubleshooting much easier. Under-cabinet lighting is a growing trend, with the market projected to expand at a CAGR of about 7.1% from 2024 to 2030. This growth reflects the increasing demand for customized lighting, especially in smaller kitchens where under-cabinet lights offer efficient illumination. Learn more about this trend.
Power Considerations and Load Calculations: Optimizing Performance and Safety
Before finishing your installation, ensure your electrical circuit can handle the added load of your new lights. Calculate the total wattage of all the lights you're installing.
Compare this wattage to the circuit's capacity. An overloaded circuit can trip breakers or even pose a fire hazard. If you're unsure about your circuit capacity, consult a qualified electrician. This ensures the safety and optimal performance of your lighting and electrical system. They can confirm everything is wired correctly and meets local building codes, giving you peace of mind.
Solving Common Problems Before They Derail Your Under Cabinet Lighting Installation Project
Under cabinet lighting can dramatically improve any kitchen, but the installation process can be tricky, even for experienced DIYers. This guide, drawing on advice from lighting professionals, addresses common issues and offers practical solutions. By being proactive, you can save time, money, and avoid frustration, ensuring your project is a brilliant success.
Diagnosing and Fixing Wiring Problems
Wiring problems are a frequent source of under cabinet lighting malfunctions. Incorrect polarity, where the positive and negative wires are swapped, is a common issue. This can prevent the lights from working or even cause damage. A simple solution is to use a multimeter to double-check the polarity before completing the connections. Loose connections are another culprit, often leading to flickering or intermittent lighting. Wago connectors offer a secure and dependable solution, minimizing this risk.
Damaged wires can also disrupt the electrical flow. If a wire gets nicked or cut during installation, replace the damaged section, or if necessary, the entire wire. For instance, if a staple used to secure the wire punctures the insulation, replace it with cable clips designed for wire management. Finally, always test your circuits with a voltage tester before beginning any work for safety.
Troubleshooting Mounting Issues and Uneven Lighting
Fixtures that refuse to stay in place are another common headache. This frequently occurs when the mounting surface isn't clean or the adhesive isn't strong enough. Clean the area thoroughly with denatured alcohol before applying double-sided tape to ensure a secure bond. For heavier fixtures, screws provide added stability. Uneven light distribution can result from incorrect fixture placement or spacing. Adjusting the fixture positions, particularly by angling them slightly toward the backsplash, can significantly improve light coverage and reduce shadows. For LED strip lights, ensure they are installed straight within their LED channel for consistent illumination.
Tackling Flickering Lights and Retrofit Challenges
Flickering lights can have multiple causes. One often-overlooked issue is incompatible dimmer switches. Using an LED-compatible dimmer is essential for smooth, flicker-free dimming. Another potential problem is a loose connection in the wiring, which a multimeter can help diagnose and resolve. Voltage drop, particularly in longer runs of LED strip lights, can cause dimming at the far end from the power supply. This might require a more powerful power supply or shorter strip lengths.
Retrofitting cabinets not originally designed for lighting presents unique difficulties. Running wires through existing cabinets can be a real challenge. A fish tape or a wire snake can be invaluable for navigating tight spaces. When wiring is impossible, battery-powered under cabinet lights offer a straightforward alternative, although they require periodic battery changes. By understanding these common issues and applying these solutions, you can confidently tackle your under cabinet lighting installation and transform your kitchen into a beautifully illuminated space.
DIY vs. Pro Installation: What You're Really Saving
Under cabinet lighting adds beauty and functionality to any kitchen. But deciding between a DIY installation and hiring a professional can be tricky. It's important to look beyond the initial price and understand the hidden costs and benefits to make the best choice.
The True Cost of DIY: More Than Just Money
DIY projects often seem budget-friendly, but the true cost goes beyond just the materials. Time is a major factor. Even a simple under cabinet lighting installation can easily take up a weekend or more, especially if you're a beginner. This includes research, planning, and troubleshooting any unexpected problems. Then there's the potential cost of mistakes. Incorrect wiring, damaged cabinets, or poorly installed fixtures can lead to expensive repairs later on. You might be interested in: How to master your kitchen remodel budget.
The Value of Professional Expertise: More Than Just Convenience
Hiring a professional installer offers several key advantages beyond simple convenience. Expertise is the biggest one. Professionals have years of experience, ensuring your lighting is installed correctly, safely, and up to code. This minimizes the risk of future issues. They also have specialized tools and techniques that speed up the process and improve the final results. Warranty is another important factor. Many professionals offer warranties on their work, protecting you against faulty installations.
Hidden Costs and Benefits: A Deeper Dive
DIY installations often have hidden costs that aren't immediately obvious. These might include renting special tools, buying extra materials to fix mistakes, or even repairing damage caused during installation. Professional installations, though more expensive upfront, can offer long-term savings. These savings come from reduced energy use (through efficient wiring) and longer fixture lifespan (due to proper installation). The cost of installing under cabinet lighting varies widely, depending on the fixture type and installation complexity. As of January 2025, the estimated cost starts at $516 to $655 per fixture, including labor and materials. A 12-inch low-profile LED strip can cost $26.65 to $63.50, with labor costs in a similar range. Understanding these costs is crucial for planning your project. Explore this topic further: Homewyse – Cost to Install Under Cabinet Lighting
The Hybrid Approach: Balancing Cost and Expertise
A hybrid approach, combining DIY and professional services, is a good option for many homeowners. You can handle tasks like planning, buying materials, and some basic wiring, while leaving complex electrical work and final fixture installation to the professionals. This helps save money while still benefiting from expert help for the most important parts of the project. It also lets you personalize your lighting design while ensuring a safe and compliant installation.
The following table compares the costs of professional versus DIY installation, outlining potential savings and where professional expertise can prevent costly mistakes.
Professional vs. DIY Installation Cost Breakdown: A detailed comparison of costs associated with professional installation versus doing it yourself.
| Expense Category | DIY Installation | Professional Installation | Potential Savings |
|---|---|---|---|
| Materials | $100 – $300 | $150 – $400 | $0 – $100 |
| Labor | $0 | $200 – $500 | $200 – $500 |
| Tools | $0 – $50 (rental) | Included | $0 – $50 |
| Repairs (potential) | $50 – $200+ | Covered by warranty | $50 – $200+ |
| Total Estimated Cost | $150 – $550+ | $350 – $900+ | Variable |
This table provides a general cost comparison. Actual costs will depend on the specifics of your project. While DIY offers potential savings, professional installation provides valuable expertise and warranty protection, potentially avoiding expensive repairs.
Transform your kitchen with beautiful, functional under cabinet lighting from Sinclair Cabinetry. We offer expert design and installation services to create the perfect lighting solution for your home. Visit us today to learn more and request a consultation!