
Why Resurfacing Beats Replacement Every Time
Kitchen renovations are known for their high costs and long timelines. But what if you could dramatically transform your kitchen without the expense and disruption? Resurfacing your kitchen cabinets offers a compelling alternative to a full replacement, allowing you to achieve a stunning new look without breaking the bank or living in a construction zone for weeks. Imagine getting the kitchen of your dreams for less money and in less time. That's the beauty of resurfacing.
Cost Savings and Time Efficiency
One of the most significant advantages of resurfacing is the considerable cost savings. You can expect to pay 40-50% less than a full cabinet replacement. This frees up your budget for other updates, such as new countertops or appliances.
Resurfacing is also much faster. A full cabinet replacement can disrupt your life for weeks, but resurfacing is often completed in just a few days. This allows you to get back to enjoying your kitchen quickly. Cabinet refacing has become increasingly popular with homeowners wanting to update their kitchens without the expense of new cabinets.
As of 2025, the average cost of cabinet refacing ranges from $4,234 to $10,229, with an average of $7,231. This approach can save homeowners up to 50% compared to the cost of new cabinets. Your material choice significantly impacts the cost. Laminate is the most budget-friendly, wood veneer falls in the mid-range, and solid wood is the most expensive option.
For example, laminate costs between $80 and $125 per square foot, while solid wood ranges from $200 to $500 per square foot. Refacing not only saves money but also minimizes waste by reusing the existing cabinet structures, making it an environmentally sound choice. You can find more detailed statistics at Angi – How Much Does Cabinet Refacing Cost?
To help you visualize the differences, here’s a comparison table:
Cabinet Resurfacing vs. Full Replacement
This table compares the cost, timeline, and level of disruption between cabinet resurfacing and a full cabinet replacement.
| Factor | Cabinet Resurfacing | Full Cabinet Replacement |
|---|---|---|
| Cost | $4,234 to $10,229 (Average $7,231) | Significantly higher (40-50% more) |
| Timeline | A few days | Several weeks |
| Disruption | Minimal | Substantial |
| Waste | Low (eco-friendly) | High |
As you can see, resurfacing offers significant advantages in terms of cost, time, and minimizing disruption.
Preserving Existing Structures and Environmental Benefits
Resurfacing isn't just about cost and time; it's also a smart way to manage resources. This process preserves the existing structure of your cabinets, which is especially beneficial if they are well-built and made of solid wood. Why tear out perfectly good cabinets when you can refresh them?
Resurfacing gives your kitchen new life while minimizing waste—a crucial factor for environmentally conscious homeowners. It reduces the demand for new materials and keeps old cabinets out of landfills. This aligns with the growing emphasis on sustainable living, making resurfacing an attractive choice for those wanting to reduce their environmental impact.
Achieving a Brand New Look With Less Disruption
Resurfacing provides the creative freedom to completely transform your kitchen's appearance. From a modern paint color to updated hardware, you can achieve a fresh, updated look without the demolition and reconstruction required for a full replacement.
Imagine going from dated oak cabinets to sleek, modern gray—without the dust and debris of a full renovation. That’s the transformative power of cabinet resurfacing: significant impact with minimal disruption. The process minimizes demolition and focuses on updating surfaces, not replacing entire structures, so you can still use your kitchen throughout most of the project. This makes resurfacing a practical and efficient way to achieve the kitchen you want.
Essential Tools & Materials: What Actually Works

Resurfacing your kitchen cabinets is a rewarding DIY project. The right tools and materials are key to a successful outcome. This guide walks you through the essentials for a professional-looking finish that lasts. With proper preparation, you can approach your resurfacing project with confidence.
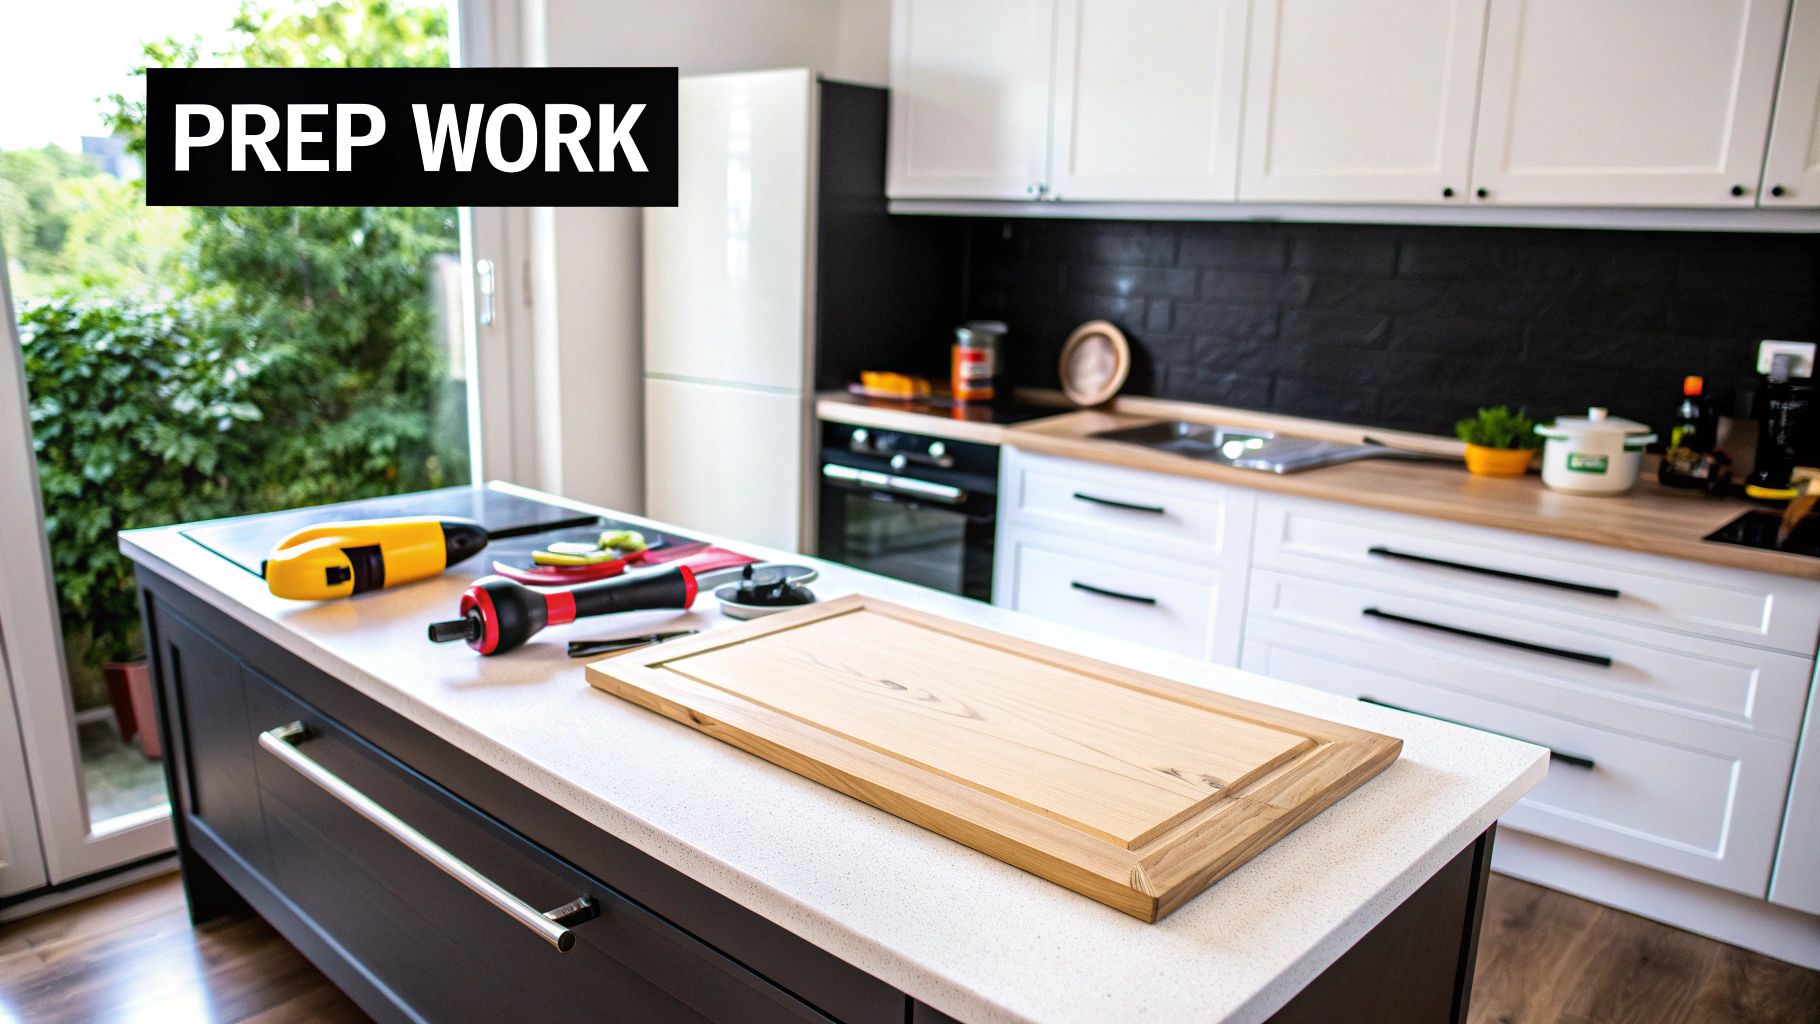
Must-Have Tools for a Smooth Process
The right tools can transform a potentially frustrating project into a smooth, enjoyable experience. Gather these crucial tools before you begin:
- Orbital Sander: Essential for smoothing surfaces and prepping them for the new finish. A random orbital sander minimizes swirl marks for a professional look.
- Screwdriver Set: Needed for removing and reinstalling hardware like hinges and knobs.
- Putty Knife: Essential for applying and smoothing wood filler, patching imperfections, and creating a seamless surface.
- Paintbrushes and Rollers: High-quality brushes and rollers designed for cabinets ensure even coverage and a professional finish.
- Measuring Tape and Speed Square: Accurate measurements are crucial, especially when ordering new doors or veneers. A speed square assists with precise hinge placement.
- Safety Glasses and Respirator: Protecting your eyes and lungs is paramount when sanding and working with paints and finishes.
Choosing the Right Materials: Quality Matters
Material selection is just as crucial as the tools you use. Here's a breakdown of material categories and important considerations:
- Veneers: Thin sheets of wood or laminate applied to the cabinet surface. Engineered veneers offer consistent quality and are generally easier to work with. Solid wood veneers require more skill for seamless application.
- Adhesives: Opt for a high-quality adhesive specifically designed for cabinet refacing. This ensures a strong, lasting bond and prevents bubbling or peeling.
- Primer: A good primer is essential for proper adhesion of the new finish. It seals the surface, preventing issues like yellowing. Shellac-based primers excel at covering existing stains.
- Paint or Stain: Your choice depends on the desired look and durability. Urethane trim enamel is popular for its durability and smooth finish. When staining, consider the existing wood species and the desired color depth.
- Hardware: New hardware is a simple yet impactful upgrade. Choose hardware that complements your new cabinet finish and overall kitchen style.
Many homeowners prefer less disruptive and cost-effective methods like resurfacing. A recent study shows that 78% of homeowners prefer cabinet refacing over replacement due to its cost-effectiveness, speed, and minimal disruption. Explore this topic further at Boom Sourcing: Cabinet Refacing Insights.
Specialized Tools Worth Considering
While some tools can be rented, others are worth the investment, especially if you anticipate future projects:
- Cabinet Door Jig: This tool assists with aligning and securing cabinet doors during installation.
- Oscillating Multi-Tool: A versatile tool valuable for various tasks, including removing existing trim and precisely cutting veneers. An oscillating multi-tool offers flexibility for many projects.
Making informed decisions about your tools and materials is a fundamental step in a successful cabinet resurfacing project. These choices determine the quality of the finished project and the efficiency and enjoyment of the process.
The Resurfacing Process: From Start to Stunning Finish
Giving your kitchen a facelift with cabinet resurfacing is an exciting endeavor. This guide offers a practical, step-by-step approach, covering everything from initial prep work to applying the final touches. We'll delve into proven techniques to help you avoid common issues and achieve professional-looking results.
Preparing Your Cabinets: The Foundation of Success
Proper preparation is paramount for resurfacing kitchen cabinets. This groundwork is essential for a smooth, durable, and lasting finish. Skipping steps or rushing can lead to problems later, so take your time and do it right.
-
Cleaning: Start by thoroughly cleaning your cabinets. Use a degreaser to remove all traces of grease, grime, and cooking residue. A clean surface ensures the primer and finish will adhere correctly.
-
Sanding: Lightly sand all surfaces with fine-grit sandpaper (around 120-grit). This creates a slightly textured surface that improves the adhesion of the new veneer or paint. Avoid using coarse sandpaper, as it can create deep scratches.
-
Repairs: Fill any existing holes or imperfections with wood filler. Let the filler dry completely, then sand it smooth for a seamless finish. This step creates a uniform surface for the new finish.
-
Removing Hardware: Carefully remove all hardware, including hinges, knobs, and pulls. Label and store these pieces for reinstallation, or consider replacing them with new hardware for a fresh update.
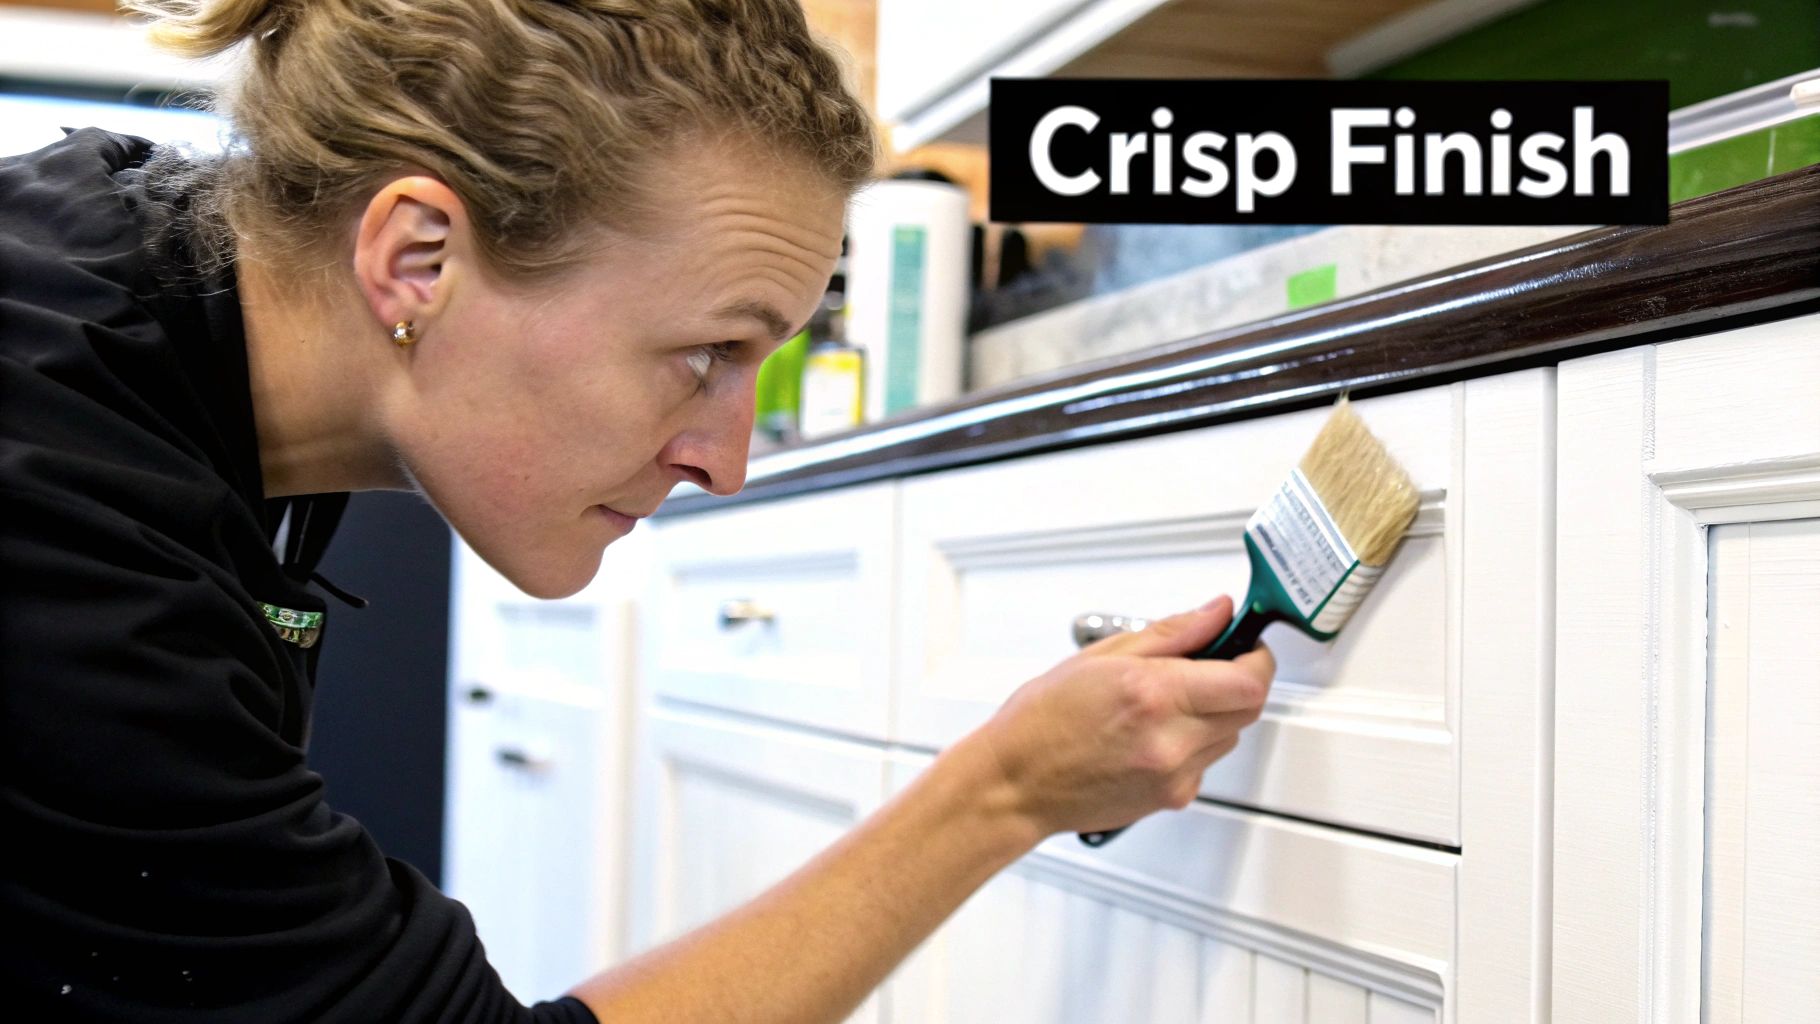
Applying the New Surface: Achieving a Flawless Look
Once the prep work is done, you're ready to transform your cabinets. This stage brings your vision to life.
-
Priming: Apply a high-quality primer to all cabinet surfaces. Primer promotes proper adhesion of the new finish and prevents the underlying material from showing through. Shellac-based primers work exceptionally well for concealing existing stains, ensuring a smooth and even topcoat.
-
Veneer Application (if using): If you're using veneer, apply it carefully to the cabinet surfaces, working in small, manageable sections. Use a veneer roller to smooth out any air bubbles and create a strong bond with the adhesive. Trim excess veneer with a sharp utility knife. For more information, check out this helpful guide: How to master cabinet refacing.
-
Painting or Staining: Apply thin, even coats of your chosen paint or stain. Allow each coat to dry completely before applying the next. For a professional, factory-finished look, use a high-quality brush or sprayer and follow the manufacturer's instructions.
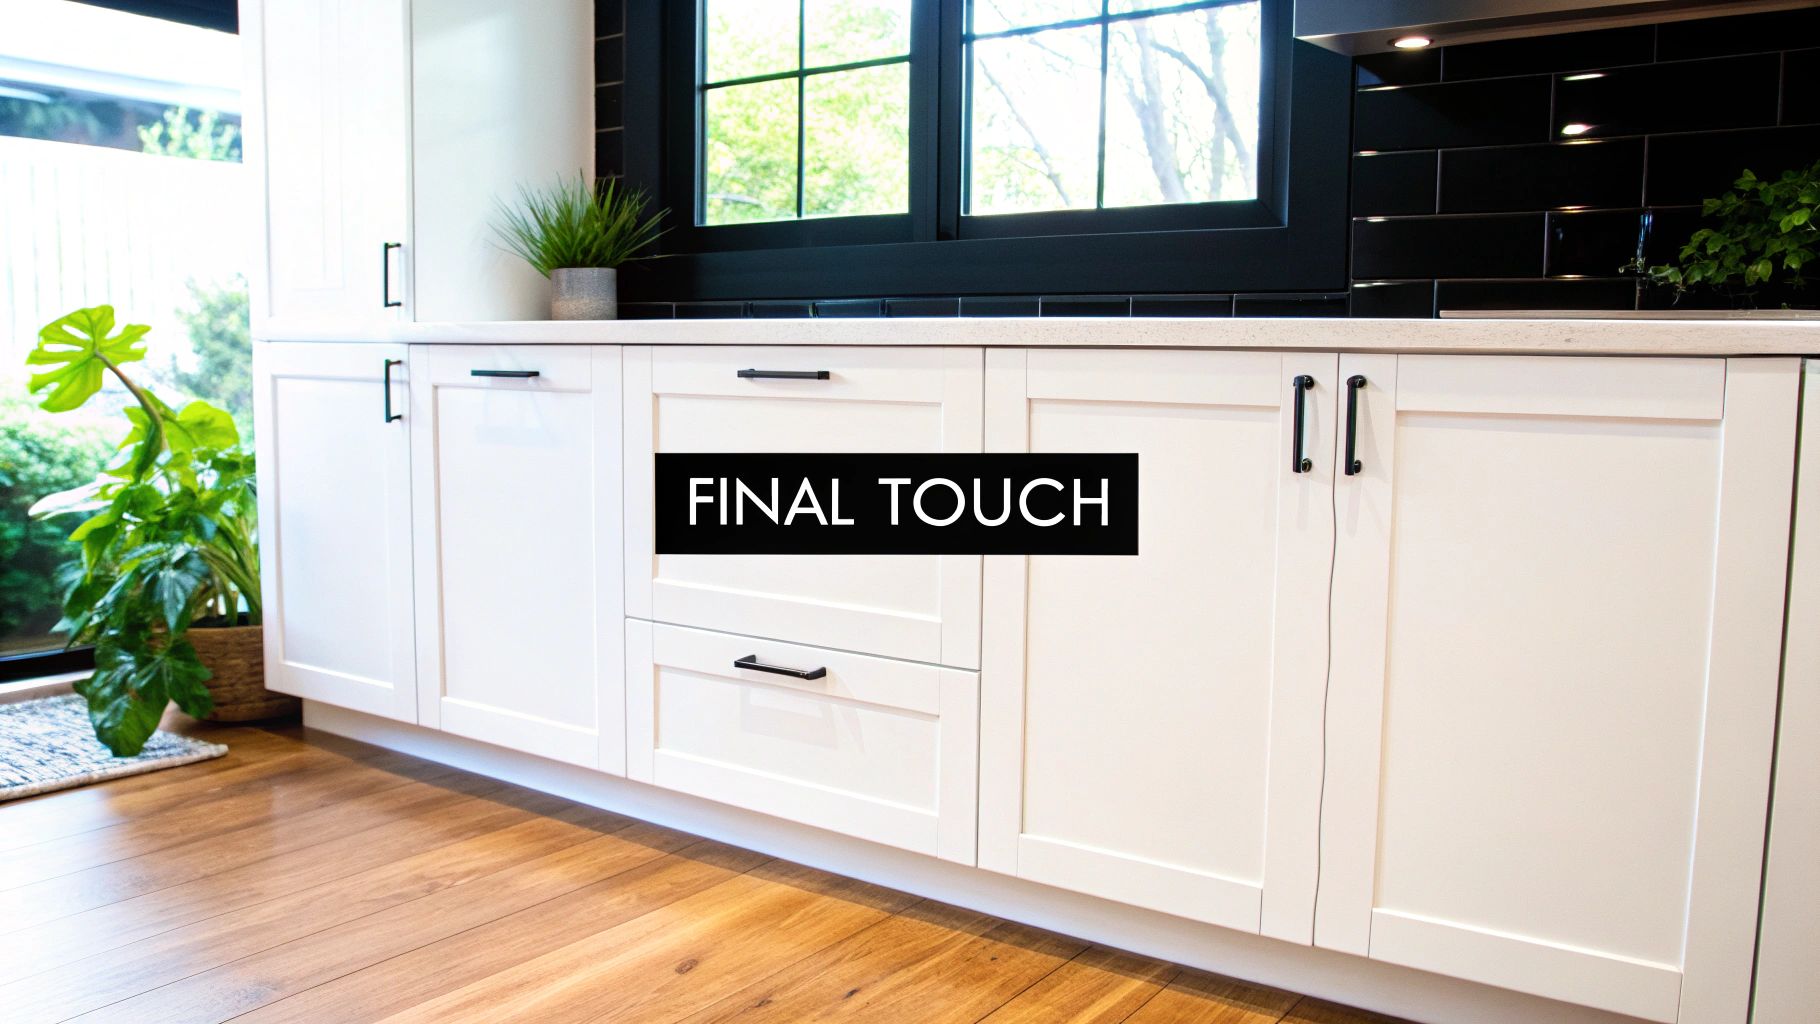
Finishing Touches and Timeline Expectations
The final steps are crucial for a polished and cohesive look.
-
Sealing: A protective sealant enhances the durability of the finish. It also safeguards against scratches and moisture, especially important in busy kitchen environments.
-
Reinstalling or Installing New Hardware: Reinstall the original hardware or add new pieces to complete the transformation. Ensure the hardware is aligned correctly for optimal function and aesthetics.
A typical cabinet resurfacing project usually takes 3-5 days to complete. The actual time will depend on the kitchen size and chosen materials. Be sure to account for drying times for the primer, paint, stain, and sealant.
Troubleshooting and Professional Tips
Even with careful preparation, some challenges might arise. Here are some common issues and how to address them:
-
Bubbling Veneer: Puncture the bubble with a utility knife and inject a small amount of adhesive underneath. Press the veneer flat with a veneer roller or clamp.
-
Misaligned Doors: Adjust the hinges or use shims to align the doors properly.
-
Adhesive Failures: Make sure the surfaces are clean and properly prepared before applying any adhesive. Remove any failed adhesive and start again with fresh adhesive.
By following these steps and addressing potential issues, you can achieve professional-looking results when resurfacing your kitchen cabinets. Your efforts will be rewarded with a fresh, updated kitchen that you'll enjoy for many years to come.
Selecting Finishes That Transform Your Kitchen
The finish you select for your kitchen cabinet resurfacing project is a critical decision. It affects not only the overall look but also the durability and lifespan of your cabinets. This section explores various finish options, balancing aesthetics with practicality, guiding you toward choices that enhance your kitchen's style and withstand daily use.
Coordinating Finishes With Your Kitchen’s Style
Your cabinet finish should complement existing kitchen elements. Consider your countertops, flooring, and backsplash when making your selection. For instance, if your granite countertops have warm undertones, a cabinet finish with similar tones will create a cohesive look.
Alternatively, a contrasting finish can make a bold design statement. Think about your kitchen's overall style. A modern kitchen might shine with sleek, high-gloss finishes. A traditional kitchen may be better suited to a matte or satin finish. Consider how the finish interacts with light and how it contributes to the desired atmosphere. Read also: How to master painting your kitchen cabinets.
Trending Finishes and Timeless Classics
While keeping up with trends is tempting, consider finishes with lasting appeal. Some trendy finishes quickly become dated, while others remain timeless. White shaker cabinets, for example, remain popular for their versatility and classic look. They adapt well to various kitchen styles, from traditional to modern farmhouse.
If a bolder color appeals to you, consider using it as an accent on an island or a smaller section of cabinetry. This lets you incorporate a trendy color without overwhelming the space. It also provides flexibility for future updates.
Home renovation trends often prioritize kitchen updates. Interestingly, budget-friendly and environmentally conscious choices like cabinet refacing are gaining popularity. The median price for major kitchen remodels is around $40,000, making cost-effective solutions attractive. Discover more insights about kitchen renovation statistics.
Durability and Maintenance: Real-World Considerations
Different finishes have different durability and maintenance needs. High-gloss finishes are easy to clean but show fingerprints. Matte finishes hide imperfections but can be harder to clean.
Think about your lifestyle and how often your kitchen is used. A busy family needs a durable, easy-to-clean finish. If daily wear and tear is less of a concern, you have more flexibility to prioritize aesthetics.
Testing and Hardware Selection
Before committing, test the finish on a small, hidden area of your cabinets. This lets you see how it looks in your kitchen's lighting and how it feels. Also, consider the finish's resistance to moisture and heat, essential factors in a kitchen.
Finally, your hardware should complement the finish. Brushed nickel hardware works well with cool-toned finishes, while oil-rubbed bronze complements warmer tones. Hardware is the final touch, enhancing the overall design and creating a cohesive look. Choose hardware that's both stylish and functional.
Troubleshooting Like a Pro: Overcoming Common Challenges
Even with the most meticulous planning, challenges can occasionally arise when resurfacing kitchen cabinets. This section offers proven solutions to common problems, gleaned from the experience of seasoned renovation professionals. Learn how to tackle these issues effectively and achieve a truly professional finish.
Rescuing Bubbling Veneer: A Smooth Solution
Bubbling veneer is a common frustration, but thankfully, it’s usually fixable. A small bubble can often be resolved with a simple fix: carefully puncture it with a utility knife and inject a small amount of adhesive underneath. Use a veneer roller or clamp to press the veneer flat, ensuring a strong bond.
For larger bubbles, a slightly different approach may be necessary. You might need to make a small slit with the utility knife to allow for better adhesive penetration. This precise application targets the problem area directly, minimizing any damage to the surrounding veneer.
Addressing Misaligned Doors: Achieving Perfect Alignment
Misaligned doors can disrupt the visual harmony of your cabinets and impact their functionality. Start by using a speed square to check the alignment of the hinges. If the hinges are misaligned, carefully adjust their position.
Minor misalignments can often be corrected with shims. However, if you're switching from partial overlay to full overlay, new 1/4″ full overlay hinges will be required. Accurate hinge placement is crucial for proper door function and contributes significantly to a polished, professional look.
Tackling Adhesive Failures: Ensuring a Strong Bond
Adhesive failures can lead to peeling and bubbling, compromising the integrity of your resurfacing project. Thorough surface preparation is key to preventing this issue. Meticulously clean the surfaces before applying any adhesive, making sure they are free of dust, grease, and old finish.
If adhesive failure does occur, carefully remove the loose veneer or material. Clean the surface again, ensuring it’s completely dry, and then reapply fresh adhesive. For areas prone to moisture, consider using a waterproof adhesive for enhanced protection and longevity.
Recovering From Finish Imperfections: Achieving a Flawless Finish
Finish imperfections, such as drips or uneven coverage, can detract from the final result. For minor imperfections, lightly sand the affected area with fine-grit sandpaper and apply another thin, even coat of paint or stain.
For more significant imperfections, it might be necessary to strip the finish and start again. Proper surface preparation, including thorough sanding and priming, is essential for preventing these issues. Using high-quality brushes and rollers designed specifically for cabinets also contributes to a smoother, more even finish. If using veneer, a veneer roller can be beneficial for optimal adhesion and a bubble-free surface.
Preventing Common Problems: Proactive Strategies
Preventing problems before they arise can save you significant time and frustration. Here are some expert tips for a smoother resurfacing process:
- Test your chosen finish: Apply it to a small, inconspicuous area to observe how it interacts with your existing cabinets and lighting.
- Use high-quality materials: Investing in quality adhesives, primers, paints, and stains specifically designed for cabinets can significantly impact the durability and appearance of the finished product.
- Take your time: Rushing the process often leads to mistakes. Allow ample drying time between coats of primer, paint, or stain.
- Use the right tools: Employing specialized tools like a cabinet door jig for aligning and securing doors and an oscillating multi-tool for various tasks like removing trim and precisely cutting veneers can greatly enhance the quality of your work.
By addressing these common challenges with proactive strategies and practical solutions, you can achieve professional-looking results when resurfacing your kitchen cabinets. Tackling issues methodically and employing expert tips ensures a stunning transformation that enhances the beauty of your kitchen and increases its value, making your efforts a worthwhile investment.
The Eco-Friendly Impact of Your Cabinet Transformation
Your newly resurfaced kitchen cabinets aren't just beautiful; they're a testament to sustainable living. By choosing resurfacing over replacement, you've significantly reduced your environmental impact. Let's explore how.
Reducing Landfill Waste and Conserving Resources
Resurfacing drastically cuts down on waste compared to replacing cabinets. Imagine the mountains of discarded wood, hardware, and packaging that typically end up in landfills during a kitchen demolition. Resurfacing, on the other hand, revitalizes existing materials. This conserves precious resources and lessens the demand for new lumber, which helps reduce deforestation and protect natural habitats. You might be interested in learning more: How to choose eco-friendly kitchen cabinets.
Cabinet refacing offers both financial and environmental advantages. By keeping existing cabinet boxes, less waste is sent to landfills, and the demand for raw materials decreases. This aligns perfectly with the growing sustainable living movement. Replacing cabinets generates a substantial amount of waste. Refacing minimizes this by focusing on surface renewal instead of complete replacement. This eco-conscious approach, combined with cost savings, makes refacing an attractive option. Learn more about the differences: cabinet refacing vs. replacing.
Sustainable Material Choices for a Greener Kitchen
Beyond preserving what you already have, your material choices can further reduce your environmental footprint. Selecting responsibly harvested veneers supports sustainable forestry. Using zero-VOC (Volatile Organic Compound) finishes improves indoor air quality, protecting both your family and the environment.
Responsible Disposal and Upcycling Opportunities
Even with resurfacing, some waste is unavoidable. However, responsible disposal can still minimize your impact. Many communities offer recycling programs for wood and other construction materials. Explore local options to divert waste from landfills.
Consider upcycling possibilities as well. Old cabinet doors can be transformed into shelves, wall art, or even incorporated into other furniture. Get creative and give these materials a new purpose.
Quantifying Your Environmental Impact
The table below highlights the significant environmental advantages of cabinet resurfacing over full replacement.
To understand the impact of resurfacing, let's take a look at a comparison:
Environmental Impact Comparison
| Environmental Factor | Cabinet Resurfacing | Full Cabinet Replacement |
|---|---|---|
| Landfill Waste | Significantly Reduced | High |
| Virgin Material Consumption | Minimized | High |
| Carbon Footprint | Lower | Higher |
| Air Quality Impact (with low-VOC finishes) | Positive | Potentially Negative |
As you can see, resurfacing offers significant environmental benefits.
Resurfacing is more than just a budget-friendly choice; it's an investment in a healthier planet. By choosing to resurface, you're embracing sustainable living and reducing your environmental footprint.
Ready to create your dream kitchen with sustainability in mind? Visit Sinclair Cabinetry for a free consultation and discover how we can help you design a beautiful, eco-friendly space.