
Understanding Your Cabinet's Secret Identity
Before you grab your cleaning supplies and attack those kitchen cabinets, there's a crucial first step: understanding what they're made of. This isn't just about appreciating the aesthetics. Different woods and finishes react differently to cleaning products. What works wonders on oak might spell disaster for cherry. Identifying your cabinet's "secret identity"—its wood type and finish—is essential for effective cleaning.
Decoding the Wood Type
Knowing the wood species of your cabinets is like understanding their personality. It reveals their durability and how they'll handle cleaning. Oak, with its distinctive grain, is known for its resilience. Maple, boasting a smoother surface, is less porous and easier to clean. Then there's cherry, prized for its rich color, but demanding a more gentle touch. Understanding these nuances is key to selecting the right cleaning approach.
Unveiling the Finish
The finish is just as important as the wood itself. This protective layer is what you're actually cleaning. Older cabinets might have a traditional lacquer or varnish. Newer cabinets could be coated in polyurethane or a more modern catalyzed lacquer. Knowing your finish type is crucial, as some cleaning products can dissolve or dull certain finishes. This is especially important considering that studies suggest up to 70% of wood cabinet damage comes from using the wrong cleaning products. Discover more insights about cabinet cleaning. The age of your cabinets can also provide clues about the finish, as manufacturing trends evolve.
The Spot Test: A Professional Secret
How do you unravel the mystery of your cabinet's finish? Professionals use a simple spot test. Apply a small amount of denatured alcohol to an inconspicuous area. If the finish softens or gets sticky, it's likely shellac or lacquer. If nothing happens, you're probably dealing with a more durable finish like polyurethane. Remember to test in a hidden spot to avoid any potential damage. This quick and easy test ensures you're using the correct cleaning method. Armed with this knowledge, you can clean with confidence, knowing you'll enhance, not harm, your beautiful wood cabinets.
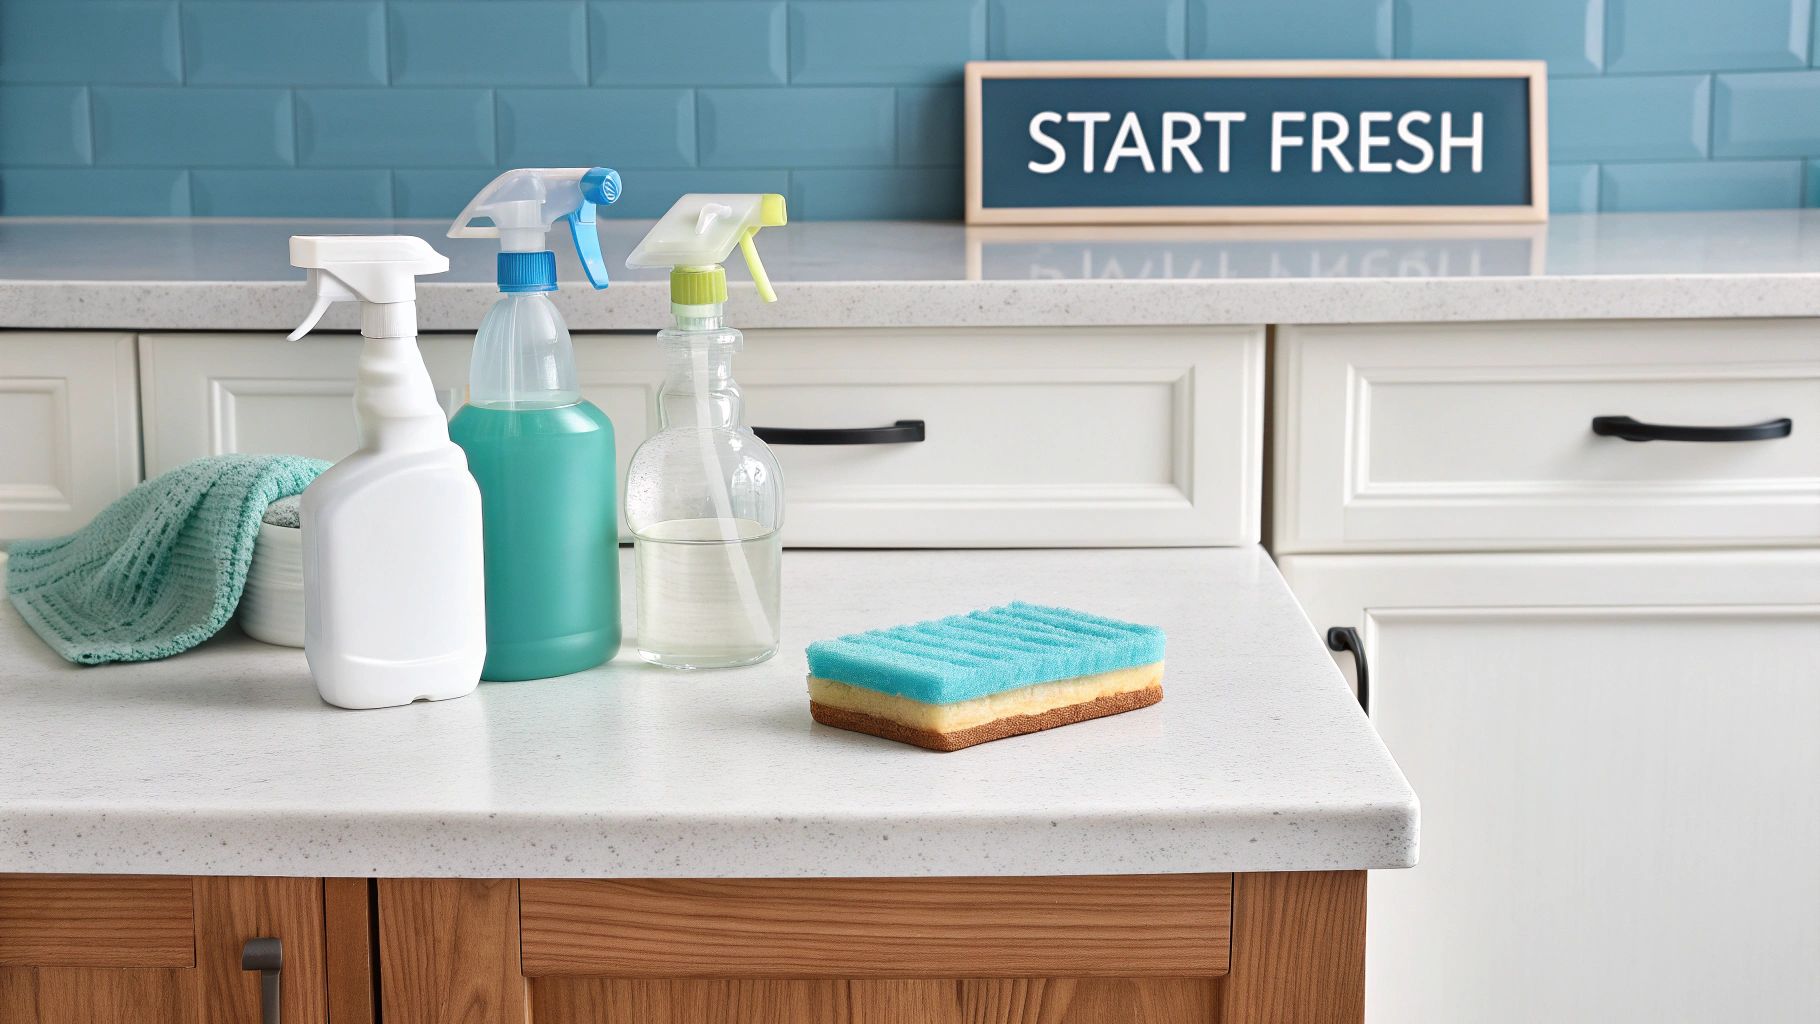
Building Your Wood Cabinet Cleaning Arsenal
The difference between a truly clean kitchen and one that's just okay often lies in the tools you use. Just as a chef needs the right knives, cleaning wood cabinets requires a specialized approach. This means going beyond basic cleaning cloths and all-purpose cleaners and choosing tools that protect and enhance your cabinets.
Microfiber: The Unsung Hero
Forget old rags and t-shirts. Microfiber cloths are the best choice for cleaning wood cabinets. They trap dust and grime instead of spreading it around. This gentle cleaning action minimizes scratches.
Soap Selection: Not All are Created Equal
Dish soap is great for grease, but not all are right for wood. Use a mild, pH-neutral dish soap to protect your cabinets. Avoid harsh detergents or bleach, which can damage the finish.
Unexpected Kitchen Helpers
Some of the best cleaning tools are already in your kitchen. A soft-bristled toothbrush is perfect for cleaning details and crevices. A wooden skewer can remove grime from corners without scratching. A damp microfiber cloth works for daily touch-ups.
To help illustrate the best tools for cleaning your wood cabinets, let's take a look at the following comparison table:
Wood Cabinet Cleaning Tools Comparison: A comprehensive comparison of different cleaning tools and their appropriateness for wood cabinet cleaning.
| Cleaning Tool | Appropriate for Wood? | Best For | Potential Risks |
|---|---|---|---|
| Microfiber Cloth | Yes | General cleaning, dusting, daily touch-ups | None if used correctly |
| Mild, pH-Neutral Dish Soap | Yes (diluted) | Grease and grime | Finish damage if not diluted properly |
| Soft-Bristled Toothbrush | Yes | Detail work, crevices, hardware | Scratches if bristles are too hard |
| Wooden Skewer | Yes | Stubborn grime in corners | Scratches if used with excessive force |
| All-Purpose Cleaner | No | Not recommended for wood | Finish damage, discoloration |
| Bleach-Based Cleaner | No | Not recommended for wood | Severe finish damage, discoloration |
| Abrasive Sponge | No | Not recommended for wood | Severe scratches, finish damage |
Key takeaway: gentle tools and mild cleaners are best for wood cabinets. Avoid harsh chemicals and abrasive materials.
Organizing Your Cleaning Caddy
Professional cleaners recommend a dedicated cabinet cleaning kit. Keep your microfiber cloths, mild dish soap, toothbrush, and skewers together in a caddy. This organized approach makes cleaning easy. Check out this helpful resource: How to master cabinet finishing.
Daily Maintenance vs. Deep Cleaning
Daily maintenance involves wiping cabinets after cooking to prevent grease buildup. A damp microfiber cloth is usually enough. Deep cleaning, done a few times a year, requires a more thorough approach using mild soap and addressing stubborn grime.
This organized approach, combined with the right tools, makes cabinet cleaning simple and effective. Your cabinets will stay beautiful for years.
The Five-Minute Wood Cabinet Refresh System
Keeping your wood cabinets looking like new doesn't have to be a time-consuming chore. The key is establishing consistent, quick cleaning habits that prevent dirt and grime from accumulating. This means integrating simple maintenance into your daily kitchen routine.
Targeting Kitchen Zones
Different areas of your kitchen will require specific cleaning approaches. The area surrounding your stovetop, for instance, is susceptible to grease splatters and needs more frequent cleaning. Around the sink, moisture is the primary concern, potentially leading to watermarks or even wood swelling. Understanding these differences will help you refine your cleaning methods.
The Power of Proper Wiping
Believe it or not, the way you wipe down your cabinets matters. Use straight wiping motions with a slightly damp microfiber cloth, following the direction of the wood grain. This technique is much more effective than circular scrubbing, which can spread grime and possibly scratch the surface. Gentle, consistent pressure is best.
Daily Habits for Sparkling Cabinets
Here’s how to seamlessly integrate cabinet care into your daily routine:
-
After-Meal Wipe Down: After cooking, quickly wipe down cabinet surfaces near the stove and sink. This prevents grease and water spots from setting.
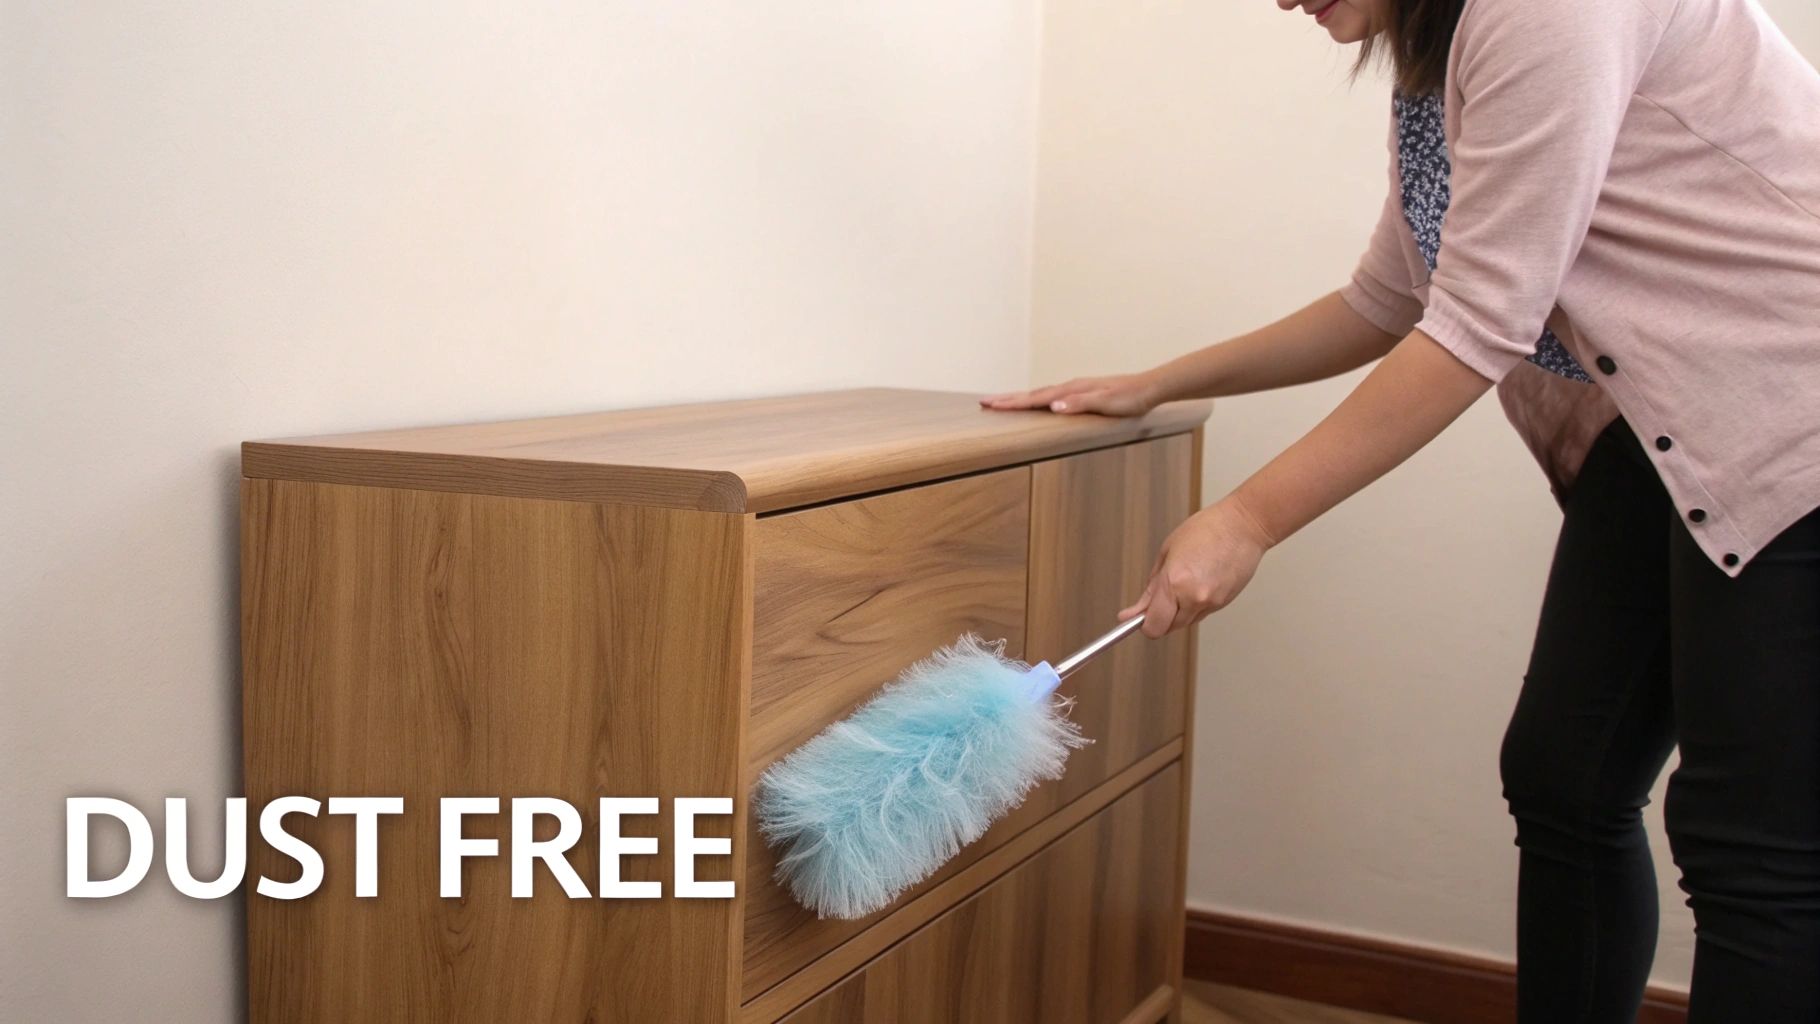
-
Weekly Surface Dusting: Once a week, dust all cabinet surfaces with a microfiber cloth. This simple step removes settled dust and keeps your cabinets looking their best.
-
Monthly Deep Clean: Once a month, take a few minutes to clean all cabinet surfaces with a mild soap solution. This tackles any lingering grime and maintains the cabinets' shine. Gentle methods, like using a soft, damp microfiber cloth and mild dish soap mixed with warm water, are now standard practice for maintaining wood cabinetry. This approach preserves the wood and protects its finish. A recent survey found a 90% satisfaction rate among homeowners who use mild soap solutions for cleaning their cabinets. Learn more about effective cabinet cleaning practices.
Building a Sustainable Routine
Consistency is crucial for turning cabinet cleaning from a chore into a habit. Begin with small, manageable steps and gradually increase the frequency of cleaning. Once your cabinets are sparkling, maintain the order with helpful kitchen organization ideas. This five-minute refresh system helps you achieve beautiful, long-lasting cabinets without a lot of effort.
The Ultimate Wood Cabinet Deep Clean Blueprint
This guide provides a professional-level cleaning sequence for your wood cabinets, helping you revitalize them from drab to fab. We'll cover the entire process, from basic cleaning to tackling stubborn, accumulated grime. By the end, you'll have the knowledge to clean your cabinets effectively and safely.
Preparing For The Deep Clean
Before starting, proper preparation is key. Protect your countertops and floors with drop cloths or old towels. Gather your cleaning supplies: mild dish soap, warm water, microfiber cloths, a soft-bristled toothbrush, and a wooden skewer for those hard-to-reach corners. Having everything on hand will make the process much smoother.
Mixing The Perfect Cleaning Solution
The cleaning solution itself is crucial for a successful deep clean. Mix a small amount of mild, pH-neutral dish soap with warm water. A good starting point is one teaspoon of soap per quart of water. For more stubborn grime, you might need to slightly increase the soap concentration. The goal is effective cleaning without damaging the cabinet finish.
The Cleaning Process: A Step-by-Step Guide
Let's dive into the deep cleaning process itself.
-
Start with Dusting: Use a dry microfiber cloth to remove loose dust and debris. This prevents a muddy mess when you introduce the cleaning solution.
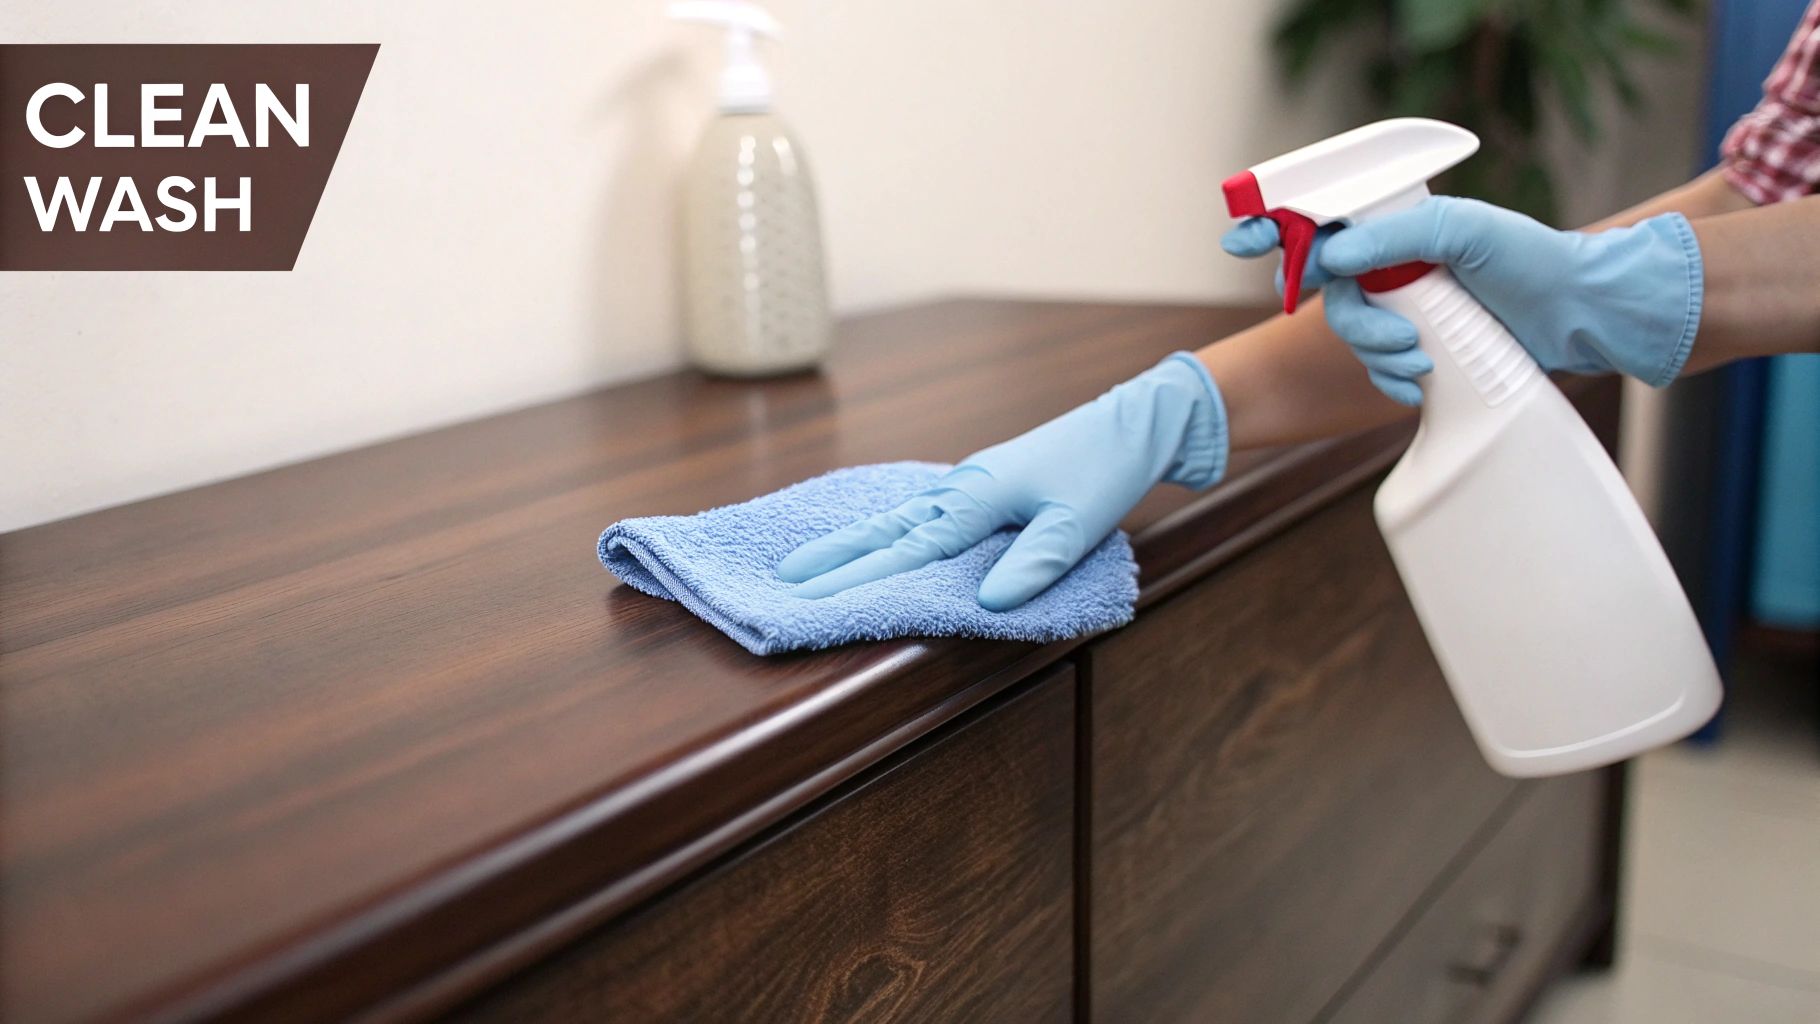
-
Apply the Cleaning Solution: Dip your microfiber cloth into the soapy water and wring it out thoroughly. It should be damp, not dripping. Gently wipe down the cabinet surfaces, following the direction of the wood grain to prevent streaking.
-
Tackle Stubborn Grime: For stuck-on food or grease around handles, use the soft-bristled toothbrush dipped in the cleaning solution. Scrub gently to avoid scratching. A wooden skewer can carefully loosen debris in corners.
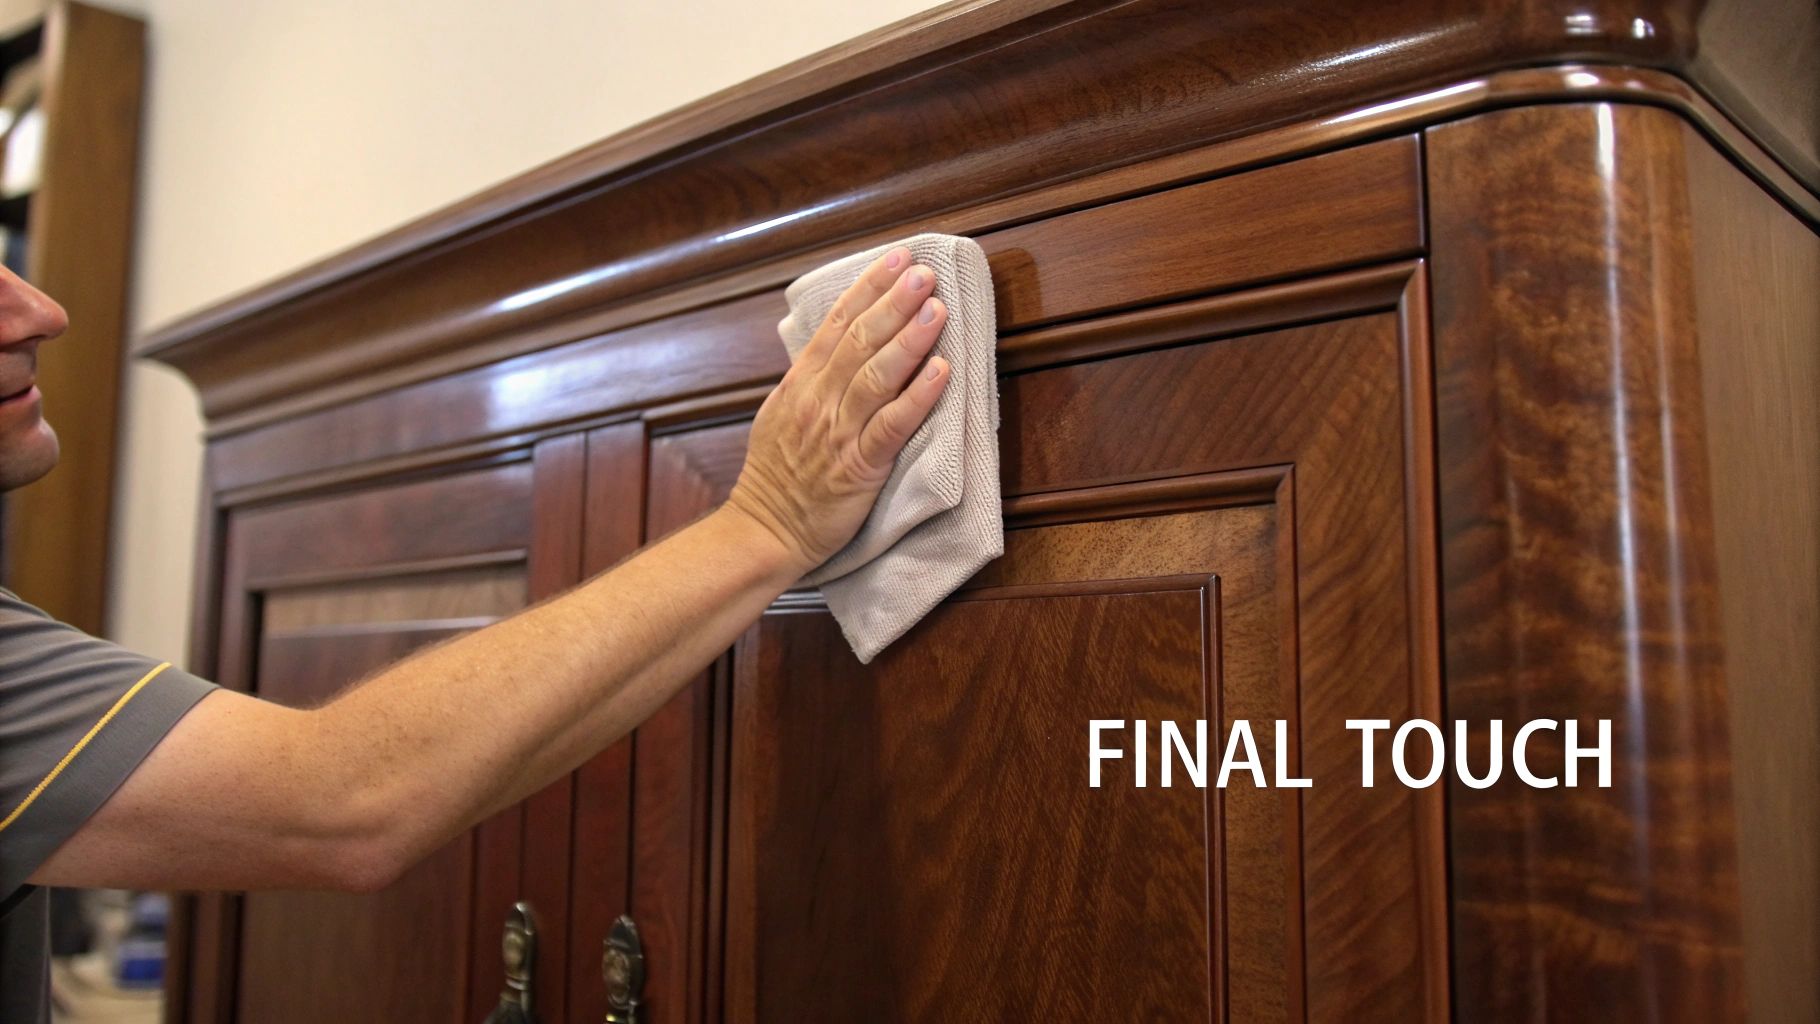
-
Rinse and Dry: After cleaning each section, rinse with a clean, damp cloth to remove soap residue. Dry immediately with a dry microfiber cloth to prevent watermarks.
Zone-Specific Techniques
Different cabinet areas require specific approaches. The following table provides a detailed breakdown of cleaning approaches for various cabinet areas, outlining specific techniques and considerations for each zone.
Deep Cleaning Steps By Cabinet Area: A systematic breakdown of cleaning approaches for different cabinet areas with specific techniques for each zone
| Cabinet Area | Common Issues | Cleaning Approach | Special Considerations |
|---|---|---|---|
| Cabinet Doors | Fingerprints, food splatters | Mild soap and water solution, microfiber cloth | Pay close attention to details around handles and edges. |
| Cabinet Interiors | Crumbs, spills, sticky residue | Mild soap and water solution, microfiber cloth, toothbrush for corners | Remove shelf liners and wash separately. |
| Cabinet Tops | Dust accumulation, grease buildup | Mild soap and water solution, microfiber cloth; a degreaser may be necessary for stubborn grease. | Be careful to prevent water from dripping down the sides. |
| Around the Sink | Watermarks, potential mold growth | Mild soap and water solution, ensure thorough drying. Consider a mold-inhibiting cleaner if necessary. | Address any leaks promptly to prevent future issues. |
| Near the Stove | Grease splatters, heat marks | Degreaser (test in an inconspicuous area first), mild soap and water solution | Clean this area frequently to prevent grease buildup. |
This table provides a zone-by-zone guide for achieving sparkling clean cabinets. Regularly following these steps will keep your cabinets looking their best.
For more advanced cabinet care tips, check out our guide on how to paint kitchen cabinets.
Conquering Stubborn Cabinet Stains Without Surrender
Even with regular cleaning, wood cabinets can develop stubborn stains that need a little extra attention. This section explores targeted solutions for those tough spots, from greasy buildup to watermarks, helping you restore your cabinets to their original beauty.
Graduated Cleaning: A Step-by-Step Approach
Restoration specialists often use a graduated cleaning method. This means starting with the gentlest cleaning method and increasing intensity only as needed. This minimizes the risk of damaging the finish while effectively tackling the stain. Begin with a solution of warm water and mild dish soap. If the stain persists, try a specialized wood cleaner, always testing it in an inconspicuous area first.
Targeting Specific Stain Types
Different stains require different treatments. For grease buildup, a degreaser or a paste of baking soda and water can be effective. Sticky residues may respond well to a solution of white vinegar and water. Watermarks can sometimes be removed by gently rubbing with a mixture of toothpaste and baking soda. For deeper, more stubborn stains, consider a wood stain remover, but always test in a hidden spot first.
Specialized Cleaning Formulas and Application Techniques
For truly stubborn stains, a specialized cleaning solution may be necessary. A paste of baking soda and water can work well for lifting grease. For water stains, a mixture of equal parts white vinegar and olive oil is sometimes surprisingly effective. Remember, the application technique is just as important as the formula itself. Apply the solution with a soft cloth, rubbing gently along the direction of the wood grain. Avoid harsh scrubbing, which could scratch the finish. The global cabinet industry is booming, projected to reach over $65 billion annually by 2025, driven by the demand for home renovations. In the U.S., the kitchen cabinet market alone is estimated at over $15 billion, with wood cabinets remaining a popular choice. Learn more about the cabinet industry's impact.
Rescuing Seemingly Hopeless Cabinets
Even cabinets that look beyond repair can often be salvaged. Deep scratches may require wood filler and touch-up stain. Damaged finishes can sometimes be restored with a refinishing product. For more serious damage, or if you're unsure about the best approach, consulting a professional cabinet refinisher is always a good idea. Check out this helpful resource on painting kitchen cabinets.
Documenting the Transformation: Before and After
As you tackle those stubborn stains, take before-and-after photos to document the transformation. This not only showcases the effectiveness of your cleaning methods but also provides a visual record of your cabinets' journey back to their former glory. This highlights the importance of understanding your cabinets' construction and finish, allowing you to choose the appropriate cleaning methods for long-lasting results.
Earth-Friendly Solutions That Actually Work
Consumers are increasingly looking for ways to clean their homes sustainably. This shift comes from a growing understanding of the environmental impact of traditional cleaning products and a desire for healthier living spaces. For example, the increasing popularity of natural cleaning products, with sales growing around 10% each year in key markets, shows this trend. Explore this topic further. This section explores effective eco-friendly approaches to cleaning wood cabinets.
The Science of Plant-Based Cleaning
Many plant-based cleaners utilize the power of natural ingredients like vinegar and baking soda. Vinegar, a mild acid, is excellent at cutting through grease and grime while remaining safe for most wood finishes. Baking soda acts as a gentle abrasive and deodorizer, lifting stains and neutralizing odors. Essential oils, such as lemon or tea tree oil, offer antibacterial properties and a pleasant, natural fragrance.
Homemade Cabinet Cleaners: Recipes for Success
Making your own effective and environmentally friendly cabinet cleaners is surprisingly easy. Here are a couple of tried-and-true recipes:
- Everyday Cleaner: Mix equal parts white vinegar and water in a spray bottle. A few drops of lemon essential oil adds a fresh citrus scent.
- Grease-Fighting Powerhouse: Create a paste using baking soda and water. Apply it to greasy cabinet surfaces, let it sit for a few minutes, and then gently wipe clean.
Gentle Cleaning for Sensitive Homes
Natural cleaning solutions offer significant advantages for homes with children, pets, or people with respiratory sensitivities. The harsh chemicals found in many traditional cleaners can trigger allergies or asthma attacks. Natural ingredients, in contrast, pose fewer risks, promoting a healthier home environment.
Debunking Natural Cleaning Myths
While many natural cleaning methods are effective, some commonly suggested practices can harm wood cabinets. For example, applying pure lemon juice directly onto wood can discolor it over time. Too much moisture can also warp and swell the wood. Always make sure your cleaning cloths are damp, not sopping wet. As with any cleaning product, care is needed when selecting and using natural solutions.
Transitioning to Sustainable Cabinet Care
Adopting a sustainable approach to cabinet care doesn't have to mean a dramatic change to your cleaning routine. Start by incorporating a few eco-friendly methods into your current practices. How to master selecting eco-friendly kitchen cabinets. Experiment to find what works best for your cabinets and your lifestyle. This gradual approach makes the change easy to maintain. You'll enjoy clean, beautiful wood cabinets and minimize your environmental impact.
Beyond Clean: The Cabinet Preservation Masterplan
Preserving your wood cabinets goes beyond routine cleaning. It involves understanding the factors that affect wood and taking proactive steps to protect your investment. Think of it like caring for a fine piece of furniture. Regular dusting is important, but so is controlling humidity and avoiding direct sunlight.
Environmental Enemies: Humidity and UV Rays
Wood is a natural material that reacts to its environment. High humidity can cause wood to swell and warp. Excessive dryness can lead to cracking. Prolonged exposure to UV rays from sunlight can fade the finish and damage the wood itself.
Controlling these factors is crucial for long-term cabinet preservation. For example, a dehumidifier in humid climates or UV-blocking film on windows can make a big difference.
Protective Cooking Habits
Your cooking habits also affect cabinet health. Excessive steam or splattering grease can damage the finish and even the wood. Using pot lids and range hoods can significantly reduce these risks.
Avoid placing hot pots or pans directly on cabinet surfaces. This can cause heat damage and discoloration.
The Economics of Preservation
Professional refinishing can restore damaged cabinets, but it's expensive. Simple adjustments, like controlling humidity and minimizing UV exposure, are far more economical. Consider these measures preventative maintenance – small investments that prevent costly repairs.
Interestingly, about 80% of homeowners prefer wood cabinets, highlighting the importance of proper care. This preference, combined with a growing trend towards sustainable cleaning products, emphasizes the relevance of wood cabinet maintenance. Explore this topic further at this insightful forum.
Seasonal Maintenance and Customized Care
Your cabinet care should adapt with the seasons. In winter, when indoor heating lowers humidity, consider a humidifier to prevent the wood from drying out. In summer, increased humidity might require more frequent cleaning to prevent mold and mildew.
Different wood types and finishes require specific care. Painted cabinets might need different cleaning solutions than those with a natural finish. A seasonal maintenance calendar and a cleaning routine adapted to your specific cabinet type can extend their lifespan.
Recognizing When Cleaning Isn't Enough
Regular cleaning maintains your cabinets' appearance, but sometimes more is needed. Deep scratches, significant fading, or persistent watermarks indicate the need for professional attention.
Refinishing, while an investment, can restore severely damaged cabinets and extend their life. Knowing when to call in the experts ensures your cabinets remain beautiful and functional.
Are you ready to transform your kitchen with beautiful custom cabinetry? Contact Sinclair Cabinetry Inc. for a free consultation. Discover the possibilities for your dream kitchen or bathroom remodel. With over 35 years of experience crafting high-quality, real wood cabinets, Sinclair Cabinetry Inc. is your trusted partner for exquisite cabinetry solutions.