
Mapping Your Kitchen Transformation: Timeline Essentials
Before you dive into choosing stunning countertops and cutting-edge appliances, it's essential to understand the realistic timeline of a kitchen remodel. This understanding is key to a smooth renovation, impacting both your budget and your peace of mind. A well-planned kitchen remodel timeline acts as your roadmap, guiding you through each stage and setting clear expectations.
Understanding the Phases of a Kitchen Remodel
A typical kitchen remodel progresses through distinct phases, each with its estimated duration and key activities. This structured approach ensures each step builds upon the last. The timeline below visually represents this renovation journey.
This timeline illustrates the typical flow of a kitchen remodel, from initial planning and design to the final touches and inspections.
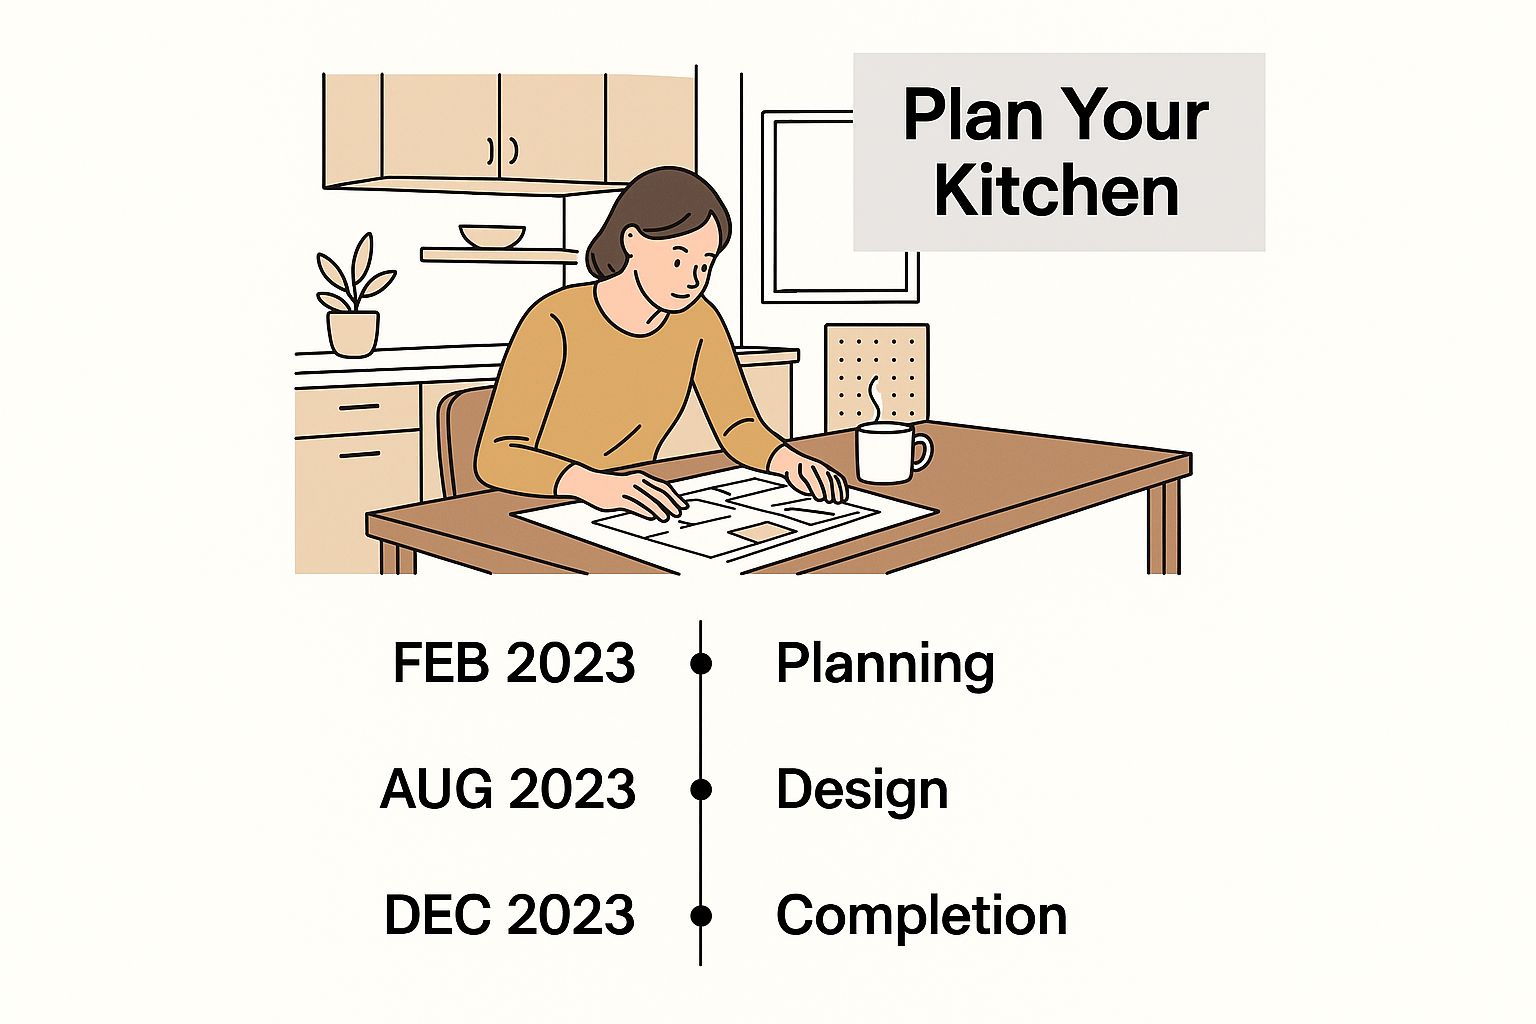
As the timeline demonstrates, the bulk of the time is spent on the actual construction and installation phases, while the initial planning and final touches take comparatively less time.
To further clarify each stage, let's break down the individual phases:
To help you visualize the process, here’s a detailed table outlining each phase:
Kitchen Remodel Timeline Snapshot: A comprehensive overview of each phase in a typical kitchen remodel with estimated timeframes.
| Phase | Estimated Duration | Key Activities |
|---|---|---|
| Planning & Design | 4-8 weeks | Defining your vision, setting a budget, creating detailed plans, selecting styles, choosing appliances, finalizing layout |
| Permits and Preparation | 2-4 weeks | Securing necessary permits, preparing the site, protecting adjacent areas, setting up a temporary kitchen |
| Demolition and Structural Work | 2-4 weeks | Demolition, structural changes |
| Building Your Dream Kitchen | 4-6 weeks | Installing cabinets, countertops, appliances, and fixtures |
| Final Touches and Inspections | 1-2 weeks | Finishing touches, inspections, addressing punch list items |
This table summarizes the key activities and timeframes involved in each phase, giving a clearer picture of the entire remodel process. Remember, these are estimated durations, and your actual timeline may vary.
-
Phase 1: Planning & Design: This crucial initial phase, typically lasting 4-8 weeks, involves defining your vision, setting a budget, and creating detailed plans. It's the foundation of your dream kitchen where you select your style, choose appliances, and finalize the layout.
-
Phase 2: Permits and Preparation: Securing necessary permits and preparing the site usually takes 2-4 weeks. Protecting adjacent areas and setting up a temporary kitchen are key activities.
-
Phase 3: Demolition and Structural Work: The transformation begins with demolition and structural changes, lasting 2-4 weeks. This phase can be disruptive, as the old makes way for the new.
-
Phase 4: Building Your Dream Kitchen: Your vision comes to life with the installation of cabinets, countertops, appliances, and fixtures. This phase typically takes 4-6 weeks.
-
Phase 5: Final Touches and Inspections: The final stage, lasting 1-2 weeks, involves finishing touches, inspections, and addressing any remaining punch list items. This is the final polish that perfects your new kitchen.
Factors Influencing Your Timeline
While the above provides a general framework, several factors can influence your specific timeline. The kitchen remodel timeline often mirrors trends in the construction and remodeling industry. For example, in 2025, spending on kitchen and bath repair and remodeling is projected to increase by 2.6%. This rise suggests homeowners are prioritizing renovations. Find more detailed statistics here. The scope of your project will also impact the duration, along with material lead times, especially for custom items. Finally, contractor availability is a critical factor.
Building Flexibility into Your Plan
A detailed timeline is crucial, but flexibility is equally important. Unexpected delays can occur. Having contingency plans, like alternative materials or buffer periods between phases, can mitigate the impact of unforeseen events and keep your remodel on track.
Phase 1: Planning and Design (Weeks 1-6)
The foundation of any successful kitchen remodel is the planning and design phase. This crucial initial stage, typically spanning six weeks, shapes every aspect of the renovation. It involves carefully crafting a vision, setting a realistic budget, and developing detailed specifications to minimize costly mid-project changes. Think of it as the blueprint for your dream kitchen. Want to learn more about planning? Check out this helpful resource: How to master kitchen remodel planning.
Defining Your Vision and Needs
Start by defining the scope of your project. Are you looking for a minor update or a complete transformation? Consider your lifestyle, cooking habits, and storage requirements. A family that enjoys entertaining might prioritize a large island and ample seating. A dedicated home chef, on the other hand, might focus on professional-grade appliances and an efficient work triangle.
Setting a Realistic Budget
After outlining your vision, establish a realistic budget. Research the average costs of materials and labor in your local area. Include a contingency fund for unexpected expenses, typically ranging from 10% to 20% of your total budget. This financial cushion can help absorb unforeseen costs and keep your project on track.
Creating Detailed Specifications
This phase involves choosing specific materials, appliances, and finishes. Detailed specifications are essential for getting accurate quotes from contractors and avoiding expensive changes later. Consider lead times for custom or special-order items, as these can significantly impact your project timeline. This proactive approach helps ensure a smoother, more predictable renovation.
Working with Designers and Contractors
Collaborating with experienced designers and contractors can be incredibly valuable during this phase. Designers can help refine your vision and create functional plans. Interviewing multiple contractors allows you to compare bids, evaluate their expertise, and select the best fit for your project. Kitchen remodels remain a popular choice for homeowners. As of 2025, kitchens represent 38% of all home renovations. Interested in current trends? Find out more about kitchen remodel trends.
Finalizing the Plan
The final step involves finalizing the design, confirming your budget, and signing contracts. This sets the stage for the next phase: permits and preparation. Investing sufficient time and effort in the planning and design phase is crucial for a successful and stress-free kitchen remodel. This careful approach will ultimately save you time, money, and potential headaches in the long run.
Phase 2: Permits and Preparation (Weeks 7-9)
This phase of your kitchen remodel is often underestimated, but it's absolutely crucial for a smooth renovation. Proper preparation prevents costly delays and sets the stage for a successful outcome. This involves securing necessary permits, setting up a temporary kitchen, and protecting your home from the inevitable dust and debris. A well-executed preparation phase can save you both time and money in the long run.
Navigating the Permitting Process
Securing the necessary permits can be a complex process, and the requirements vary significantly between municipalities. Depending on the scope of your remodel, you may need permits for electrical work, plumbing, or structural changes. It's important to begin this process early. Delays in permitting can significantly impact your project timeline. For example, some cities might require separate inspections for electrical and plumbing, which could add weeks to the process. Working with an experienced contractor can streamline this phase. Contractors often understand local regulations and have established relationships with permitting authorities.
Setting Up Your Temporary Kitchen
With your existing kitchen out of commission, setting up a functional temporary kitchen is essential. This typically involves choosing a location, such as a garage or utility room, and equipping it with essential appliances. Consider investing in a portable induction cooktop, a mini-fridge, and a microwave. These appliances will help maintain a semblance of normalcy during the remodel. Don’t forget essential items like a coffee maker and a toaster oven! Thoughtful planning in this stage makes a big difference in minimizing disruption to your daily routine.

Protecting Your Home
Protecting adjacent living spaces from construction dust is paramount. Seal off the renovation area with plastic sheeting and use drop cloths to cover furniture and floors. This will help prevent dust from spreading throughout your home. Proper ventilation is also important. Open windows when possible and use fans to circulate air and help clear out dust. Consider setting up an air purifier to further minimize dust particles. Communicate with your contractor about debris removal. Establishing a clear schedule for disposing of construction waste keeps the work site organized and safe.
The Pre-Construction Meeting
Before demolition begins, a pre-construction meeting with your contractor is essential for a successful remodel. This meeting confirms the project scope, reviews the agreed-upon timeline, and establishes clear communication protocols. It's a valuable opportunity to address any outstanding questions and ensure everyone is on the same page. This collaborative approach clarifies expectations, prevents misunderstandings, and lays the groundwork for a smooth and efficient renovation process. This meeting truly sets the tone for the entire project, ensuring your dream kitchen becomes a reality.
Phase 3: Demolition and Structural Work (Weeks 10-12)
This phase of your kitchen remodel marks the start of visible changes. It's a blend of excitement and perhaps a little apprehension as the old makes way for the new. This period encompasses the demolition of existing structures and the implementation of any planned structural changes. This is where the “messy” part truly begins, highlighting the importance of a skilled and experienced contractor.
Demolition: Out With the Old
Demolition involves removing existing elements like cabinets, countertops, appliances, flooring, and wall coverings. This can be an emotional process for some, signifying a big shift in a familiar space. However, it's a necessary step to prepare for the exciting new design. Demolition also allows for the discovery of any hidden issues, reminding us that even the most detailed plans can be affected by what lies beneath the surface.
Structural Changes: Reshaping the Space
This stage includes any planned structural modifications. This might involve removing walls to create an open concept, adding windows, or relocating doorways. These alterations fundamentally reshape the layout and flow of your kitchen. Imagine knocking down a wall to combine the kitchen and dining area! This can dramatically change the feel and functionality, improving natural light and traffic flow. Often, hidden problems like outdated plumbing or wiring are uncovered during this process. This underscores the importance of a contingency fund in your budget to address these unforeseen issues.
Managing Unexpected Discoveries
Unforeseen issues are common during demolition and structural work. These might include outdated wiring, plumbing problems, or even asbestos. Addressing these issues requires quick decisions and clear communication with your contractor. Detailed documentation of any changes or discoveries, ideally with photos, is crucial during this phase. This documentation can be incredibly valuable for insurance purposes or future renovations. How your contractor handles these unexpected issues reveals a lot about their professionalism and problem-solving skills, ultimately impacting the successful completion of your remodel.
Maintaining Communication and Documentation
Open communication with your renovation team is essential during this potentially stressful phase. Regular updates and prompt responses to your questions or concerns are vital. Documenting all structural changes before they are covered up is equally important. This not only creates a record of the work performed but also proves useful for future repairs or renovations. This proactive approach prevents misunderstandings, maintains transparency, and keeps the project aligned with your vision. This diligent documentation, combined with a strong relationship with your contractor, sets the stage for the next exciting phase: building your dream kitchen.
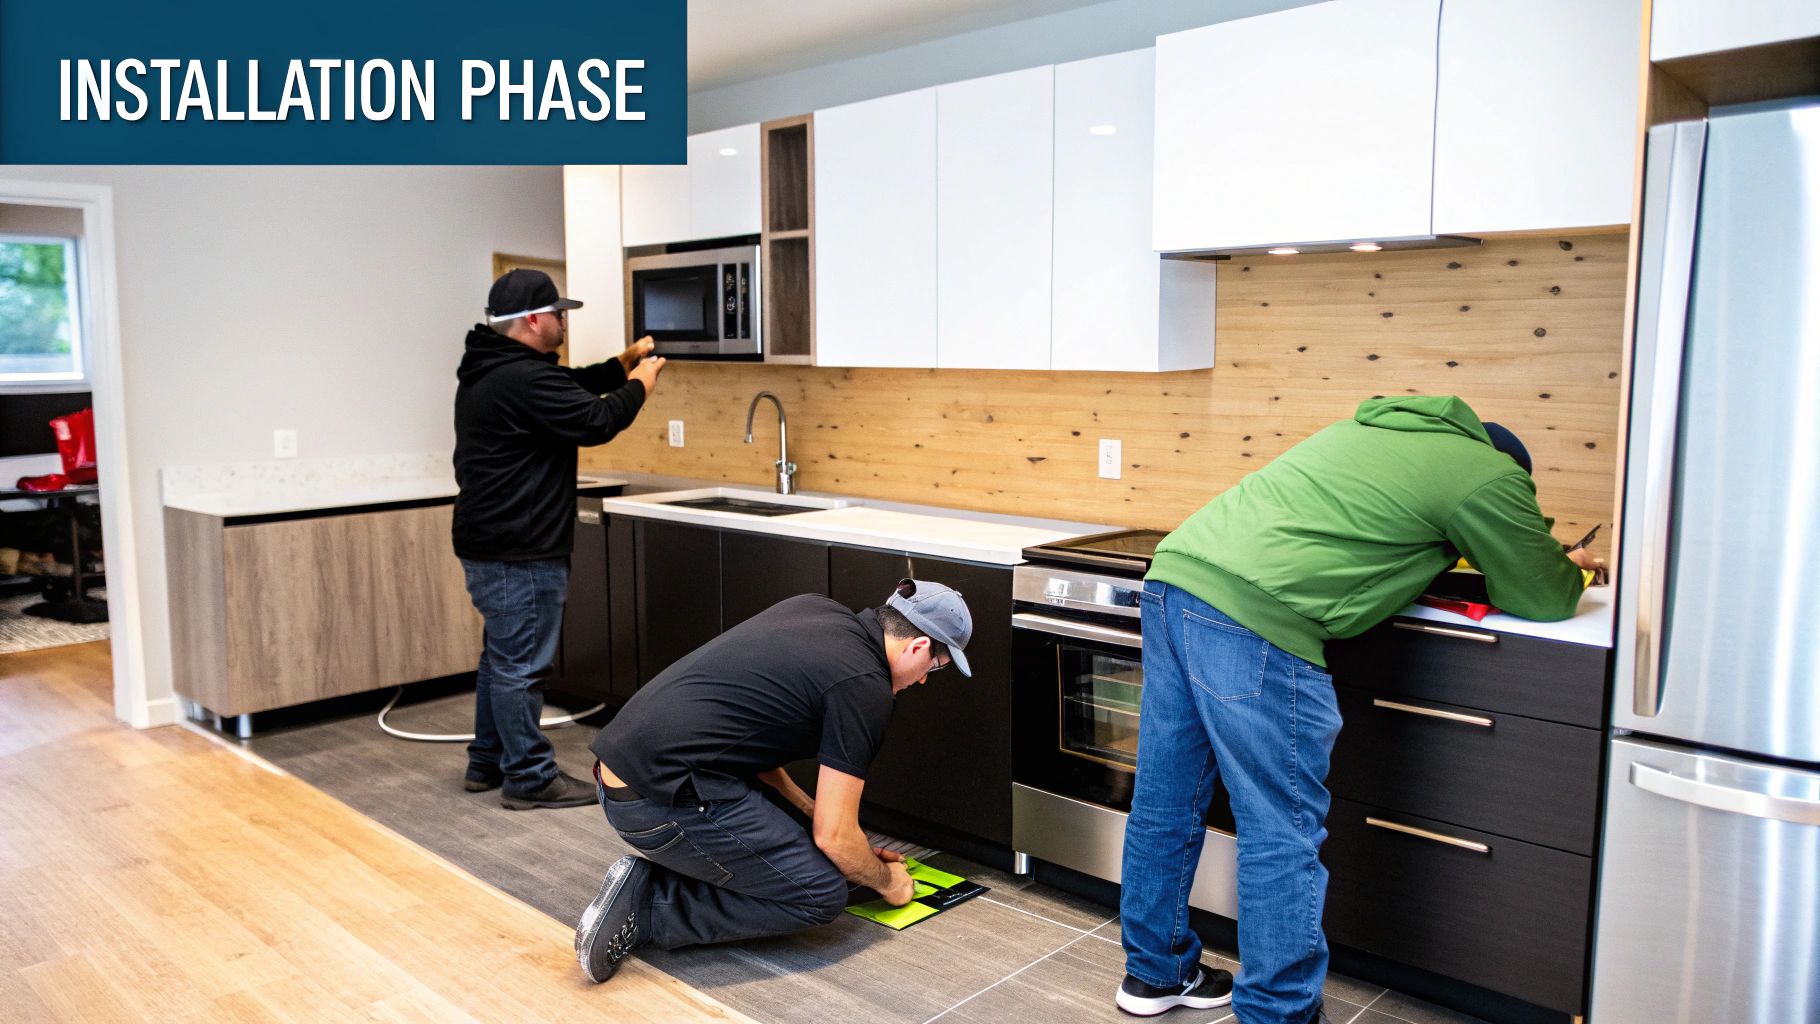
Phase 4: Building Your Dream Kitchen (Weeks 13-16)
This phase of your kitchen remodel is where everything starts coming together. After the planning, demolition, and structural work, you'll see your dream kitchen taking shape. This phase involves a precise sequence of installations. Understanding this sequence is important to avoid costly rework and ensure a smooth process.
Cabinet Installation: The Foundation
The first major installation is usually the cabinetry. Cabinets are the backbone of your kitchen, setting the stage for countertops, appliances, and everything else. This order isn't arbitrary—installing cabinets before countertops is essential. Countertops are measured and cut to fit the cabinets precisely, guaranteeing a seamless and secure fit.
Countertop Installation: A Perfect Fit
After the cabinets are in, the countertops are measured, fabricated, and installed. This critical step demands precise measurements and expert craftsmanship. Your countertop material choice affects the installation process. Materials like granite or quartz often require templating and fabrication off-site, adding time to the project.
Appliance Installation: Timing is Key
Coordinating appliance deliveries with the installation phase is crucial. This prevents storage fees and minimizes the risk of damage. Appliances are typically installed after the cabinets and countertops. This ensures proper fit and easy access to electrical and plumbing connections. Imagine your new refrigerator sitting in your garage for weeks, vulnerable to damage and taking up space.
Fixture and Lighting Installation: The Finishing Touches
With the major appliances in, the focus shifts to fixture and lighting installation. This includes faucets, sinks, lighting fixtures, and other final details. These elements add the final aesthetic and functional touches to your kitchen. This stage heightens the anticipation of the finished product.
Managing the Psychology of this Phase: Patience is Key
This renovation phase often brings a mix of excitement and impatience. It's easy to get ahead of yourself when the kitchen starts looking finished, but there's usually more work to be done behind the scenes. Managing expectations and communicating with your contractor is key. For example, even with cabinets installed, finishing touches like painting and hardware can take time.
Quality Control and Progress Checks: Staying on Track
Regular progress checks during this phase are vital for quality control. Walk through the space with your contractor to address any concerns and ensure the project aligns with your vision. This proactive approach helps prevent misunderstandings and ensures a high-quality result. Addressing issues early avoids costly and time-consuming rework later.
Installation Sequencing and Potential Delays
To understand the typical installation sequence and potential challenges, the following table provides a helpful overview.
Installation Sequencing in Kitchen Remodels
A detailed breakdown of the proper order for installing different kitchen elements and why timing matters
| Installation Element | Typical Timing | Dependencies | Common Delays |
|---|---|---|---|
| Cabinets | Early in Phase 4 | Framing, Plumbing, Electrical Rough-in | Incorrect measurements, Damaged cabinets |
| Countertops | After Cabinets | Precise cabinet installation | Fabrication errors, Material availability |
| Appliances | After Countertops | Electrical and plumbing connections | Delivery delays, Incorrect appliance size |
| Fixtures & Lighting | After Appliances | Plumbing and electrical connections | Missing parts, Incorrect fixture size |
This table highlights the importance of timing and coordination. A delay in one area can create a domino effect, impacting subsequent installations. Understanding these potential delays helps you plan realistically and maintain a reasonable timeline. This sets the stage for the final touches and the completion of your dream kitchen.
Navigating Delays: When Kitchen Remodel Timelines Shift
Even the most carefully planned kitchen remodel can encounter unexpected delays. Instead of promising a perfect schedule, let's explore the common setbacks you might encounter. Understanding these potential roadblocks and developing strategies to minimize their impact is key to a smooth renovation.
Common Delay Triggers
Several factors can contribute to a kitchen remodel taking longer than anticipated. Supply chain disruptions, especially for unique materials or appliances, are a frequent cause of delays. Material defects, though less common, can require replacements and push back the project timeline. You might be interested in: Benefits of a kitchen remodel. Discovering unexpected structural problems during demolition can also add significant time to the project. Finally, inspection failures, while often preventable with careful planning and execution, can lead to further setbacks.
Minimizing the Impact of Delays
Building buffer time into your initial kitchen remodel timeline can help absorb minor delays. For example, adding a few extra days between demolition and cabinet installation can provide flexibility if demolition reveals unforeseen issues. Prioritizing key decisions related to the critical path—those tasks that directly affect the project's completion—is also essential. For example, selecting cabinets early can prevent delays later. Finally, having contingency plans, like identifying alternative materials if supply chain issues arise, can keep the project moving forward. It's all about being prepared.
Communication and Contract Modifications
Open communication with your renovation team is vital when delays happen. Discuss the reason for the delay, its potential impact on the timeline, and any necessary adjustments. If the changes are significant, contract modifications might be necessary. These should clearly outline the revised timeline and any associated cost implications. Thorough documentation of these changes protects both you and the contractor. This documentation should include emails, meeting notes, and any revised contracts. This transparent communication helps maintain a positive working relationship.
Maintaining Project Momentum Despite Delays
Even with delays, keeping the project moving forward is important. Focus on tasks that can be completed independently of the delayed activity. For instance, if countertop fabrication is delayed, perhaps lighting fixtures can be installed instead. This approach minimizes downtime and keeps progress visible. It also demonstrates proactive problem-solving, reinforcing a positive working relationship with your contractor. This proactive approach keeps the project on track and minimizes potential frustration.
Beyond Completion: Final Touches and Living In Your New Kitchen
The final stages of your kitchen remodel aren't about demolition or installation, but the crucial transition to actually living in your new space. This period involves final inspections, punch lists, warranty reviews, and the gradual process of settling into your transformed kitchen.
Final Inspection and Punch List: Ensuring Quality
After the last contractor leaves, conduct a thorough final inspection. This is about ensuring everything functions correctly and meets the agreed-upon specifications. Check appliances, plumbing fixtures, and electrical outlets. Open and close drawers and cabinets, looking for any imperfections.
This inspection informs your punch list, a detailed list of any remaining incomplete or unsatisfactory work. Be specific and descriptive in your punch list items. For example, instead of "cabinet damaged," write "Scratch on lower left corner of pantry door." This clarity helps your contractor address the issues efficiently.
Warranty Discussions and Documentation
Familiarize yourself with warranties for appliances and materials. Keep all documentation organized and accessible. This includes warranty information, appliance manuals, and contractor contact details. Understanding warranty coverage is important if defects emerge later.
Settling In: Organizing and Maintenance
Transitioning from project mode to daily life involves organizing your new kitchen efficiently. Consider how you use your kitchen and arrange items accordingly. Place frequently used items in accessible locations and store less-used items higher up or further back. You might be interested in: How to master your kitchen organization with our renovation checklist.
Understanding the maintenance requirements of your new materials is also essential. For example, quartz countertops may require different cleaning products than granite. Researching proper care helps preserve your kitchen's beauty and function.
Psychological Adjustment: Enjoying Your New Space
Adjusting to a new kitchen can also involve a psychological shift. It's natural to feel a sense of accomplishment and perhaps some initial awkwardness. Embrace this transition!
Host a celebratory meal and invite friends and family over. Enjoy the results of your hard work! This celebration marks the end of a significant project and the beginning of a new chapter in your home.
Congratulations! You’ve successfully completed your kitchen remodel. Now, it's time to create memories in your beautifully transformed space. Ready to start your dream kitchen transformation? Connect with Sinclair Cabinetry Inc. today to explore custom cabinetry solutions. Start your dream kitchen journey with Sinclair Cabinets.