Before you can fix a warped cabinet door, you first have to play detective. The right fix depends entirely on the door's material and what's causing the problem in the first place. Figuring out if you're dealing with a simple alignment issue or a deeper structural problem from moisture is the critical first step to a repair that will actually last.
Assessing Your Cabinet Doors Before You Begin
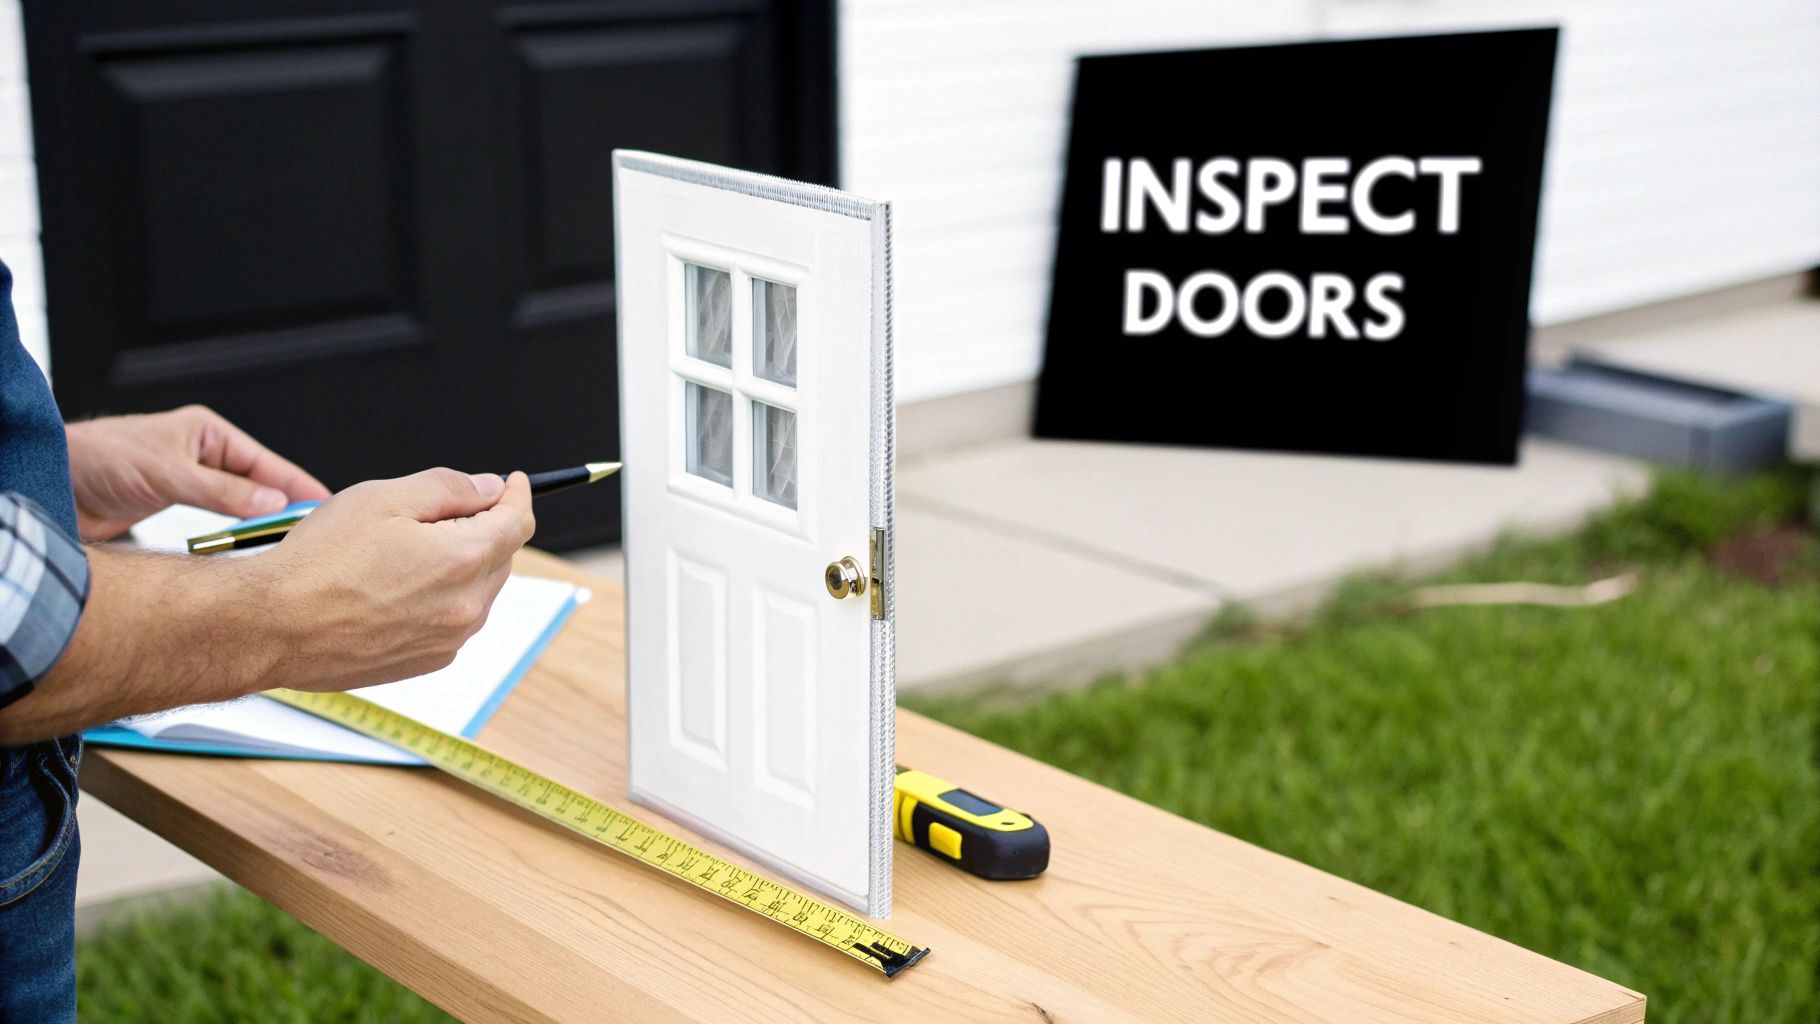
Jumping straight into a repair without a proper diagnosis is a recipe for frustration. Before you even think about grabbing a screwdriver, taking a few minutes to assess the situation will save you a ton of time and make sure you choose the right method. This initial inspection is your game plan.
First things first, you need to figure out exactly how the door is warped. There are three common culprits, and each one has its own tell-tale shape.
Identifying the Type of Warp
Grab a straightedge—a level or even a sturdy ruler will do—and lay it across the door to see where the gaps are. This simple test tells you almost everything you need to know.
- Bow: This is a gentle, uniform curve along the door's length, from top to bottom. The center of the door either pulls away from the cabinet or pushes into it.
- Cup: This type of warp runs across the door's width. The edges curl inward (like a cup, or concave) or outward (convex).
- Twist: A twisted door is the most frustrating. It won't lay flat, causing one or two corners to lift away from the cabinet frame so it never closes flush.
Once you know the type of warp, you need to gauge how bad it is. A slight bow of less than 1/8 inch can often be corrected with a few simple adjustments at the hinges. But if you're looking at a severe twist or a cup that's more than 1/4 inch, you've likely got a bigger problem with the wood itself, which calls for a more hands-on approach.
A crucial part of your assessment is checking both sides of the door. An uneven finish—where one side is sealed and the other isn't—is a classic cause of warping. It lets moisture seep in unevenly, causing the wood to pull in one direction.
Matching the Material to the Method
The material your cabinet door is made from will completely dictate your repair options. Solid wood doors are the most likely to warp from humidity, but they're also the most forgiving when it comes to fixing them. You can often gently coax them back into shape.
Engineered materials like MDF (Medium-Density Fiberboard) or particleboard covered in a veneer are a different story. Once these materials get wet and swell up, they almost never go back to their original shape. Trying to bend them back will just cause the core to crack or the veneer to peel off. For these doors, your options are pretty much limited to hinge adjustments or, in bad cases, a full replacement.
To get a really good look, you'll probably need to take the door off its hinges. If you're not sure how, our guide on how to remove cabinet doors walks you through the process so you don't accidentally damage the door or the cabinet frame.
Understanding Why Cabinet Doors Warp
So, your cabinet door is starting to look a little… funky. Before you can even think about fixing a warped cabinet door, you have to get to the root of the problem. What’s actually making it bend out of shape?
At its heart, a warped door is almost always the result of an ongoing battle between wood and moisture. Wood isn't a static material; it’s natural, and it breathes. It’s constantly trying to find a happy medium with the humidity levels in the surrounding air.
When the air is damp, wood fibers soak up moisture and swell up. When the air dries out, they release that moisture and shrink back down. This never-ending cycle of expansion and contraction is the real culprit behind nearly every case of warping I've ever seen.
The Role of Moisture and Humidity
Let’s get practical. Picture a cabinet door right next to your dishwasher. Every time you finish a cycle and open that door, a big puff of hot steam billows out. The inside of that cabinet door gets a direct hit, causing its wood fibers to expand. Meanwhile, the front of the door, facing your kitchen, stays relatively dry.
This creates an imbalance. The moisture-soaked side swells while the dry side doesn't, forcing the wood to bend or "cup" away from the steam. It's a slow-motion tug-of-war happening right inside the wood.
The same thing happens with cabinets near ovens, unvented coffee makers, or in bathrooms that lack good ventilation. These little pockets of high humidity are the primary offenders. It’s not a small thing, either—solid wood can change its moisture content by 6–10% just from normal indoor humidity swings. If a door isn't sealed properly on all sides, warping is practically guaranteed.
Key Takeaway: A warped door is a symptom, not the disease. The root cause is almost always an imbalance in moisture absorption, either from the surrounding environment or a faulty finish.
Other Contributing Factors
While humidity is the main villain, a few other issues can either cause warping or speed it up. Knowing these helps you figure out the complete story behind why your door is misbehaving.
- Uneven Finish: This is a classic rookie mistake. Someone paints or seals the front of a door but leaves the back and edges raw. The unsealed parts will suck up moisture like a sponge while the finished side repels it. That’s a recipe for a warped door, every single time.
- Direct Heat: A cabinet door that sits too close to a hot oven or a toaster can also warp. The intense heat essentially bakes the moisture out of one side much faster than the other, causing the same kind of internal stress.
- Structural Flaws: Sometimes, the problem started long before the cabinet was installed. It could be an issue with how the door was constructed or the quality of the material itself. To get a better handle on how material choice makes a difference, it's worth exploring the properties of different kitchen cabinet materials.
Here’s a quick-reference table to help you diagnose what you're seeing.
Warp Types and Common Causes
Use this quick reference table to identify the specific type of warp on your cabinet door and its most likely cause.
| Warp Type | Visual Description | Primary Cause |
|---|---|---|
| Cup | The door bows across its width, forming a "C" shape. | Uneven moisture absorption (e.g., one side is sealed, the other isn't) or direct exposure to steam/heat. |
| Bow | The door bends along its length from top to bottom. | Improper storage before installation or a structural imbalance in the wood grain. |
| Twist | Two opposite corners are out of alignment, so the door doesn't lie flat. | Often caused by uneven clamping during manufacturing or significant, prolonged humidity changes. |
Knowing the type of warp gives you a huge clue about what went wrong and how to approach the fix.
Ultimately, the best defense is a good offense. Learning how to manage your home's humidity is the single most effective way to prevent warping in the first place. For a deep dive, check out our guide on how to go about maintaining proper cabinet humidity control. A proactive approach is what keeps your cabinets looking straight and functioning perfectly for years.
Quick Fixes for Minor Cabinet Warps
Not every crooked door signals a major woodworking project. In fact, a lot of the time, a simple adjustment is all that stands between you and a perfectly aligned kitchen. If you’re just dealing with a minor bow or a slight twist, these quick fixes are your first line of defense and can often solve the problem in minutes.
Before you even think about breaking out the heavy-duty tools, start with the hinges. They're the most common culprit behind misalignment and, luckily, the easiest thing to correct.
Adjusting Cabinet Hinges
Most modern cabinets are outfitted with European-style hinges, which are a dream to work with because they're designed for easy adjustment. If you look closely, you’ll see they typically have three different screws, and each one controls a specific movement of the door.
- Height Adjustment: This screw shifts the entire door up or down. You’ll want to tweak this if the top or bottom of your door is scraping against the cabinet frame.
- Depth Adjustment: This one moves the door closer to or farther from the cabinet box itself. This is the magic screw for fixing a door that isn’t sitting quite flush.
- Side-to-Side Adjustment: This moves the door left and right, which is perfect for creating those clean, even gaps between adjacent doors.
Just grab a Phillips head screwdriver and start with small, incremental turns—seriously, a quarter-turn is often all it takes. Focus on the depth and side-to-side screws first. Close the door after each tiny adjustment to check your progress. It's surprising how often you can pull a slightly warped corner right back into place just by tweaking these settings.
If you want a more detailed walkthrough, you can learn more about how to adjust cabinet hinges to get it perfect.
Installing Catches for a Secure Close
So what happens when hinge adjustments help, but don't fully solve the problem? Sometimes, a door has a persistent, minor warp and one corner just refuses to stay closed. In this scenario, adding a catch is a brilliant and dead-simple solution to hold the door firmly against the frame.
This is a fantastic low-effort trick for doors that seem to have a "memory" and want to spring back open. Instead of fighting the wood, you’re just giving it a little help to stay put.
You have a couple of great options here, both of which work well:
- Magnetic Catches: These come in two parts—a magnet that mounts inside the cabinet frame and a little metal plate that attaches to the door. They provide a really strong, satisfying snap-close action.
- Roller Catches: These use a spring-loaded roller that snaps into a fork-like catch. They're also super effective and give you that nice "click" when the door closes properly.
Installing either type is a breeze. It usually just requires drilling a few small pilot holes and securing the parts with the screws that come in the package. The key is to position the catch right at the corner that’s pulling away to provide targeted pressure exactly where you need it most.
Adding a Third Hinge for Stability
If you have a taller cabinet door that's showing a slight bow along its length, adding a third hinge can be a total game-changer. By placing an additional hinge right in the center of the door, you create a crucial middle support point.
This extra stability helps distribute the door's weight much more evenly and applies constant, gentle pressure to the bowed area. Over time, this can actually help straighten the door and keep the warp from getting any worse. Think of it as more of a long-term preventative fix, but it's incredibly effective for tall doors under stress.
Advanced Techniques for More Stubborn Warps
So, you've tried adjusting the hinges and maybe even added a magnetic catch, but that one cabinet door just refuses to cooperate. When the simple fixes don't cut it, it's time to roll up your sleeves and get a bit more hands-on. These next techniques are for those really stubborn warps in solid wood doors that need some serious persuasion.
Don't worry, it sounds more intense than it is. With a little patience, you can often bring a door back from the brink when you thought it was a lost cause. The basic idea is to use heat and moisture to make the wood pliable again, then gently coax it back into shape while it dries.
Using Heat and Moisture to Relax Wood Fibers
At its core, this method is all about reversing what caused the warp in the first place. You’ll be applying moist heat to the concave side of the door—that's the side that curves inward, like the inside of a bowl. This encourages the compressed wood fibers on that side to expand and relax back into a flat position.
For this, you'll just need a regular household steam iron and a damp towel. Start by taking the door off its hinges and laying it on a flat, stable surface like a pair of sawhorses.
Next, lay a damp—but not dripping wet—towel over the entire concave area. Set your iron to a medium-high heat, then press it firmly down on the towel. Keep the iron moving slowly and steadily across the entire warped section. The goal is to drive steam deep into the wood, making it flexible enough to reshape.
You'll want to do this for about 5-10 minutes, making sure you give the whole warped area even attention. You’re not trying to scorch anything, just gently warm the wood until it’s ready for the next step.
Safety First: Keep that iron moving! Letting it sit in one spot can burn the wood or your towel. It’s also a good idea to work in a well-ventilated space. Remember, this trick is only for solid wood doors with a durable finish; trying this on veneers or laminates can cause serious damage.
Applying Pressure with Clamps and Cauls
Right after you've finished steaming, you need to clamp the door flat while it dries and cools. This is the make-or-break moment where the door "relearns" its proper, flat shape. You can't just clamp the door by itself, though—that's a surefire way to crack it. You need cauls, which are just straight, sturdy boards (a couple of 2x4s work perfectly) that help distribute the clamping pressure evenly.
This image shows how different solutions build on each other, from simple hinge tweaks to the kind of bracing we’re about to do.
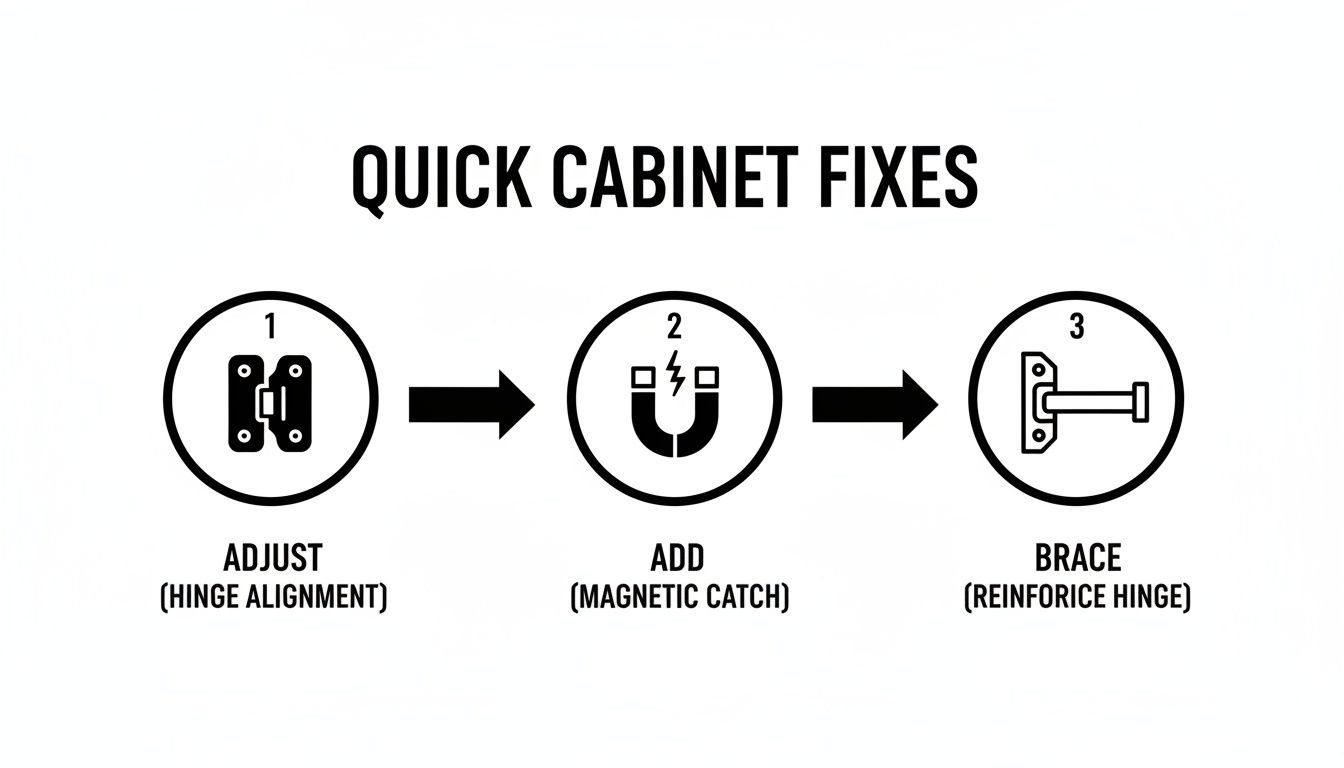
While the door is still warm, place it on a flat workbench or even the floor. Position one caul across the top of the door and another one directly underneath it. Start applying your clamps at both ends, tightening them a little at a time and alternating between them to keep the pressure even. If you’re working with a large door, you'll want to add another set of cauls and clamps in the middle.
Your goal is to gently press the door until it’s completely flat, but do not overtighten. Cranking down too hard on the clamps can crush the wood fibers and create a whole new set of problems. Once it’s flat, let the door sit clamped for at least 24-48 hours in a dry, stable room. For really bad warps, you might need to leave it for as long as a week.
Making Relief Cuts for Twisted Doors
If you're dealing with a badly twisted door—where the corners lift off diagonally—you might need to pull out a more professional technique: making relief cuts. This involves cutting shallow grooves, known as kerfs, into the back of the door. It sounds drastic, but these cuts physically release the built-up tension in the wood that's causing the twist.
Using a circular saw set to a precise depth, you'll make several shallow cuts on the concave side of the twist, making sure to follow the grain of the wood. The cuts should only go about half to two-thirds of the way through the door's thickness. You need them deep enough to relieve the tension, but not so deep that you weaken the door's structure.
After cutting the kerfs, you can clamp the door flat using cauls, just like we discussed before. The cuts give the wood the flexibility it needs to be flattened. Once the door has dried in its new, flat shape, you can fill the kerfs with a matching wood filler or epoxy to get a smooth surface, then sand and reseal the entire back of the door.
How to Prevent Cabinet Doors from Warping Again
Fixing a warped cabinet door feels good, but making sure you never have to deal with it again is the real win. Long-term prevention always beats a last-minute repair, and it really just boils down to controlling your cabinet's environment and making sure they were protected from day one.
The biggest culprit behind warping is almost always your home's indoor humidity. Wood is a natural, porous material that is constantly trying to match its own moisture level with the air around it. When humidity swings wildly, wood swells and shrinks, creating the internal stress that pulls it out of shape.
Maintain a Stable Indoor Climate
Your number one goal is to create a stable environment. The sweet spot for any wood furniture, including your cabinetry, is an indoor humidity level between 35% and 50%. Keeping your home in this range dramatically cuts down on the expansion-and-contraction cycle that leads to warping.
You can easily keep an eye on this with a cheap digital hygrometer. In the dry winter months, you might need a humidifier to add some moisture back into the air. When summer gets sticky and damp, a dehumidifier or your air conditioner will be your best friend, pulling that excess moisture out and protecting your investment.
When you think about the scale of the cabinet market—valued in the billions—even a small percentage of doors warping adds up to a huge cost. If just 5% of cabinets in a USD 15 billion market need fixing, that’s a USD 750 million headache. A little prevention isn't just smart; it's money in the bank.
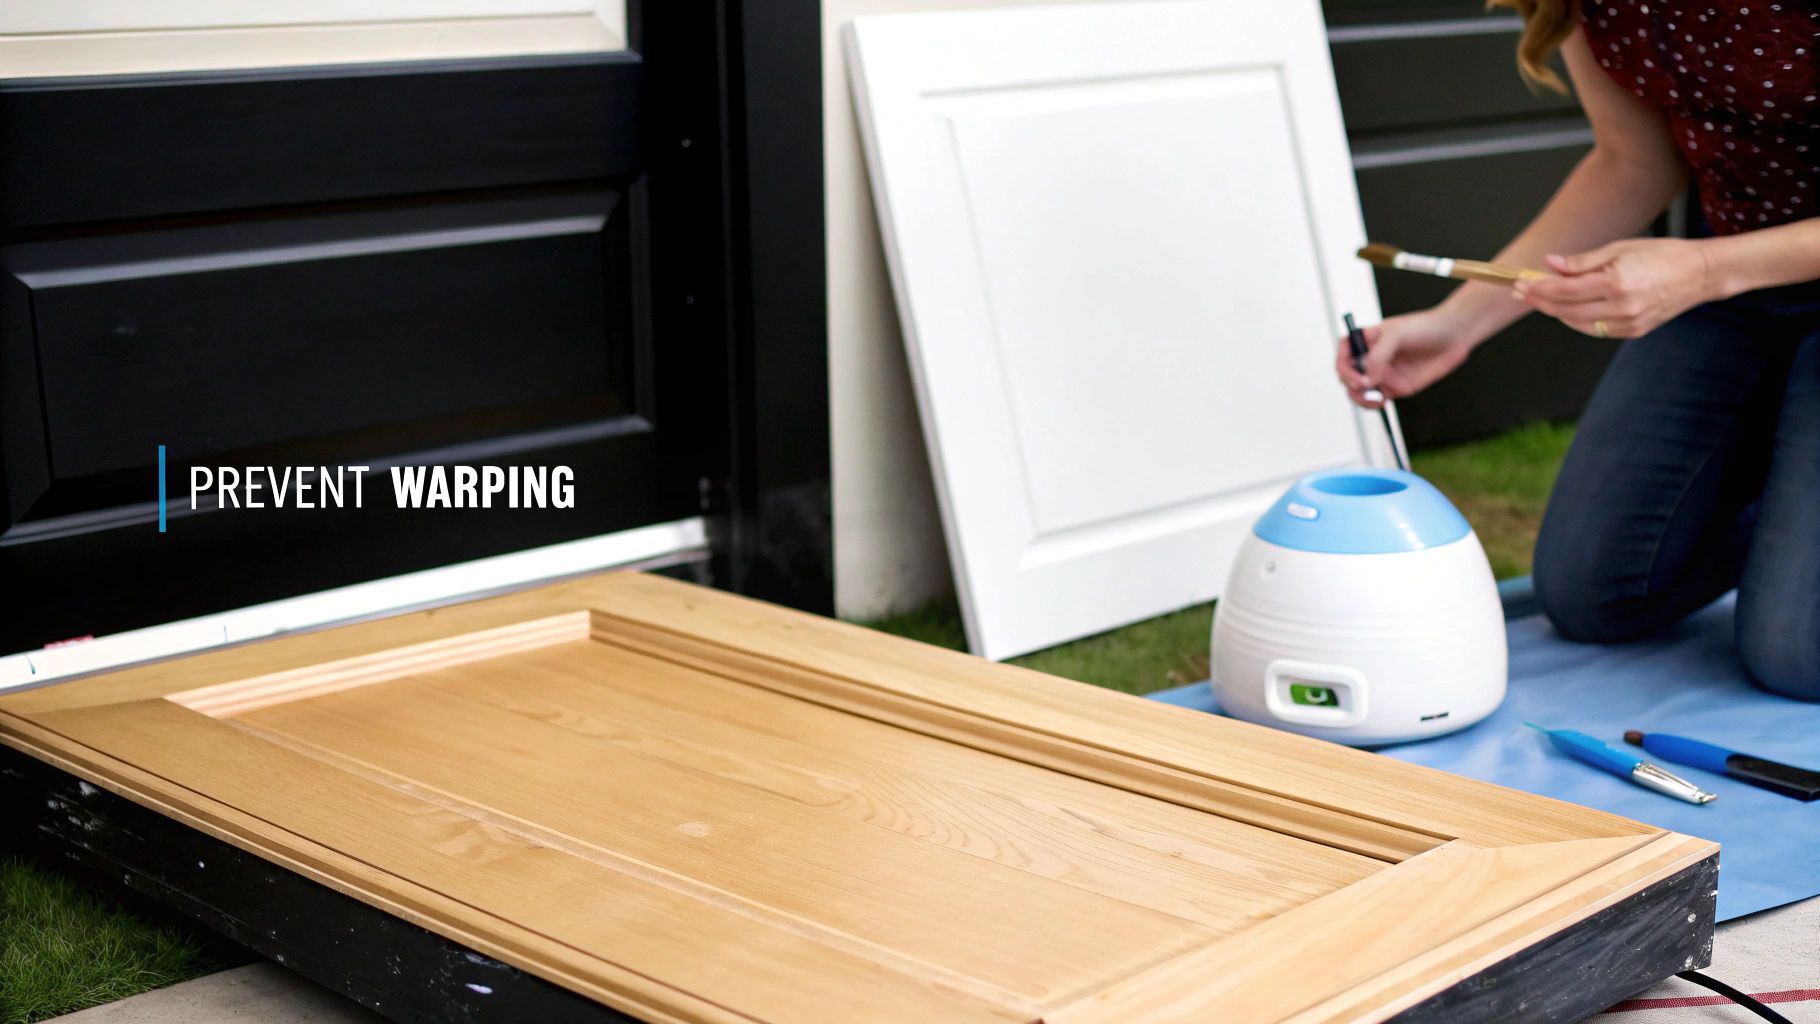
Ensure a Comprehensive and Even Finish
An uneven or incomplete finish is like leaving a window open in a rainstorm. It creates an imbalance where one part of the door can soak up humidity while another repels it, causing the wood to literally pull itself into a warped shape.
It's a classic mistake: sealing the front and back of a door but leaving the edges completely exposed. Moisture is sneaky and will find any unsealed surface, especially the vulnerable end grain on the top and bottom edges.
A truly protective finish needs to cover all six sides of the door—no exceptions.
- Front and Back Surfaces: Both are equally important for balanced moisture control.
- Top and Bottom Edges: These are the most common entry points for moisture.
- Left and Right Edges: Sealing these completes the protective barrier around the entire door.
Acclimation and Proper Installation
Finally, good installation habits set the foundation for long-term stability. If you're getting new wood cabinets, never let them be installed the day they show up. They need some time to get used to your home's specific temperature and humidity.
Give new cabinets at least 72 hours to just sit in the room where they'll be installed before you hang them. This allows the wood to adjust gradually, preventing the kind of shock that can kickstart the warping process. In particularly humid climates, sometimes the best long-term solution is choosing a different material altogether, which is why some homeowners start considering aluminium kitchen cabinets for warp resistance.
Common Questions About Fixing Warped Doors
When you're staring down a stubborn, warped door, it's natural for a few questions to pop into your head. Tackling a repair project can seem intimidating, especially when you're not sure if it's worth the effort. Let's walk through some of the most common things homeowners wonder about when they're figuring out how to fix warped cabinet doors.
The big one is always: Can this thing even be fixed? The honest answer is… it depends. But the good news is that most minor-to-moderate warps in solid wood are absolutely fixable with a little patience. Your success really hinges on the door's material and just how bad the warp has gotten.
Can Any Warped Door Be Saved?
Solid wood doors give you the best shot at a successful repair. Since wood is a natural material, its fibers can be relaxed with a bit of moisture and heat, then gently persuaded back into a flat shape. I’ve seen techniques involving clamps and weights work wonders time and time again.
Doors made from MDF or particleboard with a veneer or laminate finish are a different story, though. Once that core material soaks up moisture and swells, the damage is almost always permanent. Trying to bend these materials back into shape usually just cracks the core or causes the finish to peel away. For these, your only real fix is adjusting the hinges to minimize the gap; otherwise, you’re looking at a replacement.
Here's a good rule of thumb I've picked up over the years: if a solid wood door has a bow or cup of less than 1/4 inch, your chances of fixing it are pretty high. Once you get beyond that, the repair becomes much more challenging and you might not get it perfectly flat.
How Long Will These Repairs Take?
The time you'll need to invest can vary wildly depending on the method you choose. It's important to have realistic expectations before you start because some fixes are nearly instant while others are a multi-day process.
Here’s a quick breakdown of what you can expect:
- Hinge Adjustments: This is your fastest fix, hands down. It often takes just 5-15 minutes with a screwdriver. It should always be the first thing you try.
- Adding Catches: Installing a magnetic or roller catch is another quick job. You can usually get it done in about 20-30 minutes, and that includes measuring and drilling the pilot holes.
- Heat, Moisture, and Clamping: This is where your patience comes in. The initial steaming or wetting might only take 10 minutes, but the door needs to stay clamped for at least 24-48 hours to dry out completely and hold its new shape. For a really stubborn warp, you might even need to leave it clamped for a week.
Can I Just Paint Over a Warped Door to Fix It?
This is a tempting shortcut, but trust me, it’s one that will only lead to disappointment. Paint is just a surface coating—it has no structural properties and can't physically straighten a bent door.
While a fresh coat of paint might hide some tiny imperfections, it will actually make a warp more noticeable by creating uneven shadows and highlights on the curved surface. Think of it like this: painting a dented car door doesn't get rid of the dent. You have to fix the underlying structural problem first. Get the door as flat as you can using the right repair techniques, and then you can move on to sanding, priming, and painting for that flawless, professional finish.
At Sinclair Cabinetry inc, we believe that quality craftsmanship is the best defense against warping. If you're dealing with doors that are beyond repair or are planning a renovation, explore our custom, real-wood cabinetry solutions designed to stand the test of time. See how we can transform your space with beautiful, durable cabinets.