Whether you’re planning a full-blown remodel, a simple repaint, or just refacing your cabinets, getting the doors off is always the first real step. It's a surprisingly simple DIY job that completely changes the look and feel of your kitchen, clearing the way for whatever you have planned next.
Your First Step to a Kitchen Refresh
Big kitchen projects can feel like a huge undertaking, but taking the doors off is a quick, satisfying win. It's the moment your project starts to feel real. This is why it’s such a common starting point for DIYers—it’s the foundation of a smart, budget-friendly kitchen update.
Kitchen remodels are huge right now. They made up nearly 30% of all home improvement projects in the U.S. last year, and updating cabinets gives you the most dramatic transformation for your money. By handling the door removal yourself, you can pocket significant savings, with experienced DIYers cutting their project costs by 20-30% compared to hiring it all out. You can dive deeper into these trends by checking out recent cabinet renovation industry reports.
Understanding Your Hardware
Before you grab a screwdriver, take a minute to look at your hinges. The type of hardware you have will determine the tools you need and how you'll tackle the job. It's a small step that saves a ton of headaches.
- Traditional Exposed Hinges: You'll see these mounted on the outside of the cabinet frame and door. They’re the most common and usually just need a standard Phillips head screwdriver.
- European or Concealed Hinges: These are the hidden hinges you find inside modern cabinets. Many have a handy clip or release button that lets you pop the door off the frame—no unscrewing required.
- Overlay Hinges: These are also pretty common and wrap partially around the cabinet frame. Like traditional hinges, a simple screwdriver is all you need to get them off.
A quick five-minute check to identify your hinge type can save you from a world of frustration and maybe even a damaged cabinet door. If you're unsure, a quick search for your hinge style online often reveals a video or diagram showing a quick-release feature you didn't know you had.
Knowing what you’re up against from the start helps you gather the right tools and set a realistic timeline. A little prep work here is what separates a smooth project from a weekend-long struggle.
Cabinet Hinge Types and Removal Methods at a Glance
To make things even easier, here’s a quick rundown of the most common hinge types and what you’ll need to get them off. It's a simple cheat sheet to help you get started without any guesswork.
| Hinge Type | Primary Tool Needed | Average Removal Time Per Door |
|---|---|---|
| Traditional/Exposed | Phillips Head Screwdriver | 2-3 minutes |
| European/Concealed (Clip-on) | None (or a Flathead for leverage) | Under 1 minute |
| European/Concealed (Screw-on) | Phillips Head Screwdriver | 2-3 minutes |
| Partial or Full Overlay | Phillips Head Screwdriver | 2-4 minutes |
Identifying your hinge type first is the key. Once you know what you're working with, you can see just how quickly this part of your project will go. Most of the time, it's a fast and straightforward task.
Gathering The Right Tools For The Job
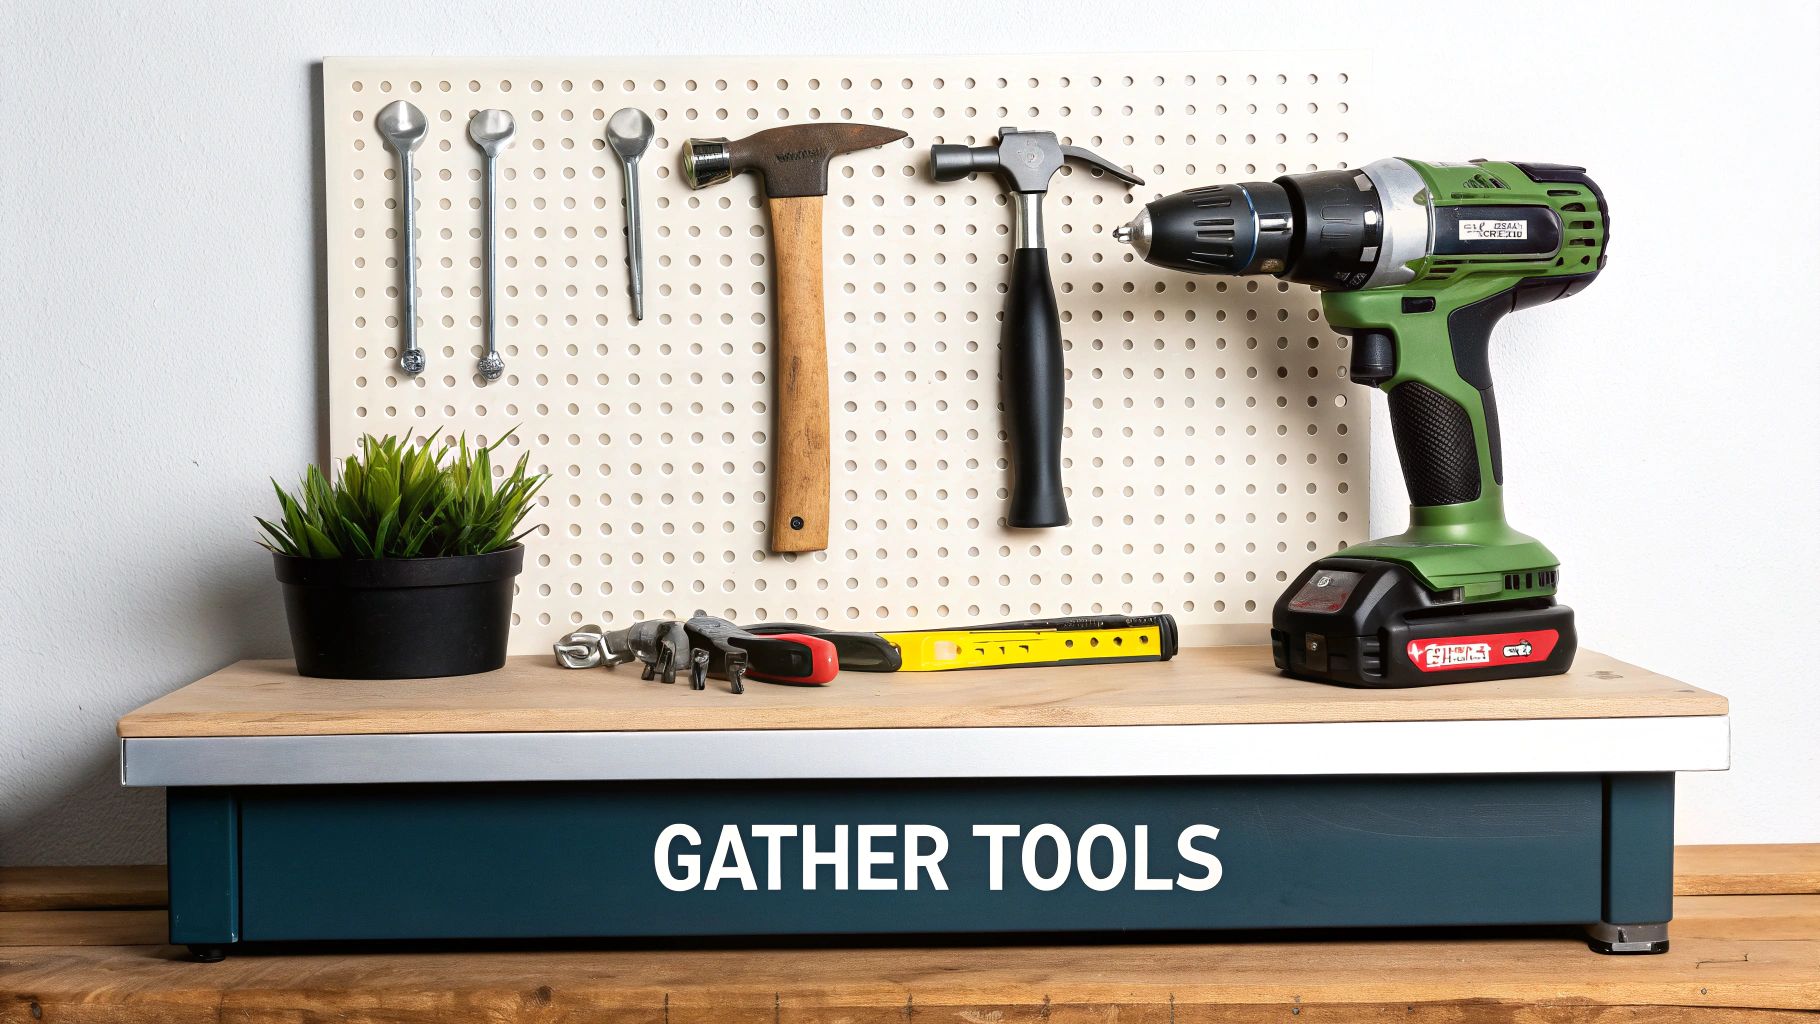
Let's be honest—the difference between a project that feels like a victory and one that ends in frustration often comes down to having your tools laid out before you even touch the first screw. Taking a few minutes to get organized now makes removing your cabinet doors feel less like a chore and more like a satisfying first step in your kitchen's transformation.
Your absolute best friend for this task is going to be a cordless drill with an adjustable clutch. The clutch is what really matters here. It lets you control the torque, so you can back the screws out quickly without stripping the heads or, even worse, splintering the wood. Trust me, it’s a massive time-saver compared to trying to do an entire kitchen with a manual screwdriver.
Essential Hand Tools and Organizers
While a drill brings the speed, you'll still want a good old-fashioned multi-bit screwdriver for the finer details. It gives you that extra bit of control for the last few turns. Make sure you have the right bits on hand before you start. Most cabinet screws are Phillips head, but some European hardware uses Pozidriv bits, which give you a much better grip and stop the bit from slipping and chewing up the screw head.
Here’s a quick rundown of the other small items that make a huge difference:
- Magnetic Bit Holder: A tiny tool with a big impact. It grabs onto the screw so you’re not constantly dropping them.
- Painter's Tape and a Marker: This is non-negotiable for creating a foolproof labeling system.
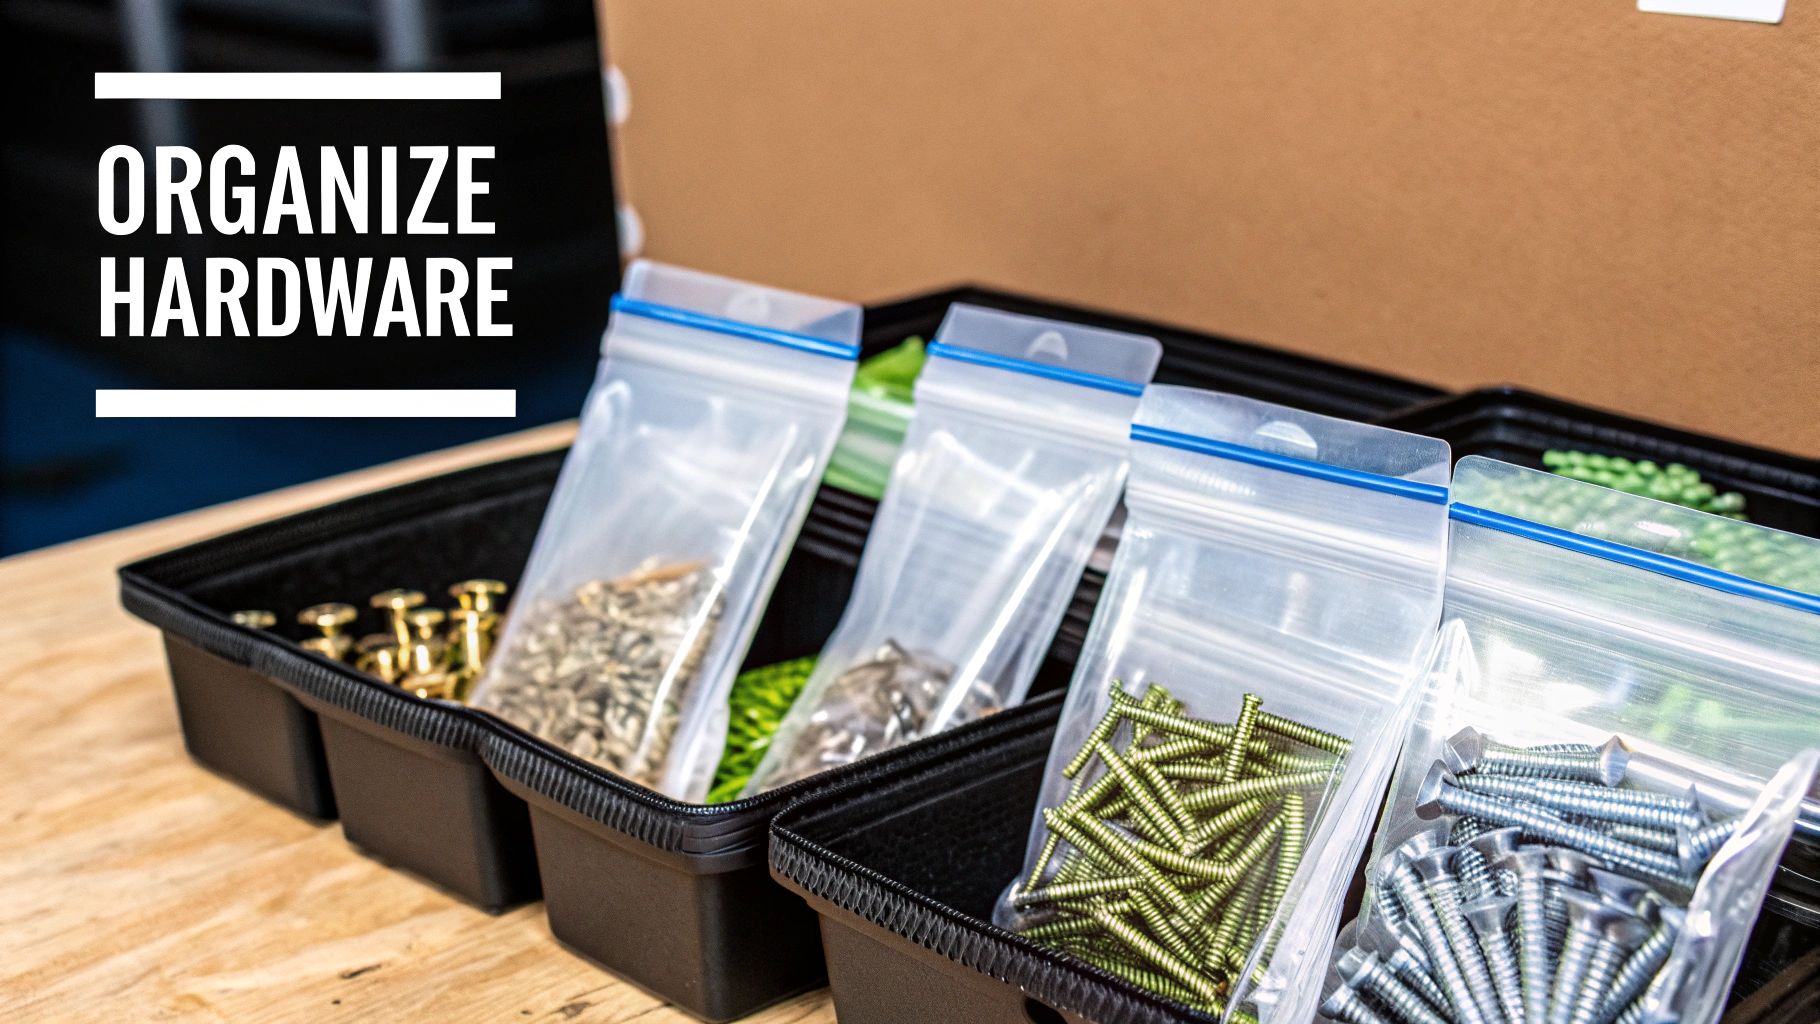
- Small Plastic Bags or Containers: The perfect solution for keeping the hardware for each door completely separate.
Pro Tip: Whatever you do, don't throw all your hardware into one big bucket. Label a separate bag for each door (e.g., "Upper Left 1") and drop its specific hinges and screws inside. This will save you a world of headaches later, as even tiny differences in screw wear can make reinstallation a pain.
This simple prep work doesn't just make the removal process smoother; it sets you up for an easy win when it's time to put everything back. In fact, keeping things organized is a core principle we stick to, whether you're just starting out or learning how to install kitchen cabinets from scratch.
The Complete Guide to Removing Cabinet Doors
Alright, let's get to the hands-on part. Learning how to remove cabinet doors the right way is what separates a messy project from a clean, professional-looking renovation. A little technique goes a long way here, preventing dings and scratches on your doors and frames and making the whole job feel smoother. The goal is control and safety—for you and your cabinets.
First things first: prep your workspace. Get all the appliances and clutter off your countertops. I always like to lay down an old towel or blanket to protect the surface. This gives you a safe spot to set the door down for a second and keeps your tools or the hinges from leaving any accidental scratches.
This image lays out the basic safety steps to take before you even pick up a drill.
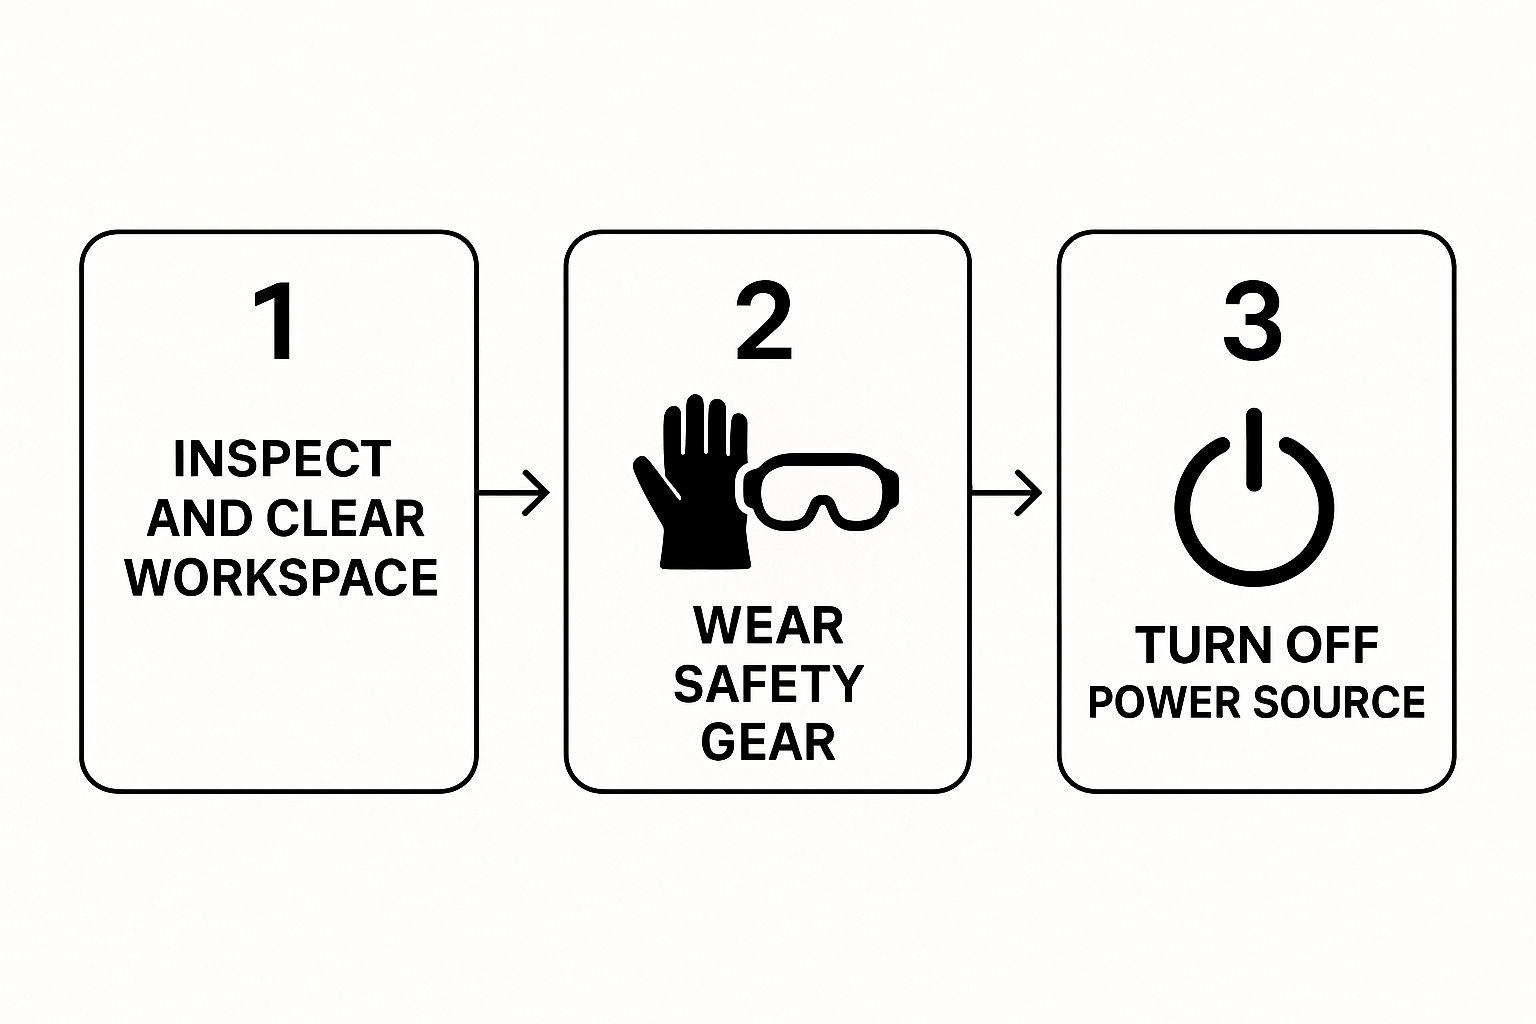
Running through this quick checklist—clearing the area, grabbing your gear, and managing power if needed—sets you up for a safe and successful removal.
Handling Different Hinge Types
The exact way you'll remove the door depends entirely on the hardware you’re working with. It really helps to know what kind of hinges you have before you start. For a great overview, understanding concealed hinges is a solid read, especially since they're common in modern kitchens and often have a quick-release mechanism.
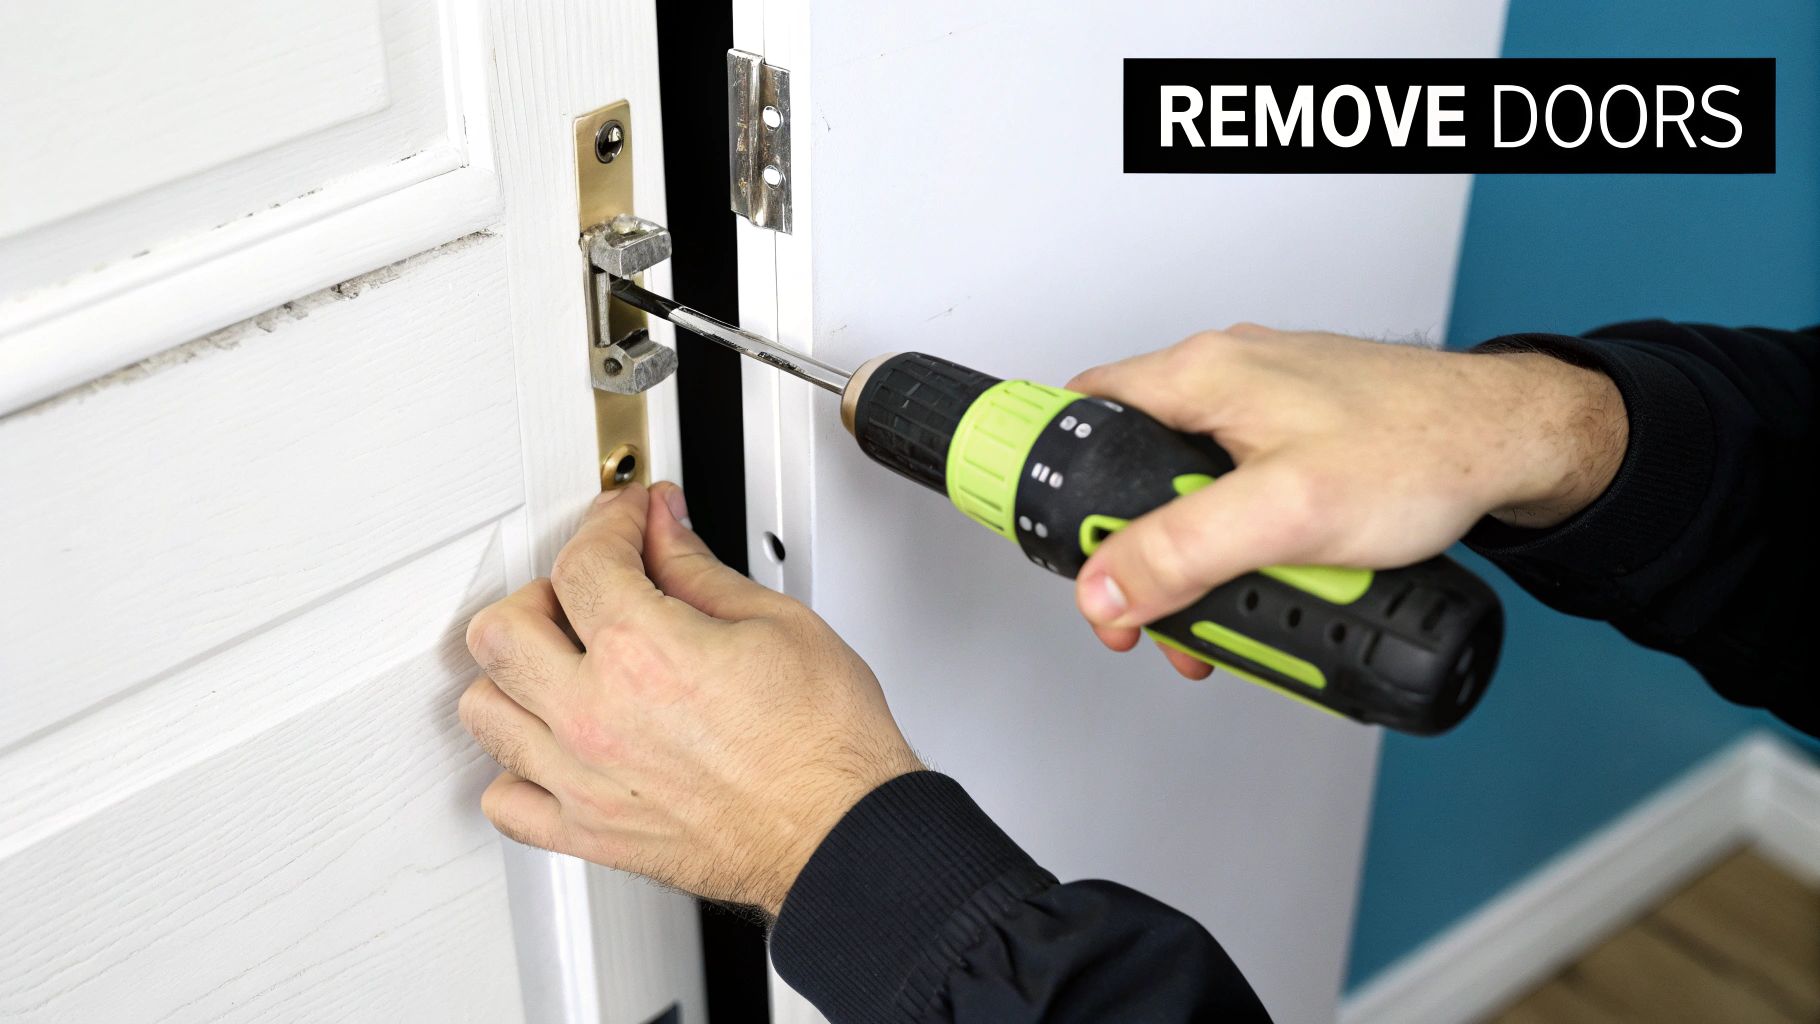
-
For Exposed or Traditional Hinges: Go ahead and open the cabinet door. Support the bottom of the door with one hand (or even prop it up with your knee). Now, use a cordless drill to take out the screws attaching the hinge to the cabinet frame. I always tackle the frame-side screws first because it lets the door come away cleanly. Once it's off, you can lay it on a flat surface to remove the hinges from the door itself.
-
For European or Concealed Hinges: You're in luck with most modern hinges—they're designed for easy removal. Take a look at the back of the hinge arm (the part connected to the mounting plate inside the cabinet). You're looking for a small release clip or button. Pushing this usually lets the door pop right off, no tools required.
It’s interesting how much easier this has gotten. Cabinet hardware has evolved right alongside kitchen design trends. The switch to standardized metal hinge plates in the 1970s was a big step, and hardware innovations between 1980 and 2020 have cut the average removal time by about 50%.
Key Takeaway: Always, always support the door’s weight as you take out that last screw. If a door swings free or drops, it can easily chip another cabinet, dent your countertop, or strip the screw hole—which is a real headache when it’s time for reinstallation.
With the doors off, you’re ready to move on to the next phase of your project. The door style itself makes a massive difference in the final look. If you’re thinking about a fresh style, you might want to look into a new cabinet door profile for your Florida home.
Keeping Your Project Clean and Organized
A truly professional finish isn't just about how the final product looks; it’s about how you manage the chaos during the project. The organizational secrets that seasoned renovators swear by are surprisingly simple, but they make a world of difference when it’s time to put everything back together.
This system is your best defense against the frustrating "which door goes where?" puzzle later on. Believe it or not, even cabinets that look identical can have slight variations from years of settling, and mismatched doors rarely hang straight.
A Foolproof Labeling System
Before you even think about touching a screwdriver, grab a roll of blue painter’s tape and a permanent marker. This little prep step is the foundation of an organized and stress-free project.
- Map it out: Assign a unique code to each cabinet opening. A simple system works best. Start from a corner and work your way around: "U1" for the first upper cabinet, "L2" for the second lower cabinet, and so on.
- Tag the frame: Place a piece of tape with the code inside the cabinet frame. Find a spot where it won’t get painted over, like an inner wall or the underside of a fixed shelf.
- Tag the door: Stick a matching piece of tape on the back of the door you're about to remove. This simple pairing is your key to a seamless reinstallation.
I learned this the hard way on my first kitchen flip. I thought I'd easily remember where ten "identical" white shaker doors went. I was wrong. I wasted an entire afternoon making tiny, frustrating adjustments just to get them to close properly. Now, I never skip this step.
Storing Doors and Hardware Safely
Once a door is off its hinges, its journey is just beginning. If you’re planning to paint or reface them, you need to store them properly to prevent any damage.
Lay the doors completely flat, using painter's pyramids or some scrap 2x4s to keep them elevated. Whatever you do, don't stack them directly on top of each other or lean them against a wall for long. That's a surefire way to get warped panels, dings, and scratches.
Finally, don't overlook the hardware. Place the hinges and every single screw from each door into its own labeled Ziploc bag (e.g., "Hardware for U1"). Hinges wear in unique ways over time, and mixing them up can lead to misaligned doors that just won't close right. Keeping everything paired up ensures each door goes back on with its original, perfectly matched hardware.
Troubleshooting Common Removal Issues
Even with the best plans, you can hit a snag. It happens to everyone. Knowing how to handle these little hiccups when you're taking off cabinet doors is what keeps a project from grinding to a halt.
One of the most common frustrations is a stripped screw. Before you start thinking about specialized extractor bits, there are a couple of old-school tricks you can try. My go-to is the rubber band method: just place a wide rubber band flat over the screw head. The rubber often gives your screwdriver just enough extra grip to bite into the damaged metal and turn it. If that fails, then it’s time to look at a dedicated screw extractor set.
Painted-Over Or Rusted Hinges
Sometimes the biggest problem isn't the screw, but the hinge itself. Decades of paint can practically glue a hinge right to the cabinet frame. Don't just start yanking on it, or you'll take a chunk of paint with you.
Instead, grab a utility knife and carefully score the paint right around the hinge's perimeter. This creates a clean break, preventing the paint on the cabinet frame from chipping off as you gently pry the hinge away.
Got rust? A little penetrating oil like WD-40 is your best friend here. Just give the hardware a quick spray and let it soak in for a few minutes. That's usually enough to break down the rust so you can get the screws moving again.
Don’t get tripped up by modern hardware, either. A lot of soft-close systems have hidden release clips instead of obvious screws. Feel along the back of the hinge—you’re looking for a small lever or button. Pressing it often pops the door right off the frame, no screwdriver needed.
Running into these minor headaches is just part of the DIY process. Of course, if you run into major damage or decide the job is bigger than you thought, it might be a good time to look into the average cost to install cabinets to weigh all your options.
Questions That Always Come Up When Removing Cabinet Doors
Even the most straightforward DIY project has its quirks. When it comes to taking off cabinet doors, a few questions almost always surface. Let's tackle them head-on so you can keep your project moving without any second-guessing.
One of the most common hangups is the order of operations: do you take the hinge off the door first, or off the cabinet frame? From my experience, it's almost always better to remove the screws connecting the hinge to the cabinet frame first.
Keep one hand firmly on the door to support its weight as you unscrew the hinge. This lets you lift the whole door and hinge assembly away cleanly. Then, you can lay it on a padded work surface to remove the hinges from the door itself. Trust me, it’s much safer and you're far less likely to drop a door or strip a screw while wrestling with it at an awkward angle.
Should I Label Everything and Empty the Cabinets?
Yes, and you'll thank yourself later. A simple labeling system is your best friend here. Grab some painter’s tape and a marker. Put a number on a piece of tape inside the top corner of the cabinet box (e.g., "1") and a matching "1" on the back of the door that came from it. All the hardware for that door—hinges, screws, and all—goes into a plastic bag also labeled "1."
And while you don't technically have to empty your cabinets, I strongly recommend it. It's a bit of upfront work that pays off in three big ways:
- Nothing can accidentally fall out and break while you're maneuvering the doors off.
- It protects your dishes and food from the inevitable dust, especially if you plan on sanding or painting.
- You'll have way more room to get your body and tools inside the cabinet frame without being cramped.
One thing that stumps a lot of people is the modern European-style hinge. Many of these are designed for tool-free removal. Before you grab a screwdriver, look for a small clip or button on the part of the hinge attached to the cabinet box. Pressing it often releases the entire door and hinge from the mounting plate in one smooth motion. It's a game-changer!
Ready to transform your kitchen with cabinetry that’s built to last? The experts at Sinclair Cabinetry inc have over 35 years of experience crafting beautiful, high-quality custom cabinets. Explore our custom kitchen, bathroom, and storage solutions today!