
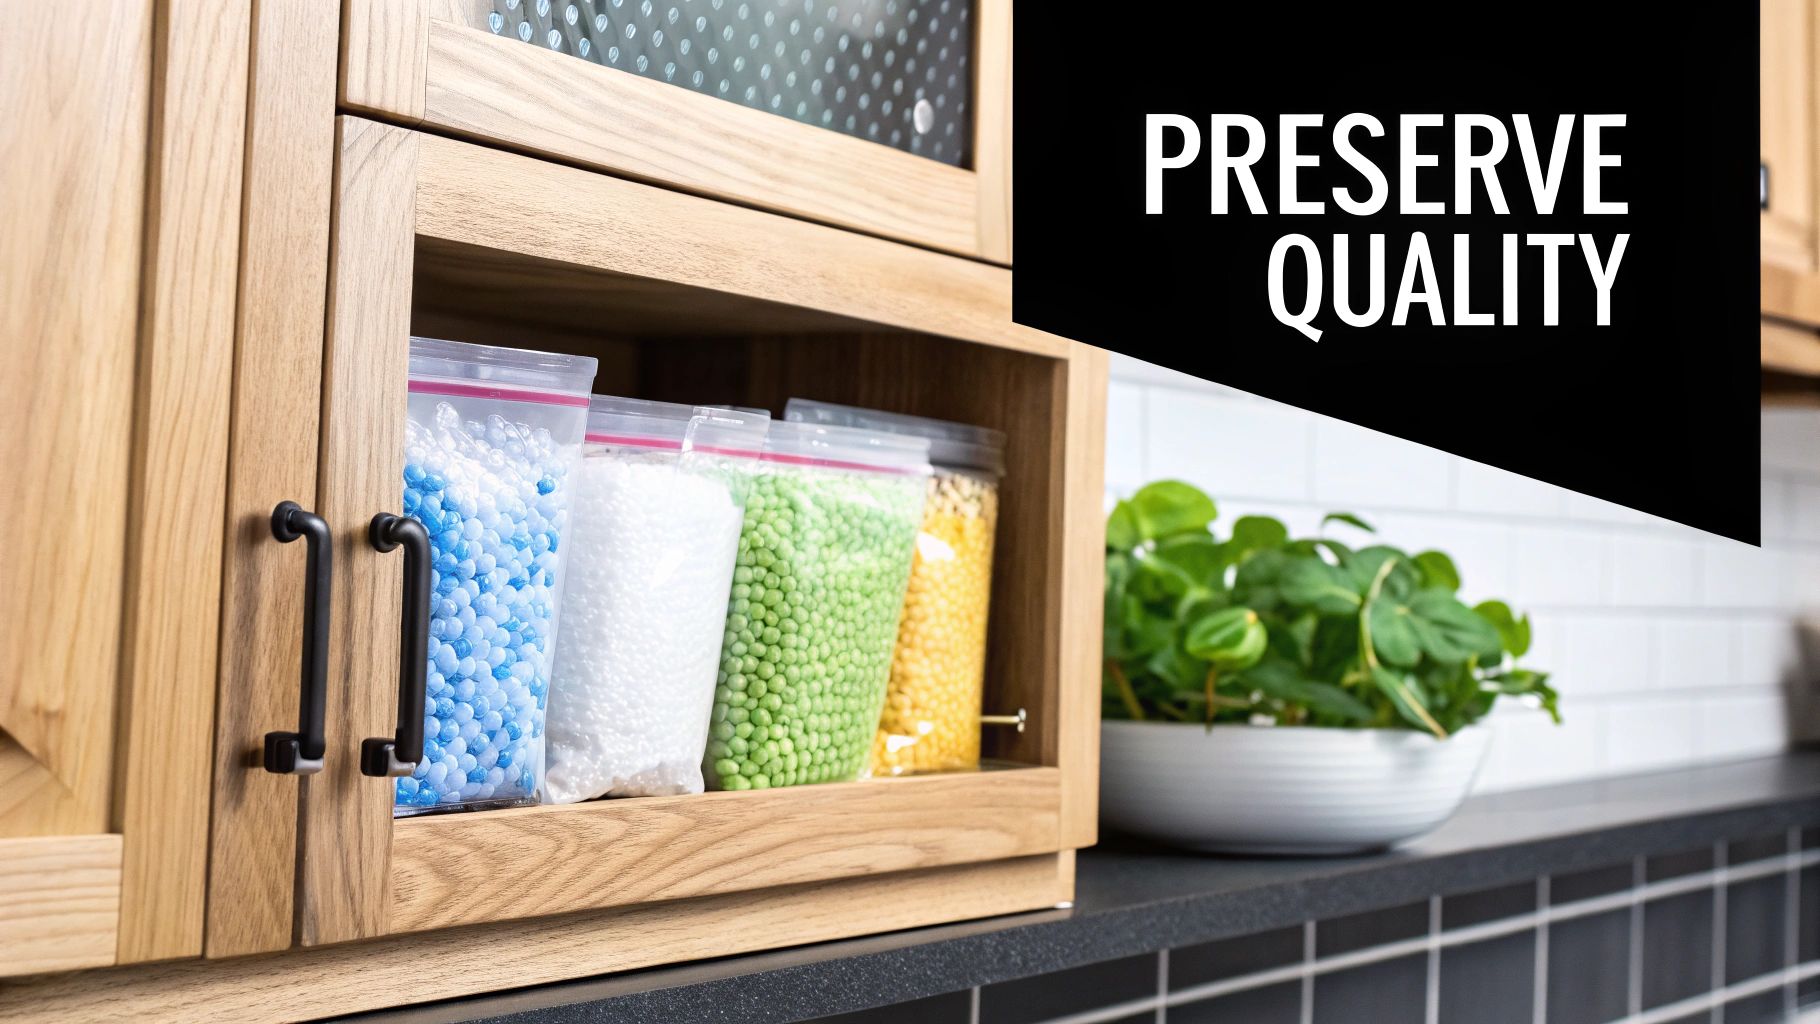
It’s a silent threat, but one that can cause serious, irreversible damage to your most cherished possessions. We're talking about the moisture levels inside your cabinets. Proper cabinet humidity control isn't just a fancy term; it's the active process of managing the air in your enclosed storage to shield your valuables from the slow, creeping damage caused by too much dampness or excessive dryness.
This is a critical, yet often overlooked, step in protecting everything from the structural integrity of your wooden cabinets to the delicate electronics stored inside.
Why Stable Humidity in Cabinets Is So Important
Think of fluctuating humidity as a persistent enemy of fine craftsmanship and valuable collections. You might not see the damage happening day-to-day, but even small shifts in relative humidity (RH) can have a massive impact on the items tucked away inside your cabinets. This is especially true for anything made of wood.
The Impact on Wooden Cabinetry
Wood is a "hygroscopic" material. In simple terms, this means it naturally absorbs and releases moisture from the air, constantly trying to find a balance with its surroundings. When the air is humid, wood fibers swell up. When the air is dry, they shrink back down. This constant cycle of expansion and contraction puts an incredible amount of stress on the cabinet itself.
Over time, this relentless movement leads to visible and often permanent damage:
- Warped Doors: Cabinet doors start to twist and pull, meaning they no longer sit flush against the frame.
- Cracked Finishes: The protective lacquer or paint simply can't stretch and shrink along with the wood, leading to fine cracks and, eventually, flaking.
- Split Joints: The seams where different pieces of wood are joined together can weaken and pull apart, which compromises the cabinet's entire structure.
A stable environment is the absolute key to longevity. For solid wood furniture, the ideal humidity range is generally between 40% and 60% RH. Straying too far outside that zone is just asking for trouble.
Beyond the Wood: What’s Inside Is at Risk, Too
The danger doesn't stop with the cabinets themselves. The microclimate you create inside your storage can wreak havoc on a whole host of other prized possessions. For example, high humidity is the perfect breeding ground for fungus, which can permanently etch itself onto camera lenses and render them totally useless.
Sensitive electronics are also at high risk. Sustained dampness leads to corrosion on circuit boards and other metal components, causing malfunctions or complete failure. Even things that seem tough, like important documents or old family photo albums, can fall victim to mold, mildew, and slow decay when stored in a damp space. Proactive cabinet humidity control is simply non-negotiable if you want to preserve these items.
The growing awareness of these risks is being seen across entire industries. The global market for specialized humidity and temperature control cabinets is set to grow from USD 1.5 billion in 2023 to USD 2.7 billion by 2032. This isn't just a niche market; it's driven by a real need for precise environments in sectors from pharmaceuticals to electronics. You can discover more about this market growth on dataintelo.com, and it underscores a simple truth: controlling humidity is essential for protecting valuable assets, whether in a factory or your living room.
To give you a better idea of what to aim for, here’s a quick guide to the ideal humidity levels for common items you might store in your cabinets.
Ideal Humidity Ranges for Common Cabinet Items
This table offers a quick-reference guide to the recommended relative humidity (RH) ranges for different types of items you might be keeping in your cabinets.
| Item Type | Ideal Relative Humidity (RH) | Risk of Improper Humidity |
|---|---|---|
| Solid Wood Furniture | 40% – 60% | Cracking, warping, joint failure (too low or too high) |
| Electronics & Cameras | 35% – 50% | Corrosion, fungal growth on lenses (too high) |
| Books & Documents | 30% – 50% | Mold, mildew, foxing (too high); brittle pages (too low) |
| Musical Instruments | 40% – 55% | Warped necks, cracked wood, finish damage |
| Cigars (in a humidor) | 68% – 72% | Drying out (too low); mold, poor burn (too high) |
| Textiles & Fabrics | 45% – 55% | Mold, mildew, fiber decay (too high); brittleness (too low) |
Maintaining the right balance is crucial. As you can see, both high and low humidity pose significant threats, making consistent monitoring and control your best defense against long-term damage.
How to Accurately Measure Your Cabinet's Humidity
You can't manage what you don't measure. Before you start trying to fix your cabinet humidity control, you need a clear picture of what’s actually happening inside. Just guessing based on the room’s ambient air won’t cut it—enclosed spaces like cabinets create their own little microclimates, and you might be surprised by how different the conditions are.
The single best tool for this job is a digital hygrometer. These are small, surprisingly affordable devices that give you a precise reading of the relative humidity (RH) inside your cabinet. While even a basic model gets the job done, I’m a big fan of the newer smart hygrometers that connect to your phone via Bluetooth.
Why go smart? Because they track and log humidity data over time. This lets you see the bigger picture—you can spot humidity spikes after a heavy rainstorm or see the numbers plummet during a dry winter spell. Understanding these patterns is what separates guessing from genuine environmental control.
Choosing and Placing Your Hygrometer
When you’re shopping for a hygrometer, the most important spec is its accuracy rating. Look for one that’s accurate within ±2% to ±5% RH. Anything less reliable, and you’re just making decisions based on fuzzy data.
Once you have your device, placement is everything. Don’t just toss it in right by the door; it’ll get hit with fluctuating room air every time you open it, throwing off your readings. For a truly representative measurement, you want to position it in the center of the cabinet, away from the walls.
If you're dealing with a larger cabinet, like a pantry or a gun safe, I strongly recommend using two sensors. Place one near the top and another near the bottom. This will tell you if you have any moisture stratification, where damp air is settling in one area.
Expert Tip: To get a real baseline, you need a little patience. Close the cabinet door and leave the hygrometer undisturbed for at least 24 hours. This gives the internal atmosphere time to fully stabilize, so you can get an accurate measurement of its true resting humidity level.
After a day has passed, take a look at the reading. Is it within a safe range for what you’re storing? For instance, a reading of 65% RH in a cabinet holding old family photos is a major red flag for mold. That number alone tells you it’s time to act—and fast.
Making Sense of the Data
Once you have your baseline, monitoring becomes a simple habit. A quick glance at the hygrometer will tell you if your humidity control efforts are actually working. After you’ve added a few silica gel packs, for example, you should see a noticeable drop in the RH percentage over the next day or two. If those numbers aren’t budging, you know you need to bring in something with a bit more muscle.
Here's what to watch out for:
- Sudden Spikes: A sharp, unexpected jump in humidity could mean a new moisture source has been introduced. Did someone put a damp item inside? Is there a new leak in a nearby wall?
- Gradual Creep: If you see the humidity slowly climbing over a few weeks, it's often a sign that your passive desiccants (like silica gel) are saturated and need to be recharged or replaced.
- Consistently Low Readings: While most people worry about high humidity, extremely low levels (below 30% RH) can be just as bad for wood. It can cause the wood to become brittle, leading to cracks and warping.
By actively measuring and interpreting these numbers, you’re no longer just guessing about moisture. You’re actively managing it, and that’s the secret to giving your cabinets and their precious contents a long, healthy life.
Simple, Low-Tech Ways to Manage Moisture Every Day
Keeping your cabinets dry and stable doesn't always mean plugging something in. Honestly, for most smaller cabinets or homes in less humid climates, you can get amazing results with simple, passive methods. These solutions are cheap, easy to find, and do a surprisingly good job of pulling extra moisture out of the air.
The one everyone knows is silica gel. You've seen those little "do not eat" packets that come with new shoes or electronics. Well, bigger versions of those are perfect for tucking inside a cabinet. They work by adsorbing water vapor, essentially trapping it so it can't harm your wood.
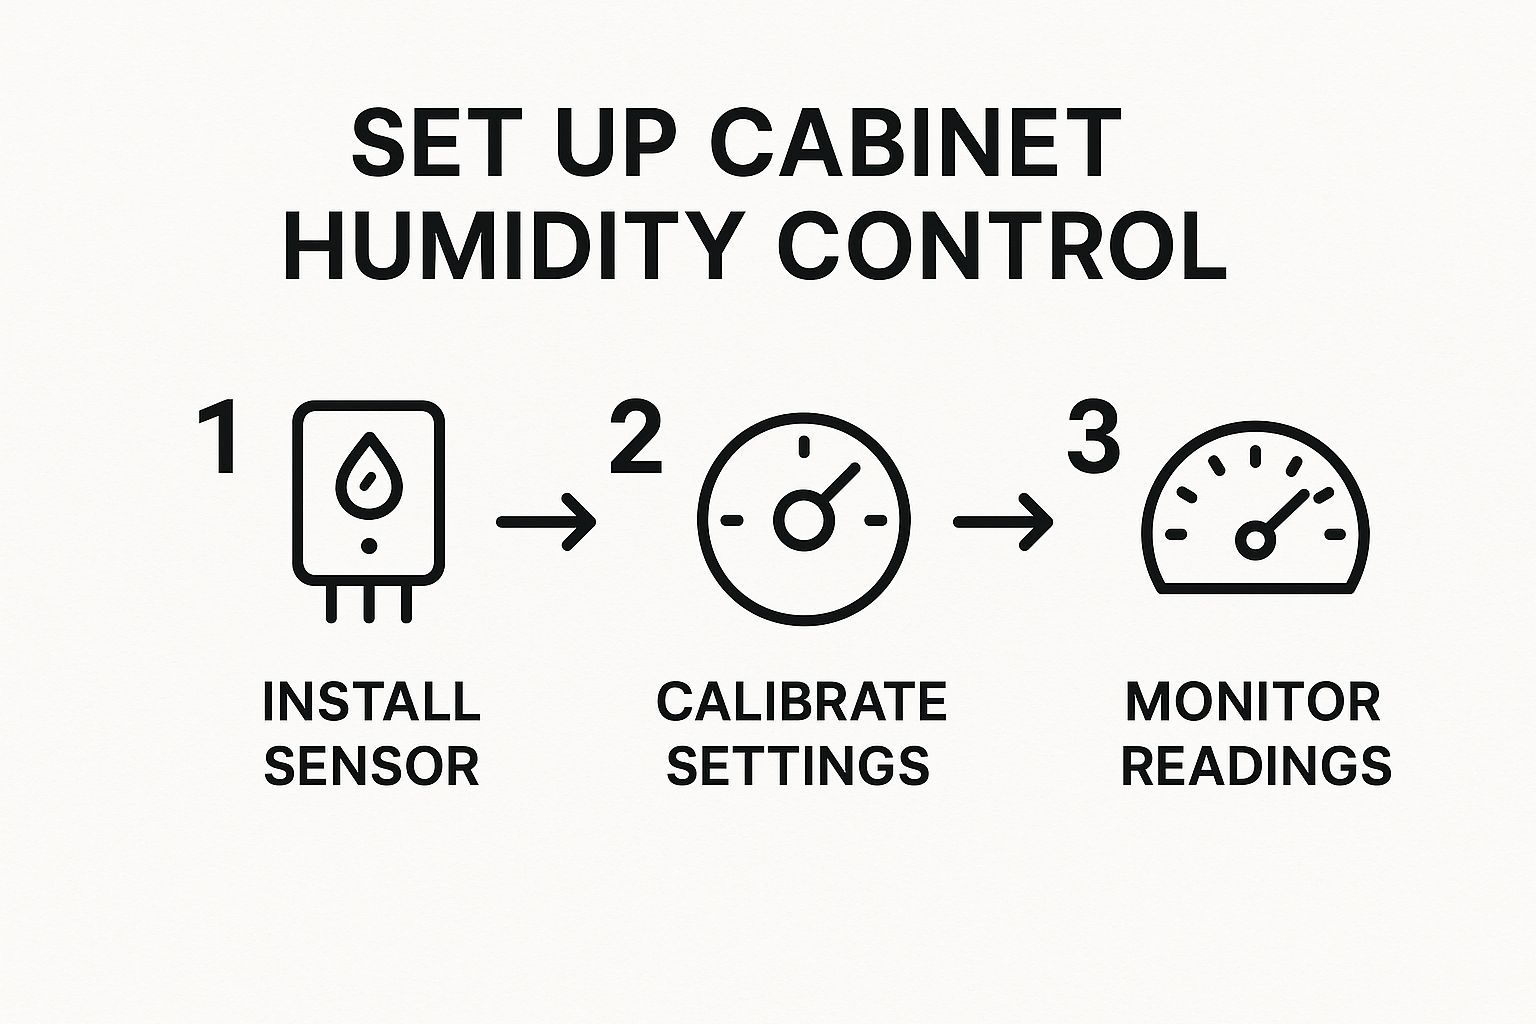
The image above nails the basic cycle for any humidity control, whether it's a simple desiccant or a high-tech device. You install it, you check your levels to make sure it's working, and you keep an eye on it. That's the core of protecting your cabinets.
How to Pick and Use Desiccants
You can find silica gel in two main forms: indicating and non-indicating. My advice? Always go for the indicating variety. These have little beads that change color (usually from orange to green) as they soak up moisture. It completely removes the guesswork—one glance tells you when it’s time to take action.
One of the best things about silica gel is that it's reusable. Once the beads have turned green, you just need to pop them in the oven on low heat (around 200-250°F) for a couple of hours. This bakes out the trapped moisture, resets the beads to their original color, and gets them ready to go back to work.
Here's a tip from experience: don't skimp on the amount. I see people use a tiny packet for a huge space, and it just can't keep up. A solid rule of thumb is to use about 5 grams of silica gel for every cubic foot of cabinet space you want to protect. A small cabinet for camera gear might only need a few canisters, but a big pantry will need a much larger container to be effective.
Beyond Silica: Other Great Passive Options
Silica gel is fantastic, but it's not the only player in the game. Another one of my go-to passive methods is using activated charcoal bags. These are brilliant because they do two jobs at once: they absorb excess moisture and soak up any musty odors.
This makes them a perfect fit for kitchen pantries, linen closets, or those cabinets under the sink where things can get a little funky. Like silica, you can often "recharge" these bags by leaving them in the sun for a few hours. This dual-action approach is a great example of smart, efficient kitchen cabinet storage solutions.
Ultimately, these passive methods are your first and best line of defense. By tucking them into corners or placing them on shelves, you can create a stable little micro-environment that shields your belongings from the slow, quiet damage that humidity can cause.
Active Dehumidifiers for Serious Protection
Sometimes, silica gel packets just won't cut it. When you're dealing with high-value collections or live somewhere that feels like a sauna year-round, you need to bring in the big guns for cabinet humidity control. This is where powered solutions, or active dehumidifiers, come into play. They create a stable micro-environment inside your cabinet, no matter what the weather is doing outside.
Forget those clunky, noisy basement dehumidifiers. We're talking about compact, energy-efficient units designed specifically for enclosed spaces. They offer a much more powerful defense against moisture than any desiccant ever could by actively pulling water vapor from the air to maintain a precise humidity level.
This level of control isn't just a niche concern anymore. The market for specialized electronic humidity control cabinets is expected to jump from USD 250 million in 2024 to a staggering USD 450 million by 2033. This trend, which you can read more about in this market report, shows a clear global shift toward protecting sensitive items with dedicated equipment.
Choosing Your Compact Dehumidifier
When you start shopping for a compact dehumidifier, you'll find two main technologies on the market: Peltier and desiccant rotor. Knowing the difference is crucial for picking the right tool for the job.
- Peltier (Thermo-Electric) Dehumidifiers: These are the most common for a reason. They use a cool surface to condense moisture out of the air, which then drips into a small collection tank. They're whisper-quiet, have almost no moving parts, and are a perfect fit for small- to medium-sized cabinets storing things like electronics, documents, or photo albums.
- Desiccant Rotor Dehumidifiers: These work a bit differently. A wheel made of desiccant material slowly rotates to absorb moisture. A small internal heater then warms a section of the wheel, releasing the trapped moisture, which gets vented out of the unit. They're especially effective in cooler environments where Peltier models can sometimes lose their punch.
For most people protecting items in a typical home cabinet, a Peltier unit is an excellent and affordable choice. Just remember to check the water tank every so often and empty it.
Picture this: You have a gorgeous antique wood cabinet filled with a collection of vintage cameras and lenses. A small Peltier dehumidifier, set to a steady 45% RH, runs silently in the background. It works around the clock to stop fungus from growing on those delicate lens coatings—a devastating and all-too-common problem for collectors in humid regions.
The Gentle Power of Dehumidifying Rods
There's another fantastic active solution out there, especially for larger spaces like gun safes, pantries, or closets: the dehumidifying rod. It's no surprise that brands like GoldenRod have become the gold standard for collectors.
These rods don't actually collect water. Instead, they work by gently heating up to a surface temperature of about 125–150°F. This subtle warmth is just enough to raise the air temperature inside the cabinet, which in turn lowers the relative humidity. The warm, dry air then circulates naturally through convection, preventing damp, stagnant air from settling on your prized possessions.
Installation couldn't be easier.
- Pick a rod length that fits your cabinet's size.
- Mount it horizontally near the bottom using the clips provided.
- Plug it in and you're done.
The rod sips electricity—often less than a tiny nightlight—making it an incredibly safe and budget-friendly way to get 24/7 protection. By keeping the air moving and preventing condensation before it starts, it provides a dead-simple yet highly effective method of cabinet humidity control.
Creating a Stable Environment for the Long Term
When it comes to protecting your cabinets from humidity, you have to play the long game. Instead of just reacting to dampness inside the cabinet, the most effective strategy is to create a stable, healthy environment in the entire room. This big-picture approach lightens the overall moisture load, making any specific in-cabinet solutions you use far more successful.
It all starts with something simple: location. Where you place your cabinets can either set you up for an easy win or lock you into a constant battle against moisture.
I always advise clients to avoid placing valuable wooden cabinets directly against exterior walls. This is especially true in basements or rooms with less-than-ideal insulation. These walls are often colder and more prone to condensation, which can essentially bathe the back of your cabinet in damaging moisture. Similarly, keep them away from drafty hallways or right next to a bathroom door where humidity can swing dramatically.
Improving Room-Wide Conditions
Think of the room itself as your first line of defense. If the entire space has a stable humidity level, your cabinets won’t have to struggle.
One of the easiest ways to get there is by improving the overall ventilation. You’d be surprised what a difference it makes. Just running a ceiling fan on low or cracking a window on a dry day can keep stagnant, moist air from settling and causing problems.
For those of us in persistently humid climates, a good room dehumidifier is an absolute game-changer. By controlling the ambient humidity of the entire area, you dramatically reduce the amount of moisture trying to find its way into your woodwork. It creates a much more forgiving environment for everything in the room, not just your cabinets.
Fortifying the Cabinet Itself
Once you’ve tackled the room, it's time to zoom in on the cabinet’s own defenses. The goal here is to make it as tough as possible for any lingering ambient moisture to sneak inside. This step is critical for preserving both the structural integrity and the finish of your furniture.
If you happen to be in the market for new cabinets, building for durability from the start is key. Our guide on how to choose kitchen cabinets can point you toward materials and construction methods built to last.
For existing cabinets, take a close look at the door seals. Are they flush and tight? Over time, older cabinet doors can develop gaps that basically act as an open invitation for humid air. If you can see light peeking through the cracks, that’s a problem. A simple fix is to add thin, self-adhesive foam or rubber weatherstripping around the inside of the door frame.
A simple flashlight test is one of my favorite low-tech tricks. Put a lit flashlight inside a cabinet, close the door, and turn off the room lights. Any light you see escaping points to a seal that needs your attention. It’s a surprisingly effective way to spot major air leaks.
This level of detailed environmental management might sound intense, but it’s becoming standard practice in industries where precision is everything. Think about it: the global market for electronic humidity control cabinets is booming, with North America leading the way because of all the data centers that require perfectly stable conditions. This focus on both macro- and micro-environments is a great lesson we can apply right in our own homes.
By combining these strategies—smart placement, room-wide air management, and a well-sealed cabinet—you create a powerful, multi-layered defense. This proactive approach is the secret to making sure your treasured cabinets are protected for years to come.
Answering Your Cabinet Humidity Questions
Even when you've done everything right, you're bound to have a few questions once you start actively managing the climate inside your cabinets. That's perfectly normal. Getting the details right is what separates decent cabinet humidity control from truly great protection.
Let's dive into some of the most common questions I hear. My goal is to clear up any confusion and give you the confidence to protect your investment.
Can I Use a Regular Room Dehumidifier for My Cabinets?
Yes, you absolutely can—and you probably should. Think of a good room dehumidifier as your first and broadest line of defense. It works by lowering the overall moisture in the entire room, which drastically reduces the humidity your cabinets are exposed to in the first place.
However, a room dehumidifier sets the general climate. For anything especially sensitive—like antique wooden instruments, high-end camera gear, or irreplaceable documents—the micro-environment inside the cabinet can still see some swings.
For the absolute best results, I always recommend a two-pronged approach. Use a room dehumidifier to keep the space at a steady baseline (say, 45-55% RH), then add a smaller, in-cabinet solution like silica gel or a dehumidifying rod for pinpoint control right where it counts.
How Often Should I Recharge My Silica Gel Desiccants?
The honest answer? It really depends. How often you need to recharge your silica gel comes down to two big factors: the humidity of the room and how well-sealed your cabinet is.
If your cabinet is in a damp basement or has a door that’s opened frequently, you might find yourself recharging those packets every two to four weeks. On the other hand, inside a well-sealed cabinet in a climate-controlled room, the same desiccants could easily last for several months.
My pro-tip is to skip the guesswork entirely. Use silica gel packs that have built-in color-indicating beads. They usually start as orange or blue and will change color (often to a dark green or pink) when they're full of moisture. This visual cue tells you exactly when it’s time to pop them in the oven to recharge, according to the manufacturer's instructions.
Are Electric Dehumidifying Rods Safe in a Wooden Cabinet?
This is a great question, and I get it a lot. The answer is a resounding yes. These rods were specifically designed with safety as the top priority for use in enclosed spaces.
They operate at a very low surface temperature, typically just warm to the touch at around 125–150°F (about 50–65°C). That's nowhere near hot enough to pose a fire risk to wood or anything else you'd store in a cabinet.
These rods work by creating a gentle, constant warmth. This slight heat causes the air inside the cabinet to circulate, which stops damp, stagnant air from settling on your valuables. It's one of the safest and most effective "set it and forget it" solutions out there, especially for gun safes, display cabinets, and closets.
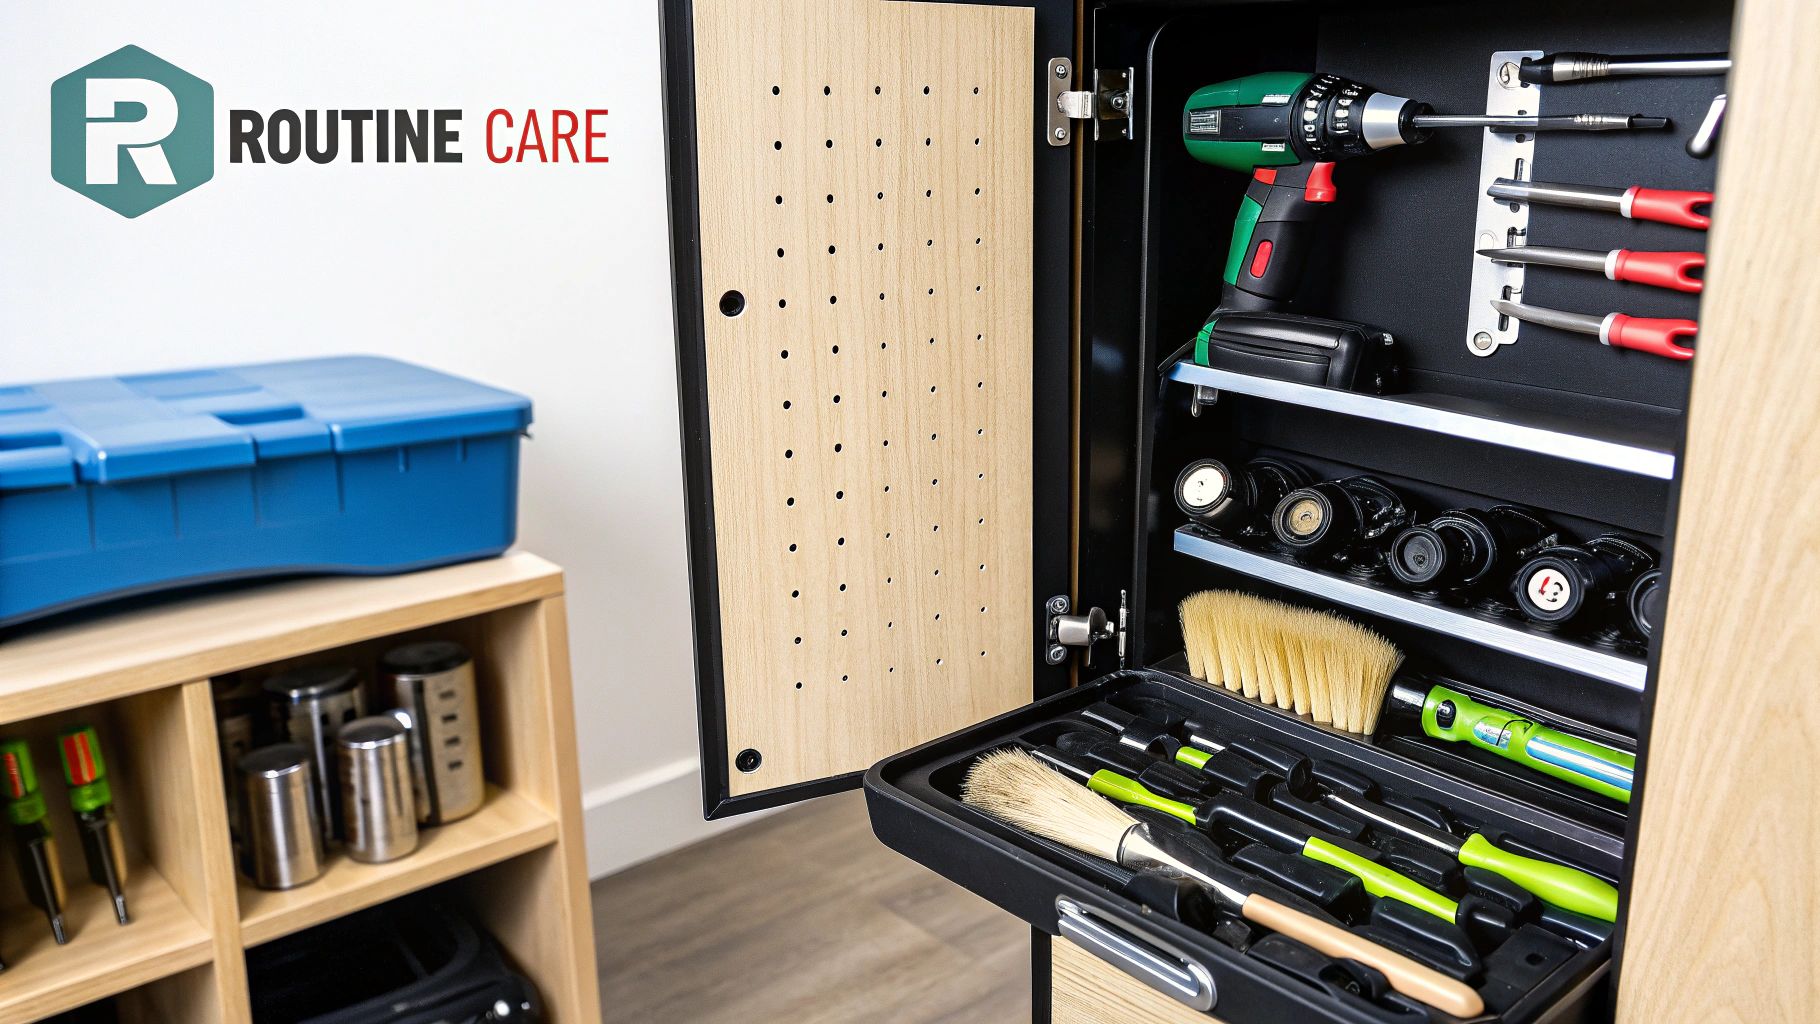
A clean, dry cabinet is also much easier to keep in top shape. For more advice, you can learn all about the best practices for how to clean wood cabinets to ensure they stay looking pristine.
For bespoke cabinetry built to withstand the elements and showcase your valuables with elegance, trust the experts. Sinclair Cabinetry inc has over 35 years of experience crafting real wood cabinets designed for lasting beauty and durability. Explore our custom solutions at sinclaircabinets.com.