
Why Your Wood Cabinets Deserve Proper Care
Wood cabinets bring warmth and character to a home, enhancing its aesthetic appeal and increasing its value. They are more than mere storage; they are an investment. Like any valuable possession, proper care is essential to preserving their beauty and extending their lifespan. Think of them as a cherished piece of furniture, requiring regular maintenance to retain their allure.
This means understanding the nuances of different wood species and finishes. How a particular wood reacts to a cleaning method can vary significantly. For instance, a cleaning solution perfect for a cherry cabinet with a high-gloss finish might damage an oak cabinet with a natural finish.
Understanding the Impact of Proper Cleaning
Knowing the correct way to clean your wood cabinets goes beyond just keeping them looking good. Regular cleaning prevents the buildup of grease, grime, and food particles, which can dull the finish and, over time, damage the wood itself.
Proper cleaning also protects against moisture damage, a major cause of wood deterioration. This is especially important in areas prone to spills and steam, such as around sinks and stovetops. Much like moisturizing your skin prevents dryness and cracking, proper cleaning helps maintain the wood's integrity. This prevents warping, cracking, and discoloration.
The importance of maintaining wood kitchen cabinets is reflected in recent consumer trends. A 2020 survey by the National Kitchen and Bath Association found that 71% of consumers prioritize cabinet material quality when renovating or buying a home. This highlights the impact well-maintained cabinets can have on your home's value. Explore this topic further here.
Protecting Your Investment
Understanding how to clean wood cabinets is about protecting a significant investment. Cabinets are a substantial expense in any kitchen or bathroom remodel, and replacing them can be costly.
Consistent, proper cleaning extends their lifespan, potentially delaying or even eliminating the need for premature replacement. This not only saves you money but also contributes to sustainability by reducing waste.
Tailoring Your Approach to Different Wood Types
Different wood species and finishes require different cleaning approaches. Learning to identify your cabinet's specific needs allows you to tailor your cleaning methods for optimal results. A mild soap solution might suffice for some cabinets, while others might benefit from specialized wood cleaners to maintain their luster.
This tailored approach maximizes cleaning effectiveness while minimizing the risk of damage. By understanding the specific needs of your wood cabinets, you'll enjoy their beauty and functionality for years to come.
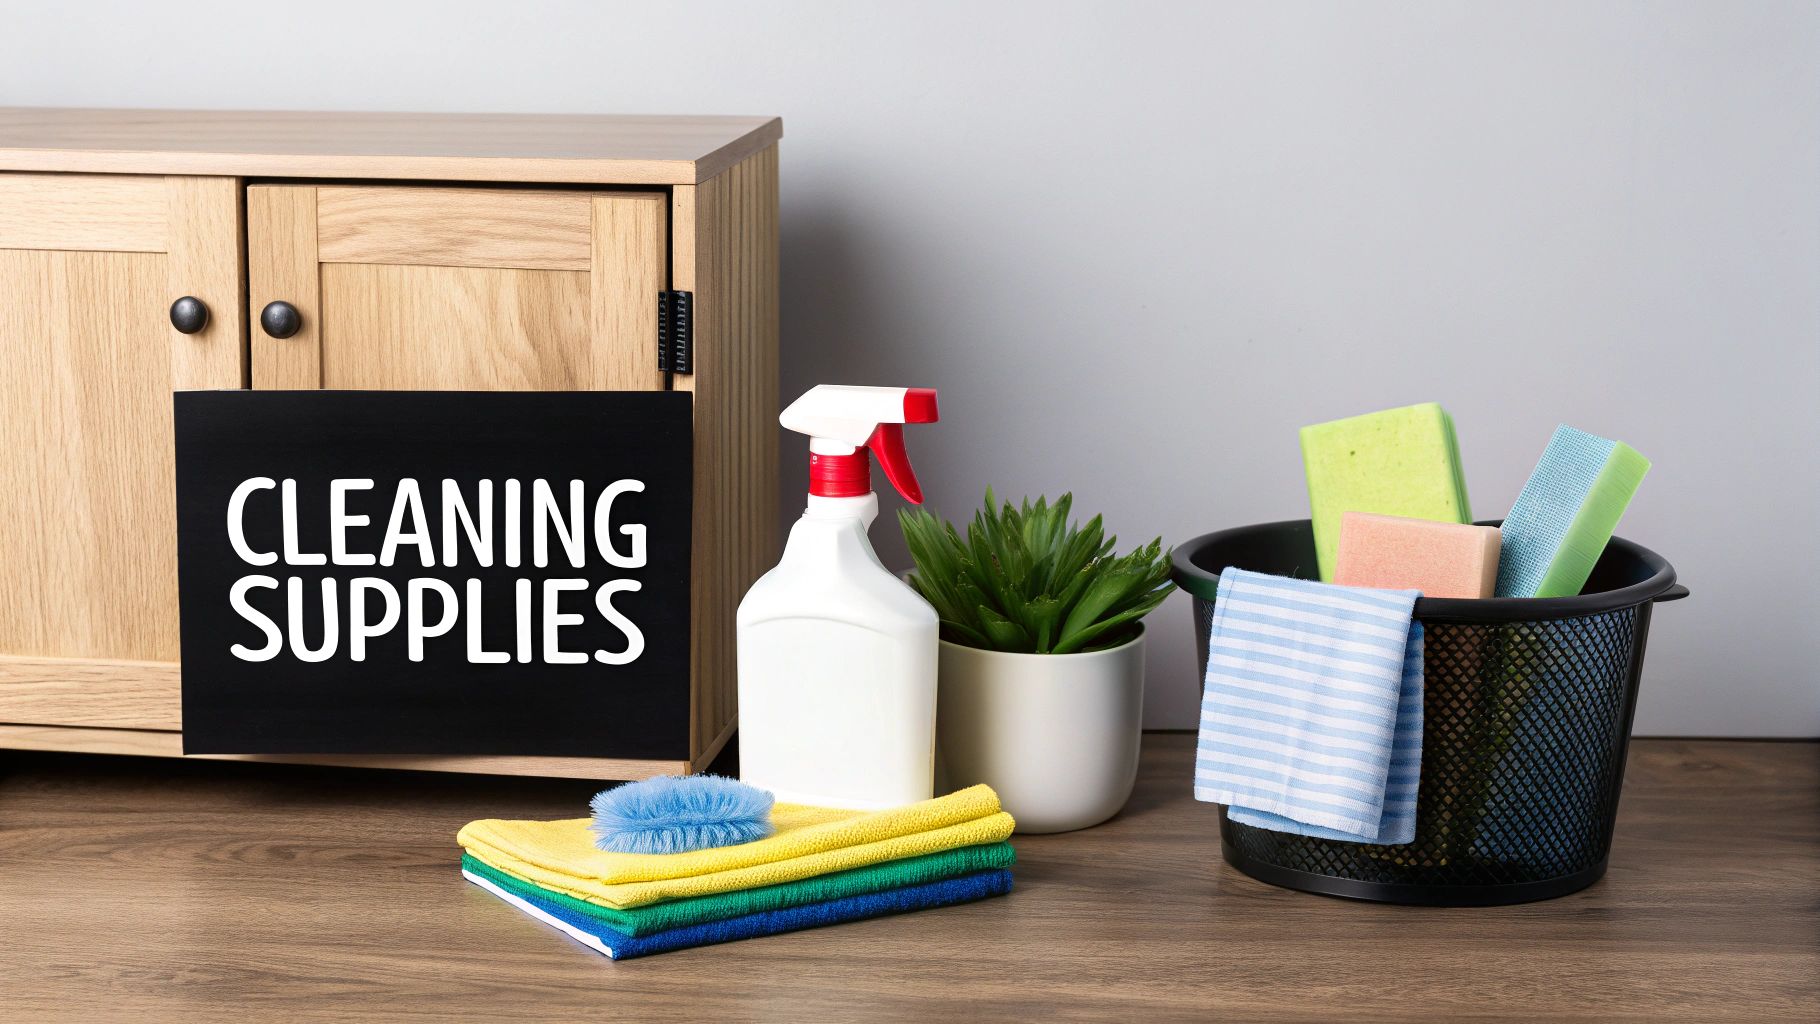
Assembling Your Wood Cabinet Cleaning Arsenal
Having the right tools and cleaning products is essential for effectively cleaning your wood cabinets. Forget harsh chemicals and abrasive scrubbers – they can actually do more harm than good. Building the right cleaning "arsenal" is all about gentle yet effective cleaning power. This involves understanding which products truly nourish and protect your wood, and which ones might be causing hidden damage.
Choosing The Right Cleaning Cloths and Brushes
Your first step in cleaning wood cabinets is choosing the right cleaning cloths and brushes. Microfiber cloths are a popular choice because their soft texture traps dust and grime without scratching. However, not all microfiber cloths are the same. Look for high-quality, tightly woven cloths designed for delicate surfaces.
Some microfiber cloths are plusher, ideal for dusting and buffing. Others are thinner and more absorbent, perfect for applying cleaning solutions. Soft-bristled brushes are also helpful for cleaning intricate carvings or detailed molding where dirt tends to accumulate. Choose brushes with natural bristles to prevent scratching. Gentle yet effective cleaning starts with the right tools.
Selecting Safe and Effective Cleaning Solutions
The cleaning solution you choose is crucial for your cabinets' beauty and longevity. Many commercial cleaners contain harsh chemicals that can strip the finish, dull the wood, and even cause long-term damage. For example, avoid cleaners containing ammonia or bleach, which are extremely harmful to wood finishes.
Instead, choose gentle, pH-neutral cleaners designed for wood. A simple solution of warm water and mild dish soap often works wonders. You can also create your own natural cleaning solutions using ingredients like vinegar and baking soda. For more inspiration on enhancing your cabinets, check out this guide: How to Choose Cabinet Hardware.
Specialized Recommendations For Different Finishes
Just like different wood species react differently to cleaning, so do various finishes. A high-gloss finish requires different care than an open-grain wood. High-gloss surfaces are more resistant to stains but show fingerprints and smudges easily. They benefit from a specialized cleaner designed for glossy surfaces.
Open-grain woods, which absorb more easily, need extra care to prevent moisture damage. Apply cleaning solutions sparingly and dry immediately. For oil-finished cabinets, avoid water-based cleaners, which can cloud the finish. Instead, use a dedicated wood oil soap or cleaner designed for oil-finished surfaces.
To help you further, we've compiled a table outlining recommended cleaning products for different wood cabinet types:
Recommended Cleaning Products for Different Wood Cabinet Types
This table provides appropriate cleaning solutions based on various wood cabinet finishes and materials.
| Cabinet Type | Recommended Cleaner | Products to Avoid | Special Considerations |
|---|---|---|---|
| High-Gloss | Specialized high-gloss wood cleaner | Ammonia, bleach-based cleaners | Wipe away smudges and fingerprints immediately |
| Open-Grain Wood | Mild dish soap and water, pH-neutral wood cleaner | Harsh chemicals, excessive moisture | Dry surfaces immediately after cleaning |
| Oil-Finished | Wood oil soap, cleaner for oil-finished wood | Water-based cleaners | Apply cleaner sparingly to avoid build-up |
| Painted Wood | pH-neutral wood cleaner, mild dish soap solution | Abrasive cleaners | Test cleaner in an inconspicuous area first |
This table summarizes the key cleaning solutions and precautions for maintaining various wood finishes. Choosing the right cleaning arsenal for your specific cabinets is key to keeping them beautiful for years.
Daily Cabinet Care That Takes Just Minutes
The secret to maintaining beautiful wood cabinets isn't hours of scrubbing. It's about consistent, daily habits that prevent dirt and grime buildup. These quick routines will help you maintain stunning cabinets with minimal effort. Just like daily dental hygiene prevents major dental work, a few minutes of cabinet care can save you from a major cleaning overhaul later.
The Power of the Quick Wipe Down
One of the most effective ways to keep your cabinets clean is a quick daily wipe-down. After meal prep, use a soft, damp microfiber cloth to wipe away spills, splatters, and fingerprints. This prevents sticky residues from hardening and staining, especially on handles and knobs.
Imagine a drop of tomato sauce on your cabinet. A quick wipe removes it instantly. Left to dry, it becomes a stubborn stain. Addressing fingerprints frequently prevents the buildup of oils that attract dust and grime. This method helps preserve the finish of your cabinets.
The Importance of Wiping with the Grain
Wipe your cabinets with the grain. This lifts dirt and dust effectively, preventing it from settling into the wood's pores. It minimizes scratches and maintains the smooth finish of your cabinetry.
Use a slightly damp cloth, not a soaking wet one. Too much moisture can damage the wood, causing warping or discoloration. Just the right amount of moisture keeps the wood looking its best.
Preventing Problems in High-Risk Areas
Some kitchen areas are more prone to grime. The stovetop, sink, and dishwasher areas are particularly susceptible to grease, water splashes, and food spills. Preventative measures in these zones minimize deep cleaning.
- Near the stove: A splatter screen minimizes grease buildup.
- Around the sink: Wipe up water splashes immediately to prevent water damage.
- By the dishwasher: A fully closed dishwasher door prevents steam damage.
Following these daily practices reduces the time spent cleaning your wood cabinets. These preventative measures, like regular car maintenance, keep your cabinets looking their best and extend their lifespan. You'll spend less time scrubbing and more time enjoying your kitchen.
Conquering Deep Cleaning Without Damaging Finishes
Even with regular upkeep, your wood cabinets will eventually need a deep clean. Grease, cooking residue, and grime build up over time. This section explains how professional restorers approach deep cleaning, balancing effective cleaning with preservation of the cabinet finish. The process focuses on pre-cleaning preparation and a systematic cleaning method for maximum efficiency.
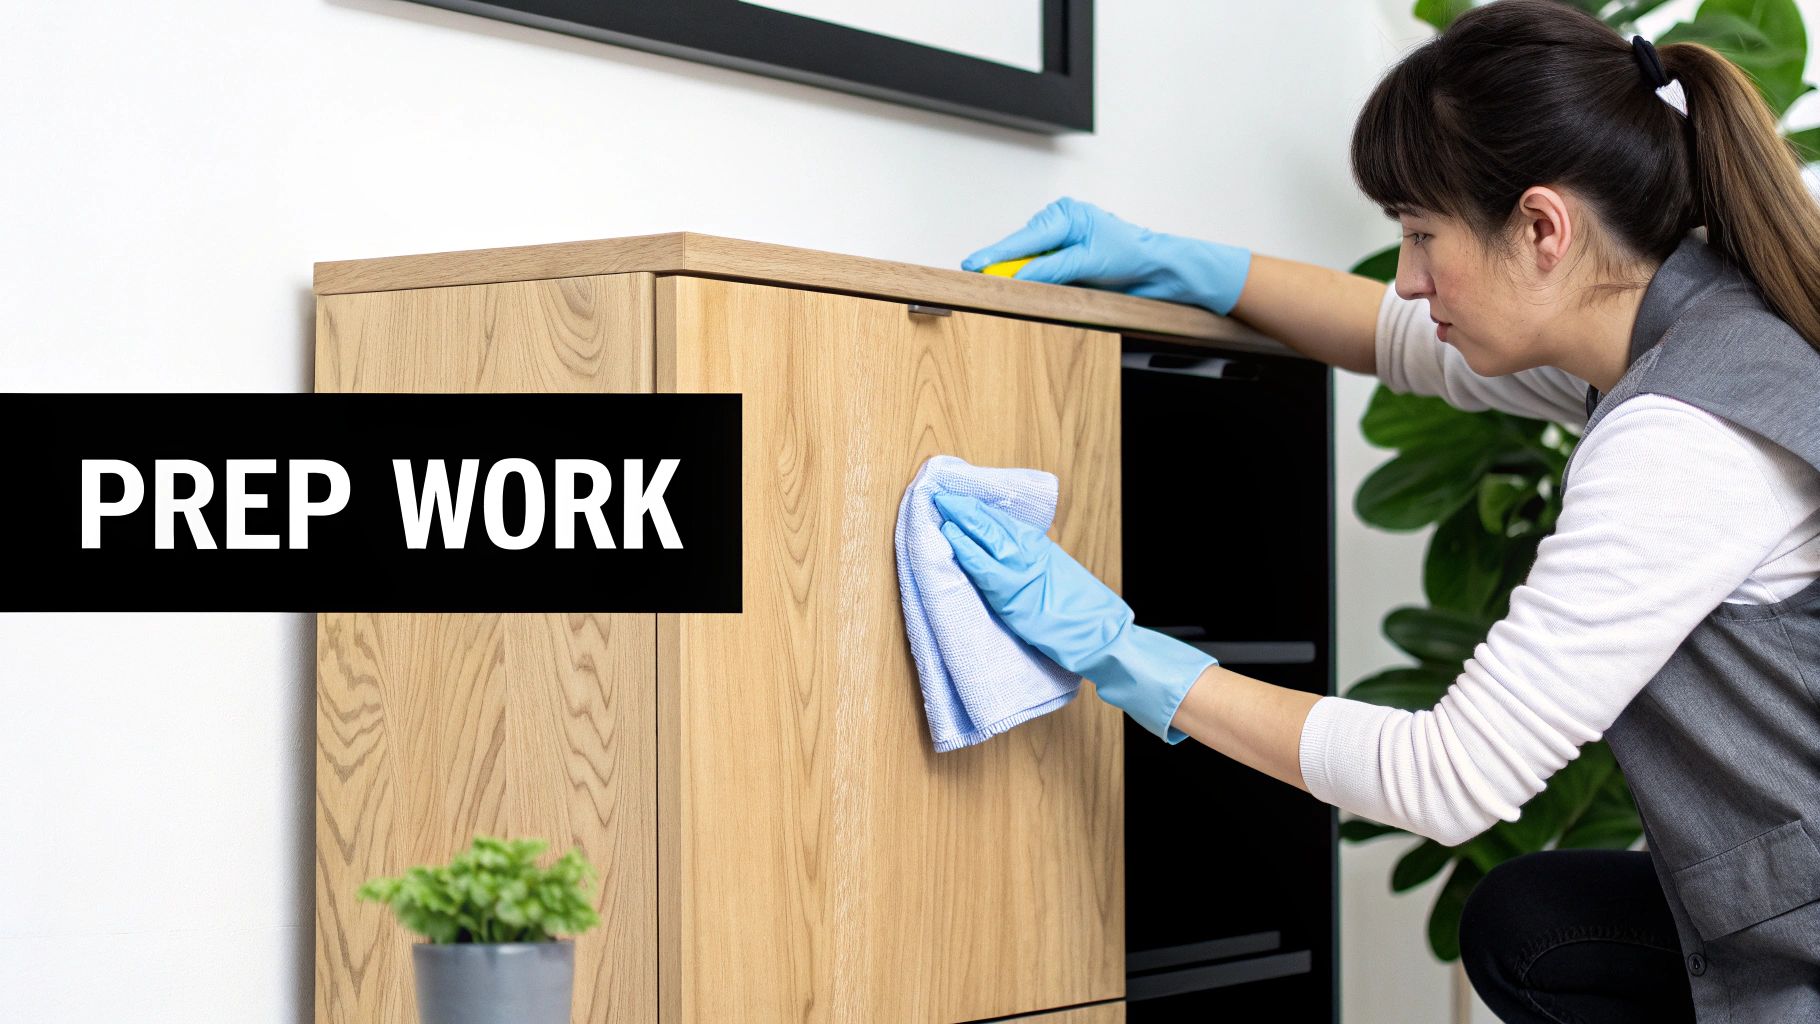
Pre-Cleaning Preparation: Setting the Stage for Success
Before starting the deep clean, protecting your cabinets and surrounding areas is essential. Empty the cabinets completely. This gives you access to every surface and crevice. Then, place drop cloths or old towels under the cabinets to catch any spills. This preparation, much like priming a wall before painting, ensures a smooth, damage-free cleaning experience. For everyday maintenance, efficiently cleaning large surfaces is important. Check out these tips for cleaning large windows.
Regular dusting, gentle cleaning with mild dish soap, and avoiding harsh chemicals are vital for cabinet care. Natural cleaners, like white vinegar and baking soda, are also becoming popular for their effectiveness and eco-friendliness. Learn more about eco-friendly cleaning for wooden cabinets here.
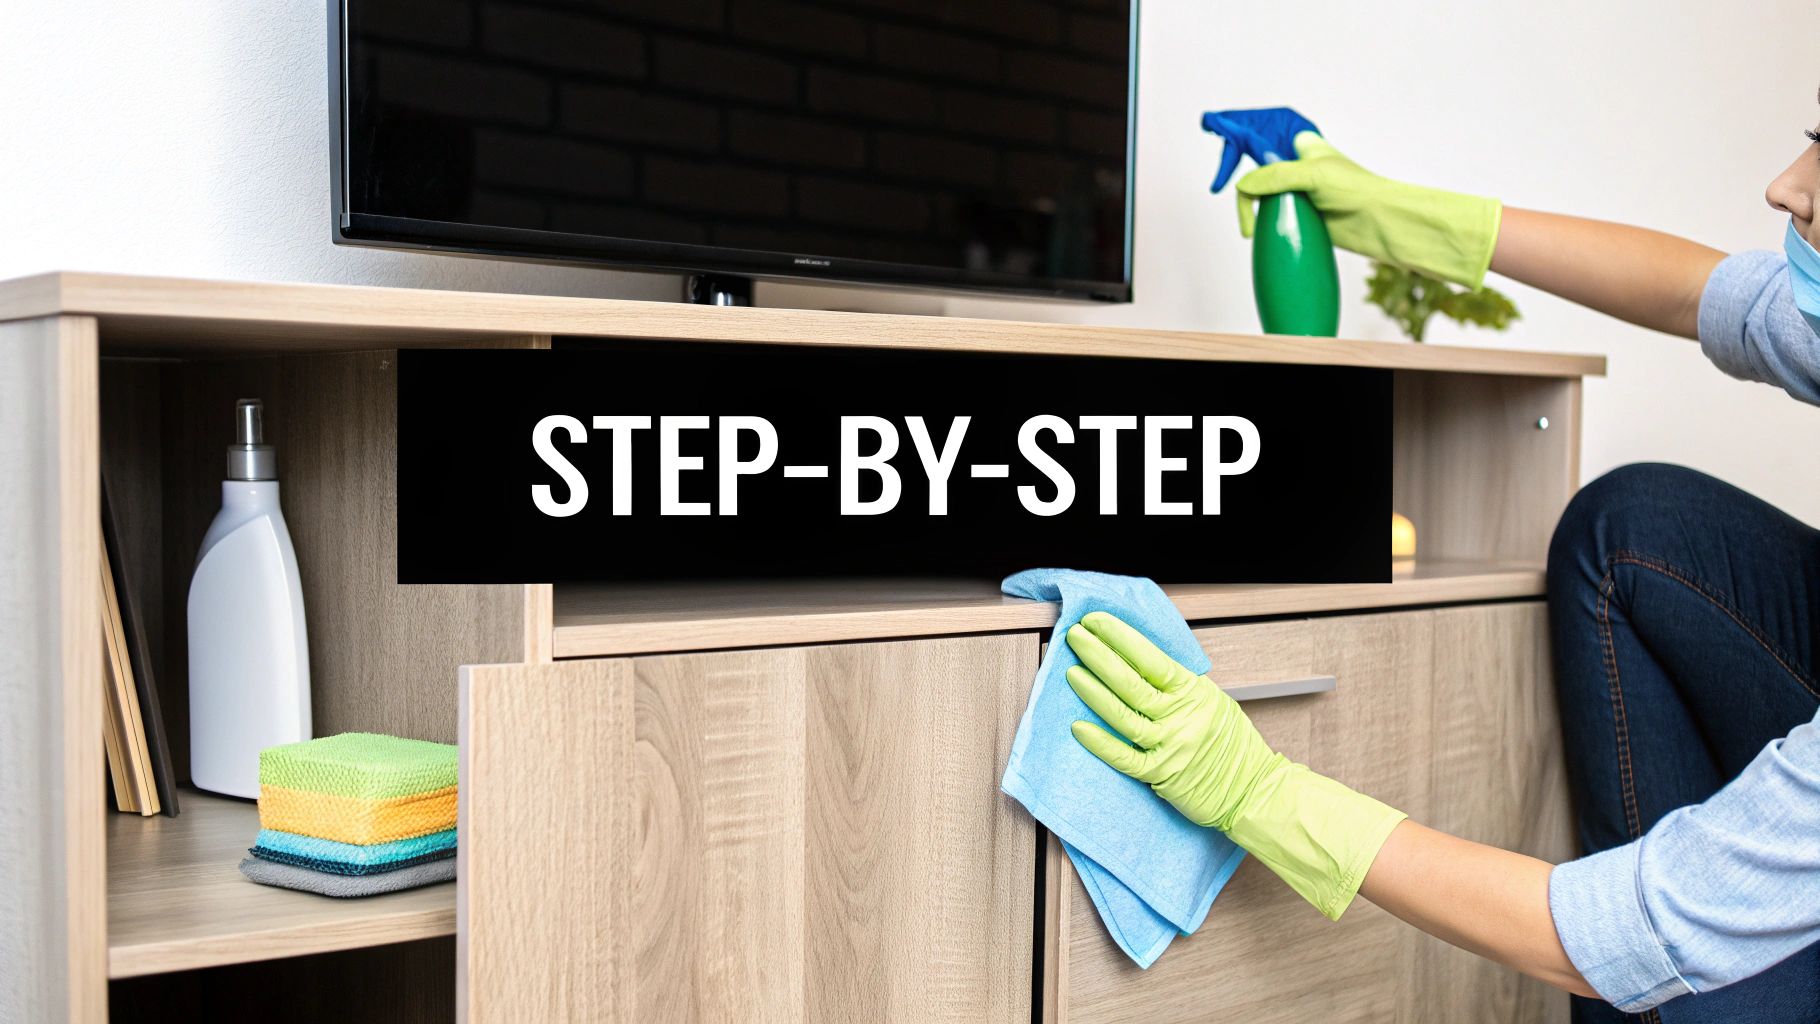
The Deep Cleaning Process: A Step-by-Step Guide
Begin by dusting your cabinets thoroughly. A soft microfiber cloth or a vacuum with a brush attachment works well. This removes loose dust and debris before you apply any cleaning solution. Next, prepare your cleaning solution. Remember, gentle cleaners are always the best choice for wood cabinets.
For stubborn grease, a baking soda paste can be effective. Apply it gently with a soft cloth, rubbing in the direction of the wood grain. Rinse the paste with a clean, damp cloth and dry immediately.
Addressing Specific Areas: Hardware, Corners, and Different Cabinet Locations
-
Hardware: Remove all hardware before cleaning the cabinets. Soak the hardware in soapy water to loosen grime. Clean with a soft brush and dry thoroughly before reattaching.
-
Corners: Use a cotton swab or a small, soft-bristled brush to clean those hard-to-reach corners and crevices. Grime tends to accumulate in these spots.
-
Upper Cabinets: Clean upper cabinets first. This prevents dirty drips from falling onto already-cleaned lower cabinets.
-
Under-Sink Cabinets: This area often experiences moisture and spills, so pay extra attention. Ensure it is completely dry after cleaning. For more advanced techniques, you might be interested in how to master cabinet finishing techniques.
Troubleshooting Unexpected Challenges
Occasionally, problems can arise even with careful cleaning. Watermarks or rings can often be removed by gently rubbing with a mixture of equal parts white vinegar and olive oil. For deeper stains or damage, consult a professional furniture restorer. This is especially important for antique or valuable cabinets. Understanding your cabinet's finish is crucial for preventing damage during cleaning. Sometimes, learning about other materials, such as how to remove heat stains from oak furniture, can offer helpful insights for your cabinet cleaning. With the right approach, deep cleaning can restore your wood cabinets and extend their life.
Natural Solutions That Actually Work on Wood
Many homeowners are turning to natural cleaning solutions for their wood cabinets as a safer alternative to commercial cleaners. These plant-based options offer a powerful clean without the harsh chemicals, promoting a healthier environment for your family and the planet. This section explores effective natural cleaning methods for achieving a professional-level clean on your wood surfaces.
Harnessing the Power of Natural Ingredients
Certain natural ingredients are incredibly effective for cleaning wood. White vinegar, a natural disinfectant, cuts through grease with ease. Baking soda, a mild abrasive, helps lift stubborn grime. Lemon juice, with its natural bleaching properties, brightens wood and tackles stains.
However, it's important to remember that while natural, these ingredients can be potent. Undiluted lemon juice, for instance, can damage some wood finishes due to its acidity. Similarly, some essential oils can leave unwanted residues. The key is using these ingredients in the right combinations and dilutions for effective cleaning without harming your wood.
DIY Natural Cleaning Solution Recipes
Before diving into recipes, it's essential to understand the proper application and storage of these solutions. Always dilute vinegar and lemon juice with water before applying. Undiluted application can damage the finish on your wood. Wipe surfaces with the grain to prevent scratches. Store your homemade solutions in airtight containers in a cool, dark place to maintain their effectiveness.
The following table offers a few simple and effective recipes for cleaning your wood cabinets naturally.
DIY Natural Cleaning Solution Recipes
A collection of homemade cleaning solution recipes using natural ingredients, with their specific applications and effectiveness ratings
| Solution Name | Ingredients | Best For | How to Use | Effectiveness Rating |
|---|---|---|---|---|
| Vinegar & Water Solution | 1 part white vinegar, 2 parts water | General cleaning, light grease removal, disinfection | Spray on surface, wipe with the grain, dry immediately | Excellent |
| Baking Soda Paste | Baking soda and water to form a paste | Stubborn grime, sticky residue | Apply paste, gently rub with a soft cloth, rinse, dry | Excellent |
| Lemon & Olive Oil Polish | 1/2 cup olive oil, 1/4 cup lemon juice | Polishing, restoring shine | Apply with a soft cloth, buff to a shine | Good |
| Gentle Wood Soap Solution | 1 tablespoon gentle wood soap, 4 cups warm water | Everyday cleaning, light dusting | Spray on surface, wipe with the grain, dry immediately | Excellent |
These recipes provide effective and environmentally friendly ways to keep your wood cabinets clean. Remember to always test a small, inconspicuous area first to ensure compatibility with your specific wood finish.
Proper Dilution, Application, and Storage
Using these natural solutions correctly ensures the longevity and beauty of your wood cabinets. Always dilute ingredients like vinegar and lemon juice with water. Applying undiluted vinegar, for example, can strip the finish from certain wood types. Wipe surfaces following the wood grain to avoid scratches. Proper storage is also crucial. Keep solutions in airtight containers in a cool, dark location. This practice extends shelf life and preserves effectiveness. Regularly check your solutions and replace older ones as needed to maintain optimal cleaning power.
By following these guidelines, you can effectively clean and protect your wood cabinets, ensuring they remain beautiful and functional for years to come.
Rescuing Wood From Stains and Damage
Accidents are a part of life. A spilled drink, a hot pan carelessly placed, or sticky fingerprints – these everyday mishaps can diminish the beauty of your wood cabinets. Knowing how to address these incidents can prevent a minor blemish from becoming permanent damage. This guide offers solutions for common cabinet issues, providing a path to restoring their original charm.
Identifying the Culprit: Understanding Different Types of Stains
Before tackling a stain, understanding its nature is crucial. Water rings occur when moisture penetrates the wood finish. Heat marks stem from damage to the finish itself, often appearing as a white, cloudy discoloration. Sticky residue can vary from sugary spills to leftover adhesive, each demanding a unique approach. Understanding the stain's origin guides you to the right solution, much like a doctor diagnosing an illness before treatment.
Targeted Approaches for Common Cabinet Catastrophes
-
Water Rings: A gentle rub with a soft cloth dampened with equal parts white vinegar and olive oil often lifts the ring. For stubborn rings, a paste of baking soda and toothpaste can be surprisingly effective.
-
Heat Marks: Placing a thick, dry cloth over the mark and ironing on a low setting can sometimes draw the moisture back into the finish.
-
Sticky Residue: Warm water and mild dish soap usually suffice. For tougher residue, a 50/50 mix of rubbing alcohol and water can be used, but test it in an inconspicuous area first. Always dry thoroughly afterward.
-
Food Stains: A paste of baking soda and water applied directly to the stain can help lift it. Allow the paste to dry before gently wiping it away.
-
Grease Buildup: Warm water and dish soap are generally effective. For stubborn grease, consider a wood-safe degreasing cleaner.
When to Call in the Professionals
While many stains respond well to DIY methods, some require professional help. Deep scratches, significant water damage, or severe heat marks are best left to a professional furniture restorer. They have the expertise and tools to address serious damage without causing further harm. Discover more insights about cabinet care. Just like a doctor handles complex medical issues, a professional restorer has the skills to tackle complex cabinet damage.
Assessing the Damage and Choosing the Right Approach
Before addressing any stain, assess the damage and your comfort level with different techniques. If unsure about a method, always start with the gentlest approach and gradually increase intensity. Consider the type of finish on your cabinets, as some cleaning solutions might be too harsh for certain finishes.
Remember, patience is essential. Some stains may need multiple treatments or a combination of methods. With persistence and the right approach, you can often restore your wood cabinets, keeping them beautiful for years to come.
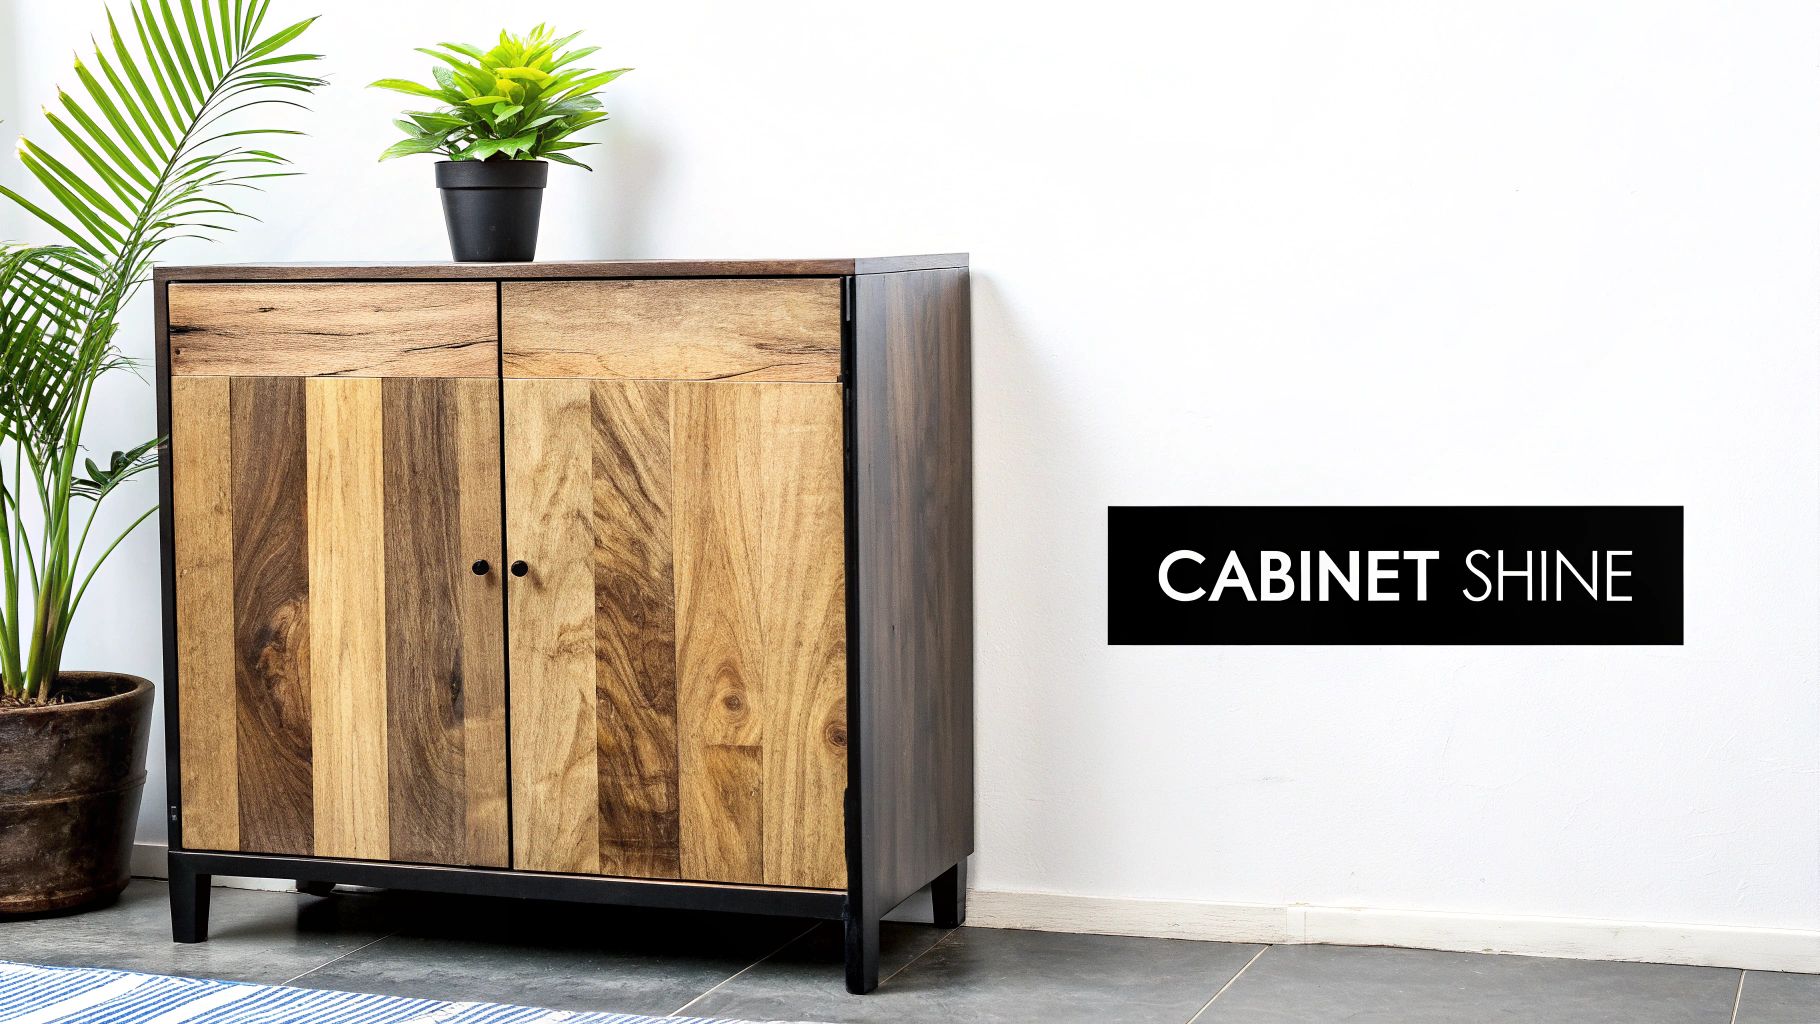
Beyond Clean: Preserving Cabinet Beauty Long-Term
Cleaning your wood cabinets is essential, but it's only the first step. True preservation involves protecting them from damage before it starts. Think of it like skincare: cleansing is important, but moisturizing and sun protection are crucial for long-term health. This section explores the proactive measures that keep your cabinets looking beautiful for decades.
The Protective Power of Wood Conditioners and Polishes
Wood conditioners and polishes play a significant role in preserving your cabinets. Choosing the right product is essential. Some polishes create a superficial shine but offer little real protection. Over time, they can build up a residue that attracts dust and grime. Look for wood conditioners that nourish the wood, replenishing its natural oils and protecting it from drying out. This is especially important for older cabinets or those exposed to dry climates. A good wood conditioner acts like a sealant, protecting the wood from moisture and stains much like a wax protects a car's paint.
Environmental Factors: Protecting Your Cabinets From the Elements
Just like skin exposed to harsh weather, wood cabinets are susceptible to environmental factors. Humidity, sunlight, and temperature fluctuations can all take a toll. Excessive humidity can cause wood to swell and warp, while dry air can lead to cracking. Direct sunlight can fade the finish, and temperature changes can stress the wood.
To mitigate these effects, maintain a consistent environment in your kitchen. Use a humidifier during dry months and a dehumidifier during humid periods to keep humidity levels stable. Minimize direct sunlight exposure by using window coverings, especially during peak hours. Avoid placing hot items directly on the cabinet surface to prevent heat damage. For tips on placement and material selection to further protect your cabinets, you might be interested in: How to master custom cabinet design.
Protective Hardware: Shielding Against Everyday Wear and Tear
Cabinet hardware, while primarily decorative, can also be protective. Bumpers placed on the inside of cabinet doors cushion the impact when they close, preventing chipping and wear. Protective films applied to high-traffic areas can shield against scratches and scuffs. If you encounter heat stains, this resource offers guidance on how to remove heat stains from oak furniture. These simple additions can significantly extend the life of your cabinets and maintain their pristine appearance.
A Maintenance Calendar: Scheduling Success For Stunning Cabinets
The best way to ensure your cabinets remain beautiful is to create a maintenance calendar. This schedule should incorporate daily, weekly, and seasonal tasks tailored to your specific cabinet type and household activities.
-
Daily: Wipe down cabinets after cooking to remove spills and splatters.
-
Weekly: Dust and clean all cabinet surfaces, paying attention to handles and knobs.
-
Monthly: Deep clean cabinets, addressing any buildup of grease or grime.
-
Seasonally: Condition wood cabinets and inspect for any signs of damage.
This regular care is like getting regular check-ups: preventative maintenance catches small issues before they become major problems. Ready to transform your kitchen with cabinets built to last? Visit Sinclair Cabinetry today to explore custom cabinet options and discover the difference quality craftsmanship makes.