Picking a ceramic tile for backsplash installation is one of the best moves you can make to bring timeless style and workhorse durability into your kitchen. It's a classic material that does double duty: protecting your walls from the daily mess of cooking while also serving as a stunning design feature that pulls the whole room together.
Why Ceramic Tile Is the Smart Choice for Your Backsplash
Think of your kitchen's backsplash as the design bridge connecting your countertops to your cabinets. It’s more than just a functional shield against splashes—it’s an anchor that can set the entire mood of the space. While plenty of materials can do the job, ceramic tile is a consistent favorite among homeowners, and for very good reasons.
It's hard to beat its unique blend of toughness, design flexibility, and sheer value.
When chosen thoughtfully, a ceramic backsplash creates a cohesive aesthetic, making everything from your custom cabinetry to your countertops look even better. This guide will walk you through the fundamentals, so you feel confident and ready as we dig into the details of your project.
The Core Benefits of a Ceramic Backsplash
Ceramic tile is much more than just a pretty face. It comes packed with practical advantages that make it a perfect fit for a busy kitchen. The magic happens during manufacturing, when clay is fired at incredibly high temperatures, creating a hard, resilient material that’s ready for real life.
Here’s why so many homeowners keep coming back to ceramic:
- Exceptional Durability: Ceramic stands up to heat, moisture, and stains, which is exactly what you need behind a stove or sink. It won't easily scorch or scratch like some softer natural stones might.
- Endless Design Possibilities: From the clean lines of a classic subway tile to an intricate mosaic pattern, ceramic is available in a massive range of colors, shapes, and finishes. This is your chance to create a look that is 100% you.
- Ease of Maintenance: A glazed ceramic surface is non-porous, which is just a technical way of saying spills and splatters wipe right off. Keeping it clean usually just takes a damp cloth and a bit of mild soap.
- Cost-Effectiveness: When you compare it to materials like marble or granite, ceramic gives you a high-end look without the premium price tag. It’s an investment that delivers fantastic value.
A well-chosen backsplash does more than protect your walls; it elevates the entire design of your kitchen. Ceramic tile offers the perfect canvas to express your personal style while providing the resilience needed for a busy home.
This perfect balance of form and function is why using a ceramic tile for backsplash projects has remained such a popular and intelligent choice for any kitchen remodel.
Exploring Ceramic Tile Types, Finishes, and Textures

Stepping into the world of ceramic tile can feel a bit like opening a designer’s treasure chest. The sheer number of options is incredible, but it's the details—the types, finishes, and textures—that unlock a look perfectly suited for your kitchen's style and your daily life.
Think of choosing a tile like choosing a fabric for a custom suit. Some are sleek and shiny, others are soft and subtle. Each choice shapes the final look and feel of the room, so let's break down what really matters when you're picking out a backsplash.
Glazed vs. Unglazed: A Tale of Two Surfaces
The first major fork in the road is choosing between glazed and unglazed tile. This single decision affects not just the appearance but also how your backsplash will hold up in a busy kitchen.
A glazed ceramic tile is what you’ll see in most kitchens, and for good reason. During the firing process, a liquid glass coating is baked onto the surface, creating a protective shield. This layer makes the tile non-porous and incredibly resistant to stains, splatters, and moisture.
The glaze is also where all the color and pattern magic happens. It allows for an almost infinite spectrum of design possibilities, from bold, solid colors to intricate, printed patterns that can mimic anything from wood to marble.
On the other hand, unglazed ceramic tiles offer a more natural, earthy vibe. Their color comes directly from the minerals in the clay, giving them a rustic, matte look that runs all the way through the tile. While beautiful, their porous nature is a major drawback for a backsplash, as they can easily soak up grease and sauce stains.
For a kitchen backsplash, a glazed ceramic tile is almost always the way to go. Its sealed surface provides the essential protection against spills and splatters that's non-negotiable in a cooking space.
The Impact of Tile Finishes
Beyond the glaze, the tile’s finish dictates how it plays with light and contributes to your kitchen's overall atmosphere. Each finish has its own distinct personality.
- High-Gloss Finish: This finish is like a mirror for your kitchen. It bounces light around the room, making the space feel brighter and more expansive—an excellent choice for smaller kitchens or those that don't get much natural light. Plus, its super-smooth surface is a breeze to wipe clean.
- Matte Finish: A matte finish absorbs light rather than reflecting it, creating a soft, contemporary, and understated look. It's fantastic at hiding smudges, fingerprints, and water spots, lending a sophisticated elegance perfect for modern or minimalist designs.
- Satin or Semi-Gloss Finish: Looking for the best of both worlds? A satin finish has a subtle sheen that’s less reflective than high-gloss but smoother and easier to clean than a true matte. It’s a versatile, balanced look that works with just about any style.
The U.S. ceramic tile market hit USD 4.28 billion in a recent year, a number largely driven by homeowners prioritizing high-value residential projects. Glazed tiles dominate this market, offering endless designs that pair beautifully with high-end finishes and custom cabinetry.
Ceramic Tile Finishes at a Glance
Choosing the right finish is a balancing act between aesthetics and practicality. This table breaks down the key differences to help you decide what works best for your home.
| Finish Type | Appearance | Maintenance Level | Best For |
|---|---|---|---|
| High-Gloss | Shiny, reflective, light-enhancing | Low (easy to clean, but shows smudges) | Small kitchens, modern designs, making a statement |
| Matte | Non-reflective, soft, contemporary | Low (hides smudges and water spots well) | Minimalist or industrial styles, high-traffic areas |
| Satin/Semi-Gloss | Subtle sheen, balanced look | Low (good balance of easy cleaning and hiding dirt) | Versatile choice for nearly any kitchen style |
Ultimately, the best finish is one that complements your cabinetry, countertop, and lighting while fitting your tolerance for cleaning.
From Smooth to Structured: Exploring Textures
Finally, let's talk about texture. The actual feel of the tile's surface can add depth and character, transforming your backsplash from a flat backdrop into a tactile feature.
A classic, smooth subway tile offers a timeless and clean look that’s effortlessly chic and simple to maintain.
If you're aiming for a more rustic or artisanal vibe, consider tiles with a handmade look. They often feature slight imperfections, wavy edges, and an uneven surface that adds warmth and personality. Textured tiles with three-dimensional patterns can also create a stunning focal point, playing with light and shadow to bring visual interest to the wall.
To dive deeper into all the materials available, you can explore the different types of tile for backsplash projects and find the perfect fit for your home.
How Tile Size and Shape Can Transform Your Kitchen's Look
The size and shape of your ceramic backsplash tile are so much more than a minor detail—they’re a design tool that can completely change the personality of your kitchen. Think of the tile size as the scale of the room and the shape as the brushstroke. Together, they create a rhythm that can make your kitchen feel bigger, cozier, or more dynamic.
Choosing the right tile is all about understanding its relationship with the space. A tile that looks incredible in a massive showroom might completely overwhelm a smaller kitchen, just as a tiny tile can get lost on a large wall. The goal is always to find a balance where your backsplash complements your cabinets and countertops instead of competing with them.
Classic Shapes and Modern Layouts
Take the humble subway tile, usually a 3×6 inch rectangle. It’s the ultimate chameleon in the world of design, and its final look comes down to one thing: the layout.
- Classic Offset (Brick Pattern): This is that timeless, staggered look we all know and love. It’s a safe bet that’s always in style and works in just about any kitchen.
- Herringbone: Simply by laying the tiles at a 45-degree angle, you create a zigzag pattern that feels elegant and full of movement. This is a great way to turn a simple tile into a sophisticated focal point.
- Vertical Stack: Aligning the tiles vertically in neat columns draws your eye upward. It’s a brilliant trick for making ceilings feel higher, especially in kitchens that feel a bit cramped.
This just goes to show you don’t always need a fancy tile to make a statement. Sometimes, the most powerful design comes from using a classic shape in a creative way.
The Rise of Large-Format Tiles
Lately, we’ve seen a huge surge in large-format ceramic tiles—think tiles that are 12×24 inches or even bigger. They’ve become the go-to for modern and minimalist kitchens because they create a sleek, nearly seamless look that makes a space feel more open and uncluttered.
The biggest practical advantage? Fewer grout lines. Since grout is porous and can grab onto dirt and stains, minimizing it means your backsplash is far easier to keep clean. This clean, monolithic style is a perfect match for flat-panel custom cabinetry and simple quartz countertops.
The scale of your tile should always correspond to the scale of your kitchen. Large-format tiles create a clean, modern look with minimal grout, while smaller, intricate shapes act as a decorative focal point.
Using Intricate Shapes as a Focal Point
If you’re looking to inject some real personality into your kitchen, intricate mosaic tiles are a fantastic choice. Shapes like penny rounds, hexagons, arabesques, or fish scales can turn your backsplash into a true work of art. These smaller, more detailed tiles are perfect for creating a focal point, especially behind the stove or sink.
Because these patterns have a lot going on visually, they work best when balanced by simpler elements elsewhere. For example, an intricate arabesque tile paired with solid-colored cabinetry lets the backsplash be the star of the show without overwhelming the room.
Picking the right scale here is absolutely critical. Think about the height between your countertops and upper cabinets—a very large pattern might get cut off in an awkward spot, while a tiny mosaic could just look busy. Before you commit, always get a sample of your chosen tile and lay it out in the space to see how it really feels.
Ceramic vs. Other Backsplash Materials: A Showdown
Choosing a backsplash isn't just about picking a pretty color; it's about finding a material that can stand up to the heat, grease, and general chaos of a well-loved kitchen. You’ve got options, of course—gleaming glass, luxurious marble, and sleek stainless steel all have their fans. But time and time again, ceramic tile holds its own.
So why does this classic material remain a champion in such a crowded field? It all comes down to a perfect trifecta of affordability, design freedom, and rock-solid durability that few other materials can touch. To really see its value, let's put it head-to-head with the competition.
Backsplash Material Comparison
To give you a quick overview, here’s how ceramic tile stacks up against other popular backsplash materials. This table breaks down the key factors—cost, durability, and maintenance—that homeowners need to consider when making their choice.
| Material | Average Cost (Per Sq. Ft.) | Durability | Maintenance | Design Versatility |
|---|---|---|---|---|
| Ceramic Tile | $5 – $20 | High | Low | Extremely High |
| Marble | $15 – $100+ | Medium | High (Requires Sealing) | Medium |
| Glass Tile | $20 – $40 | High | Low | High |
| Stainless Steel | $20 – $50 | High | Medium (Shows Smudges) | Low |
As you can see, ceramic tile delivers an incredible balance of performance and creative freedom without the premium price tag. It’s a practical workhorse that doesn’t compromise on style.
The Cost and Value Proposition
When you’re working with a real-world renovation budget, ceramic is a clear winner for most projects. It offers a high-end look without the sticker shock that comes with materials like natural stone or custom-cut glass. This isn't just about the initial purchase price, either—it's about long-term value.
Here's a quick breakdown of what you might expect to pay for the tile itself:
- Marble: Can run you anywhere from $15 to over $100 per square foot. It's a luxury choice with a price to match.
- Glass: Typically ranges from $20 to $40 per square foot, giving you a modern look at a mid-to-high price point.
- Ceramic: Often lands between $5 and $20 per square foot, making it an incredibly accessible option. This frees up more of your budget for things like custom cabinets or that faucet you've been eyeing.
That cost-effectiveness makes ceramic a seriously smart investment, delivering lasting style without derailing your entire budget.
This infographic breaks down how different tile trends are shaking out, showing the popularity of shapes like subway, large format, and mosaics.
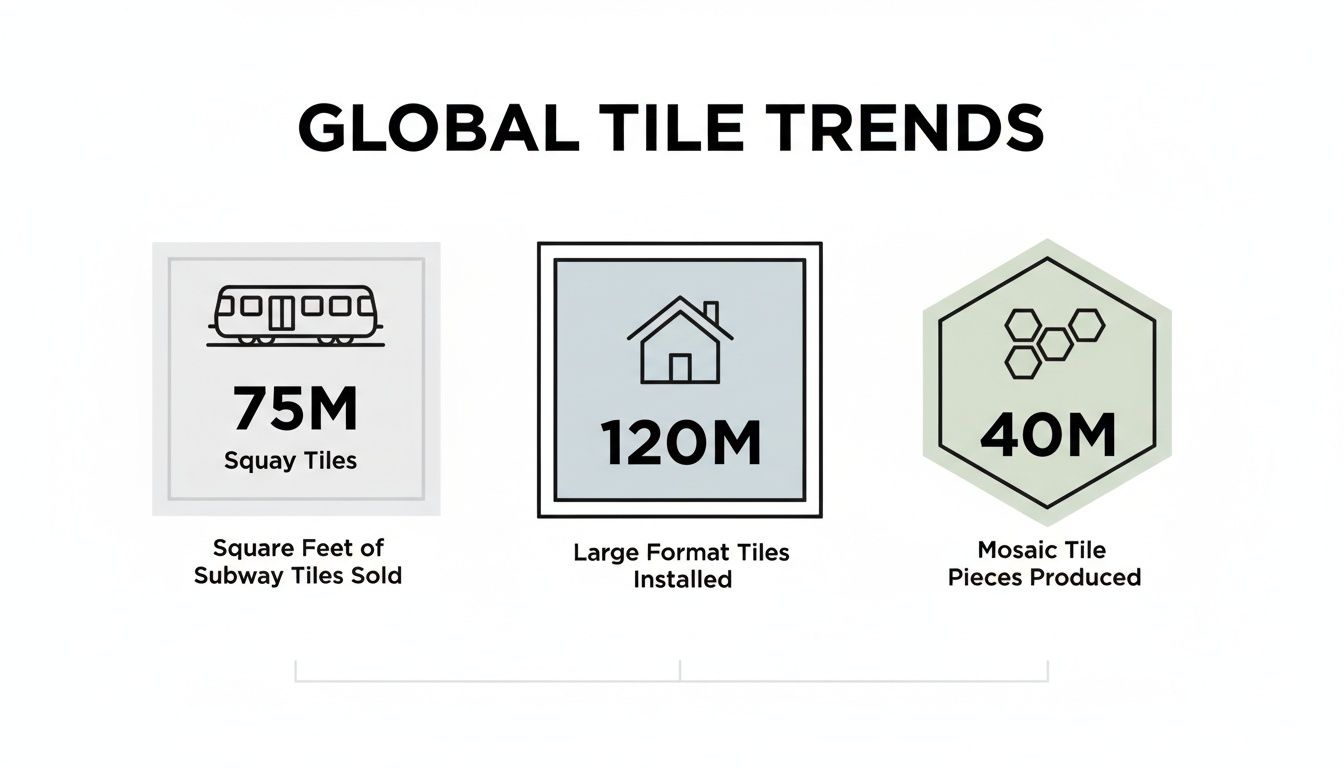
You can see how classic subway tiles continue to dominate, but notice the strong growth in large format and intricate mosaics—all styles that are widely available in ceramic.
Durability and Maintenance Face-Off
A kitchen backsplash has a tough job. It gets splattered with tomato sauce, steamed by boiling pots of water, and occasionally sprayed with just about everything else. This is where ceramic really shines.
Glazed ceramic tile is non-porous, which is just a technical way of saying it won't absorb stains or moisture. A quick wipe-down is usually all it takes to make it look brand new.
Compare that to natural stone like marble, which is porous and needs to be sealed regularly to keep it from staining or etching when it comes into contact with acidic foods like lemon juice or vinegar. And while stainless steel is tough, it’s a magnet for fingerprints and water spots, requiring constant polishing to keep it looking sharp.
When you're thinking about how you'll actually live in your kitchen day-to-day, ceramic's low-maintenance nature is a huge plus. It’s peace of mind, plain and simple.
Aesthetic Freedom and Versatility
Maybe ceramic’s biggest strength is its sheer versatility. It can be made in pretty much any color, shape, size, or pattern you can dream up. Whether you want the timeless look of a white subway tile, the detailed pattern of a mosaic, or a bold pop of color, there’s a ceramic tile that fits the bill. For homeowners exploring all their options, it can be useful to compare it with alternatives like vinyl flooring that looks like ceramic tile to understand the full spectrum of possibilities.
Other materials are beautiful, but they often come with creative constraints. Marble has natural veining that you can’t control, and its color palette is limited to what nature creates. Glass tile offers vibrant colors but can be tricky to cut and install, especially around outlets and light switches.
Ceramic puts you in complete control. It gives you the freedom to create a backsplash that perfectly complements your kitchen’s style, whether it’s modern minimalist or cozy farmhouse. This blend of practicality and aesthetic freedom is exactly why ceramic remains a top contender in the backsplash showdown.
Budgeting for Your Ceramic Backsplash Project
A successful kitchen renovation is built on a clear, realistic budget. When it comes to installing a new ceramic tile for backsplash, it's easy to focus on the price of the tile itself, but that’s just one piece of the puzzle. To avoid any surprises, you need to understand every component that adds up to the final cost.
Think of your backsplash budget like a recipe. The tiles are the star ingredient, of course, but you also need grout, adhesive, and sealant to bring it all together. On top of that, there's the cost of labor, which can shift quite a bit depending on how complex your design is.
Breaking Down the Material Costs
First things first: the tile. This is where you’ll see the biggest price range. You can find classic, budget-friendly subway tiles for around $2 per square foot, but if you fall in love with intricate, handmade, or designer tiles, the cost can climb past $25 per square foot. For most homeowners, a good sweet spot for quality ceramic tile is somewhere between $5 and $15 per square foot.
But the tiles can’t go on the wall by themselves. You’ll also need a few other essentials:
- Thin-set Mortar/Adhesive: This is basically the glue that holds your beautiful tiles to the wall. A bag usually costs $15-$30 and is more than enough for a standard-sized backsplash.
- Grout: Available in a whole spectrum of colors, grout is what fills the gaps between your tiles. A box will run you about $10-$25.
- Grout Sealer: Don't skip this step! Sealer protects your grout from moisture and pesky stains down the road. A bottle typically costs between $10 and $20.
Understanding Labor and Installation Expenses
Labor is often the single largest line item in a backsplash installation. Professional installation can account for 40-60% of the total project cost, which shows just how much goes into getting that flawless, durable finish. This isn't just a local trend; the global backsplash and wall tile services market was valued at a massive USD 21.4 billion and is expected to double in the next decade.
So, what should you expect to pay? On average, a pro will charge between $10 and $20 per square foot for a ceramic tile backsplash installation.
That price can tick upward if your project has a few extra challenges:
- Complex Patterns: Laying tiles in a herringbone, chevron, or mosaic pattern takes more time and precision, which naturally increases labor costs.
- Lots of Cuts: If your kitchen has a lot of outlets, light switches, or window frames to work around, your installer will need to make more intricate cuts, adding to the job's timeline.
- Wall Preparation: Is your wall perfectly flat and smooth? If not, your contractor might need to do some prep work to get it ready for tile, and that will be an additional charge.
Pro Tip: Always get at least three quotes from qualified, insured installers. This helps you find a competitive price, but more importantly, it lets you get a feel for their experience and how they plan to tackle your specific project.
To see how your backsplash fits into the grand scheme of things, it’s helpful to look at the average cost of a kitchen remodel. Understanding the complete project scope helps you allocate your funds wisely. For more ideas, check out our guide on how a new backsplash can complement your cabinetry.
Pairing Tile with Your Kitchen Style and Cabinetry
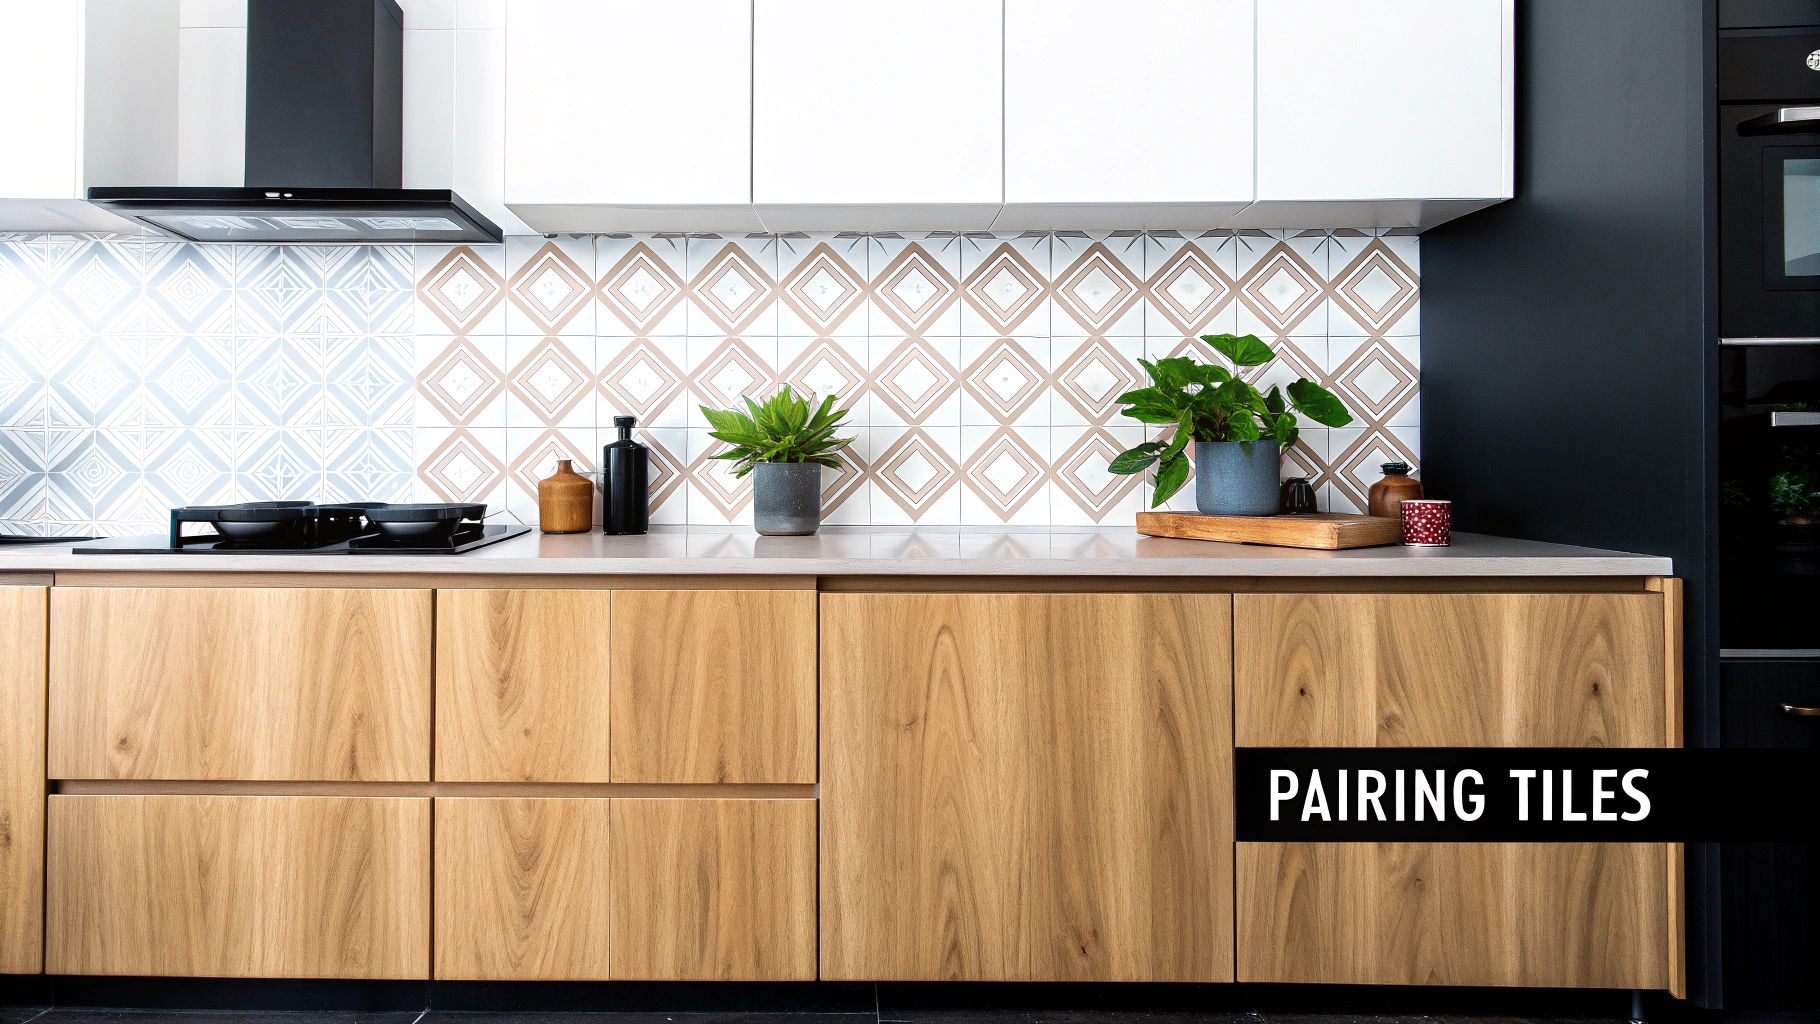
The real magic of a ceramic tile for backsplash isn't just the tile itself—it's how it elevates everything around it. Think of it as the perfect accessory that pulls your whole kitchen's outfit together. For a truly cohesive and intentional design, your cabinetry and backsplash need to be in harmony.
This means the color, pattern, and finish of your tile should feel like a natural extension of your cabinets, whether you have sleek modern slabs or classic Shaker-style doors. When these two key elements are in sync, the entire kitchen just works.
Modern and Contemporary Kitchens
Modern kitchens are all about clean lines, flat-panel cabinets, and a less-is-more attitude. The goal here is sleekness and simplicity, and your backsplash should reinforce that feeling, not fight against it.
Large-format ceramic tiles are a fantastic choice for this style. With fewer grout lines, they create a smooth, almost monolithic surface that amplifies that uncluttered vibe.
- For a bold look: A high-gloss, solid-color tile in a large rectangular shape delivers a reflective, seamless backdrop.
- For subtle texture: A matte-finish tile in a neutral shade like gray or crisp white can add just enough depth without creating visual noise.
- Best cabinet pairings: Flat-panel or handleless cabinets in finishes like high-gloss white, dark espresso, or a natural rift-cut oak work beautifully.
Traditional and Farmhouse Styles
Traditional and farmhouse kitchens are meant to feel warm, inviting, and full of character. These styles often lean on detailed cabinetry, like Shaker or raised-panel doors, and the backsplash is your chance to layer in even more classic charm.
Classic subway tiles are a can't-miss choice, offering a clean backdrop that will never feel dated. For a little twist, look for a handmade-look tile with subtle imperfections or a crackle glaze that gives it an aged, artisanal feel.
In a traditional kitchen, the backsplash should feel like it has always been there. Choose tiles that offer warmth, texture, and a sense of history to complement detailed cabinetry and natural materials.
A simple running bond layout is timeless, but a herringbone pattern can add a touch of sophisticated detail, especially behind the range. For more ideas, you can explore our gallery of stunning ceramic tile backsplash designs to see how different patterns play with various cabinet styles.
Matching Tile with Cabinet Colors
Getting the color harmony right between your tile and cabinets is what separates a good kitchen from a great one. Whether your cabinets are painted or stained wood, the right tile will make them pop.
For Wood Cabinets:
- Light Woods (Oak, Maple): Create a fresh, airy contrast by pairing them with cool-toned tiles like soft grays, blues, or a crisp white.
- Dark Woods (Cherry, Walnut): Complement their inherent richness with warm, creamy whites, beiges, or even a deep green tile for a truly dramatic effect.
For Painted Cabinets:
- White Cabinets: You’ve got a blank canvas! You can go for a classic white-on-white look with a textured tile, create a sharp contrast with a bold black or navy tile, or inject some personality with vibrant mosaics.
- Gray or Greige Cabinets: These pair beautifully with marble-look ceramic tiles, which often have complementary gray veining, or with other soft, muted colors.
- Bold Cabinet Colors (Blue, Green): Let the cabinets be the star of the show. A simple, neutral tile in white or a light gray will balance the look perfectly without competing for attention.
By carefully thinking through these pairings, your ceramic tile backsplash and cabinetry will work together to create a kitchen that is not only beautiful but feels uniquely you.
Answering Your Final Backsplash Questions
As you get closer to choosing your backsplash, a few last-minute questions always seem to surface. That's a good thing! Making sure you have all the answers is the key to a project you’ll be happy with for the long haul.
Let's tackle some of the most common things homeowners ask when it comes to ceramic tile for a backsplash. We’ll give you clear, practical answers to help you wrap up your decision-making with confidence.
How Do I Keep My Ceramic Tile Backsplash Clean?
This is one of the best parts about ceramic tile—it’s incredibly easy to live with. For daily wipe-downs of splatters and smudges, a damp cloth with a little bit of gentle, non-abrasive cleaner is all you need. For those stubborn grease spots behind the stove, a simple mix of vinegar and water usually does the trick.
The real secret to keeping it looking brand new lies in the grout lines.
- Seal Your Grout: Grout is naturally porous, which means it can soak up stains like spaghetti sauce or coffee. Make sure it gets sealed right after it’s installed.
- Reseal It Every So Often: To keep it looking fresh and fend off discoloration, plan on resealing the grout every year or two. It's a quick job that makes a huge difference.
- Skip the Harsh Stuff: Stay away from abrasive scouring pads or acidic cleaners. They can scratch the tile’s glaze and slowly eat away at the grout itself.
What’s the Deal with Grout Color?
You might be surprised by how much the grout color changes the entire vibe of your backsplash. It’s a real design decision, not just a technical one. It can either make each tile stand out or let them all blend together into one seamless surface.
Think of it this way: a contrasting grout color puts a frame around every single tile, creating a bold, graphic pattern. A matching grout color minimizes the lines, making the whole wall feel more unified and calm.
If you want the tile itself to be the star of the show, pick a grout that’s a close match. But for a classic, high-impact look—like with timeless white subway tiles—a dark gray or even black grout creates a striking contrast that really emphasizes the pattern. A neutral light gray or beige is always a safe bet; it hides dirt better than pure white without being too dramatic.
Can I Just Install This Backsplash Myself?
Look, a DIY installation is definitely possible if you’ve got some experience with tile work. But it's a job that requires a ton of precision. You’re talking about careful measuring, making perfectly straight cuts with tools like a wet saw, and then applying the grout smoothly for a clean, professional finish.
A small mistake during installation can be glaringly obvious and expensive to fix. An uneven tile or a messy grout job can cheapen the look of your entire kitchen. For a flawless finish that properly protects your walls, we almost always recommend hiring an experienced installer. It’s a worthwhile investment for the peace of mind alone.
How Long Does a Professional Backsplash Installation Take?
For a standard-sized kitchen, a professional installation is usually a two-to-three-day process.
Day one is all about prep. The installer will get the wall surface ready and carefully set each tile in place with adhesive. That adhesive then needs a good 24 hours to cure properly.
Day two is for grouting. The installer will work the grout into all the spaces between the tiles. A third day might be needed for the final, crucial step: sealing the grout to protect it from moisture and stains down the road. If you've picked a more complex pattern like herringbone or a detailed mosaic, you can probably add an extra day to that timeline to account for all the intricate cuts and placement.
Ready to transform your kitchen with cabinetry that perfectly complements your new backsplash? At Sinclair Cabinetry inc, we have over 35 years of experience crafting custom, real-wood cabinets that bring your vision to life. Explore our design possibilities at https://sinclaircabinets.com.