Before you can make a scratch disappear, you need to understand what you're up against. The real key to an invisible repair is to diagnose the damage correctly—from a minor surface scuff to a deep, ugly gouge. What works for solid wood can absolutely ruin a laminate cabinet, making this initial assessment the most critical part of the job.
Assessing the Damage on Your Cabinets
Jumping straight into a repair without a solid plan is a recipe for making things worse. A successful, seamless fix always starts with a careful evaluation of two things: the damage itself and your cabinet's material. The method you end up choosing will depend entirely on these factors.
Think of it like this: you wouldn't use a Band-Aid for a deep cut that needs stitches. In the same way, a simple wax stick won’t do a thing for a deep gouge in your beautiful oak cabinet door. Taking just a few minutes to get the lay of the land will save you a ton of time and frustration down the road.
Identify Your Cabinet Material
First things first, you have to figure out what your cabinets are actually made of. Different materials demand completely different repair strategies, so don’t skip this step.
- Solid Wood or Wood Veneer: These are generally the most forgiving. You can sand, stain, and refinish them. To identify them, look for natural grain patterns that don’t repeat perfectly.
- Painted Surfaces: These have a solid, opaque color finish. The challenge here is matching not just the color but also the sheen—is it matte, satin, or gloss? Getting that wrong is a dead giveaway of a repair.
- Laminate or Thermofoil: These are synthetic materials fused over a particleboard or MDF core. You can’t sand or stain them. Repairs usually involve specialized fillers or pastes made for this type of surface. You can learn more about different looks by exploring various kitchen cabinet profiles and colors.
Use the Fingernail Test for Depth
Once you know the material, it’s time to gauge the scratch's severity with the simple but effective "fingernail test." Just run your fingernail gently across the scratch.
If your nail glides right over it without catching, it's a superficial scuff that's only in the top finish. These are usually the easiest to fix. But if your nail catches in the groove, you're dealing with a deeper scratch. It has penetrated the finish and possibly the wood or substrate itself, which means you'll need a more substantial repair like a filler.
This quick diagnostic helps you choose the right tools from the get-go and keeps you from accidentally making the damage worse.
The infographic below outlines a clear path from assessment to a finished, professional-looking repair.

As the visual guide shows, figuring out a scratch's depth is the main decision point that dictates your entire repair process, from the tools you'll need to the final finishing touches. It's no surprise that this trend of repairing instead of replacing is growing. The furniture repair service market was valued at USD 2.1 billion in 2023 and is projected to hit USD 4.3 billion by 2031, as more and more homeowners are choosing restoration.
Matching the Scratch to the Right Repair Method
To make things even simpler, here's a quick guide to help you identify your scratch type and find the most effective repair solution we discuss in this article.
| Scratch Severity | What It Looks Like | Best Repair Method |
|---|---|---|
| Minor Scuff | A light mark on the surface finish; your fingernail doesn't catch on it. | Polishing compounds, wax sticks, or stain markers. |
| Moderate Scratch | A visible line that has broken the finish; your fingernail catches slightly. | Touch-up pens, wax filler sticks, or shellac sticks. |
| Deep Gouge | A significant groove that has removed wood or laminate; very noticeable. | Wood filler, putty, or specialized laminate repair paste. |
| Painted Surface Scratch | A scratch through the paint layer, revealing the material underneath. | Fine-grit sandpaper followed by matching touch-up paint. |
Use this table as your starting point. Once you've matched your scratch to a category, you'll know exactly which of the following repair guides to follow for a flawless result.
Your Essential Cabinet Repair Toolkit
Before you can tackle any cabinet scratch, you've got to have the right gear. Trust me, trying to wing it without the proper tools can turn a tiny nick into a big, ugly problem in a hurry.
Putting together a small, dedicated repair kit means you're always ready, whether you're dealing with a barely-there scuff or a deeper, more stubborn gouge. The good news? Your toolkit doesn't need to break the bank. For most everyday issues, just a few key items will do the trick.
The Basics for Minor Scuffs
For those light surface-level scratches—the kind that haven't even broken through the top coat of finish—your shopping list is refreshingly simple and affordable. Think of these items as your first responders for kitchen cabinet first aid.
- Microfiber Cloths: You'll want a few of these on hand. They’re perfect for cleaning the cabinet surface before you start and for buffing everything out when you're done.
- Mild Degreasing Cleaner: Kitchen cabinets get coated in a thin, almost invisible layer of grease. This grime will stop any repair product from sticking properly. A little warm water with a squirt of dish soap usually does the job.
- Wax Filler Sticks or Crayons: These are brilliant for filling shallow scratches in wood. They come in tons of colors, and you can even blend them to get a perfect match.
- Stain-Matching Touch-Up Markers: For discolored scuffs, these markers are like a magic eraser. They add just enough color and finish to make the scratch fade into the background.
Here's a pro tip I've learned over the years: when using markers or wax sticks, build up the color slowly. It’s way easier to add another layer to darken a spot than it is to try and lighten a repair that’s too dark from the get-go. Always start with a shade that's a touch lighter than you think you need.
Tools for Deeper Scratches and Gouges
Now, if you run your fingernail across a scratch and it catches, you're dealing with something more serious. It's time to graduate from simple touch-ups to some more substantial tools. We're moving beyond just covering up the problem and into genuine surface restoration.
For these bigger jobs, your kit will need a few extra items.
- Fine-Grit Sandpaper (220-grit or higher): This is non-negotiable for smoothing out wood filler or feathering the edges of a paint repair. Whatever you do, don't use a coarse grit—you'll just end up creating more scratches.
- Wood Filler or Putty: Make sure you get the right kind. For wood cabinets, you'll want a stainable wood filler. For laminate or synthetic surfaces, look for a specific laminate repair paste.
- Flexible Putty Knife: A small, flexible knife gives you the control you need to apply filler smoothly and scrape off the excess without gouging the surrounding area.
- Matching Paint or Stain: For a fix to be truly invisible, the color has to be spot-on. If you don't have the original paint or stain from when the cabinets were installed, just take a door off its hinges and bring it to a good paint store. They can match it perfectly.
- Small Artist's Brush: A fine-tipped brush is your best friend for applying paint or clear coat with precision. It lets you target only the repaired area, so you can avoid leaving obvious, clunky brush strokes.
Tackling Scratches on Wood and Stained Cabinets
There's nothing quite like the warm, classic look of wood cabinets. But a single noticeable scratch can instantly break that charm. Unlike laminate or painted surfaces, wood has a life and grain of its own, so repairs require a bit more finesse. The good news? You can often restore that flawless finish yourself, using anything from a simple pantry staple to a more professional wood filler.
The trick is to correctly size up the damage. A light scuff that’s only marred the clear topcoat is a completely different ballgame than a deep gouge that's dug into the wood itself. Your goal isn't just to cover up the flaw but to seamlessly blend the repair with the surrounding wood grain and finish.
Simple Fixes for Minor Surface Scratches
For those barely-there scratches—the kind that haven't actually broken through the stain or polyurethane finish—you might not even need a trip to the hardware store. Sometimes, the easiest solutions are already in your kitchen. A popular trick involves using the natural oils found in nuts.
- The Walnut Trick: Grab a raw walnut, crack it open, and rub the meat of the nut directly along the scratch. Be sure to move with the grain of the wood. The oils will naturally darken the light-colored scuff, helping it disappear.
- An Iodine Assist: If you have cherry or mahogany-toned wood, a cotton swab lightly dipped in iodine can work wonders. Carefully dab it only on the scratch, let it sit for a couple of minutes, and then wipe away any excess.
- Coffee Grounds or Tea: For very dark woods like espresso or ebony, you can make a paste from used coffee grounds or use a damp, steeped black tea bag. Dab it onto the scratch to subtly stain the blemish.
After trying any of these home remedies, give the area a gentle buff with a soft, clean cloth. This helps blend the oils or natural pigments into the rest of the finish.
Stepping It Up With Stain Markers and Wax Sticks
When you're dealing with a scratch that’s a bit more obvious, it's time to graduate to products made specifically for the job, like stain markers and wax filler sticks. These tools are designed to both color and fill minor imperfections, making them practically invisible.
Always start with a stain marker that looks a shade lighter than your cabinet finish. You can always go darker, but you can't go lighter. Use short, feathery strokes to apply it directly into the scratch. Immediately wipe off any excess with a clean cloth. This ensures the stain only colors the raw, exposed wood of the scratch, not the finished surface around it.
For scratches that have a little bit of depth to them, wax filler sticks are your best bet.
- Pick Your Color: Choose a stick that’s a close match to your cabinet's stain. Many kits even include multiple shades you can blend together to get the color just right.
- Apply with Pressure: Rub the stick back and forth across the scratch. You’ll want to apply firm pressure to really push the wax down into the groove.
- Scrape and Buff: Use a plastic scraper or even the edge of an old credit card to shave off the excess wax, making it level with the cabinet surface. Finish by buffing the spot with a soft cloth to bring back the shine.
Dealing With Deep Gouges Using Wood Filler
A deep gouge is more than just a scratch; it’s a wound in the wood that needs to be filled. This is where a good stainable wood filler is your best friend.
The single most important tip when using wood filler is to overfill the gouge slightly. The filler shrinks just a tiny bit as it dries, so that extra material ensures you can sand it down perfectly flush with the cabinet surface without creating a new dip.
Once the filler is completely cured (check the manufacturer's instructions for timing), grab a small block and wrap it with 220-grit sandpaper. Sand the area until it’s perfectly smooth and level. From there, you can use a small artist's brush to carefully apply a matching stain, followed by a clear topcoat to match the original sheen of your cabinets.
This repair-and-refinish approach is becoming incredibly popular. In fact, in the United States and Canada, roughly 60% of homeowners now choose to refinish their cabinets to fix minor damage like this, driven by both the cost savings and the sustainability of repairing over replacing. You can learn more about these global cabinet refinishing market trends to see just how big the demand is.
Fixing Scratches on Painted and Laminate Surfaces
Fixing scratches on painted and laminate cabinets is a whole different ballgame compared to natural wood. With these modern surfaces, there's no wood grain to help hide minor imperfections, which means precision is absolutely everything. The real goal is to make the repair so seamless it becomes totally invisible.
The biggest hurdle with painted cabinets isn't just matching the color—it's matching the sheen. A glossy patch on a matte door will stick out like a sore thumb. Laminate is just as tricky; since you can't sand or stain it, you have to rely on specialized fillers to get the job done right.
The Right Way to Touch Up Painted Cabinets
The secret to a flawless painted cabinet repair? Keep it small. You really want to avoid the headache of repainting an entire door just to fix one little scratch. This is where a bit of patience and a light touch will be your best friends.
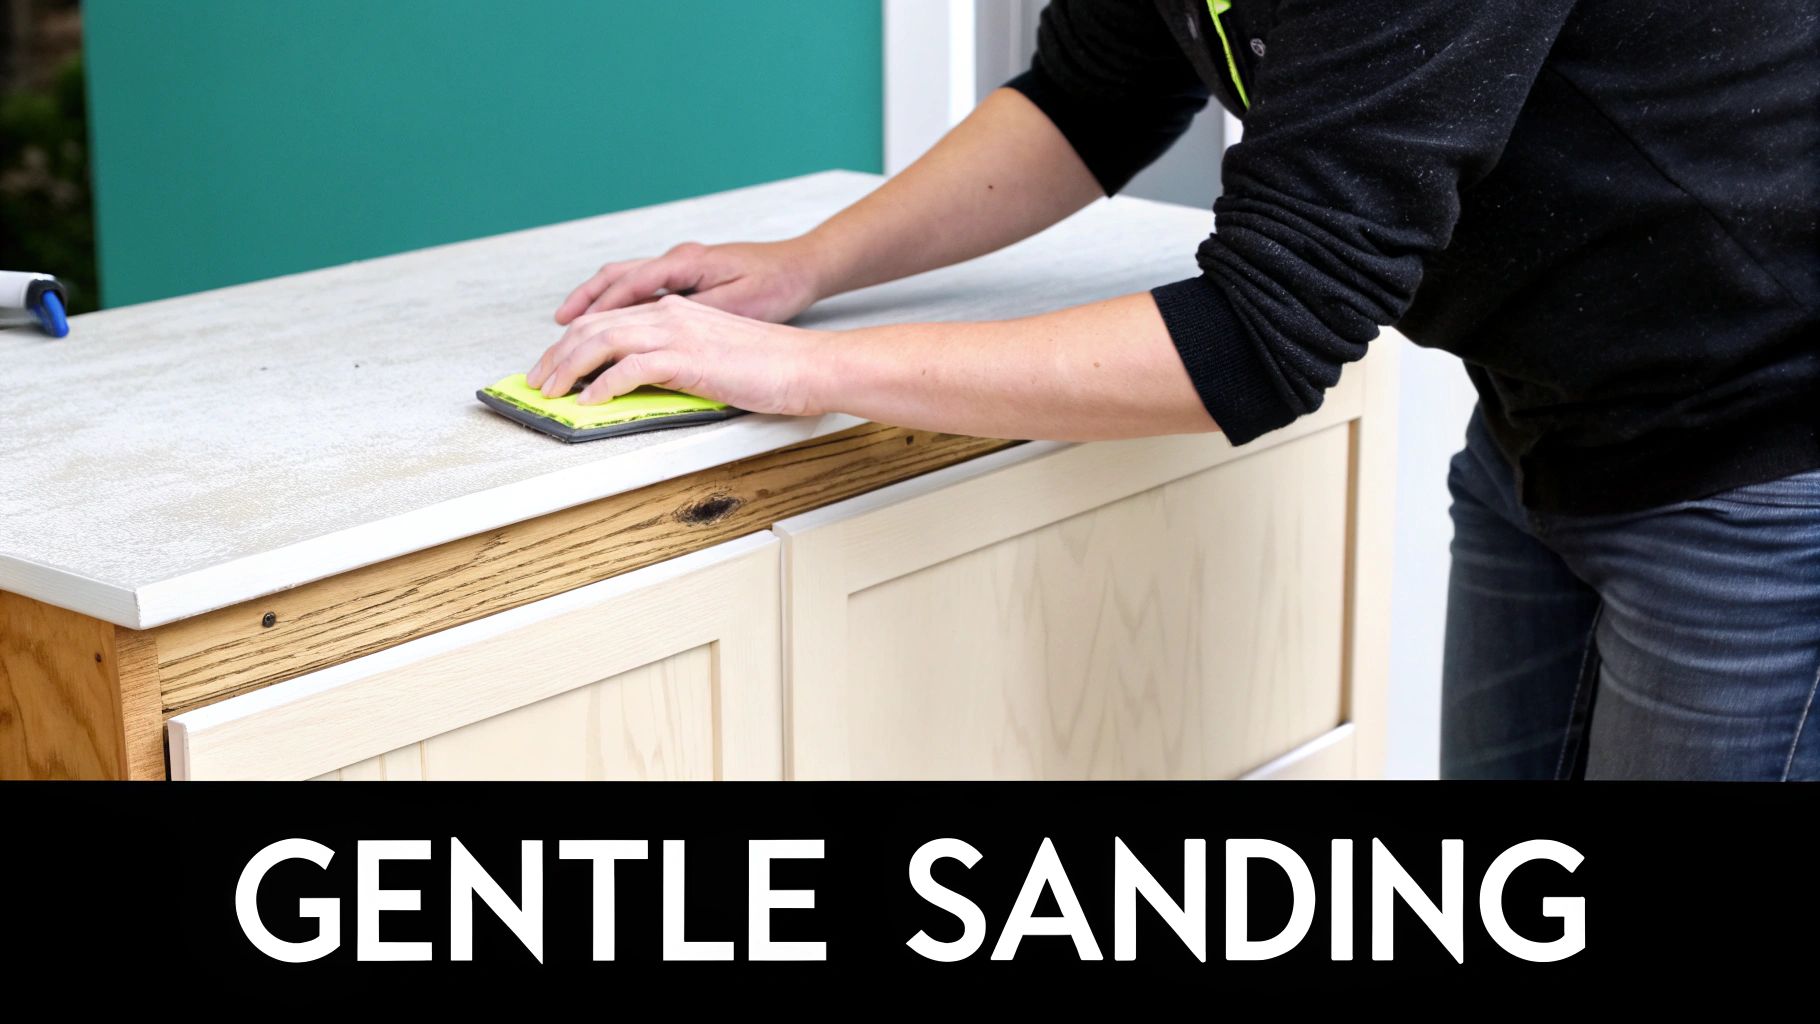
First things first, gently sand only the scratched area with fine, 220-grit sandpaper. You're just trying to rough up the surface enough for the new paint to grab on, not create a bigger problem. Once you're done, wipe away all the dust with a clean, damp cloth.
If the scratch was deep enough to expose the wood or MDF underneath, you'll need to prime it. Dab a tiny amount of primer on with an artist's brush and let it dry completely. Now, using that same brush, apply your matching paint. The key here is to use thin layers, slowly building the color up.
Don't try to glob on one thick coat to cover the scratch. You'll get a much smoother, more blended finish with three whisper-thin coats than you ever will with one clumpy one.
For a deeper dive into painting techniques that deliver professional results, check out our complete guide on how to paint kitchen cabinets.
Mastering Laminate and Thermofoil Repairs
When you're dealing with laminate or thermofoil, forget about sanding. It’s completely off the table. Instead, you'll want to grab some laminate repair paste or a dedicated filler kit. These products are made specifically to bond with synthetic surfaces and can be mixed to match just about any color.
The process itself is pretty straightforward, but the details matter.
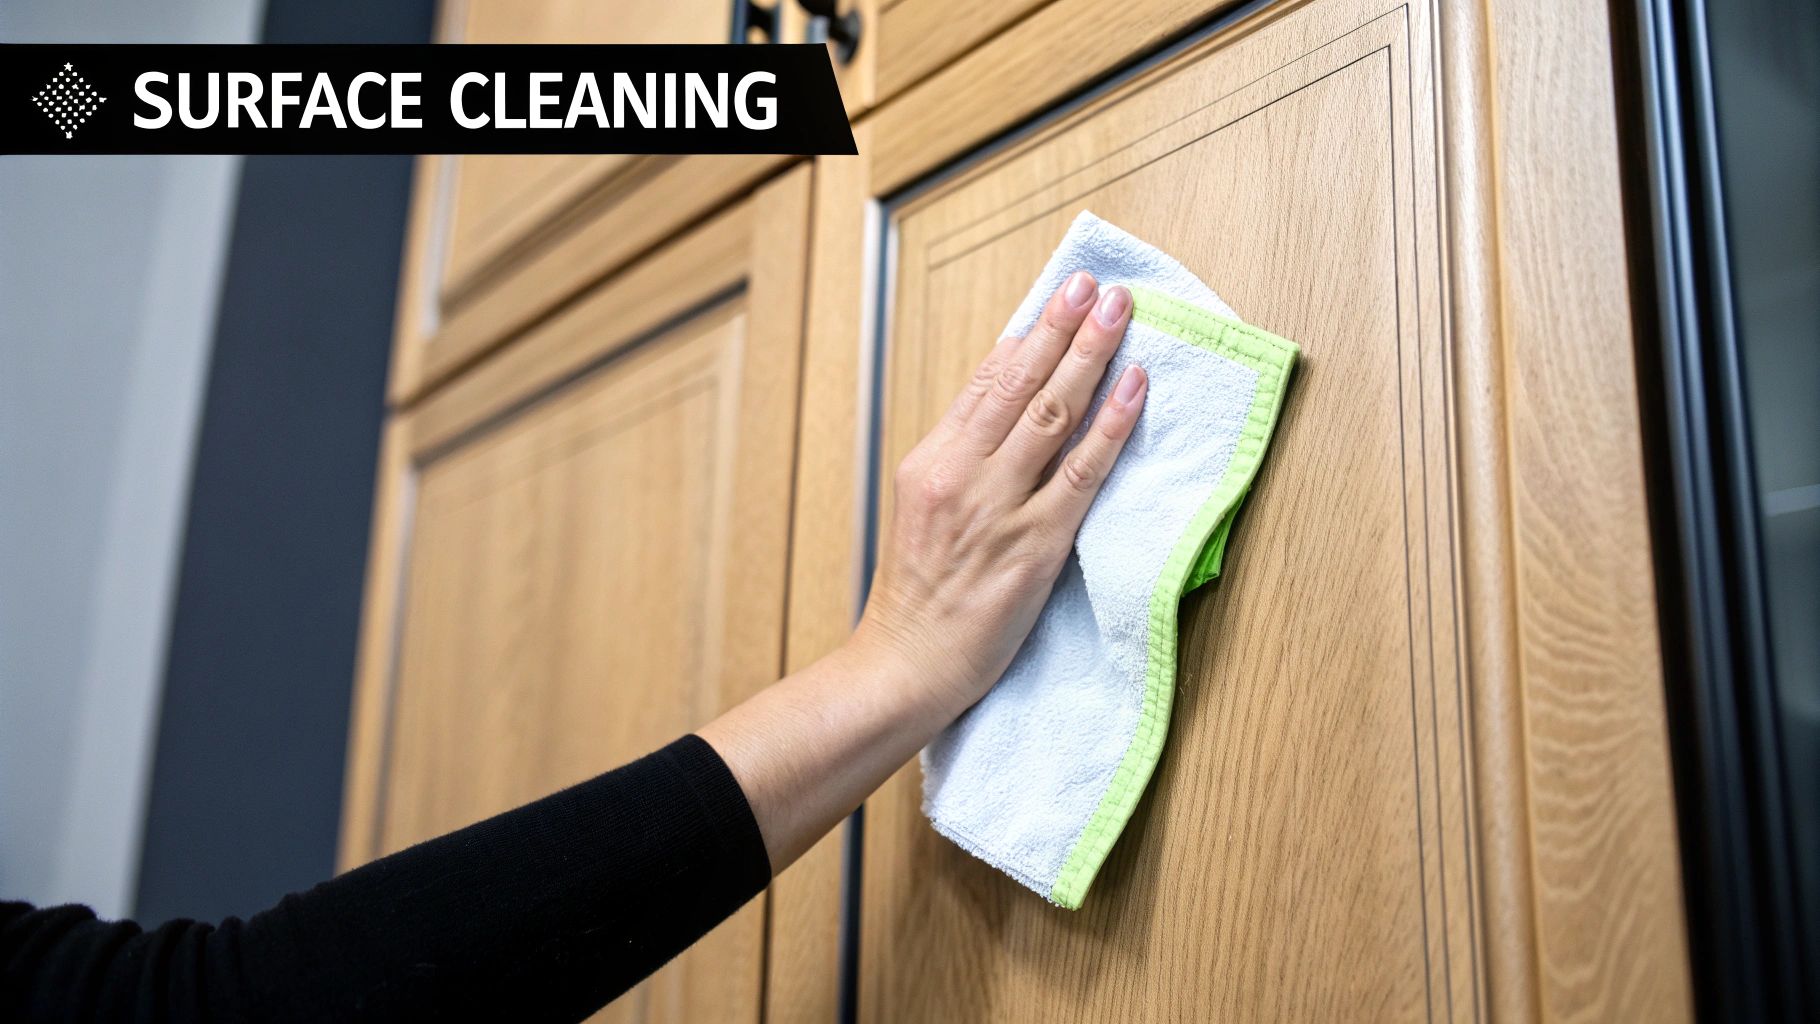
- Clean the Surface: Start by giving the scratch and the area around it a good cleaning with a degreasing cleaner. This ensures the filler paste will bond properly.
- Mix Your Color: This is where the magic happens. Use the tints in your kit to create a perfect color match for your cabinet. Always test your mixture on a hidden spot first!
- Apply and Smooth: Use a small, flexible putty knife to press the filler into the scratch. Scrape off any excess so the filler sits perfectly level with the cabinet surface.
- Cure and Finish: Let the paste cure for as long as the manufacturer recommends. Some kits even come with a clear topcoat to help you match the original sheen of your cabinets.
By following these steps, you can make sure that even on a slick surface like laminate, your repair will blend in perfectly, restoring that clean, modern look.
Finishing Touches for a Professional Result

You've done the hard part—filling the scratch, matching the color, and smoothing it all out. It's tempting to call it a day right here, but don't. These next few steps are what separate an obvious patch-up from a repair that truly disappears. This is where the real magic happens, ensuring your fix not only looks good today but also holds up over time.
Think about it: what's the biggest giveaway of a DIY repair? A mismatched finish. A shiny spot on a matte door will catch the light and scream "I've been fixed!" The goal here is to make every aspect of the repair blend in so perfectly that even you forget where it was.
Blending and Feathering for a Smooth Transition
The secret to making a repair undetectable is creating a flawless transition between the patched area and the original surface. This technique, called "feathering," is all about eliminating any hard lines or visible edges around your touch-up.
When you're ready to apply that final coat of paint or stain, grab a fine-tipped artist's brush and use a very light hand. Instead of just painting a solid block of color over the spot, gently extend the new finish just beyond the filled scratch. Use soft, dabbing motions to blend the new into the old. This little trick makes the boundary vanish.
Your goal is to trick the eye into seeing one continuous surface. If you can still spot the outline of your repair, you haven't feathered the edges enough. It’s a subtle art, but it makes a massive difference.
Matching the Sheen Perfectly
Once the color is blended, the next crucial step is matching the sheen. Cabinets come in a variety of finishes, from dull to dazzling, and getting this wrong is a classic rookie mistake.
- Matte or Flat: Has zero shine, which is great for hiding small imperfections.
- Satin or Eggshell: Offers a soft, low-sheen luster. It's durable, easy to clean, and probably the most common finish you'll see on cabinets.
- Semi-Gloss or Gloss: Delivers a bright, reflective shine. It’s extremely tough but will highlight every single flaw.
To nail the match, you'll need a clear protective topcoat in the correct sheen. Apply it carefully with your artist's brush, covering the repaired area and slightly feathering it out onto the surrounding surface. Let it dry completely, then give it one last, gentle buff with a clean microfiber cloth.
This kind of attention to detail is why professional refinishing is such a booming industry. The market for these services was valued at a staggering USD 1.5 billion in 2024 and is expected to more than double. It just shows how much homeowners value a flawless look.
Beyond the repair itself, proper maintenance is what keeps your cabinets looking great for years. You can find some excellent general care and cleaning tips that apply to all sorts of surfaces. By following these finishing steps, you can be confident your hard work will pay off with a repair that stands the test of time.
Got Questions About Cabinet Repairs? We've Got Answers.
Even the most detailed guide can't cover every little thing that pops up during a DIY project. When you're figuring out how to fix cabinet scratches, a few common questions can bring your progress to a screeching halt.
Let's be honest, nobody wants to make a small problem worse, and color matching can feel like a high-stakes guessing game. We’ll tackle some of the most frequent questions we hear so you can get back to your project with confidence.
Can I Really Just Rub a Walnut on a Scratch?
You’ve probably heard this one before, and surprisingly, yes—for tiny, surface-level scuffs on natural wood, this trick can actually work as a quick, temporary fix. The oils in the walnut meat help darken the light-colored line of a scratch, making it blend in.
But it’s important to know what you're getting. This is a cosmetic cover-up, not a real repair, and it has some serious limitations.
- It only works on the lightest, most superficial scratches that haven't broken through the topcoat.
- It does absolutely nothing for deep gouges, painted cabinets, or laminate surfaces.
- The oils wipe away easily during routine cleaning, meaning your scratch will be back in no time.
For a fix that actually lasts, you'll need to reach for products made for the job, like wax filler sticks or proper stain markers.
How Do I Get a Perfect Color Match?
Getting the color and sheen just right is the secret to an invisible repair. The absolute best-case scenario is finding leftover paint or stain from when the cabinets were first finished. If that's not an option, your most reliable bet is to take a small cabinet door or drawer front to a paint store. They can scan it with a spectrophotometer and mix up a perfect digital match.
Stains are a bit more of an art form. Always, always test your stain on a hidden area first, like the inside of a cabinet door. Start with a shade you think is slightly too light—you can always add another coat to go darker, but it’s nearly impossible to lighten a stain once it's soaked into the wood.
What's the Biggest Mistake People Make?
Hands down, the single biggest mistake we see—the one that ruins more repairs than anything else—is skipping the prep work. More specifically, people forget to thoroughly clean the surface before they start. Kitchen cabinets build up a thin, often invisible, film of grease and grime from everyday cooking.
If you try to put filler, paint, or stain over that greasy layer, it’s just not going to stick properly. The repair might look fine for a few days, but it will eventually start to bubble, flake, or look blotchy. Always start with a good degreaser or mineral spirits, and let the area dry completely. Rushing this step is the fastest way to waste all your hard work. This is also a key detail to factor into your renovation budget; our kitchen cabinet cost breakdown can help you plan for these essentials.
At Sinclair Cabinetry inc, we believe that beautiful, well-maintained cabinets are the heart of your home. If your cabinets need more than a simple scratch repair, explore our custom cabinetry solutions at https://sinclaircabinets.com.