Ready to give your kitchen a facelift without the chaos of a full remodel? Kitchen cabinet resurfacing is your answer. It’s a smart, budget-friendly way to get a completely new look by changing the visible surfaces of your cabinets—the doors and drawer fronts—while leaving the sturdy cabinet boxes in place. Most homeowners find this approach saves them 30% to 50% compared to a total cabinet replacement.
Choosing Your Cabinet Resurfacing Path
Before you even think about picking up a paintbrush, it’s important to know that "resurfacing" isn't just one thing. It's a catch-all term for a few different methods, and each one is suited for different goals, budgets, and types of cabinets. Picking the right path from the get-go is the key to a beautiful, lasting transformation.
And you're not alone in considering it. This trend is catching on with savvy homeowners everywhere. The global cabinet resurfacing market was valued at around USD 9.2 billion and is expected to jump to USD 15.7 billion by 2033. Why the boom? People want high-impact aesthetic updates without the high cost and hassle of a full renovation.
Differentiating the Core Methods
Your project really starts with a choice between three main approaches. Each offers its own unique blend of cost, effort, and final look.
- Repainting or Refinishing: This is the most direct route. You'll strip the old finish, sand everything down, and then apply fresh paint or stain. It's a fantastic option for solid wood cabinets that are in great shape but just need a color refresh.
- Refacing: This is a more dramatic overhaul. It involves applying a new veneer over your existing cabinet boxes and then installing brand-new doors and drawer fronts. Refacing lets you completely change the style, color, and even the material of your cabinets.
- Replacing Doors Only: Think of this as a happy medium. You keep your cabinet boxes as they are, give them a good coat of paint, and then hang all-new doors. It’s a great way to update the style without the full expense of a complete reface.
This infographic breaks down the major wins of resurfacing when you stack it up against a full replacement, especially when it comes to cost, time, and environmental friendliness.

As you can see, resurfacing isn't just easier on your wallet. It also means less time with your kitchen torn apart and less waste heading to the landfill—a smarter choice all around.
To make things even clearer, let's look at these methods side-by-side.
Cabinet Resurfacing Methods at a Glance
This quick comparison should help you pinpoint the best technique for your kitchen project.
| Method | Best For | Average Cost | Skill Level Required |
|---|---|---|---|
| Repainting/Refinishing | Structurally sound wood cabinets needing a color update. | $ | DIY-Friendly |
| Replacing Doors Only | A style update where cabinet boxes are in good shape but doors are dated. | $$ | Intermediate |
| Refacing (Veneer + New Doors) | A complete style and color transformation for worn-out but sturdy cabinets. | $$$ | Professional Recommended |
Each path has its place, so the right one for you really depends on the condition of your current cabinets and the final look you're aiming for.
When Each Resurfacing Option Makes Sense
Knowing the best-case scenario for each method is crucial. Your current cabinets, your budget, and what you want the final result to look like will steer you in the right direction.
Let's say you have those classic, high-quality oak cabinets from the 90s. They're built like a tank, but the honey-oak finish feels dated. In this case, a simple refinishing or painting job is your best move. You get to keep the quality of that original woodwork while giving it a modern update for a tiny fraction of what new cabinets would cost.
On the other hand, what if your cabinets are thermofoil and it's starting to peel? Or maybe you're just tired of your traditional raised-panel doors and dream of a sleek, flat-panel look. This is where refacing shines. It gives you the appearance of brand-new cabinets because, well, everything you see is new. This is an incredibly powerful way to get that high-end kitchen vibe without the mess and expense of a complete tear-out. For a deeper look at how these two options compare, check out our guide on cabinet refacing vs. replacement.
Pro Tip: Before you commit to anything, give your cabinet boxes a thorough inspection. If you find warping, water damage, or signs they're falling apart, resurfacing is off the table. The integrity of those cabinet boxes is the foundation for any successful resurfacing project.
Setting Up Your Workspace for Success
A flawless finish is born long before you ever pick up a paintbrush. The real secret to a professional-looking cabinet resurfacing job is a meticulously prepared workspace. Think of it as creating a clean, organized, and safe "operating room" for your cabinets—it’s the single best way to prevent frustrating mistakes and get the results you want.
This isn’t just about clearing a corner in the garage. It’s about a strategic setup that makes your entire workflow smoother. Every minute you spend here will pay you back tenfold when you see that beautiful final product.
Protecting Your Kitchen Environment
Let's be honest: sanding dust gets everywhere, and a single paint spill can become a permanent, painful reminder of your project. The first rule of any renovation is to protect what’s staying, and taking the time to mask off your kitchen is non-negotiable.
Start by clearing everything off your countertops. Then, cover your counters, backsplash, and appliances with plastic sheeting or rosin paper. Use painter's tape to secure the edges firmly. For the floors, heavy-duty drop cloths are a must to guard against drips, scratches, and spills.
A Pro Tip from Experience: Don't forget to seal off doorways to other rooms with plastic sheeting and tape. I also recommend turning off your HVAC system while you’re sanding. It’s a simple step that keeps fine dust from circulating through your entire home’s ventilation system.
Assembling Your Essential Toolkit
There’s nothing worse than getting into a groove only to realize you’re missing a crucial tool. Gathering everything you need beforehand prevents those frustrating interruptions. While every project has its quirks, a core set of supplies will form the foundation for your success.
Here’s a foundational checklist to get you started:
- Cleaning Supplies: You need a powerful degreaser like Trisodium Phosphate (TSP) to cut through years of kitchen grime. Regular soap won't do the trick.
- Sanding Equipment: An orbital sander is great for flat surfaces, but you'll also need various grits of sandpaper (like 120 and 220-grit) for hand-sanding detailed areas.
- Application Tools: Grab high-density foam rollers for a smooth finish on flat panels, a quality 2-inch angled brush for cutting in corners, and a paint tray.
- Safety Gear: Don't skip this. At a minimum, you'll need safety glasses, a good dust mask or respirator, and gloves to protect yourself from chemicals and fine particles.
Having everything laid out and ready means less time hunting and more time making progress.
Creating an Efficient Staging Area
Once you’ve removed your cabinet doors and drawer fronts, you need a dedicated place to work on them. This staging area is where the transformation happens, so it needs to be efficient. A garage, basement, or even a spare room with good ventilation is perfect.
Lay down another drop cloth to protect the floor here, too. To make painting both sides of your doors way easier and faster, painter's pyramids are an absolute game-changer. These little pointed stands elevate your cabinet doors, letting you paint one side and immediately flip it to paint the other without waiting for it to fully cure. This trick can honestly cut your project time in half.
The Labeling System That Will Save Your Sanity
Reassembling your kitchen can quickly devolve into a nightmare puzzle if you don't have a system. Before you undo a single screw, take five minutes to create a simple labeling method. Trust me, you'll thank yourself later.
- Map Your Kitchen: Just draw a quick, rough sketch of your cabinet layout.
- Number Everything: On your map, assign a number to each cabinet door and drawer front.
- Label the Items: Stick a piece of painter’s tape on the inside of each door and drawer with the corresponding number.
- Bag the Hardware: Put the hinges and screws from each door into a small sandwich bag and label it with the same number.
This foolproof system ensures every single piece goes back exactly where it belongs, with its original hardware. It guarantees a perfect fit and saves you hours of headaches during the final stretch.
The Art of Cabinet Refinishing and Painting
Giving Your Cabinets a Facelift: The Refacing Process
Sometimes, a fresh coat of paint just doesn’t deliver the dramatic change you’re looking for. When you’re ready for a complete style overhaul without tearing everything out, cabinet refacing is your best bet. Think of it as giving your kitchen an entirely new skin. We’re talking about applying a fresh veneer to the cabinet boxes themselves and then hanging brand-new doors and drawer fronts.
The magic of this approach is that you get the stunning look of a custom kitchen remodel but without the mess, timeline, and hefty price tag of a full demolition. It's also a surprisingly green choice. By keeping your existing cabinet structures, you dramatically cut down on material waste, which is a big reason this method has become so popular. If you're curious, you can even explore the market trends and technological advances in cabinet refacing to see just how much the industry is growing.
First Things First: Measure Twice, Order Once
In any refacing project, your tape measure is your best friend. Precision here is non-negotiable. Before you even think about browsing for materials, you need to meticulously measure every single part of your cabinet system—and I don't just mean the doors.
- Doors and Drawer Fronts: Get the exact height and width of every door and drawer front. I highly recommend sketching out your kitchen layout and numbering each piece. It sounds tedious, but it will save you a massive headache later.
- Cabinet Boxes: Now, measure all the visible surfaces of the cabinet boxes. In the biz, we call these the face frames (the front-facing wood structure) and end panels (the visible sides). These measurements are for your veneer order. A crucial tip from experience: always add 10-15% extra veneer to your order. Trust me, you'll be thankful for it when you make a miscut or hit a tricky corner.
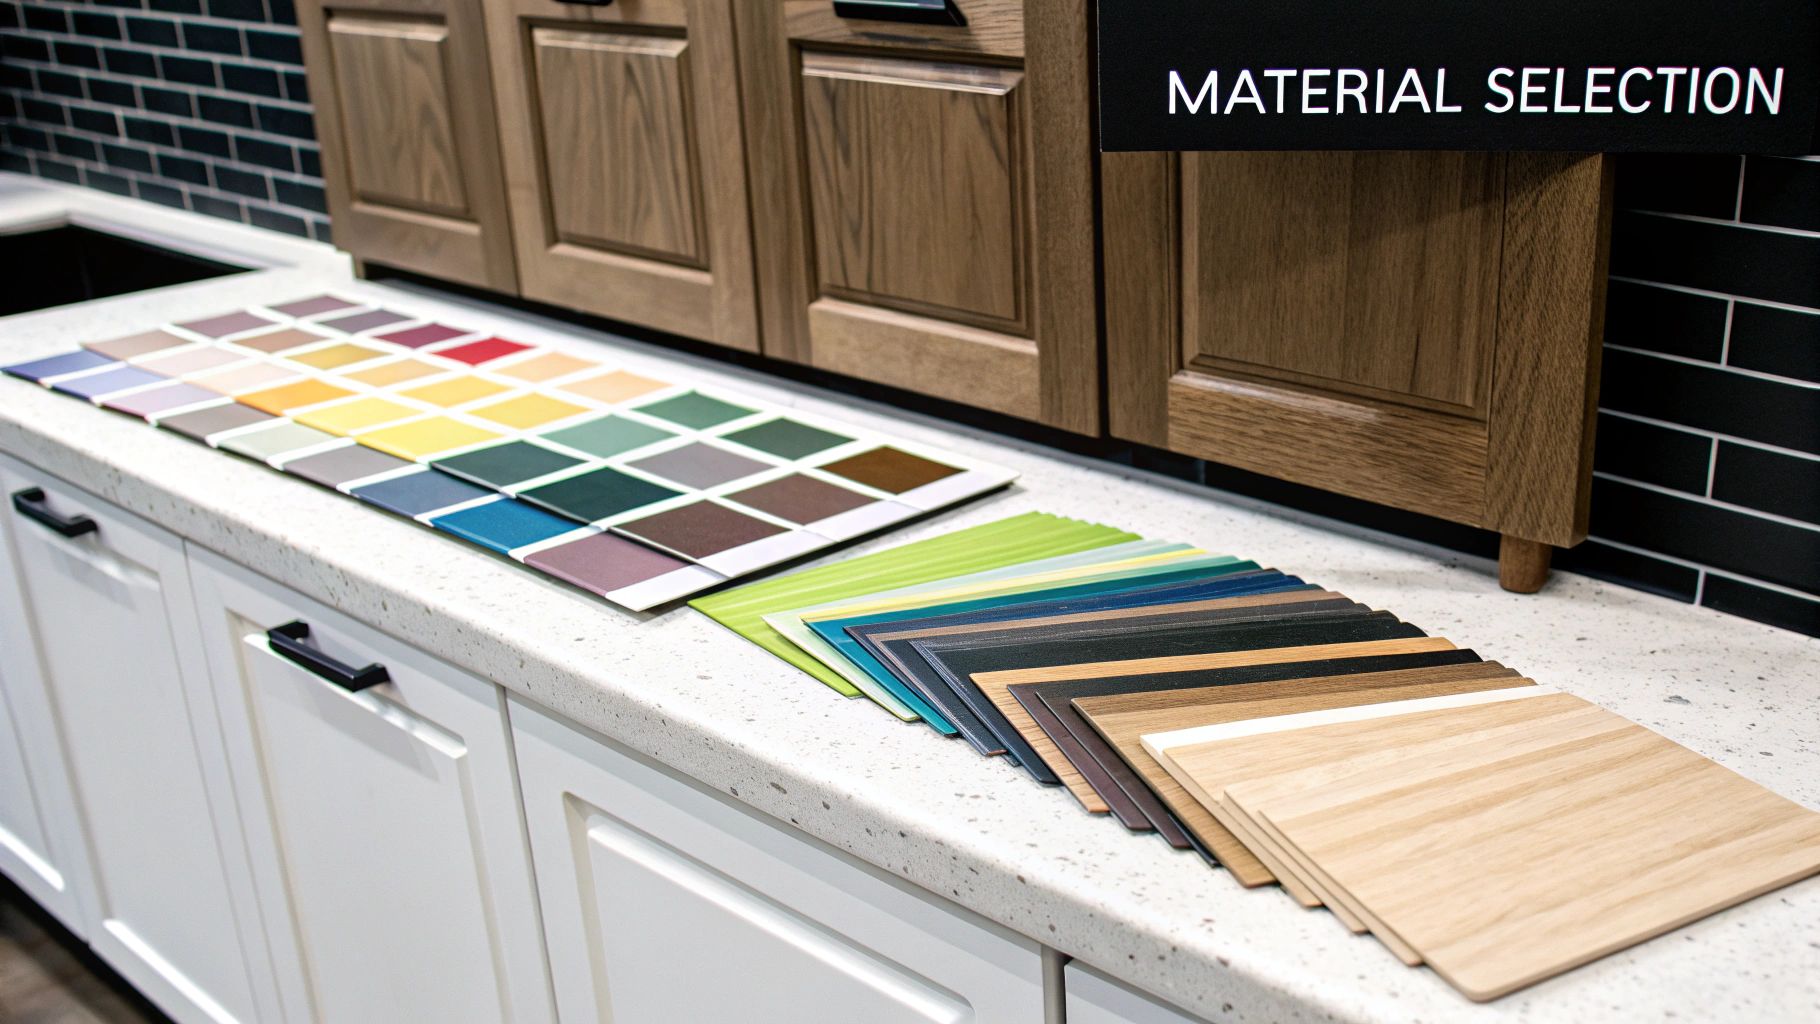
With your measurements in hand, it’s time for the fun part: picking your new look. You've got a few great material options to consider.
| Material | Best For | Durability | Appearance |
|---|---|---|---|
| Real Wood Veneer | A classic, high-end look that you can stain or paint to your exact preference. | Good, but can be prone to scratching in high-traffic areas. | Gorgeous, natural wood grain. Timeless. |
| Laminate (HPL) | Busy kitchens that need maximum durability and zero-fuss maintenance. | Excellent. It’s highly resistant to stains and impacts. | A huge range of solid colors and patterns. |
| Rigid Thermofoil (RTF) | Getting the sleek look of painted wood with a seamless, super-durable finish. | Very good. It's a breeze to clean and resists moisture well. | Smooth, molded finish. Perfect for shaker-style doors. |
Prepping the Cabinet Boxes for Their New Look
Once your new materials arrive, it's time to prep. Getting the cabinet boxes ready is probably the most critical part of the job. A perfectly clean, smooth surface is the only way that new veneer will bond properly and look seamless.
Start by taking off all the old doors, drawer fronts, and hardware. Don't forget to use that labeling system you made! Next, give every surface a serious cleaning with a good degreaser, like TSP, to cut through years of kitchen grime. This step is essential for a strong adhesive bond.
Finally, give the face frames and visible end panels a light sanding. You're not trying to strip them down to bare wood; you just want to scuff up the old finish so the adhesive has something to grab onto. A 120-grit sandpaper is perfect for this. When you're done, wipe away every speck of dust with a tack cloth.
Applying the New Veneer
This is where the real transformation begins to take shape. While most DIY-friendly veneers are the peel-and-stick kind, using contact cement will give you a stronger, more permanent bond if you're up for it.
Always cut your veneer pieces just a little larger than the surface you're covering. This gives you a small margin for error. When you're working on a face frame, apply the vertical pieces (stiles) first, then the horizontal pieces (rails).
Pro Tip: Get yourself a J-roller. It’s a small, hard rubber roller that lets you apply firm, even pressure across the veneer. This is the secret to pushing out air bubbles and getting a rock-solid bond between the veneer and the cabinet box. Once it’s pressed on tight, just trim the excess with a sharp utility knife for a perfectly flush edge.
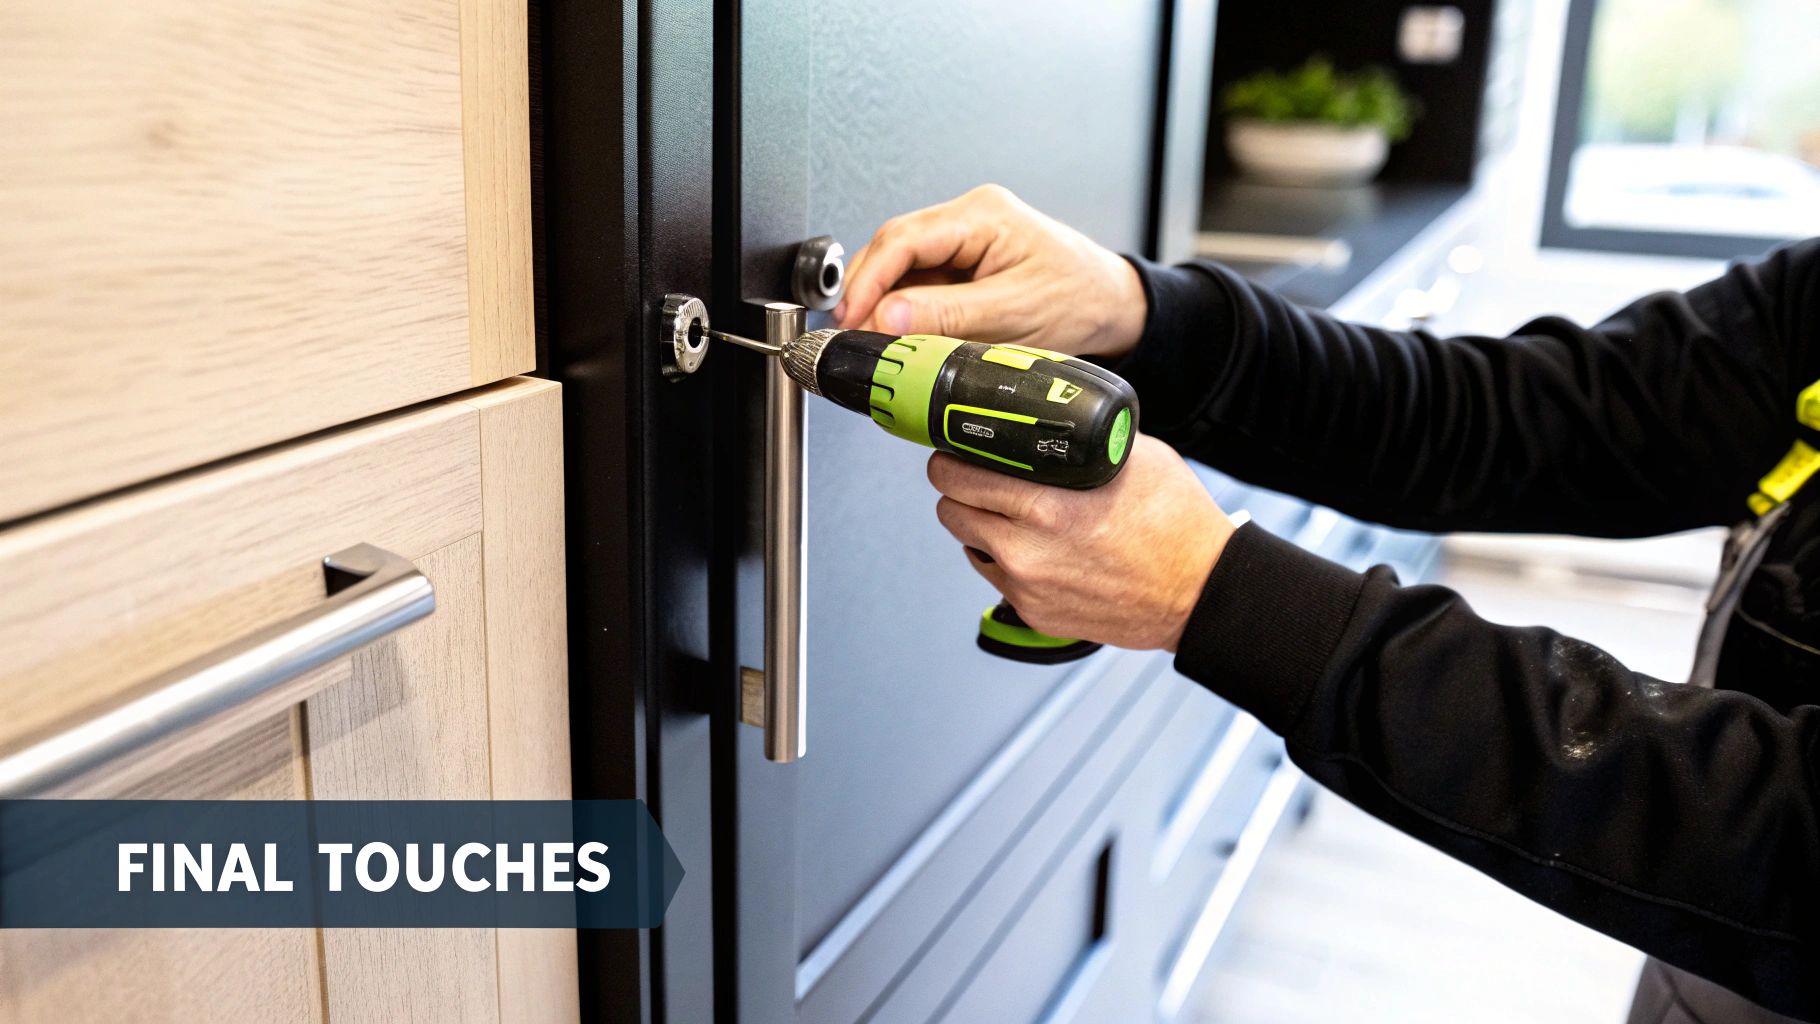
Installing the New Doors and Hardware
This is the final stretch—installing your gorgeous new doors, drawer fronts, and hardware. All that careful labeling you did at the beginning will pay off big time now, making sure every piece goes exactly where it belongs.
If you’re moving up to modern hardware, like soft-close European hinges, you’ll likely need to drill new holes. Do yourself a favor and get a concealed hinge jig. This little tool is a game-changer; it ensures your hinges are perfectly aligned so your doors hang straight and close like a dream.
Attach the new drawer fronts to the old drawer boxes, install your new pulls or knobs, and then step back. You did it! You’ve just pulled off a professional-level kitchen makeover.
Finishing Touches and Final Assembly
You’re in the home stretch now, and this is where all your prep work really pays off. The final ten percent of the job—the finishing details—is what elevates your project from a simple DIY paint job to a professional-grade transformation that will stand up to daily life for years to come.
Your cabinets might look great with their fresh coat of paint or new veneer, but don't stop there. Applying a protective topcoat is absolutely crucial for shielding your hard work from the scuffs, spills, and moisture of a busy kitchen. A quality polyurethane or a specially formulated cabinet topcoat is your best bet.
Choosing the Right Protective Topcoat
Applying that final clear coat is a game of finesse. You’re aiming for thin, even layers to avoid any drips or streaks. A common mistake is seeing the topcoat yellow over time, especially on white or light-colored cabinets, so choose a non-yellowing formula.
I’ve found that a high-quality brush gives you far more control than a roller for this particular step. And be patient! Always let each coat dry completely according to the manufacturer's instructions before adding the next.
The sheen you pick has a huge impact on the final look and durability.
- Matte Finish: This gives you a sophisticated, modern vibe and does a great job hiding minor surface imperfections. The trade-off? It can be a bit tougher to clean than glossier sheens.
- Satin or Eggshell Finish: This is the sweet spot for most kitchens. It has a soft luster that feels elegant but is still easy to wipe down, making it incredibly popular.
- Semi-Gloss Finish: If durability is your top priority, semi-gloss is a fantastic choice. It creates a reflective, tough surface that’s a breeze to clean, perfect for high-traffic kitchens with kids or pets.
Here's a pro tip I've learned over the years: A flatter finish like matte or satin tends to conceal the wood grain and minor flaws better. Glossier sheens reflect more light, which can actually highlight any underlying texture or imperfections.
Final Assembly and Hardware Installation
Once your topcoat has fully cured (and don’t rush this part!), it’s time for the most satisfying step: putting it all back together. Remember that labeling system you set up? It’s about to become your best friend, ensuring every door and drawer goes back exactly where it belongs for a perfect, gap-free fit.
Start by reattaching the hinges to the doors first, then hang the doors on the cabinet frames. This order of operations makes aligning everything so much easier. If you can, grab a friend to help hold the door steady while you drive in the screws—it saves a lot of frustration. For a deeper dive into getting this stage just right, you can find some excellent pointers on how to finish cabinets like a pro.
With the doors hung, you can now install your new knobs or pulls. I can't recommend using a cabinet hardware jig enough for this. It’s a simple tool that guarantees every single handle is perfectly level and spaced identically from one door to the next.
Troubleshooting Common Finishing Flaws
Even the most careful DIYer can run into a small hiccup. Don't worry—most common finishing flaws are an easy fix if you spot them early.
| Issue | Quick Fix |
|---|---|
| Paint Drips | If the paint is still wet, just smooth it out with your brush. If it's already dried, gently sand the drip flat with 220-grit sandpaper, wipe away the dust, and apply a light touch-up. |
| Bubbles in Topcoat | This usually happens from shaking the can or overworking the polyurethane with your brush. Let it dry, then lightly sand the bubbles away. Clean the dust with a tack cloth and apply another thin, even coat. |
| Peeling Edges | This is almost always a sign of poor prep. It means the surface wasn't cleaned or sanded well enough for the primer to stick. You’ll have to sand the peeling edge down, re-prime, repaint, and seal it properly. |
Your Top Kitchen Cabinet Resurfacing Questions, Answered
Jumping into a kitchen cabinet resurfacing project is exciting, but it naturally comes with a few questions. From the real-world cost savings to how long your hard work will last, getting clear answers helps you move forward with confidence. Let's tackle some of the most common things homeowners want to know.
How Much Can I Realistically Save?
Let's get straight to the point: the budget. This is where resurfacing really shines. By choosing to resurface your kitchen cabinets, you can expect to spend 30% to 50% less than you would on a full cabinet replacement. That's a huge difference, and it all comes down to reusing your existing cabinet boxes.
Think about what a full replacement involves:
- Tearing out and disposing of the old cabinets.
- Buying all new cabinet boxes and doors.
- Paying for hours of intensive installation labor.
- Potentially needing a plumber or electrician to make adjustments.
Resurfacing neatly sidesteps most of those big-ticket items. You're focusing your time and money only on the visible surfaces. Painting is easily the most budget-friendly option, while refacing with new veneers or doors is on the higher end—but still delivers incredible value compared to a total tear-out.
How Long Will a Resurfaced Cabinet Finish Last?
Durability is always a big concern, and the answer really depends on the quality of the work. When it’s done right—whether by you or a pro—a resurfaced finish can easily last 8 to 15 years. The lifespan isn't a matter of luck; it's a direct result of proper prep and good materials.
If you take away one thing, let it be this: preparation is everything. Thoroughly cleaning, degreasing, and sanding the original surfaces is what allows the primer and paint to grab on for dear life. Skip this, and you're setting yourself up for chipping and peeling down the road.
Using quality materials is the other half of the equation. A good acrylic enamel paint and a solid topcoat are non-negotiable. Skimping here is a classic case of being penny-wise and pound-foolish, as you’ll likely find yourself redoing the entire project much sooner than you’d planned.
Can I Resurface Any Type of Kitchen Cabinet?
For the most part, yes, but the material you're starting with will determine the best way to tackle the job. Not all cabinets are made the same, and knowing what you have is step one.
Solid wood cabinets are a dream to work with. They're the most versatile and can be sanded, stained, painted, or refaced with fantastic results. If your cabinets are made from MDF or particleboard with a laminate or thermofoil finish, you can still get a great new look. For these, painting is usually the best route, as long as you use a high-adhesion primer designed to stick to slick, non-porous surfaces. They're also perfect candidates for refacing, which covers up the old, and often peeling, surface completely.
But remember, resurfacing is a cosmetic update, not a structural fix. If you're dealing with cabinets that have serious water damage, are warped, or have broken frames, they're not good candidates for this project. In those cases, replacement is the smarter move.
Ready to transform your kitchen with cabinetry that's built to last? Sinclair Cabinetry inc combines over 35 years of expert craftsmanship with state-of-the-art design to create the custom kitchen of your dreams. Explore our gallery and see the difference real wood and meticulous attention to detail can make by visiting us at https://sinclaircabinets.com.