
The Cabinet Finishing Fundamentals You Need to Know
Before you start your cabinet finishing project, it's important to understand the basics. Knowing the differences between refinishing, repainting, and restaining will help you choose the best method for your cabinets and your overall goals. Each technique has its own benefits and requires specific skills.
Refinishing vs. Repainting vs. Restaining
Refinishing involves stripping the old finish, sanding down the surface, and then applying a brand-new finish. This is a perfect choice for solid wood cabinets with a beautiful, natural grain you want to show off. Refinishing gives older cabinets a fresh look, but it does require patience and attention to detail.
Repainting is a great option if you want to hide imperfections or drastically change the color of your cabinets. It works well on different cabinet materials like wood, laminate, and even metal. Repainting gives you a wide range of color choices and can completely transform your kitchen’s appearance.
Restaining is specifically for wood cabinets. You can either apply a new stain over the existing one (after a light sanding) or completely strip the old stain and apply a fresh one. Restaining enhances the wood grain and updates the color, a popular choice for those who love the look of natural wood.
This focus on restoring and renewing existing cabinets reflects a growing trend: eco-conscious home improvement. The cabinet refinishing services market, valued at USD 4.5 billion in 2022, is expected to hit USD 7.5 billion by 2030. This growth is fueled by a rising demand for sustainable practices and innovations in materials and technologies. Find more detailed statistics here. Choosing to refinish instead of replace significantly reduces waste.
Assessing Your Cabinets and Setting a Budget
Before you decide on a finishing technique, take a close look at your current cabinets. Consider the material they’re made of, their current condition, and what you want them to look like in the end. Are you going for a classic look, something modern, or perhaps a more rustic feel? This evaluation will guide you toward the best technique.
Finally, set a realistic budget. Refinishing, repainting, and restaining can all save you a significant amount of money compared to replacing your cabinets entirely (often between 60-80%). However, the cost of materials and labor will vary depending on the method you choose. Be sure to factor in the price of tools, materials, and possibly hiring a professional, if needed, to keep your project within budget.
Tools & Materials That Actually Make a Difference
Choosing the right tools and materials significantly impacts your cabinet finishing project. Investing in quality products, especially brushes and primers, is essential for a professional look. Knowing where to save money without compromising quality can also make a big difference to your project's budget.
Essential Tools For Cabinet Finishing
The correct tools simplify the finishing process and contribute to a flawless result. Here are a few must-haves:
- High-Quality Brushes: For water-based products, choose synthetic bristle brushes. If you're using oil-based products, opt for natural bristle brushes. A quality brush ensures smooth application and minimizes unsightly brush marks.
- Sandpaper: Various grits of sandpaper are crucial for preparing and smoothing surfaces between coats. Begin with a coarser grit for initial sanding and progressively use finer grits for a polished finish.
- Screwdrivers: You'll need a selection of screwdriver sizes and types, both Phillips and flathead, for removing and reattaching hardware.
- Putty Knife: A flexible putty knife is invaluable for filling imperfections and applying wood filler, creating a smooth, seamless surface.
- Drop Cloths & Painter's Tape: Protect your workspace from accidental paint splatters with drop cloths and painter's tape. This will save you time and effort on cleanup.
Choosing The Right Materials
Material selection depends primarily on whether you're painting or staining, as well as the type of wood you're working with.
- Primer: Primer seals the surface and improves paint adhesion, particularly on previously finished cabinets. Select a primer that's compatible with your chosen paint type (oil-based or water-based). This ensures a more durable and professional finish.
- Paint or Stain: If painting, opt for high-quality paint specifically designed for cabinets, offering better durability and resistance to wear. If staining, choose a stain that complements your décor and the wood type. Different woods, such as maple, pine, and cherry, accept stain differently. For example, maple is prone to blotchiness, so a wood conditioner is often recommended before staining.
- Sealer/Topcoat: A sealer or topcoat adds durability and enhances the beauty of your finished cabinets. Options include polyurethane, varnish, and lacquer, each with different properties regarding sheen, durability, and drying time. Polyurethane is a popular choice for kitchens due to its moisture and heat resistance.
- Low-VOC Alternatives: For a healthier and more environmentally conscious choice, consider low-VOC paints, primers, and sealers. These products emit fewer harmful fumes without compromising performance.
To help you choose the best cabinet finish for your project, consult the table below:
Cabinet Finishing Materials Comparison
This table compares different types of cabinet finishes and their characteristics to help readers choose the right option for their project.
| Finish Type | Durability | Ease of Application | Drying Time | Cost | Best For |
|---|---|---|---|---|---|
| Oil-Based Paint | High | Moderate | Longer | Moderate | High-traffic areas |
| Water-Based Paint | Moderate | Easy | Shorter | Moderate | Eco-conscious projects |
| Polyurethane | High | Moderate | Moderate | Moderate | Kitchens & Bathrooms |
| Lacquer | High | Difficult | Fast | High | Furniture & Fine Woodwork |
| Varnish | Moderate | Moderate | Moderate | Moderate | General Wood Protection |
| Stain (Oil-Based) | Moderate | Moderate | Moderate | Low | Enhancing Wood Grain |
| Stain (Water-Based) | Low | Easy | Fast | Low | DIY Projects & Quick Finishes |
Key takeaways from the table include the superior durability of oil-based paints and polyurethane, the ease of application of water-based products, and the speed of lacquer drying. Consider your project's specific needs and priorities when making your selection.
Application Methods: Brush, Roller, Or Sprayer?
Each application method has advantages and disadvantages. The best choice depends on your skill level and project size.
- Brushing: Brushing offers excellent control and is ideal for intricate details. However, it's time-consuming and requires a steady hand to prevent brush marks.
- Rolling: Rolling is faster than brushing and creates a smooth finish on larger, flat surfaces. However, achieving even coverage in corners and crevices can be challenging.
- Spraying: Spraying yields the smoothest, most professional-looking finish. However, it requires specialized equipment (spray guns), proper ventilation, and a steeper learning curve.
By carefully selecting the right tools and materials, and understanding each application method, you can achieve beautiful, long-lasting results for your cabinet finishing project. This attention to detail will transform your kitchen and provide a satisfying sense of accomplishment.
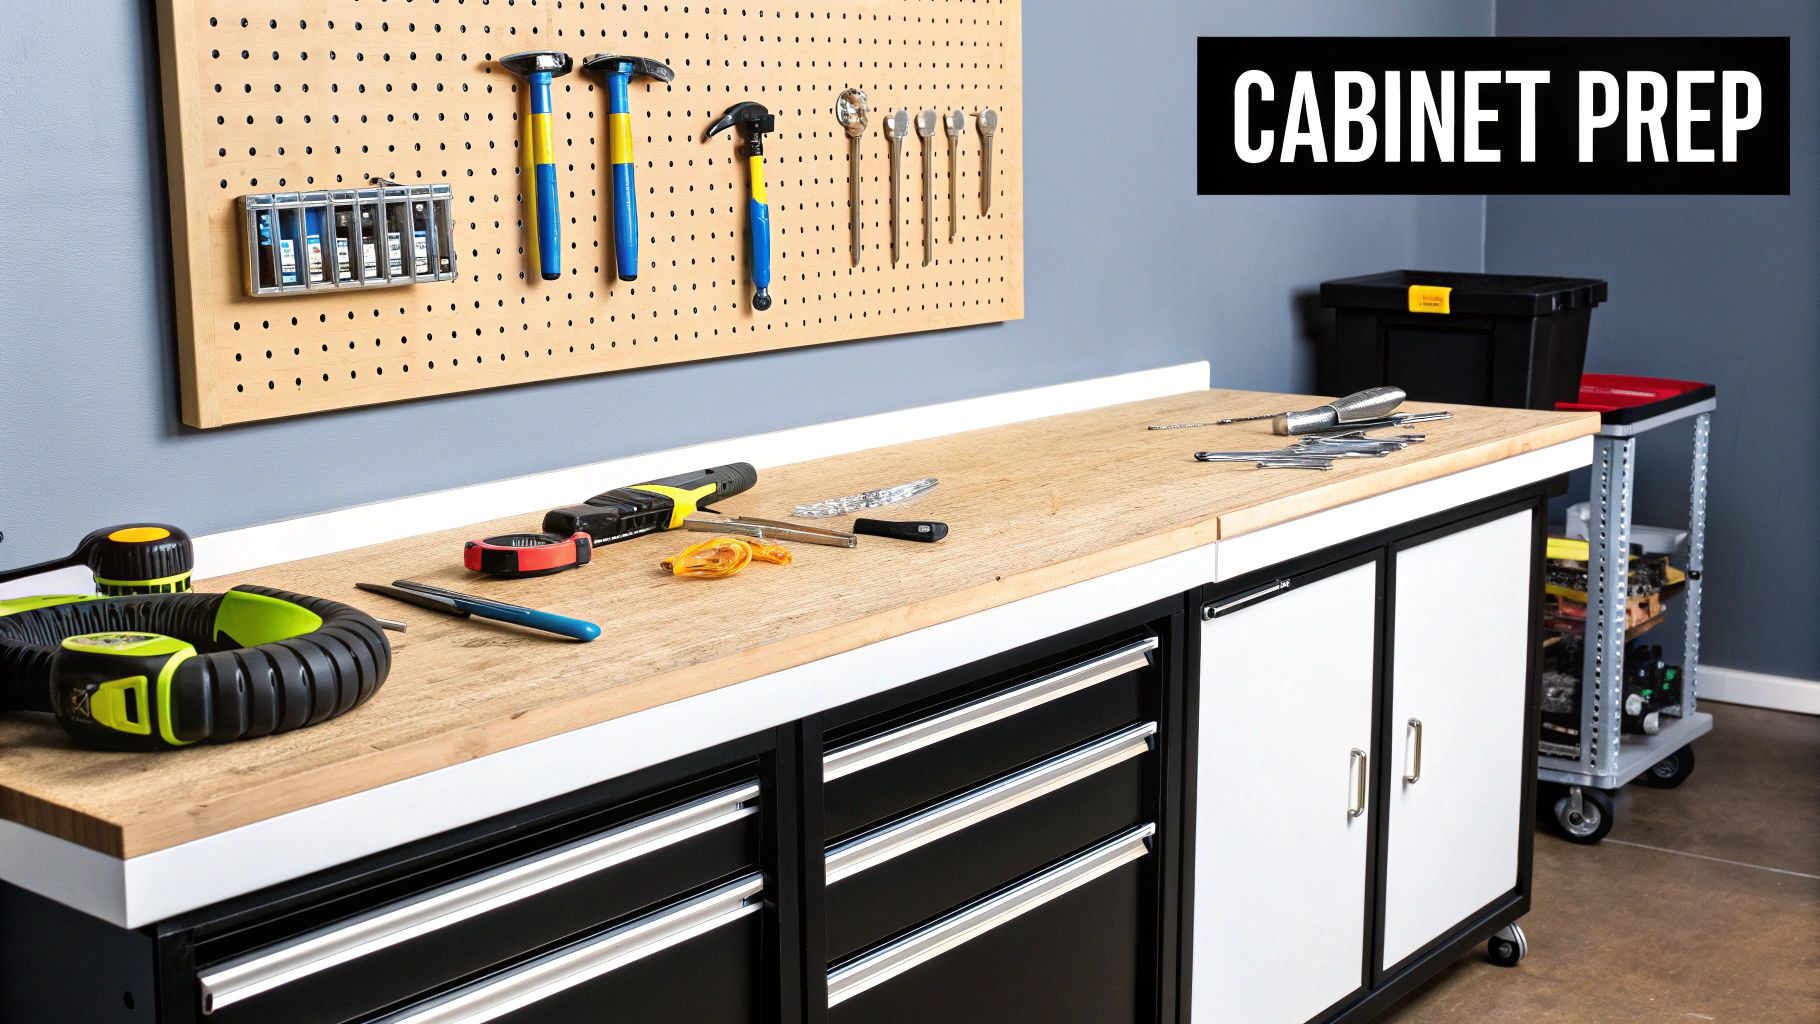
Preparation Secrets That Guarantee Professional Results
The saying "preparation is key" rings especially true when it comes to finishing cabinets. Professionals estimate that 80% of a successful project hinges on proper preparation. This section will guide you through the essential steps that elevate your work from amateur to professional quality.
Creating the Ideal Workspace
Before starting, designate a dedicated workspace. Protect your floors and countertops with drop cloths and ensure proper ventilation. Good ventilation is vital not only for comfort but also for proper drying and minimizing the effects of fumes, particularly when using oil-based products.
Also, consider temperature and humidity. The ideal range is between 65-75°F with moderate humidity. Maintaining this range helps prevent issues like bubbling or cracking in the finish.
Hardware Removal and Organization
While removing hardware may seem simple, a systematic approach prevents future headaches. As you remove each piece, label it and store it in a zip-top bag. This simple organization tactic prevents mix-ups and streamlines reassembly.
Having the right tools, such as those recommended for faucet installation, can significantly expedite the process, especially for hardware connected to plumbing.
Deep Cleaning: The Enemy of a Flawless Finish
Grease and grime are detrimental to a perfect cabinet finish. Use a degreaser designed for kitchen cabinets to tackle stubborn buildup. A mixture of warm water and baking soda can be surprisingly effective for particularly greasy areas.
After cleaning, thoroughly rinse and dry the cabinets. This ensures no residue interferes with the primer or paint adhesion.
Repairing Common Cabinet Issues
Addressing imperfections before finishing is crucial. Fill dents and scratches with wood filler, allowing it to dry completely before sanding smooth.
Repair water damage by sanding the affected area and applying a wood hardener if necessary. Loose hinges or damaged hardware holes should also be fixed at this stage. For instance, oversized hardware holes can be filled with wood filler, redrilled, and then fitted with the hardware.
Sanding: The Foundation of a Smooth Finish
Sanding is arguably the most critical preparation step. It creates a smooth surface for proper primer and paint adhesion. Begin with a medium-grit sandpaper (around 150-grit) to remove the existing finish and smooth out imperfections.
Follow up with a finer grit (around 220-grit) for a final polish. This two-step process ensures optimal adhesion and a flawless final appearance, whether you're painting or staining.
This meticulous preparation lays the groundwork for a beautiful, long-lasting finish. Interestingly, the cabinet refinishing industry is booming, projected to reach USD 194.88 million by 2032. This growth is fueled by consumer demand for sustainable and budget-friendly updates. Learn more about this trend. Refinishing, when done with proper preparation, offers a great way to update your kitchen while contributing to this eco-conscious movement.
Paint Like a Pro: Flawless Cabinet Finishing Techniques
Now that your cabinets are prepped, let's explore how to achieve a truly flawless finish. This isn't just about applying paint; it's a detailed process that requires a methodical approach and attention to detail. Understanding primers, application techniques, and drying times is essential.
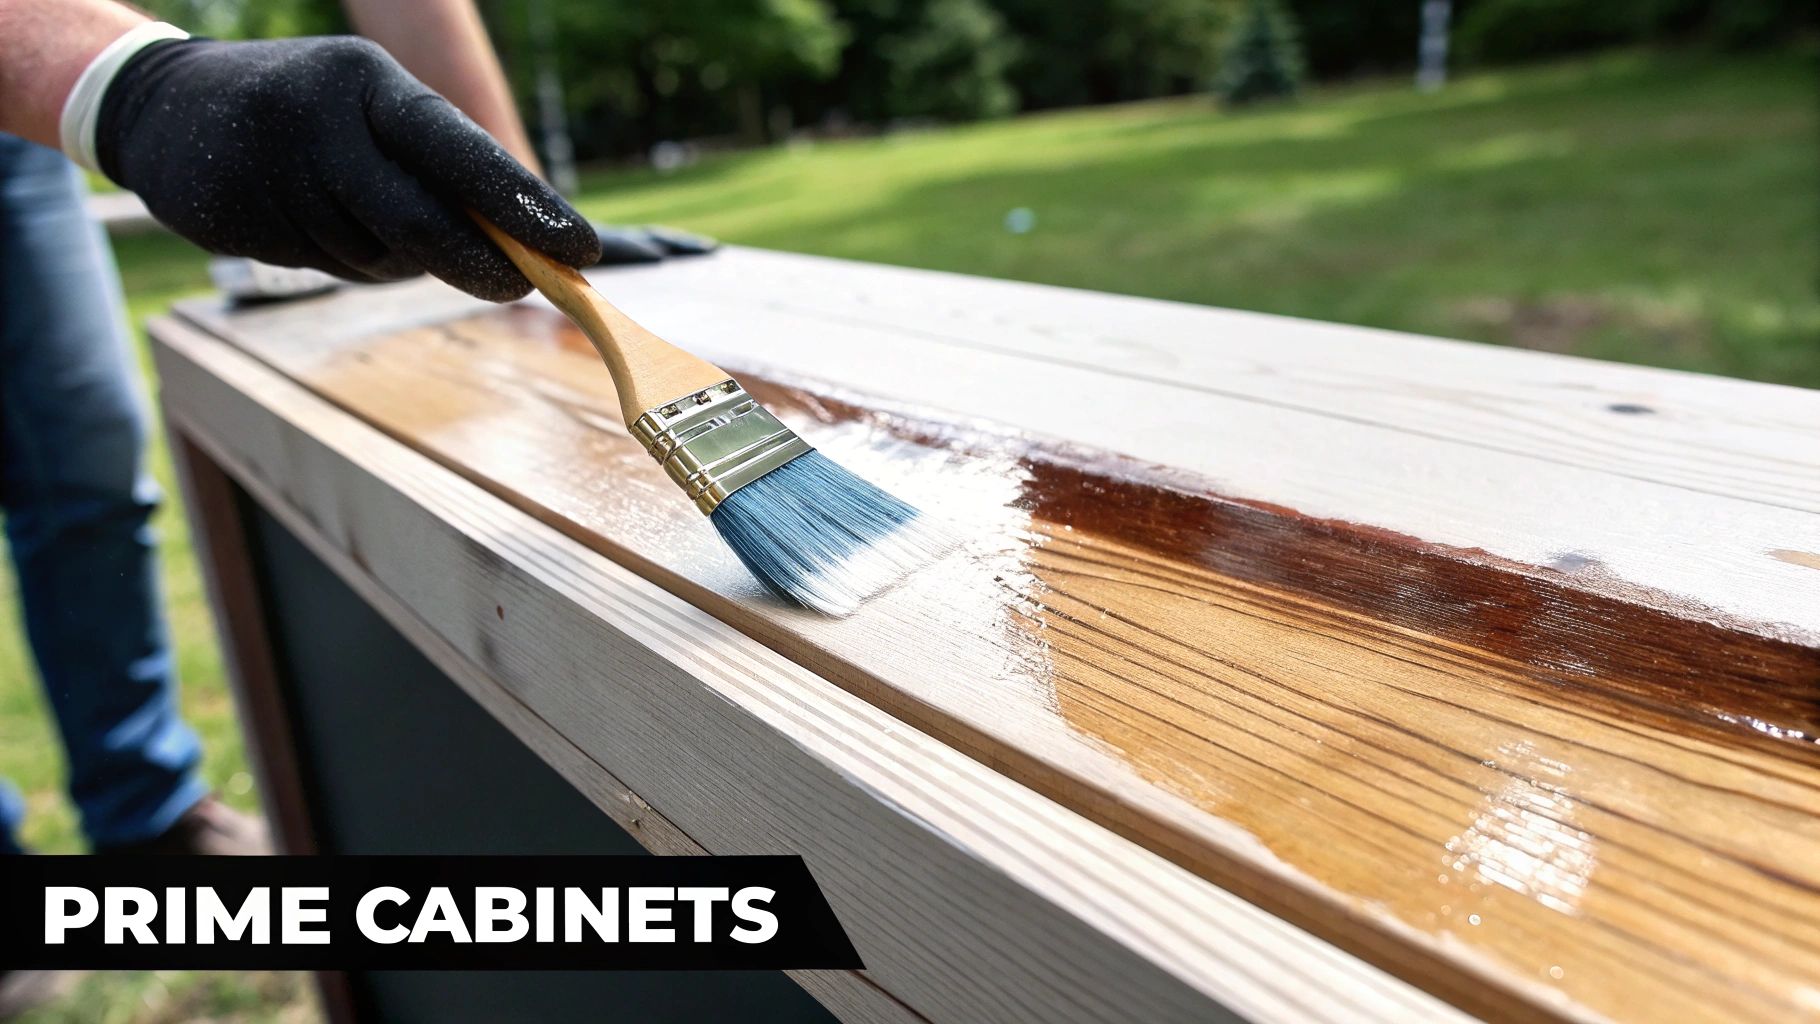
Priming for Success: Preventing Bleed-Through and Adhesion Issues
Priming is a critical step, especially for older cabinets or wood susceptible to bleed-through. A quality primer seals the surface, providing a smooth, consistent base for your paint. For instance, when painting light over dark cabinets, a stain-blocking primer is essential to prevent the old color from showing through. The right primer also ensures proper paint adhesion, which prevents peeling and chipping later on.
Mastering the Art of Paint Application: Brush, Roller, or Sprayer?
Choosing the right application method depends on several factors: your skill level, the project size, and your desired finish. Each method has its own set of advantages and disadvantages. For more helpful tips, check out this resource: How to master cabinet finishing techniques.
The following table outlines the different application methods, their pros and cons, ideal use cases, and the skill level required for each.
Application Methods for Cabinet Finishing
| Application Method | Pros | Cons | Best For | Skill Level Required |
|---|---|---|---|---|
| Brush | Excellent control for details | Time-consuming, potential for brush marks | Intricate details, smaller projects | Beginner to Intermediate |
| Roller | Faster than brushing, smooth finish on flat surfaces | Challenging for corners and crevices | Larger, flat surfaces | Beginner |
| Sprayer | Smoothest, most professional finish | Requires specialized equipment and ventilation, steeper learning curve | Large projects, achieving a factory-like finish | Intermediate to Advanced |
Brushes offer excellent control for intricate details, but can be time-consuming and may leave brush marks if not used carefully. Rollers are a faster option for larger, flat surfaces, but can be tricky in tight corners and crevices. Sprayers provide the smoothest, most professional finish, but require specialized equipment, proper ventilation, and a higher level of skill.
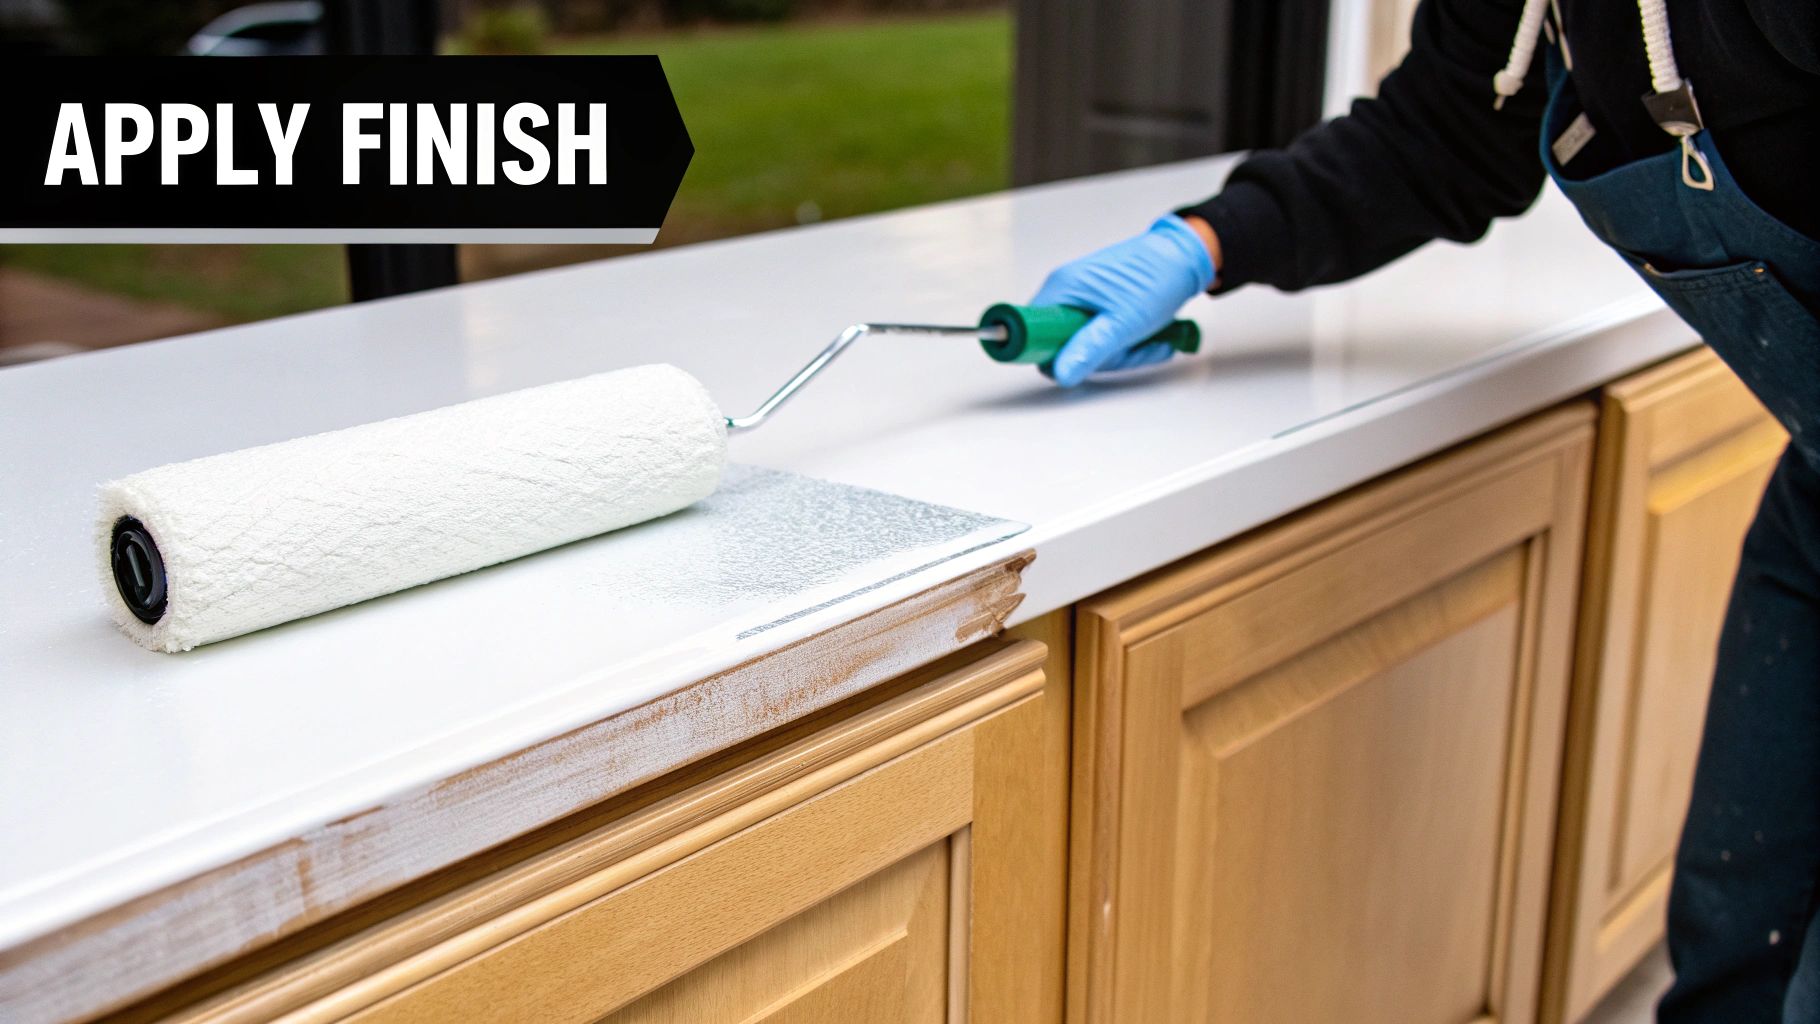
The Patience-Testing Truth About Drying Times: Layering Thin Coats
The key to a durable, professional-looking finish lies in applying multiple thin coats. This technique ensures better coverage and helps prevent drips. It does, however, require patience. Allow each coat to dry completely—often 4-6 hours or even overnight—before applying the next. The exact drying time depends on the specific product and the surrounding environment. Rushing this process can result in a sticky, uneven finish.
Troubleshooting Common Cabinet Finishing Problems
Even with meticulous preparation and application, problems can still arise. Orange peel texture, a common issue, is often caused by applying the paint too thickly or using the wrong roller. Bubbling can occur if the surface wasn't properly cleaned or if the paint dried too quickly. Uneven sheen can result from inconsistent application or inadequate drying times. Addressing these problems quickly is crucial. This may involve light sanding and reapplying a thin coat. By mastering these techniques and practicing patience, you'll achieve a flawless cabinet finish that transforms your kitchen.
Wood Staining Mastery: Bringing Natural Beauty To Life
Staining your cabinets allows you to highlight the natural beauty of wood grain while adding depth and warmth. But achieving a professional finish requires more than just applying stain. It involves understanding how different wood species react to stain, careful preparation, and attention to detail. Let's explore the art of wood staining and transform your cabinets into stunning centerpieces.
Understanding Wood And Stain Interaction
Different wood types absorb stain differently due to variations in their density and porosity. Open-grained woods, like pine and oak, absorb more stain, resulting in a richer, darker color. Learn how to master choosing the right wood stain. Closed-grained woods, such as maple and cherry, absorb stain less evenly, sometimes creating a blotchy look. Understanding these characteristics is crucial for a beautiful, consistent finish.
The Importance Of Test Applications
Before staining all your cabinets, test the stain on a hidden area or scrap piece of the same wood. This lets you preview the color and check for potential blotchiness. It's a chance to refine your technique before working on the entire project. This preventative step can save you from costly mistakes and ensure a result you'll love.
Conditioning For Even Stain Absorption
For woods prone to blotchiness, like maple, pine, and cherry, using a wood conditioner is key. This pre-stain treatment helps regulate stain penetration for a more uniform color. It's like priming a wall before painting, creating a receptive surface for the stain. This prevents unsightly blotches and promotes even absorption.
Mastering The Wipe-On, Wipe-Off Technique
The wipe-on, wipe-off method is a go-to for achieving a deep, even stain. Apply a generous amount of stain with a brush or cloth, ensuring complete coverage. Let the stain sit for a few minutes, then wipe off the excess with a clean cloth, following the wood grain. This technique lets you control the color intensity and achieve a smooth, professional look.
Tackling Tricky Areas: End Grain And Detailed Trim
End grain, the exposed wood at the ends of boards, absorbs stain more quickly than face grain, resulting in a darker area. To prevent this, apply a thin coat of wood conditioner to the end grain before staining. Detailed trim requires a lighter touch. Use a smaller brush or a cotton swab for precise stain application, preventing drips and ensuring a clean finish.
Choosing The Right Topcoat: Protection And Appearance
After staining, a protective topcoat is essential. Polyurethane offers excellent durability and water resistance, perfect for kitchens. Varnish adds a warm, amber tone, enhancing the wood’s natural beauty. Lacquer dries quickly, creating a hard, glossy finish. Your choice depends on your desired aesthetic and the level of protection needed.
The cabinet industry is projected to reach USD 173.54 billion by 2030. Explore this topic further. This growth is fueled by changing consumer preferences for both aesthetics and functionality. By mastering wood staining, you can contribute to this trend, creating beautiful, durable cabinets that enhance your home’s value and appeal.
Creative Finishing Techniques That Make Cabinets Stand Out
Now that you’ve mastered the basics of painting and staining, let’s explore some creative finishing techniques that can truly transform your kitchen cabinets. These techniques add personality and depth, turning ordinary cabinets into stunning, custom-looking pieces.
Glazing: Adding Depth and Dimension
Glazing involves applying a thin, translucent layer of color over a base coat. This technique adds depth and dimension, highlighting the architectural details that standard paint often misses. Think of it as adding a filter to a photo – subtly enhancing the existing features.
For example, a dark glaze over a light base coat can accentuate the grooves and curves of your cabinet doors. This creates a dramatic and sophisticated look that adds visual interest to your kitchen.
Distressing: Achieving an Authentic Aged Look
Distressing is a technique that adds character and a sense of history to your cabinets. It involves strategically sanding or scraping away some of the finish to reveal the wood or base coat underneath. The goal isn't to make your cabinets look damaged, but rather to mimic the natural wear and tear of age.
Lightly sanding the edges and corners, for example, can create a gently worn, antique feel. Always practice on a test piece first to achieve the desired level of distressing before tackling your actual cabinets. This allows you to perfect your technique and avoid unwanted results.
Two-Tone Treatments: Expanding Space and Adding Flair
Two-tone cabinets are a popular trend that can visually expand your kitchen while adding designer flair. This involves using two different colors or finishes on your upper and lower cabinets.
Painting the upper cabinets a lighter color and the lower cabinets a darker color, for example, can create a sense of height and spaciousness. This also offers a unique opportunity to experiment with contrasting colors. You can create a visually striking focal point in your kitchen by carefully selecting complementary hues.
These techniques, when applied with skill and creativity, can dramatically enhance your home's appeal and reflect your personal style. You'll be amazed at the level of customization you can achieve with just a few extra steps in the finishing process.
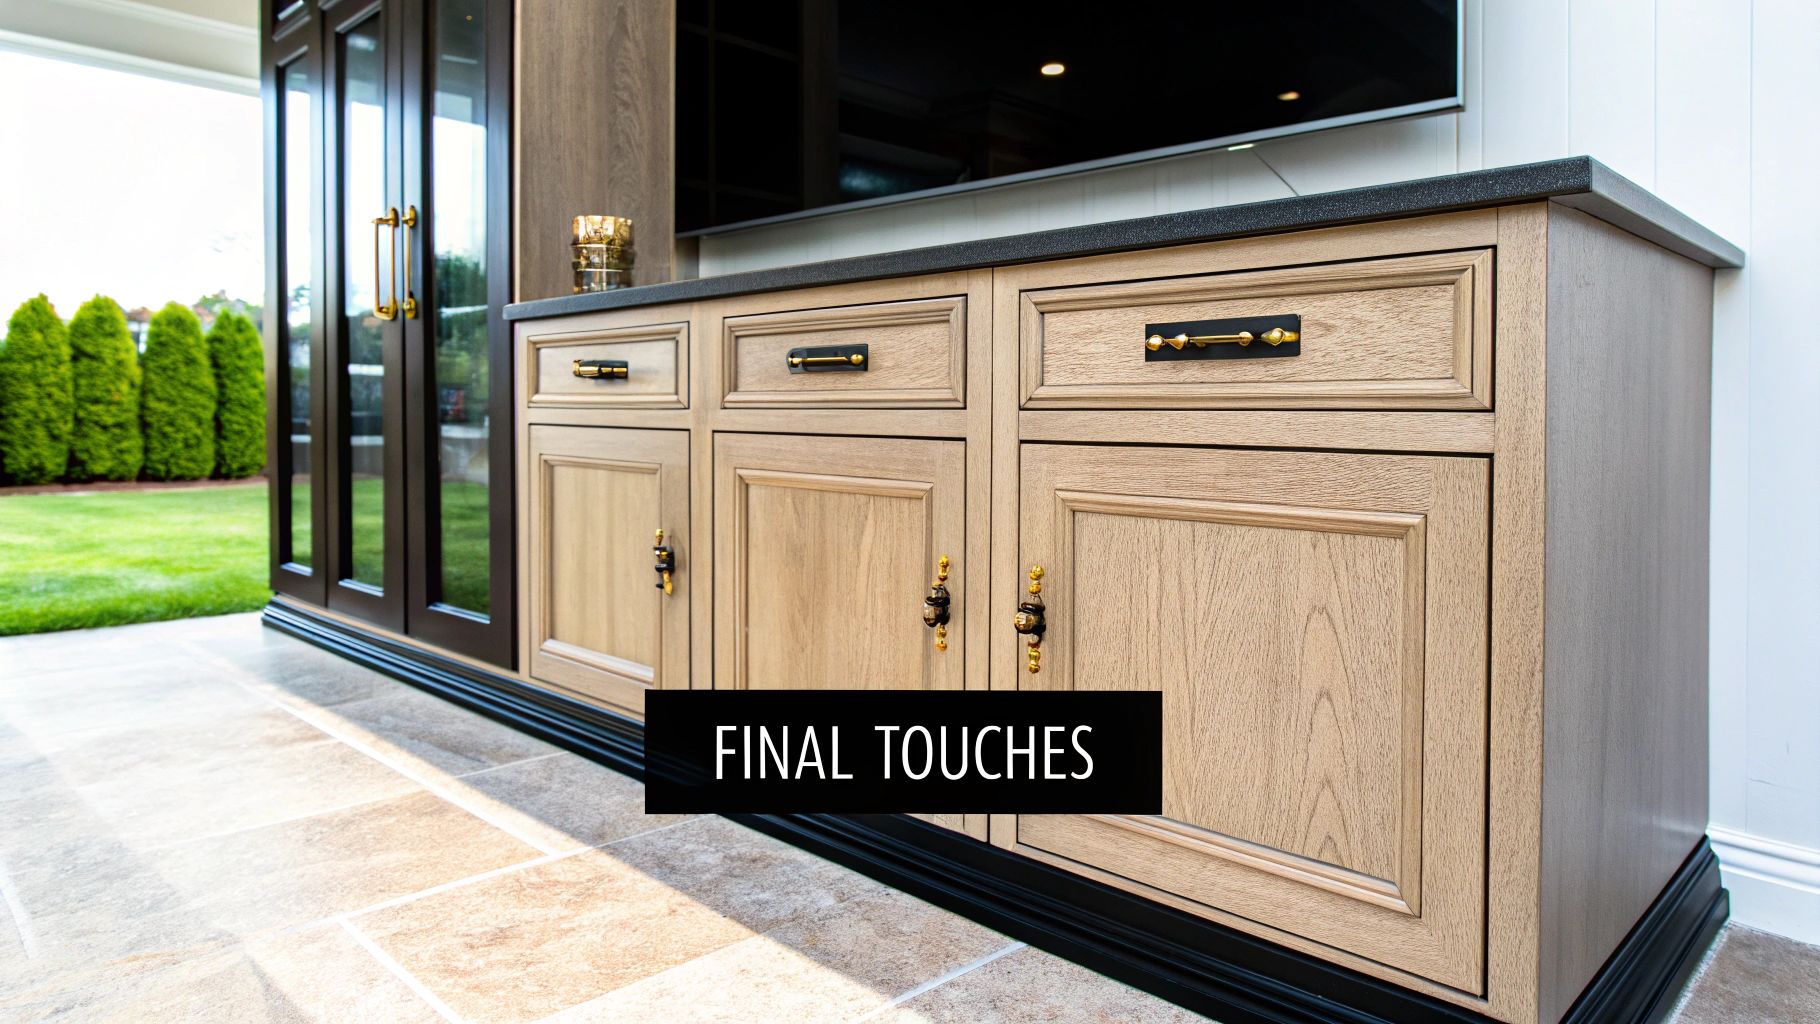
Bringing It All Together: Hardware, Installation & Maintenance
The final steps in your cabinet refinishing project can truly elevate the result. Careful reassembly, thoughtful hardware upgrades, and a consistent maintenance routine are key. These elements ensure your cabinets not only look stunning but also remain functional for years to come.
Reassembly: Aligning Doors and Ensuring Smooth Drawer Operation
Once the finish has fully cured, it's time to reassemble your cabinets. This requires precision to prevent misaligned doors or sticky drawers. Carefully attach the hinges, making sure they are properly positioned and securely fastened. For drawers, a thin coat of lubricant on the drawer slides before re-insertion will ensure smooth and effortless movement. For more tips, check out this guide: How to master choosing cabinet hardware.
Hardware Upgrades: Enhancing Functionality and Style
New hardware can dramatically transform both the appearance and performance of your refinished cabinets. Consider updating outdated knobs and pulls with modern options that complement your new finish. Even if your current hardware is in good shape, a thorough cleaning can make a noticeable difference. When selecting new hardware, consider the finish, style, and size, ensuring it complements your overall kitchen design.
Maintenance: Protecting Your Investment
Proper maintenance is vital to preserving the beauty and extending the lifespan of your refinished cabinets. Regular cleaning with a gentle, non-abrasive cleaner is essential. Avoid using harsh chemicals which can damage the finish. In humid environments like kitchens, adequate ventilation is crucial to prevent moisture buildup, a common cause of warping and peeling. Using coasters and placemats offers extra protection against scratches and spills. These simple practices will keep your cabinets looking their best.
Ready for a kitchen transformation? Explore the custom cabinet options at Sinclair Cabinetry and begin designing your dream kitchen today!