
Tired of looking at your old, dated kitchen cabinets but dreading the cost and chaos of a full remodel? I get it. The good news is you don't have to rip everything out to get a fresh new look. Updating your existing cabinets can give you the biggest bang for your buck of almost any DIY project, completely changing the vibe of your kitchen without the sledgehammers.
This guide will walk you through the process, giving you clear, practical advice to get a finish that looks professional, not like a weekend project gone wrong.
This isn't just about slapping on a new coat of paint; it's a smart home improvement. The global kitchen cabinet market was valued at a whopping $80.72 billion in 2023 and is on track to hit $143.96 billion by 2030. What does that tell us? Homeowners everywhere are realizing their kitchens are a major investment in both property value and lifestyle. If you're curious, you can read more about the kitchen cabinet market trends to see how your project lines up with the bigger picture.
Choosing Your Update Method
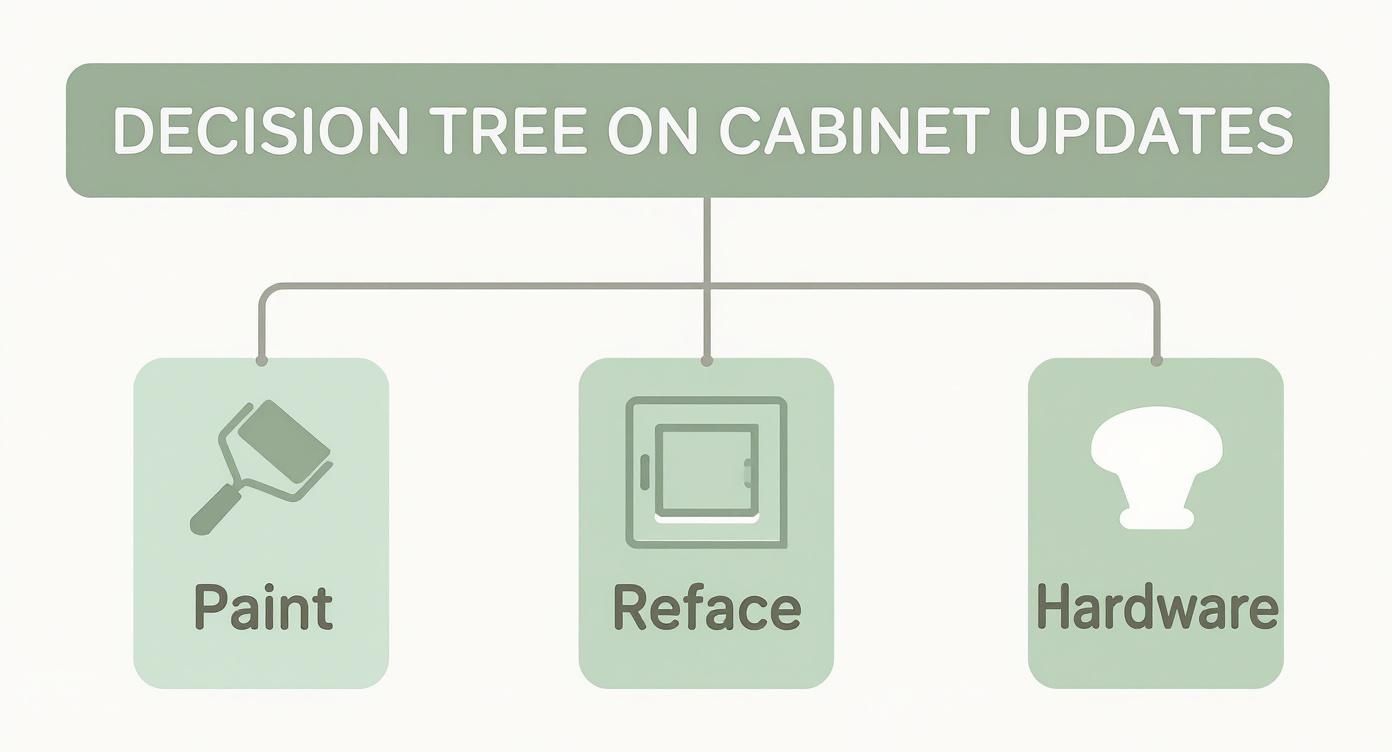
When it comes to updating old kitchen cabinets, you've really got three main paths you can take. Each one has its own set of pros and cons, so the right choice depends on your budget, how much time you have, and the shape your current cabinets are in.
- Painting: This is your go-to if your cabinets are structurally sound but the color is stuck in another decade. It's the most budget-friendly option by far and gives you endless color possibilities.
- Refacing: Think of this as the perfect middle ground. You keep your cabinet boxes but get all-new doors and drawer fronts, and then a matching veneer is applied to the outside of the boxes. It gives you the look of a brand-new kitchen for a fraction of the cost and hassle.
- Hardware Replacement: This is the quickest, easiest win you can get. Just swapping out old knobs, pulls, and hinges can bring your kitchen into the modern era in a single afternoon.
This decision tree can help you visualize which route—painting, refacing, or just swapping hardware—makes the most sense for your kitchen goals.
Use this quick comparison to decide which cabinet update method is the best fit for your kitchen project.
Comparing Cabinet Update Methods at a Glance
| Update Method | Average Cost | Skill Level | Typical Timeframe |
|---|---|---|---|
| Painting | $4 – $12 per sq. ft. | DIY-friendly | 3-7 days |
| Refacing | $75 – $150 per sq. ft. | Moderate to Pro | 2-5 days |
| Hardware | $2 – $20+ per piece | Beginner | 1-3 hours |
Ultimately, the goal is to match the scope of your project with what you want to achieve, how much you want to spend, and the time you're willing to put in. Get that balance right, and you're well on your way to a successful and seriously satisfying kitchen refresh.
Planning Your Cabinet Transformation Project
A jaw-dropping kitchen cabinet update doesn’t start with a can of paint—it starts with a solid plan. Seriously. Taking the time to map everything out now will save you from those frantic, mid-project trips to the hardware store and keep your budget from spiraling. Think of this as your project's blueprint; it’s the essential first step to making sure what’s in your head actually comes to life.
First things first: you need to get real about what you're working with. Are your cabinets sturdy, solid wood heroes from the 80s that just need a style update? Or are you dealing with laminate or particle board, which need a totally different game plan? Solid wood gives you the most options for painting or even restaining, but laminate surfaces are going to demand a specialized bonding primer if you want the finish to last.
Assess Your Cabinets and Choose Your Path
Before you even think about picking a paint color, give your cabinets a thorough inspection. You're looking for any major red flags like water damage, deep gouges, or veneer that's starting to peel away. Minor dings and scratches are an easy fix, but if you’ve got structural problems, it might be time to consider another route.
- Painting: This is your go-to for structurally sound wood, MDF, or even laminate cabinets where the main problem is just an outdated color or finish.
- Refacing: A fantastic option if the cabinet boxes are in great shape but the doors are damaged, have a dated profile (like those old-school cathedral arches), or if you want a totally new wood grain look without a full tear-out. To really get into the weeds on this, understanding the nuances of cabinet refacing versus replacement can help you decide if it's the right move.
- Hardware Updates: Perfect for any cabinet in good condition when you just want a quick, high-impact refresh to bring the look into this decade.
Once you’ve locked in your method, it's time to gather your supplies. Nothing kills project momentum faster than realizing you’re missing a critical tool right in the middle of all the prep work.
Your Essential Toolkit and Materials Checklist
Do yourself a favor and create a comprehensive list before you go shopping. The specifics will change a bit depending on whether you're painting or refacing, but there's a core set of tools you’ll need no matter what.
Core Supplies for Almost Any Cabinet Project:
- Degreaser: A good TSP (trisodium phosphate) substitute or another strong degreasing cleaner is non-negotiable. It’s the only way to cut through years of accumulated kitchen grime.
- Sandpaper: Grab a variety of grits. You’ll want something around 120-grit for the initial scuff sanding and 220-grit for getting that super-smooth finish right before you paint.
- High-Quality Primer: This is not the place to save a few bucks. A stain-blocking primer is your best friend for wood, while a bonding primer is an absolute must for slick surfaces like laminate.
- Painter's Tape: To get those crisp, clean lines and protect your walls, countertops, and appliances.
- Drop Cloths: You’ll need them to protect your floors and anything else you don’t want covered in dust and paint.
- Screwdriver or Drill: For taking off all the hardware, doors, and drawers.
One of the most common mistakes I see is underestimating how much paint you'll actually need. As a general rule of thumb, one gallon of high-quality cabinet paint will cover about 400 square feet, which is typically enough for an average-sized kitchen. Always buy a little extra for a second coat and future touch-ups.
Setting Up Your Workspace and Timeline
Let's be honest, your kitchen is going to be a disaster zone for a little while. That’s why setting up a separate, functional workspace is so important. Find a spot in the garage, basement, or a spare room where you can lay out all the doors and drawer fronts for cleaning, sanding, and painting. Pro tip: use painter's pyramids or even just some blocks of wood to elevate the doors. This lets you paint the edges and surfaces in one go without smudging your work.
Just as important is setting a realistic timeline. A proper cabinet painting project is not a one-weekend job. You have to factor in the critical drying and curing times between each coat of primer and paint. Rushing this step is the #1 reason for a tacky, easily-chipped finish.
Here’s what a realistic schedule often looks like:
- Day 1: Disassembly, labeling every single piece, and a deep, thorough cleaning.
- Day 2: Sanding and getting that first coat of primer on everything.
- Day 3: A second coat of primer (if you need it) and the first topcoat of paint.
- Day 4: Applying that final, beautiful topcoat.
- Days 5-7: Curing time. This is the hard part—waiting. Don’t rush it! Let that paint fully harden before you even think about putting it all back together.
Being patient here is the secret to getting a durable, professional-looking finish that will actually hold up to the chaos of daily kitchen life.
The Unskippable Steps for Flawless Prep Work
Talk to any pro painter, and they’ll tell you the real secret to a high-end, durable finish isn’t in the final coat of paint. It’s all about the prep work.
This is the foundation of your entire project. Rushing this stage is the single biggest mistake you can make, and it’s a one-way ticket to peeling, chipping, and a finish that just looks amateur. I always tell people to think of it as 90% preparation and 10% application. Getting this part right is what makes your hard work last for years.
The first thing you have to do—and I mean really do—is give your cabinets a deep clean. Over the years, kitchen cabinets build up a shocking amount of grease, grime, and oils from cooking and daily use. Paint simply will not stick to a greasy surface, no matter how good your primer is.
The Art of Degreasing and Labeling
To cut through all that buildup, you're going to need a serious degreaser. Trisodium Phosphate (TSP) used to be the go-to, but these days, there are plenty of eco-friendly and less harsh TSP substitutes that work just as well.
Mix your cleaner, grab a scrub sponge, and get to work. Be methodical here. You need to clean every single surface: fronts, backs, and edges of the doors, plus all the cabinet frames.
Once everything is clean, wipe it all down again with plain water to get rid of any chemical residue. Now, it's time to take everything apart. This is where a simple labeling system becomes your absolute best friend and saves you from a massive headache later.
This is a labeling system that has never failed me:
- Use painter's tape and a permanent marker. Put one piece of tape inside the cabinet box (e.g., "Top Left 1") and a matching piece on the back of the door from that exact spot.
- Bag and tag your hardware. Put the hinges and screws from each door into a small, labeled zip-top bag (e.g., "Hinges TL1"). This guarantees the original hardware goes back into the original holes, which is key for getting the doors to hang perfectly again.
It might feel a little tedious, but trust me. When you’re staring at a room full of identical cabinet doors, you'll be glad you spent an extra 20 minutes on this.
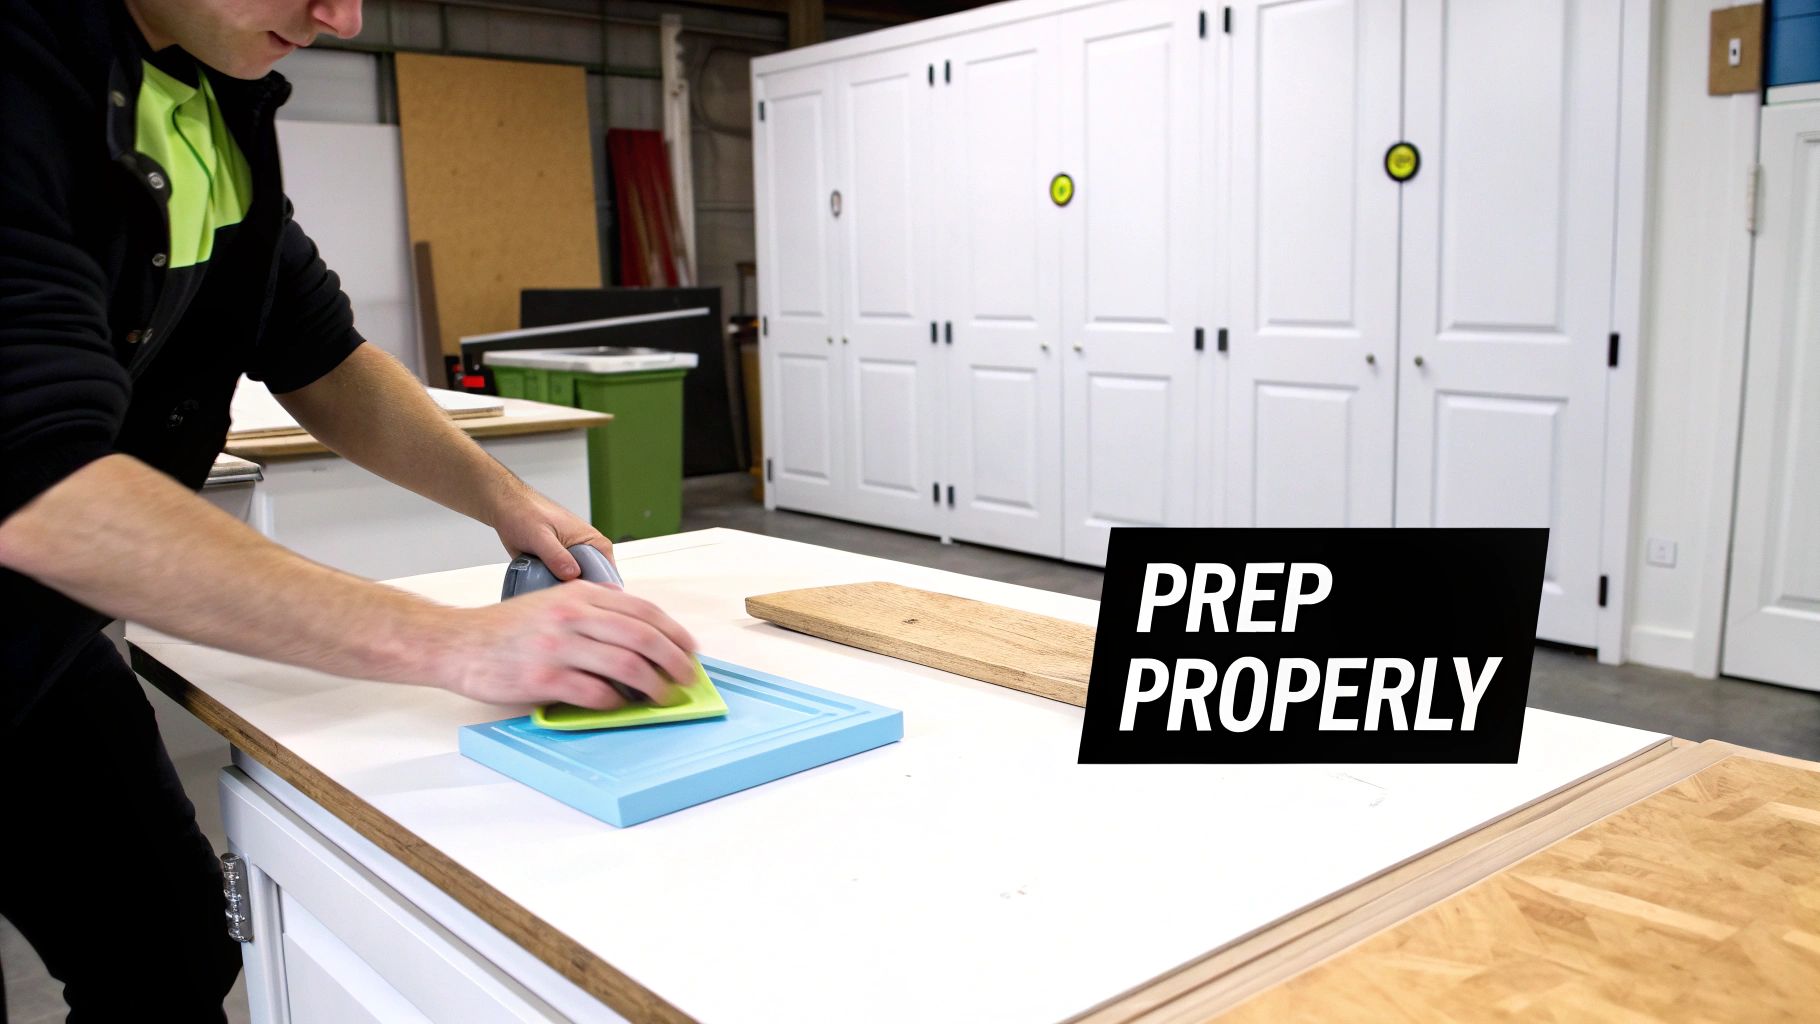
Sanding for Success on Any Surface
With your cabinets clean and disassembled, it’s time to sand. The goal isn’t to strip the old finish down to bare wood. You just want to "scuff" the surface. This light abrasion creates thousands of microscopic grooves for the primer to grip onto, creating a powerful mechanical bond.
The type of cabinets you have dictates your sanding approach:
- Solid Wood Cabinets: A medium-grit sandpaper, like 120-grit, is perfect for scuffing up the existing finish. You're just trying to knock down the gloss.
- Laminate or Melamine: These slick surfaces are notoriously tricky. A very light scuff with 180- to 220-grit sandpaper is all you need to create enough texture for a bonding primer to grab hold.
- Previously Painted Cabinets: If the old paint is in good shape, a quick once-over with 220-grit is plenty. If it’s chipping or peeling, you’ll have to sand those problem areas smooth, maybe starting with a coarser grit and working your way up.
After sanding, you’ll have a fine layer of dust everywhere. Use a vacuum with a brush attachment to get the bulk of it, then follow up with a tack cloth or a slightly damp microfiber cloth to wipe every surface clean. Any leftover dust will turn into a gritty, bumpy texture in your final finish.
For a truly flawless and durable finish on your kitchen cabinets, mastering the art of surface preparation for painting is the most critical step. Getting the cleaning, sanding, and priming right is what creates a professional-grade result.
Choosing the Right Primer for a Lasting Bond
Primer is the unsung hero of cabinet painting. It does three essential jobs: it makes the topcoat stick, it blocks stains and wood tannins from bleeding through, and it creates a uniform base so you need fewer coats of your expensive paint. Skipping primer is a recipe for disaster.
But which primer you choose is just as important as using it in the first place. Your choice should be based on what your cabinets are made of.
Primer Selection Guide
| Cabinet Material | Recommended Primer Type | Why It Works |
|---|---|---|
| Stained Wood (especially oak or cherry) | Oil-Based Stain-Blocking Primer | This is the gold standard for stopping tannins—natural oils in the wood—from seeping through and creating ugly yellow or pink stains in your paint. |
| Laminate, Melamine, or Thermofoil | Water-Based Bonding Primer | These are engineered with powerful acrylic resins to stick to glossy, non-porous surfaces where other primers would just peel right off. |
| Previously Painted Cabinets | High-Quality Water-Based Primer | If the old paint is in good shape and you're not making a drastic color change, a good all-purpose water-based primer will create a perfect base. |
Apply a thin, even coat of primer. I like using a high-quality brush for cutting in the corners and a mini foam roller for the flat surfaces to minimize brush strokes. Let it dry completely—check the can for times—and then give it a very light sanding with 220-grit sandpaper. This final, gentle sanding knocks down any raised wood grain or tiny imperfections and is the secret to getting that buttery-smooth finish you want.
Wipe away the dust one last time. Now, you are officially ready for paint.
Time to Master Painting and Refacing
Okay, your surfaces are prepped and ready to go. Now for the fun part—the real transformation. This is where you bring your vision to life, and the techniques you use here will make all the difference between an average DIY job and a truly professional-grade finish.
Whether you're going for a fresh coat of paint or a complete overhaul with refacing, getting the application right is everything.
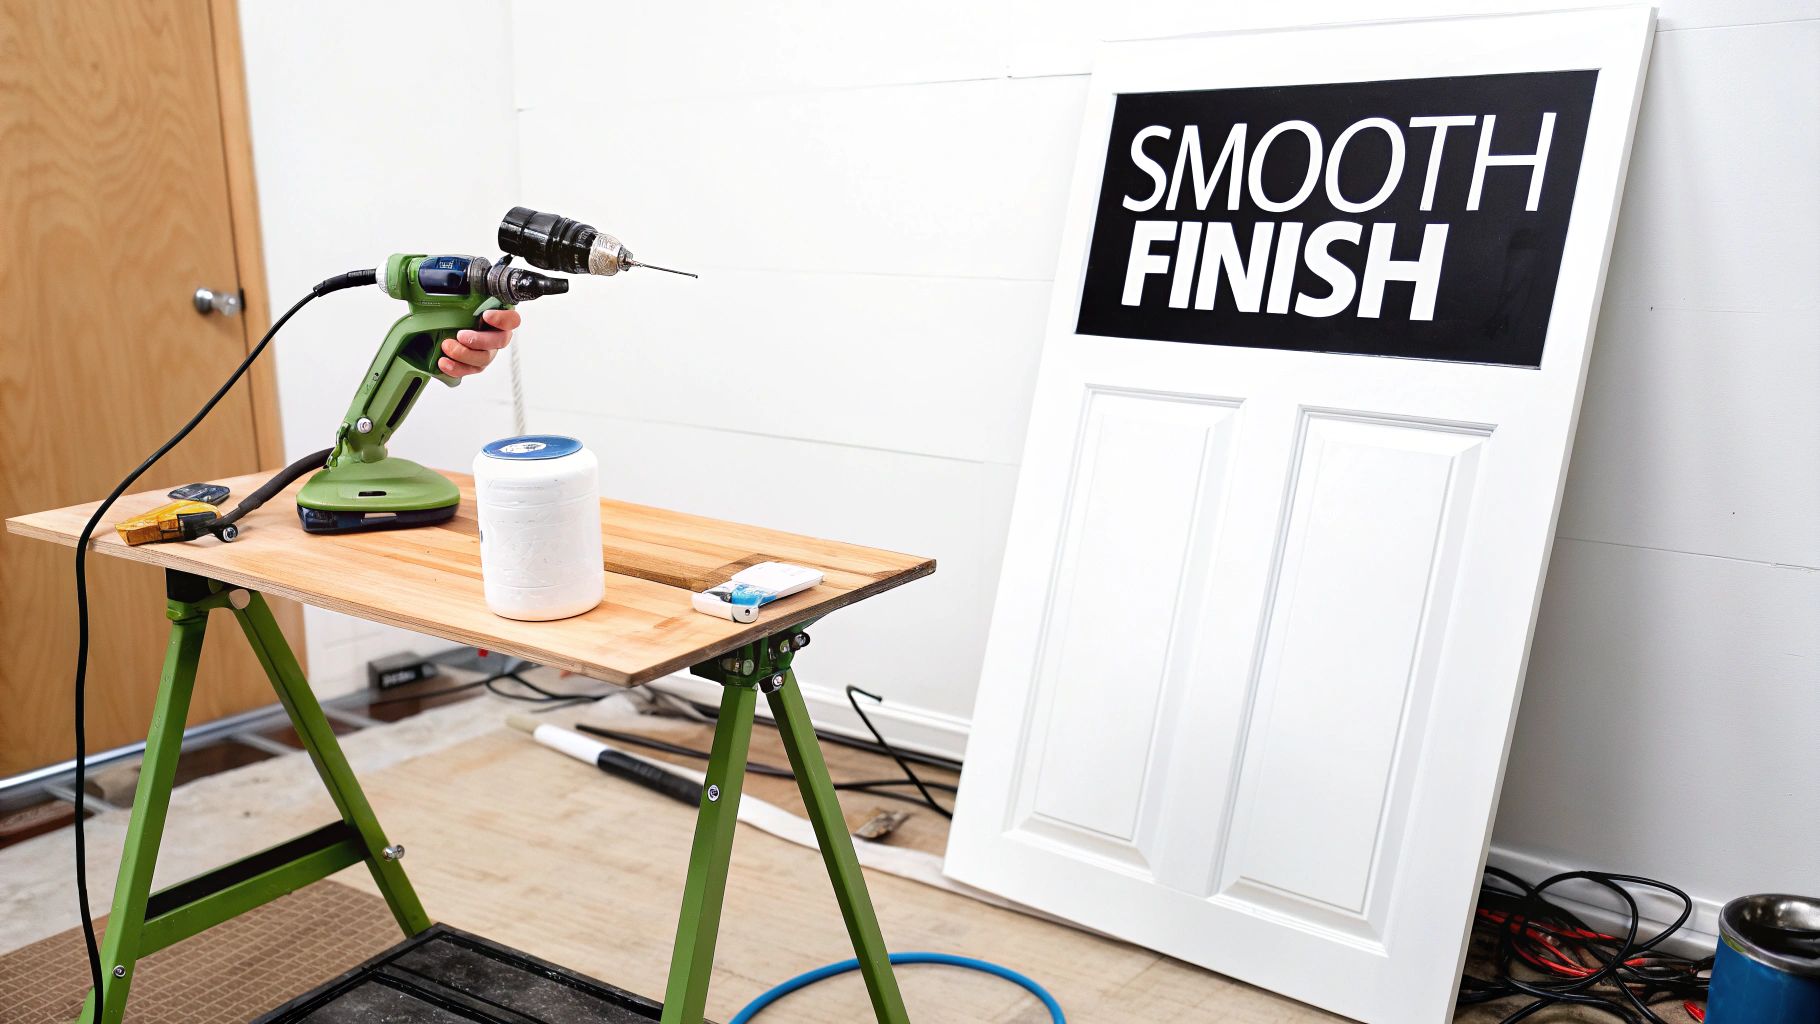
Painting: Brush and Roller or a Sprayer?
This is the classic debate, and honestly, there’s no single right answer. It really comes down to your skill level, your budget, and the kind of finish you’re aiming for. Both methods can give you gorgeous results, but they're completely different animals.
The traditional route involves a high-quality angled brush and a mini foam roller. This combo is budget-friendly and gives you a ton of control, which is perfect if you're new to this. The secret to a smooth finish is applying thin, even coats and—this is crucial—lightly sanding with 220-grit sandpaper between each one.
On the other hand, a paint sprayer is your ticket to a flawless, factory-like finish with zero brush strokes. It’s fast. But, it has a steeper learning curve and demands a lot more prep to mask off everything you don't want to be painted. If you go this route, practice on some scrap cardboard first to get your spray pattern and flow rate dialed in.
Whichever path you choose, our complete guide on how to paint kitchen cabinets breaks down every step for a durable, pro-level look.
Nailing That Flawless Painted Finish
If there’s one secret to a beautiful paint job, it’s patience. Rushing is the fastest way to get drips, smudges, and a texture you’ll regret.
My Best Practices for a Pro Paint Job:
- Go for Thin Coats: Seriously, two or three thin coats are infinitely better than one thick, goopy one. It helps prevent drips and allows the paint to cure properly into a much harder finish.
- Follow the Grain: If you’re painting wood cabinets, always move your brush or roller in the direction of the wood grain. It just looks more natural.
- Give It Time to Cure: Paint might feel dry in a few hours, but it takes days—sometimes weeks—to fully harden. Wait at least 48-72 hours before you even think about reassembling your cabinets. You'll thank me later.
- Sand Between Coats: After your primer and first coat of paint are totally dry, give them a super light scuff with 220-grit sandpaper. This is the non-negotiable step for that silky-smooth surface everyone wants.
Here's a common mistake I see all the time: choosing the wrong sheen. Matte finishes might be trendy, but a satin or semi-gloss is far more practical for kitchen cabinets. They're way more durable and much easier to wipe clean, which is a must-have in a high-traffic area like a kitchen.
When to Think About Cabinet Refacing
Sometimes, a new coat of paint just won't cut it. If your cabinet doors are damaged, have a seriously dated style (I'm looking at you, cathedral arches), or you want a completely different wood grain, cabinet refacing is a brilliant alternative.
Refacing means you keep your existing cabinet boxes but replace all the doors and drawer fronts. Then, you apply a matching veneer to the outside of the boxes for a seamless, brand-new look. It’s a major visual upgrade for a fraction of the cost of a full cabinet replacement.
This isn’t just a niche trend; it’s a huge part of the home renovation market. The global kitchen cabinet installation market was valued at $5,674 million in 2025 and is only projected to grow. Much of that growth, especially in mature economies, is driven by homeowners choosing to reface.
How Cabinet Refacing Actually Works
While it's more involved than painting, refacing is definitely a manageable project for a skilled DIYer. You can break it down into a few main stages.
Ordering New Doors, Drawers, and Veneer
Measure twice, cut once! You need to be precise here. Measure the height and width of every single door and drawer front, down to the 1/16th of an inch. You'll also need to figure out your hinge overlay—how much the door overlaps the cabinet frame—as this impacts your final measurements. Most refacing companies have great guides to walk you through this. For a modern vibe, you might look into options like achieving a glossy white finish for cabinets, which can completely transform and brighten a space.
Applying the Veneer
Once the old doors are off, it's time to apply the veneer to the cabinet face frames and any exposed sides. This is usually a peel-and-stick or iron-on product. It's straightforward but requires a steady hand:
- Clean and Prep: Just like painting, the frames need to be spotless and lightly sanded.
- Cut to Size: Cut your veneer piece just a little larger than the surface you're covering.
- Apply and Smooth: Carefully stick the veneer down, using a J-roller or a small block of wood to push out any air bubbles and get a strong bond.
- Trim the Excess: Use a sharp utility knife or a special veneer trimmer to carefully slice off the extra material for a perfect, flush fit.
After the veneer is on, you just install your new hinges, hang the new doors, and attach the new drawer fronts. The result is a kitchen that looks brand new without the mess and expense of a full demolition. It’s a powerful way to update old cabinets that perfectly balances impact and investment.
Installing Hardware and Finishing Touches
You've made it through the toughest parts—the cleaning, sanding, and painting are done. Now for the fun part: the finishing touches that pull the whole project together. This is where a good DIY job transforms into a stunning, professional-looking kitchen.
This final stage is all about protection and precision. It’s where you’ll add a durable topcoat to shield your new paint, meticulously install your hardware, and carefully put everything back in its place. Trust me, your patience here will pay off in a big way.
Applying a Protective Topcoat
After all that work, the last thing you want is for your beautiful new finish to get chipped or scratched. That’s why a good topcoat is non-negotiable, especially for a high-traffic area like a kitchen. Even if your paint claims to have a durable enamel, this extra layer is your best defense.
Think of it as armor for your cabinets. A quality topcoat protects against daily wear and tear, moisture, and stains.
- Water-Based Polycrylic: This is my go-to recommendation. It dries perfectly clear, won't yellow over time (crucial for white and light colors), has a low odor, and cleans up easily with water.
- Oil-Based Polyurethane: This option is incredibly durable but tends to add a slight amber tint as it ages. It can look great on darker cabinets, giving them a warm glow, but I'd steer clear of it for pure whites.
Apply two to three thin, even coats with a high-quality synthetic brush. For a perfectly smooth result, give it a light sanding with 320-grit sandpaper between coats.
A word of advice: Give your topcoat plenty of time to fully cure. It might feel dry to the touch in a few hours, but it can take several days to completely harden. Rushing this step can lead to dents or smudges when you start installing hardware.
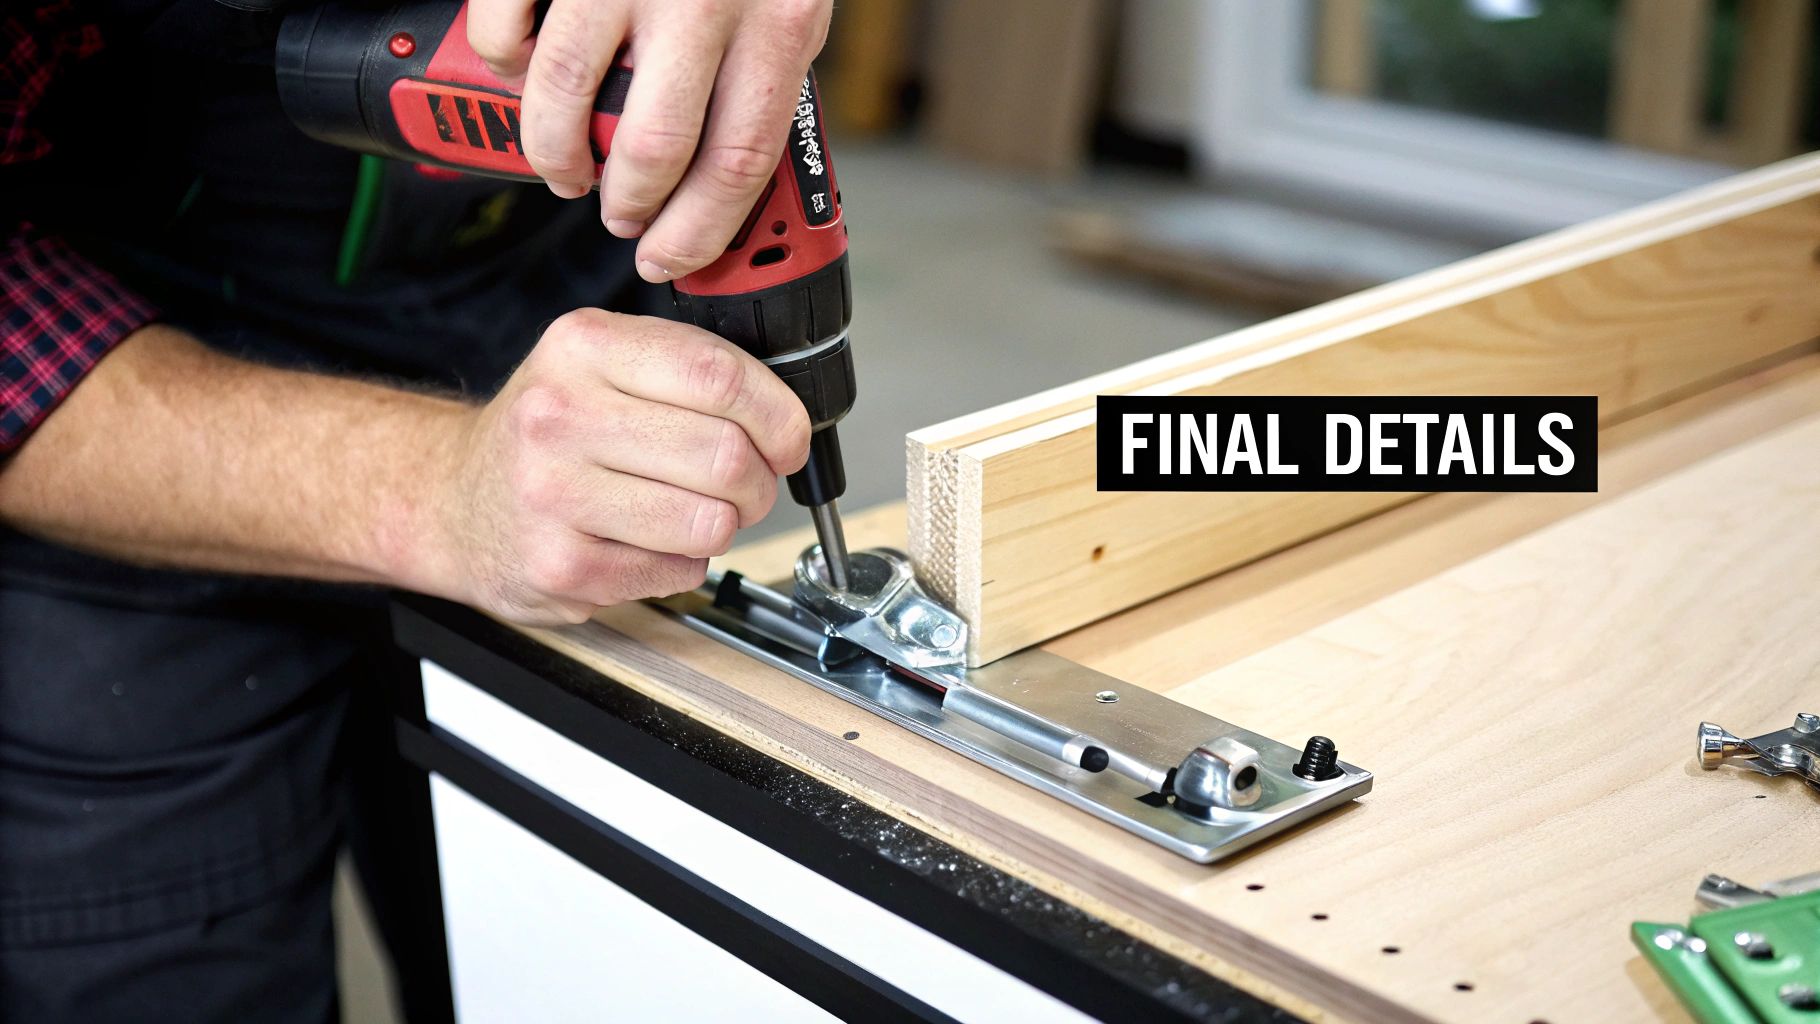
Installing New Cabinet Hardware
New hardware is the jewelry of your kitchen—it adds that final touch of style. Whether you’re swapping old knobs for sleek pulls or upgrading to modern soft-close hinges, precise installation is everything.
A cabinet hardware jig is your absolute best friend for this part of the job. This simple tool is a game-changer for making sure every knob and pull is perfectly aligned. It takes all the guesswork out of drilling and prevents that heartbreaking moment of putting a crooked hole in your freshly painted door.
If you’re upgrading to a new style of hinge, like European soft-close hinges, follow the manufacturer’s instructions to the letter. They often require a specific size hole, drilled with a Forstner bit, to sit flush and function correctly.
The Art of Perfect Placement
Where you put your hardware has a massive impact on the overall look and feel of your kitchen. The right placement makes everything look more intentional and can even make your cabinets feel taller.
- Upper Cabinets: Knobs usually go 2.5 to 3 inches from the bottom corner of the door, on the stile (the vertical frame).
- Lower Cabinets: Place knobs 2.5 to 3 inches from the top corner of the door stile.
- Drawers: Pulls are almost always centered both horizontally and vertically. On larger drawers, using two pulls often creates a more balanced look.
These are solid starting points, but for a deeper dive, check out our comprehensive cabinet hardware placement guide to get the proportions just right for your specific cabinet style.
Reassembling Your Kitchen
Once the topcoat has fully cured and the new hardware is on, it’s finally time to put your kitchen back together. This is where that labeling system you set up during prep really shines.
Carefully re-hang each door on its original cabinet frame. Putting the original hinges back in their original spots ensures a perfect fit. Re-install your drawers and give them a few glides to make sure they run smoothly.
You'll probably need to make a few minor tweaks. Most modern hinges have small adjustment screws that let you shift the door's position up, down, left, or right. Take your time to get every door perfectly level with even gaps all around. It's this meticulous alignment that really signals a high-quality job and completes your kitchen cabinet transformation.
Common Questions About Updating Cabinets
Even with the best-laid plans, a few questions always seem to surface right in the middle of a cabinet project. It’s all part of the process. Answering these common queries is what separates a good DIY job from a great one, so let’s tackle the issues we see pop up most often.
One of the biggest questions I hear is about painting those notoriously tricky surfaces. Can you really get a lasting finish on laminate or melamine cabinets? The answer is a resounding yes, but only if you nail the prep work. There are no shortcuts here.
These slick, non-porous surfaces won't hold paint like wood does. You have to start with a serious degreasing, then lightly scuff the entire surface with 120-grit sandpaper to knock down that factory sheen. But the real secret weapon is a high-adhesion bonding primer designed specifically for glossy materials. If you skip this step, your paint is guaranteed to peel.
Choosing Finishes and Final Coats
Okay, so what about the paint itself? Homeowners often get stuck trying to pick the right sheen. For a kitchen, you need something that can stand up to daily life—splatters, grease, and constant wiping. That’s why a satin or semi-gloss finish is the hands-down winner.
These sheens are engineered for durability and cleanability.
- Satin Finish: Gives you a soft, modern glow that’s great at hiding minor flaws.
- Semi-Gloss Finish: Has a bit more shine and offers fantastic stain resistance, making it a breeze to wipe down.
This brings up another great question: is a separate topcoat truly necessary? While a lot of modern cabinet paints are tough, adding two or three coats of a water-based polycrylic is one of the smartest things you can do. It creates a rock-solid protective layer that shields the paint from nicks, moisture, and stains, adding years to the life of your finish.
A critical mistake is rushing the final steps. Patience is a virtue, especially when it comes to curing time. While paint might feel dry to the touch in hours, it needs much longer to fully harden and become durable.
So, how long should you wait before putting the doors and hardware back on? To avoid heartbreaking smudges or dings, give it a minimum of 48 to 72 hours. If you’re working in a humid climate, waiting a full week is even better. It’s a small price to pay for a flawless finish that will last.
Ready to bring your vision to life with custom cabinetry that's built to last? The experts at Sinclair Cabinetry inc have over 35 years of experience crafting bespoke solutions for kitchens, bathrooms, and more. Explore our custom design options and start your project today!