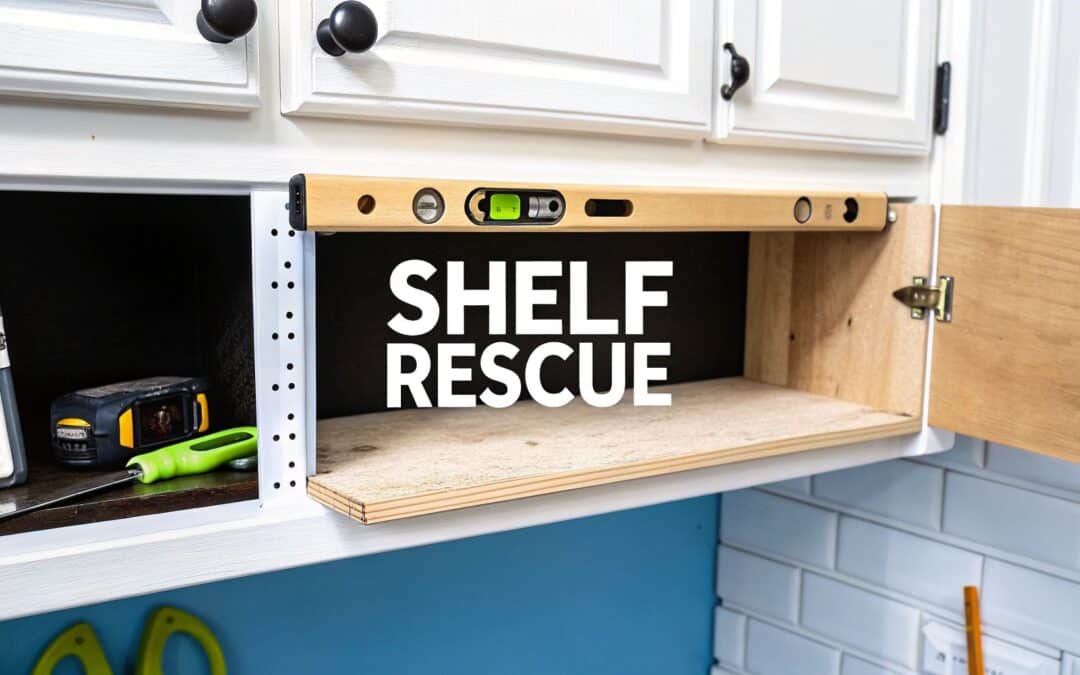
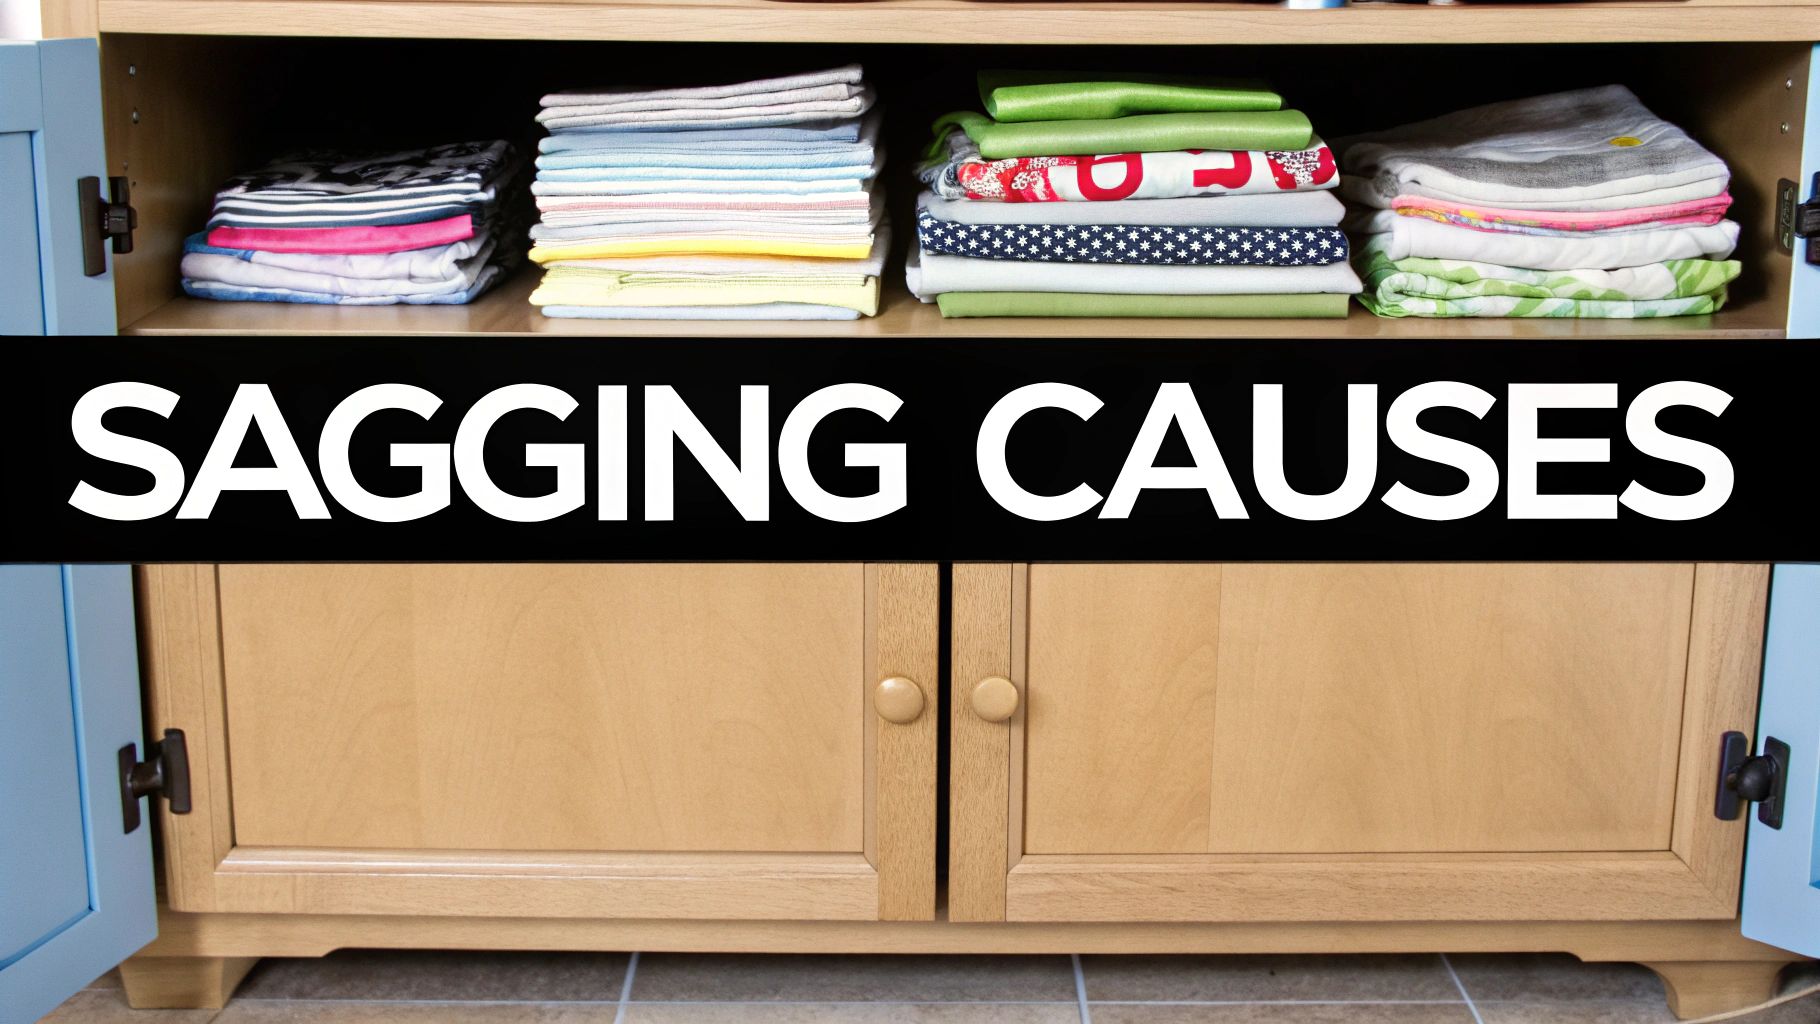
It’s a look every homeowner dreads: the unmistakable "smile" of a cabinet shelf bowing under the weight of plates, canned goods, or pantry staples. It’s more than just an eyesore; it’s a warning sign that your storage is failing.
So, how to fix sagging cabinet shelves for good? The quickest band-aid is to simply flip the shelf over. But for a real, lasting solution, you’ll want to reinforce it with a support strip or add a central brace. A simple repair like this doesn't just restore the shelf's strength—it keeps your cabinets looking sharp and functioning as they should.
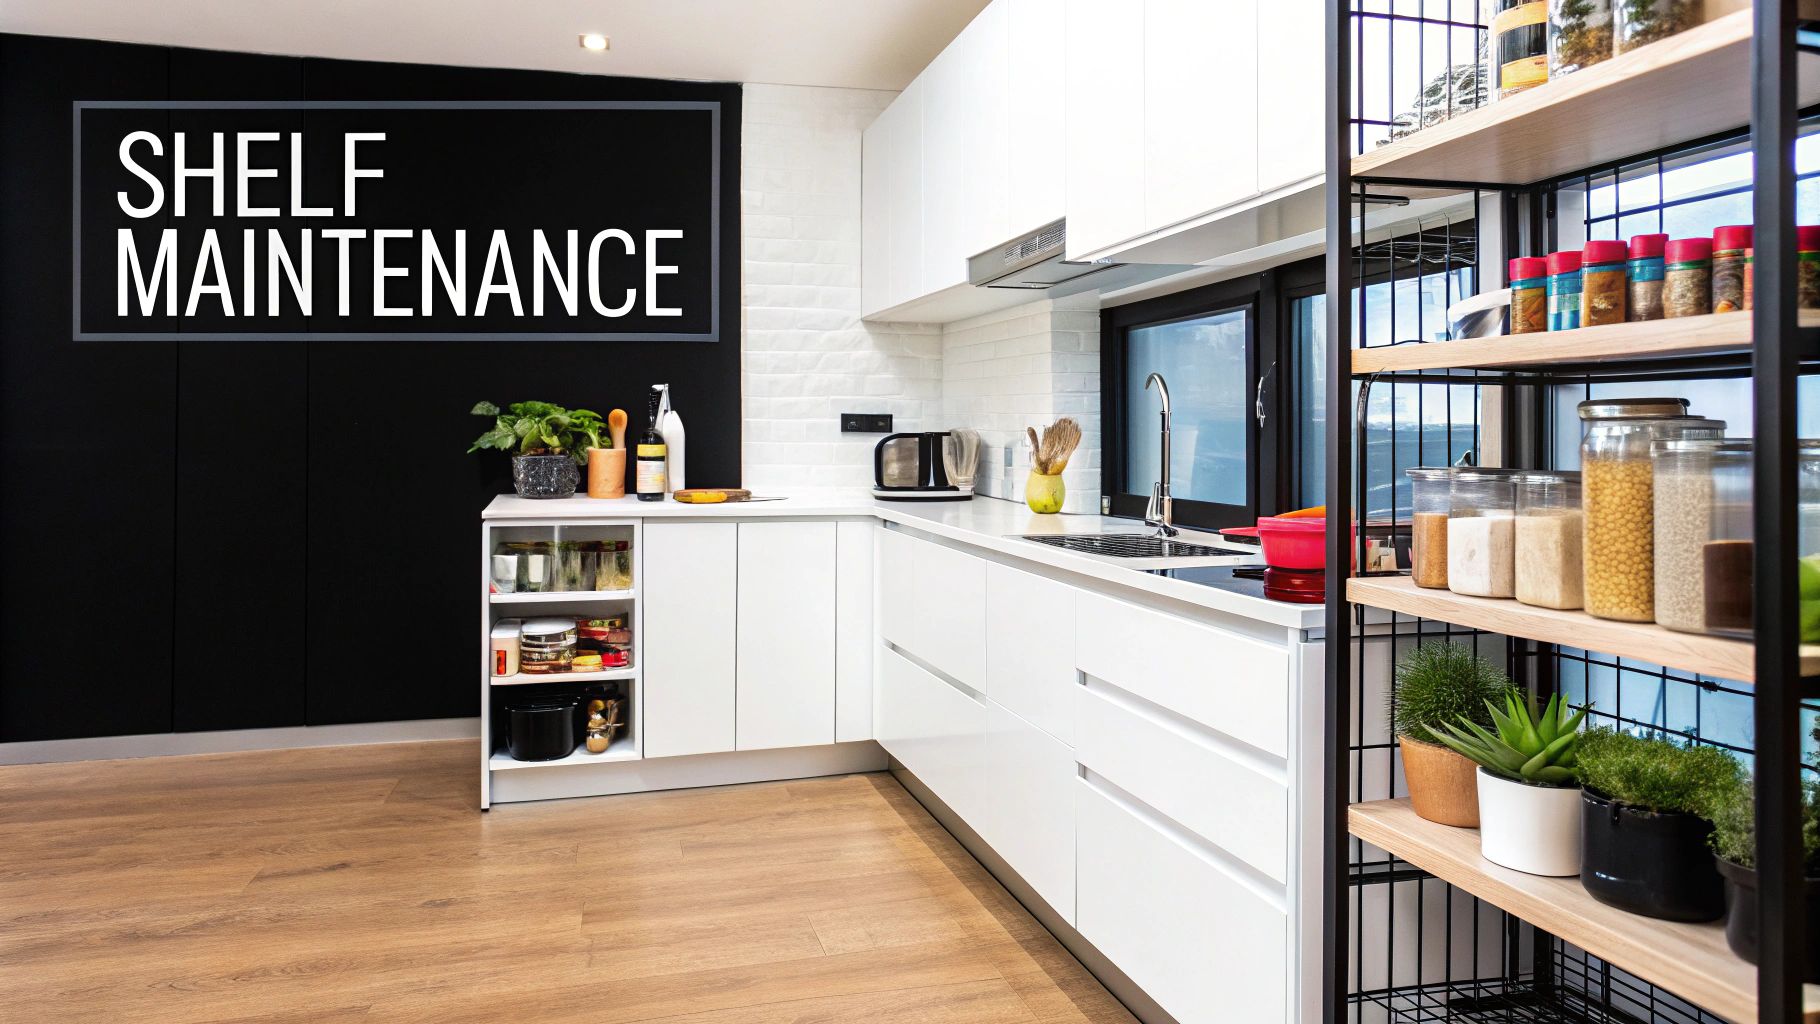
Why Cabinet Shelves Sag and How to Fix Them for Good
That tell-tale sag is a clear signal your cabinet's structure is under more stress than it can handle. Before you can implement a fix that actually lasts, you need to get to the root of the problem. Most of the time, it comes down to a few common culprits working against your shelving day after day.
The number one cause is almost always overloading. Your standard cabinet shelves, especially those made from particleboard, were never meant to hold a whole collection of heavy ceramic dishes or your prized stand mixer. It's a huge factor in a global shelving market valued at around $25.5 billion, where many consumer-grade products have surprisingly low weight limits. While some shelves can handle 20 to 50 pounds per linear foot, pushing past that is an open invitation for a sag. The good news? Adding a simple reinforcement can boost a shelf’s load capacity by up to 40%, which shows just how critical proper support really is.
Before you start any repair, it's helpful to figure out exactly why your shelf is failing. A quick diagnosis will point you straight to the most effective solution for your specific problem.
Quick Diagnosis for Sagging Shelves
| Primary Cause | Visible Sign | Best Solution |
|---|---|---|
| Overloading | A noticeable "smile" or bow in the middle of the shelf. | Reinforce with a front support strip or add a central brace. |
| Inferior Materials | The shelf feels flimsy, or you see swelling/flaking (especially in humid areas). | Replace the shelf with solid wood or high-grade plywood. |
| Excessive Span | The shelf is longer than 30 inches and sags in the center without any middle support. | Add one or more vertical center braces to distribute the load. |
| Inadequate Support | Wobbly or bent shelf pins; the shelf doesn't sit securely on its supports. | Replace flimsy pins with stronger metal ones and ensure even spacing. |
Knowing the "why" behind the sag makes the "how" a whole lot easier. You can move forward confidently, knowing you’re not just patching the problem but solving it for good.
Common Causes of Shelf Sag
-
Inferior Materials: Particleboard and MDF (medium-density fiberboard) are staples in budget-friendly cabinetry, but they're notorious for bending over time. This is especially true in humid environments like kitchens, where moisture can weaken the material.
-
Excessive Span: The longer a shelf is, the weaker it becomes in the middle. Any shelf stretching more than 30 inches without a central support is a prime candidate for bowing under its own weight, let alone the weight of your belongings.
-
Inadequate Support: Sometimes the problem isn't the shelf itself, but the tiny metal or plastic pins holding it up. If they're too flimsy or spaced too far apart, they can't distribute the load evenly to the cabinet walls, causing the shelf to fail.
The good news is that you don't have to live with that dreaded shelf smile. Each of these issues has a straightforward, DIY-friendly solution that we'll explore in this guide.
Fixing a sagging shelf is a completely achievable weekend project that brings back both function and your peace of mind. And while you're sprucing up your cabinet interiors, you might find yourself thinking about other upgrades. If a bigger refresh is on your mind, check out our guide on the benefits of kitchen cabinet refacing for some great ideas.
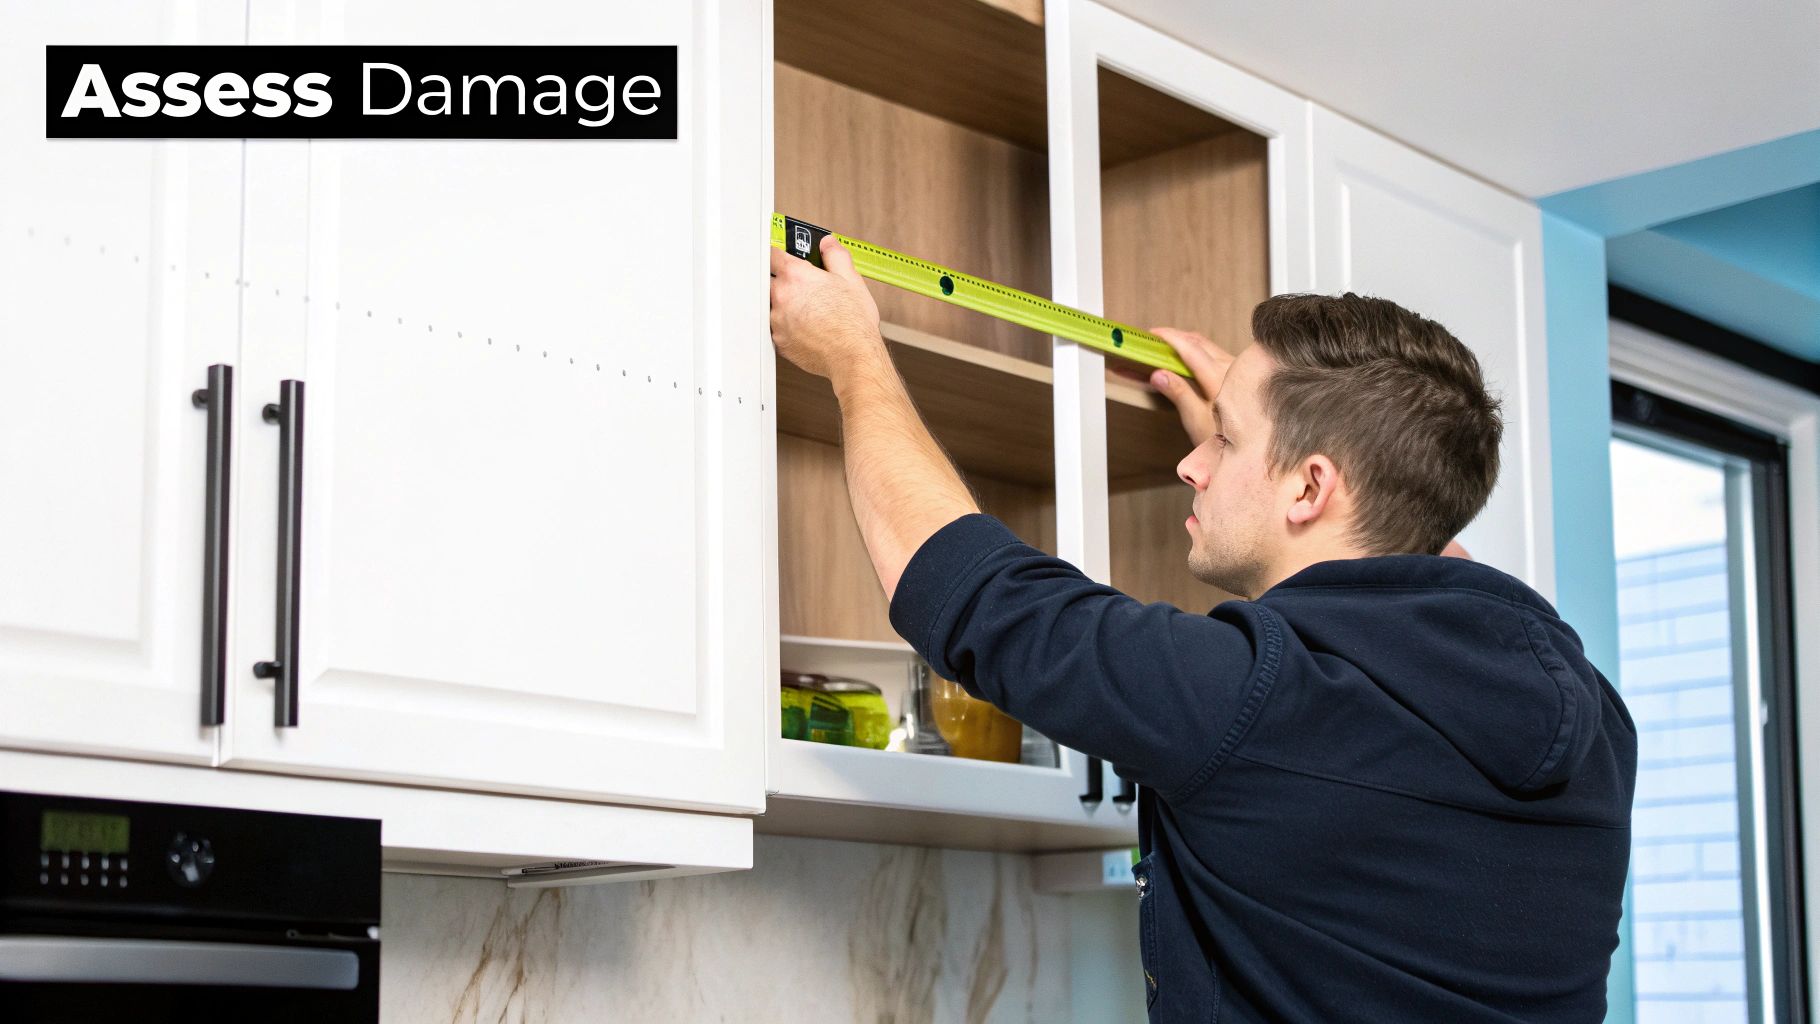
Assessing the Damage and Gathering Your Supplies
Alright, before you start drilling holes or cutting wood, you need to get a good look at what you’re dealing with. A proper diagnosis is what separates a long-term fix from a temporary patch that you’ll just have to deal with again later.
First thing’s first: completely empty that sagging shelf. You can't see the real problem with a bunch of stuff in the way.
Once it's clear, grab something perfectly straight—a straightedge, like a level or even a crisp, new yardstick will do the trick. Lay it across the shelf, edge to edge. That gap you see between the straightedge and the top of the shelf? That’s the true measure of your sag. A little dip might just need a simple brace, but a big, smile-shaped gap is telling you there’s a bigger problem at play.
Next, get a feel for the shelf itself. Is it solid wood, plywood, or particleboard? Let’s be honest, it’s probably particleboard. It's made from compressed wood bits and is notorious for bowing under pressure. Plywood is a step up in strength, and solid wood is the toughest of all. While you're at it, give the shelf pins or clips a wiggle. Are they bent? Are the holes in the cabinet walls looking stretched out or "wallered out," as my grandpa used to say? Those little supports are often the first point of failure.
Your Essential Toolkit
Now that you know what's wrong, you can raid the workshop. The good news is you probably won't need everything on this list. Just grab what you need for the repair method you've chosen. No sense in making extra trips to the hardware store.
The Basics for Any Repair:
- Tape Measure: For getting accurate cuts and measurements.
- Pencil: To mark where you’ll cut and drill.
- Straightedge or Level: Absolutely critical for making sure your fix is perfectly flat.
- Drill with Assorted Bits: For making pilot holes and driving in screws.
For Adding Reinforcement or Center Supports:
- Wood Glue: This creates a much stronger bond than screws alone.
- Wood Screws: You'll want screws long enough to get a good bite into your support, but not so long they pop through the top of your shelf. 1-inch to 1 1/4-inch screws are a safe bet for most shelves.
- Clamps: A few C-clamps or bar clamps are non-negotiable. They hold everything tight and flat while the glue sets up.
- Support Material: A straight piece of 1×2 lumber is the go-to, but a strip of 3/4-inch plywood or even a metal stiffener can work wonders.
This same idea—using strong supports—is a core principle in all kinds of shelving. In fact, the market for floating shelves, which was valued at $1.29 billion in 2024, depends entirely on robust hidden brackets to prevent this exact kind of sagging. As the DIY movement has grown, more homeowners are learning how to spot and fix these issues themselves. You can see more about the trends in the shelving market and its innovations on stellarmr.com.
Pro Tip: If you're using wood for your support strip, spend the extra couple of bucks on poplar or oak instead of pine. It's way more rigid and adds serious long-term strength to your repair.
Getting your tools and materials in order before you begin makes the whole project go smoother. Now, you’re ready to stop diagnosing and start fixing.
The Simplest Fix: Flipping and Reinforcing Your Shelf
Sometimes the most effective solution is also the most straightforward. If you're looking for a quick and reliable way to handle a drooping shelf, this method is your best bet. It combines a simple concept with a bit of reinforcement for a permanent, sturdy result.
Let’s start with the quickest fix imaginable: just flip the shelf over. I've seen this work for very minor sags. With the bow now arching upward, gravity and the weight of your items will gradually push it back toward a flat position. But let's be realistic—this is almost always a temporary solution. The underlying weakness is still there, and without reinforcement, it’s only a matter of time before it sags again.
For a true, lasting repair, adding a support strip is the gold standard. This technique is one of the most popular answers to how to fix sagging cabinet shelves because it’s strong, effective, and uses common materials you can find at any hardware store.
Creating Your Reinforcement
The goal here is to attach a rigid "spine" to the shelf, usually along the front or back edge. A straight piece of 1×2 lumber (which is actually 3/4-inch by 1.5 inches) or even a strip of 3/4-inch plywood cut to the same length works perfectly. Plywood is often a great choice because it’s engineered to resist warping and provides incredible strength.
Here’s what to do:
- Measure and Cut: First, measure the length of your shelf and cut your support piece to match. A clean, square cut is key for a professional finish.
- Dry Fit: Before you break out the glue, place the support strip along the front or back edge of the sagging shelf. This helps you visualize the final result and make sure everything lines up perfectly.
This small addition dramatically increases the shelf's rigidity, preventing it from bowing under load ever again.
Assembling for an Unbreakable Bond
Now for the crucial part—joining the shelf and the support into a single, super-strong unit. Just screwing them together isn't enough for a permanent fix; you need the holding power of wood glue.
Start by laying your sagging shelf on a flat workbench or floor. Apply a generous bead of wood glue along the edge where your support strip will go, then place the support onto the glue.
Pro Tip: The most critical step is ensuring the shelf is perfectly flat before you secure the reinforcement. Use a straightedge and C-clamps to press the shelf and support strip together, forcing the bow out of the shelf. Clamp it firmly in the middle and at both ends to get it perfectly straight.
With the clamps holding everything flat and tight, drill pilot holes every 6-8 inches through the support and into the shelf. Drive 1 1/4-inch wood screws into these holes to pull everything together while the glue sets.
Let the glue dry completely according to the manufacturer's instructions. Once it's cured, you can remove the clamps and reinstall your newly fortified shelf. This combo of glue and screws creates a bond that’s often stronger than the original shelf ever was.
Adding a Center Support for Maximum Strength
For those extra-long pantry shelves or wide kitchen cabinets, simply reinforcing the front edge sometimes isn’t enough. Once a shelf spans more than 30-36 inches, its weakest point is right in the middle. This is where adding a vertical center support goes from being a good idea to the definitive, permanent fix for sagging cabinet shelves.
This approach creates a brand-new load-bearing point. It effectively cuts the shelf’s unsupported span in half and channels all that weight straight down to the cabinet's floor. It’s an incredibly sturdy solution, perfect for shelves that have to hold heavy small appliances, stacks of dinnerware, or canned goods.
You’ve got two great ways to tackle this: a front-facing wood cleat or a vertical center stile. A cleat is a bit simpler to make and install but will be visible, while a stile offers unmatched strength but essentially divides your wide shelf into two separate sections.
Installing a Front-Facing Wood Cleat
Think of a front-facing cleat as a simple T-brace that you build and slide into place right under the center of the sagging shelf.
-
Measure and Cut Your Pieces: First, measure the distance from the underside of the sagging shelf down to the cabinet bottom. Cut a piece of 1×2 lumber to this exact height—this will be your vertical support. Next, cut a second piece of 1×2 to about 4-6 inches long. This will form the top of your "T."
-
Assemble the T-Brace: Put a bead of wood glue on the top end of your long vertical piece. Center it on the flat side of the shorter top piece and join them with a couple of 1 1/4-inch screws. Just like that, you've formed a T-brace.
-
Position and Secure It: Slide the T-brace under the middle of the sagging shelf. You might need to gently tap it with a mallet to get it snug, which will push the shelf back up to its proper level position. Before you fasten anything, use a level to make sure the vertical support is perfectly straight up and down. To lock it all in, drive a few screws down through the shelf into the top of the T-brace and a few more up from the cabinet bottom into the base of the support. It’ll be rock-solid.
One of the best things about this method is that you don't have to permanently glue or screw the support to the shelf. This clever trick lets you keep your shelves adjustable while still giving them that crucial center support when they're in place.
It's no surprise that homeowners are looking for stronger storage. In fact, the shelving cabinet market, valued at around $2.5 billion in 2025, is growing because people are tired of flimsy systems. While material innovations are helping, for existing cabinets, a smart DIY fix like this is often the most practical solution.
Installing a Vertical Center Stile
If you need the ultimate in strength, a vertical stile (or divider) is the way to go. This method essentially builds a solid partition right in the middle of your cabinet, making it the top choice for truly heavy loads.
For this, you'll cut a piece of 3/4-inch plywood to fit the cabinet's full interior height and depth. You then secure it by screwing down through the top of the cabinet and up through the bottom, directly into the plywood. It’s a bit more involved, but it effectively transforms one long, weak cabinet bay into two smaller, much stronger ones.
As you can see, physical supports like wood cleats and stiles provide a massive boost in strength compared to simpler fixes.
Choosing Your Shelf Reinforcement Method
Not sure which path to take? This table breaks down the best uses for each center support method, helping you choose based on what you’re storing, how much work you want to do, and how you want it to look.
| Method | Ideal For | DIY Difficulty | Estimated Cost | Final Look |
|---|---|---|---|---|
| Front T-Brace | Long adjustable shelves holding moderate to heavy weight (e.g., pantry items, small appliances). | Easy | $5 – $15 | Visible support at the front center of the shelf. |
| Vertical Stile | Very long or heavily loaded shelves with fixed positions (e.g., holding cast iron pans, full sets of dishes). | Moderate | $15 – $30 | A permanent divider that creates two separate shelf sections. |
Ultimately, both the T-brace and the vertical stile are fantastic, permanent solutions. The right one for you just depends on whether you need to keep your shelves adjustable or if you're willing to trade that for maximum, uncompromising strength.
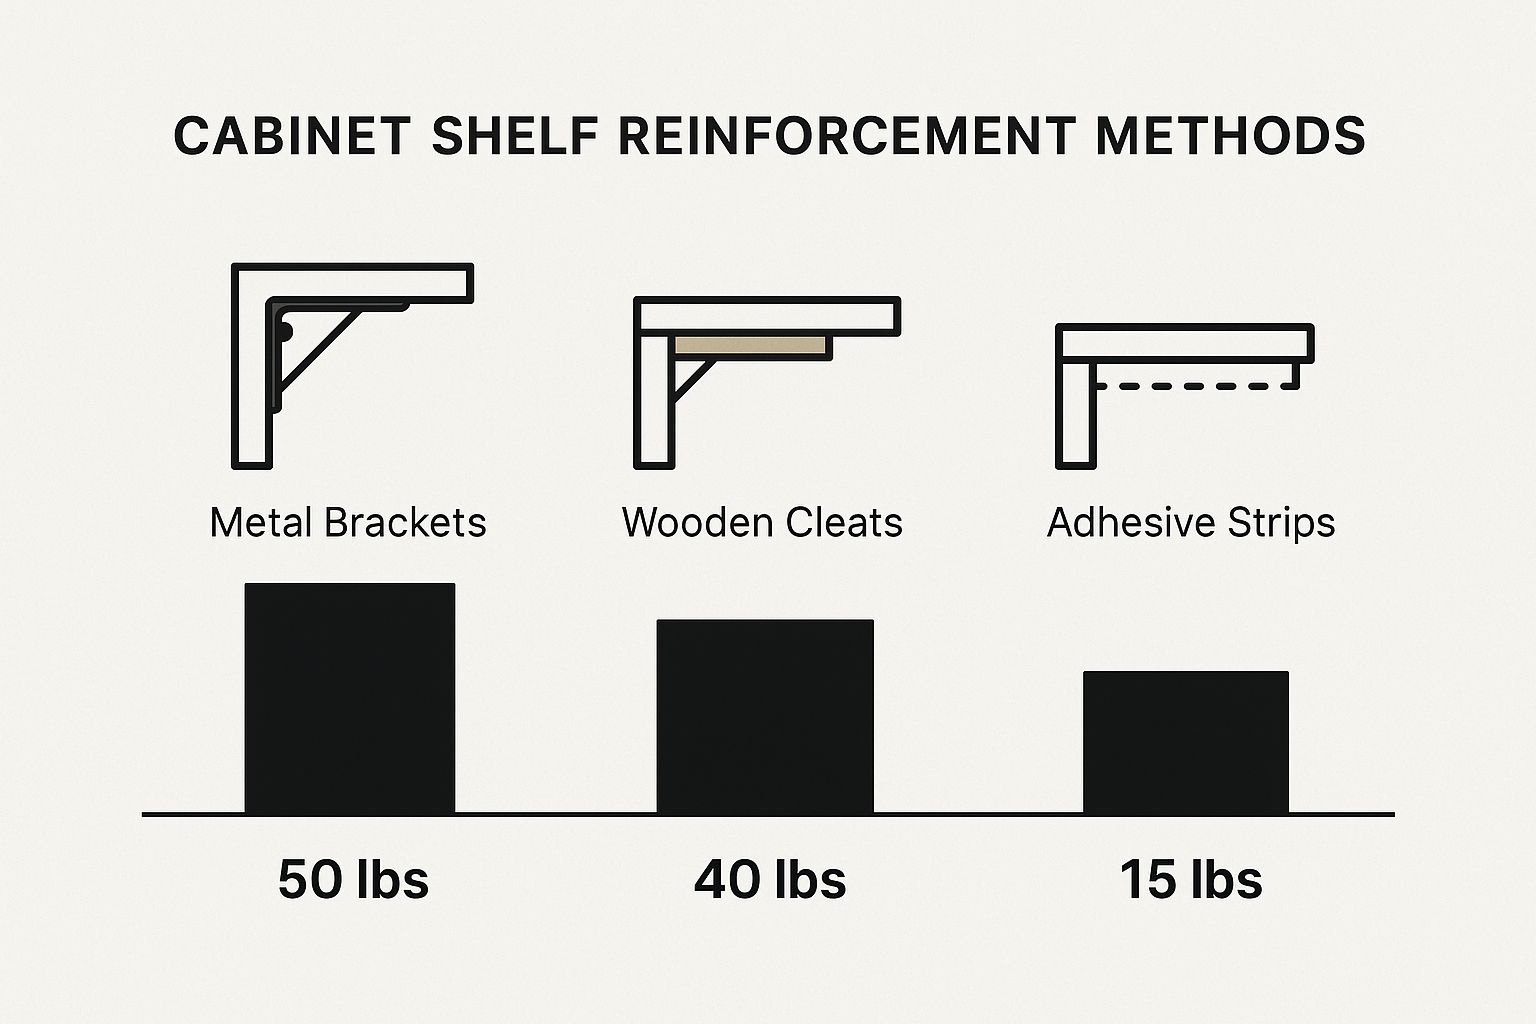
Using Metal Supports for a Sleek Modern Repair
When wood braces feel a little too bulky for your taste, or if you're battling the notorious sag of a thin particleboard shelf, metal supports are your best friend. They offer a sleek, strong, and surprisingly simple fix. This approach is a real game-changer for anyone who wants serious strength without adding a lot of visual clutter, making it one of the best ways to fix sagging cabinet shelves for good.
The go-to options here are L-brackets and dedicated metal shelf stiffeners. An L-bracket is just a small, angled piece of metal you screw to the underside of the shelf and into the back or side of the cabinet. Boom—you've just added a new load-bearing point. A shelf stiffener, on the other hand, is a long, flat, or angled bar (usually aluminum or steel) that you attach directly underneath the shelf itself. It works a lot like a wood reinforcement but has a much lower, cleaner profile.
Choosing and Positioning Your Metal Supports
The right support really depends on the job. For a moderate sag or shelves that just need a little extra help near the ends, L-brackets are perfect. But if you’re looking at a serious, stubborn bow across a long shelf, a metal stiffener is definitely the way to go.
Getting the placement right is everything. Just follow these simple guidelines:
- For L-Brackets: Stick one bracket near each end of the shelf, making sure to secure it to both the cabinet wall and the shelf's underside. If the shelf is particularly long, pop another one right in the middle for good measure.
- For Shelf Stiffeners: Center the metal bar along the front or back edge of the shelf's underside. I usually recommend the front edge, since it directly counters the most visible part of the sag.
This kind of strategic placement ensures the weight is redistributed evenly, turning that frustrating weak spot into a pillar of strength.
Expert Tip: Want a perfectly flat result? Grab a C-clamp and use it to press the sagging middle of the shelf up tightly against the metal stiffener before you drive in the screws. This forces the bow out completely and guarantees the repair creates a straight, incredibly rigid shelf.
Attaching Metal Supports for Ultimate Rigidity
Once you’ve picked your support and marked its position, the installation is pretty straightforward. I always start by drilling small pilot holes through the bracket or stiffener and into the shelf. It’s a small step that makes a huge difference in preventing wood or particleboard from splitting.
Next, use short screws—1/2-inch to 5/8-inch screws are usually the sweet spot—to attach the support. You want them to get a firm grip on the shelf material without poking through the top. A clean, strong installation not only looks professional but gives you the durability you were after in the first place. If you're looking for more ways to get that polished look, our guide on how to finish cabinets has some great tips for creating a seamless appearance.
When you're finished, you won’t just have a straight shelf; you'll have one that’s significantly stronger than it was new. This modern take on an old problem gives you a sleek, powerful, and lasting fix that keeps your cabinets looking sharp and working perfectly.
Smart Storage Habits to Prevent Future Sagging
Fixing a sagging shelf is a handy skill, no doubt. But the real victory is making sure it never happens again. By adopting a few smart storage habits, you can dramatically extend the life of your shelves and keep them perfectly straight for years to come.
The biggest game-changer is being mindful of weight distribution. Think of your shelf like a tiny bridge—its strongest points are right at the ends, directly over the vertical supports. This is exactly where you should put your heaviest items.
- Got a heavy stack of dinner plates, cast-iron skillets, or that stand mixer you rarely use? Park them near the sides of the cabinet.
- Lighter things, like your collection of plastic food containers, spices, and coffee mugs, belong in the center.
This one simple change channels the bulk of the weight straight down into the cabinet's structure, taking the stress off the weakest part of the shelf.
Respect Your Shelf Material
Let's be honest: not all shelves are created equal. A common mistake I see is people treating flimsy particleboard like it's a slab of solid oak. Particleboard is way more prone to moisture damage and will bow under a constant heavy load.
If you have particleboard shelves in a high-demand area like your pantry, seriously consider upgrading them to 3/4-inch plywood. It's a relatively cheap fix that gives you a massive boost in strength and rigidity.
A great shelf is more than just a slab of wood; it's a system. The shelf, its supports, and how you load it all work together. By managing weight and using the right materials, you turn a potential weak point into a reliable storage workhorse.
Beyond the shelves themselves, getting organized in other spots can take the pressure off. For example, learning how to organize kitchen drawers properly can free up a surprising amount of space for heavier items that might otherwise end up straining a shelf.
Finally, don't be afraid to think outside the cabinet box. If you're looking for other places to store items, check out some DIY floating shelf ideas for inspiration. Adding alternative storage helps you avoid overloading your main cabinets in the first place.
Common Questions About Fixing Cabinet Shelves
Even after you've put the tools away, a few questions might pop into your head. It's totally normal to wonder if your repair will hold up or what to do if things aren't quite perfect. Let's tackle some of the most common ones so you can feel confident in your work.
Can I Just Flip a Very Saggy Shelf?
Flipping a shelf works, but only for a very minor sag. Think of it as a temporary fix for a slight bow. If your shelf has a deep, pronounced "smile," flipping it won't solve the real problem.
The wood or particleboard is already weak. Gravity will just pull it back down, and it'll start sagging all over again, even with nothing on it. For a permanent solution that actually adds strength, you really need to reinforce it.
What If I Can’t Make My Shelf Perfectly Flat?
Sometimes, a shelf—especially particleboard—has been sagging for so long it has a permanent "memory" of that curve. Even with clamps and a solid support brace, getting it 100% flat might not be possible. Don't sweat it.
The reinforcement will still do its job, preventing any further sagging and adding significant strength. Your shelf will be far more functional and reliable, even if it holds onto a very slight, almost unnoticeable curve.
The Main Goal: Reinforcing a shelf is all about stopping the sag in its tracks and adding real structural support. A perfectly flat result is great, but not always achievable with older materials. What matters is that the new support system is now carrying the load.
Are your cabinets telling you it's time for more than just a shelf repair? For beautiful, durable, and expertly crafted solutions, trust Sinclair Cabinetry inc. We build real wood cabinets designed to last a lifetime. Explore our custom options at https://sinclaircabinets.com.