Figuring out the linear feet for your cabinets is actually pretty simple. All you have to do is measure the entire length of your cabinet run in inches, right along the wall. Once you have that number, just divide it by 12. That’s it. You've converted inches to linear feet, using the same straightforward method the pros use for pricing and planning.
Why Linear Feet Matter for Your Cabinet Project
Before you even grab a tape measure, it’s helpful to understand why linear feet is the go-to metric in the first place. Think of it as the universal language of the cabinet world. It’s the standard that simplifies how projects are quoted, planned, and ultimately budgeted for. At its core, a linear foot is just a 12-inch measurement of length.
This standardized approach gets everyone—from designers and builders to homeowners like you—on the same page. It’s a much simpler way to talk about a project than trying to calculate the total square or cubic footage of every single cabinet box. By focusing on length, the whole process becomes faster and way more transparent.
The Standard for Pricing and Planning
The idea of pricing by the linear foot really took hold during the home remodeling booms of the 1980s and 90s. It was a practical way for manufacturers to streamline their quoting process, and it stuck. Today, a solid 85-90% of cabinet retailers still use this metric as the foundation for their pricing. You can learn more about how this applies to https://sinclaircabinets.com/kitchen-cabinet-cost-per-linear-foot/ to see it in action.
This is especially important to grasp when you're planning a major project, like the kind offered by professional kitchen renovation services. When you get a quote back, you can bet it will be based on the total linear feet you need.
Key Takeaway: Understanding linear feet is your key to creating a realistic budget. It empowers you to compare quotes apples-to-apples and communicate your needs clearly to suppliers like us at Sinclair Cabinetry.
How It Impacts Your Bottom Line
Naturally, the style of cabinet you choose is going to have a big impact on the cost per linear foot. Here’s a quick rundown of what you can generally expect from the different tiers:
- Stock Cabinets: These are your most budget-friendly options. They come in standard sizes and styles with limited customization.
- Semi-Custom Cabinets: This is the middle ground. You get more flexibility with finishes, sizes, and features without going fully custom.
- Custom Cabinets: Built from scratch to your exact specifications. This route gives you a perfect fit and a completely unique design.
Each of these categories comes with a different price tag. Once you know your kitchen's total linear footage, you can start plugging in numbers and get a much clearer picture of what your project might cost across these different options.
The Right Tools for a Flawless Measurement
Any seasoned pro will tell you that a perfect cabinet installation starts long before a single box is hung. It begins with an accurate measurement, and for that, you need the right gear and a clear space. Skipping this prep work can lead to small mistakes that snowball into expensive, frustrating fitment issues down the line. It's not just about grabbing a tape measure; it's about setting yourself up for professional-level results from the very start.
Your toolkit should have a few non-negotiables. A good steel tape measure is the foundation, of course, but think about adding a laser measure for those long, uninterrupted walls. Honestly, it’s a game-changer for speed and precision. You’ll also need a level to check for any surprising dips or bows in your floors and walls—and trust me, they’re more common than you think. And don't forget a simple notepad and pen, or a notes app, to jot down every single number as you go.
Your Measurement Prep Checklist
Getting an accurate reading is impossible in a cluttered space. It sounds obvious, but you'd be surprised how often a stray appliance or piece of furniture throws off a crucial number.
- Clear the Area: Before you do anything else, remove everything from the countertops. Move any furniture, trash bins, or other items blocking the walls where your new cabinets will live.
- Document Every Obstruction: Grab your phone and take photos of your kitchen. Use a simple editing app to circle and label the exact locations of outlets, light switches, plumbing lines, and vents.
- Have a Plan: Know exactly which walls you’re measuring for base cabinets and which ones are for uppers before you even pull out the tape measure.
Pro Tip: Don't rely on your memory. Snapping photos and marking them up gives you a visual cheat sheet that is absolutely invaluable when you're talking through plans with a cabinet designer. It ensures no critical detail gets overlooked.
For a much deeper dive into the nitty-gritty of the measuring process, check out our detailed guide on how to measure kitchen cabinets for a DIY project. Taking the time to follow these simple prep steps will guarantee the data you collect is flawless, paving the way for a smooth and successful cabinet project.
Measuring Your Kitchen Cabinet Runs Like a Pro
Alright, this is where the magic happens—getting the precise measurements that are the bedrock of your entire project. It's a straightforward process, but let me be clear: accuracy is absolutely everything. We'll tackle your base and upper cabinets separately since they often have different layouts and, frankly, different pricing.
First things first, you need the total length of each wall where cabinets will live. Just run your tape measure from one corner to the very end of where you envision the cabinet run stopping. Think of it as a simple wall-to-wall measurement to get your baseline number.
At this stage, don't get bogged down with specific cabinet sizes. The only goal here is to capture the raw dimensions of your space. If you're curious about how those dimensions translate into actual cabinets, you can check out our guide to standard cabinet sizes for the kitchen.
Accounting for Base Cabinet Breaks
Your base cabinet run is almost never a single, uninterrupted line of boxes. This is where you need to be meticulous and subtract the width of any appliance that sits on the floor and breaks up that cabinetry.
- Stove/Range: Get the exact width of your appliance. A standard range is usually 30 inches.
- Refrigerator: Measure the width of your fridge. Most fall somewhere between 30 to 36 inches.
- Dishwasher: These are pretty standard—almost always 24 inches wide.
So, let's put that into a real-world scenario. Imagine you have a 144-inch wall that needs to accommodate a 30-inch stove and a 24-inch dishwasher. You'd simply subtract their combined width (54 inches) from the total. Your net length for base cabinets on that wall shrinks to 90 inches.
This infographic really breaks down the simple, repeatable workflow I use to make sure my measurements are spot-on every single time.
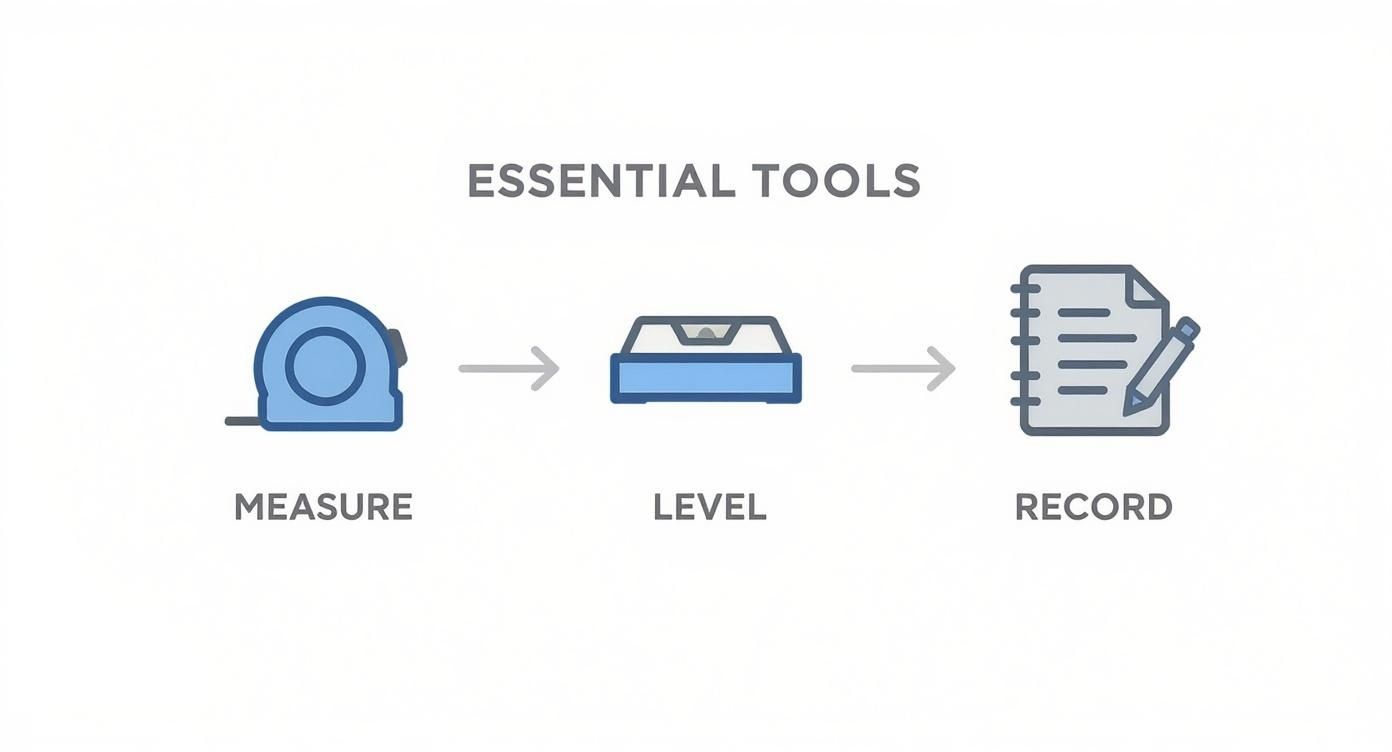
As you can see, the key is having a process you can trust: measure the space, double-check your work, and write everything down. No guesswork allowed.
To keep your notes organized, a simple worksheet like this can be a lifesaver. It helps you track each wall and deduction without losing your mind.
Sample Measurement Worksheet for an L-Shaped Kitchen
Use this worksheet as a template to track your wall measurements and appliance deductions, ensuring an accurate final calculation.
| Wall or Section Name | Total Wall Length (Inches) | Appliance or Obstruction Width (Inches) | Net Cabinet Length (Inches) |
|---|---|---|---|
| Sink Wall | 144 | 24 (Dishwasher) | 120 |
| Range Wall | 120 | 30 (Range) | 90 |
| Total Base Cabinet Inches | 210 |
Having a clear table like this prevents confusion and makes the final calculation a breeze.
Measuring Upper Cabinet Runs
Measuring for uppers follows the same basic idea, but you'll be subtracting different things. Instead of floor appliances, you're looking for anything that breaks up that upper cabinet line.
Key Insight: Always, always measure upper and base cabinets separately. A common mistake I see is people assuming the runs will be the same length. Windows, range hoods, and microwaves often create completely different dimensions for your uppers.
Start with the total wall length, just like before. Then, measure and subtract the width of any windows, over-the-range microwaves, or decorative range hoods that will interrupt the cabinet run. For instance, if you have a 36-inch wide window on a 120-inch wall, your available upper cabinet length is just 84 inches.
Once you have the net length in inches for each wall section—for both base and uppers—add them all together. You should end up with two final numbers: one total for your base cabinets and one for your uppers. This is the exact information you'll need for the next step.
From Inches to Linear Feet and Your Final Budget
Alright, you've done the hard work and have your raw inch measurements ready to go. The next part is surprisingly simple—it's all about translating those numbers into the language cabinet suppliers and cost estimators actually use: linear feet.
The math couldn't be easier. Just take your total inches and divide by twelve.
Total Inches ÷ 12 = Total Linear Feet
So, if your base cabinet run came out to 210 inches, the calculation is just 210 ÷ 12, which gives you 17.5 linear feet. Run the same quick calculation for your upper cabinets. It's a good idea to keep the base and upper cabinet numbers separate, since their price per linear foot can be different due to things like depth and construction.
Turning Measurements into a Budget
Now for the fun part: connecting your measurements to your money. Understanding the financial side of things, including the average UK cost to replace kitchen cabinets, is how you turn a plan into a real project. With your linear footage totals, you can start building a realistic preliminary budget.
Cabinet pricing varies, but here’s a solid breakdown of what you can expect today:
- Stock Cabinets: These make up about 60% of the market and typically run from $100 to $400 per linear foot, installed.
- Semi-Custom Cabinets: A popular middle-ground option, these cost between $150 and $700 per linear foot.
- Fully Custom Cabinets: For a completely tailored fit and finish, expect to see prices from $500 to $1,200 per linear foot.
For a deeper dive into what drives these costs, check out our guide on cabinetry cost per linear foot.
By multiplying your linear footage by these price ranges, you transform a simple measurement into a realistic financial picture, helping you decide which cabinet tier best fits your vision and your wallet.
Common Measurement Mistakes You Can Easily Avoid
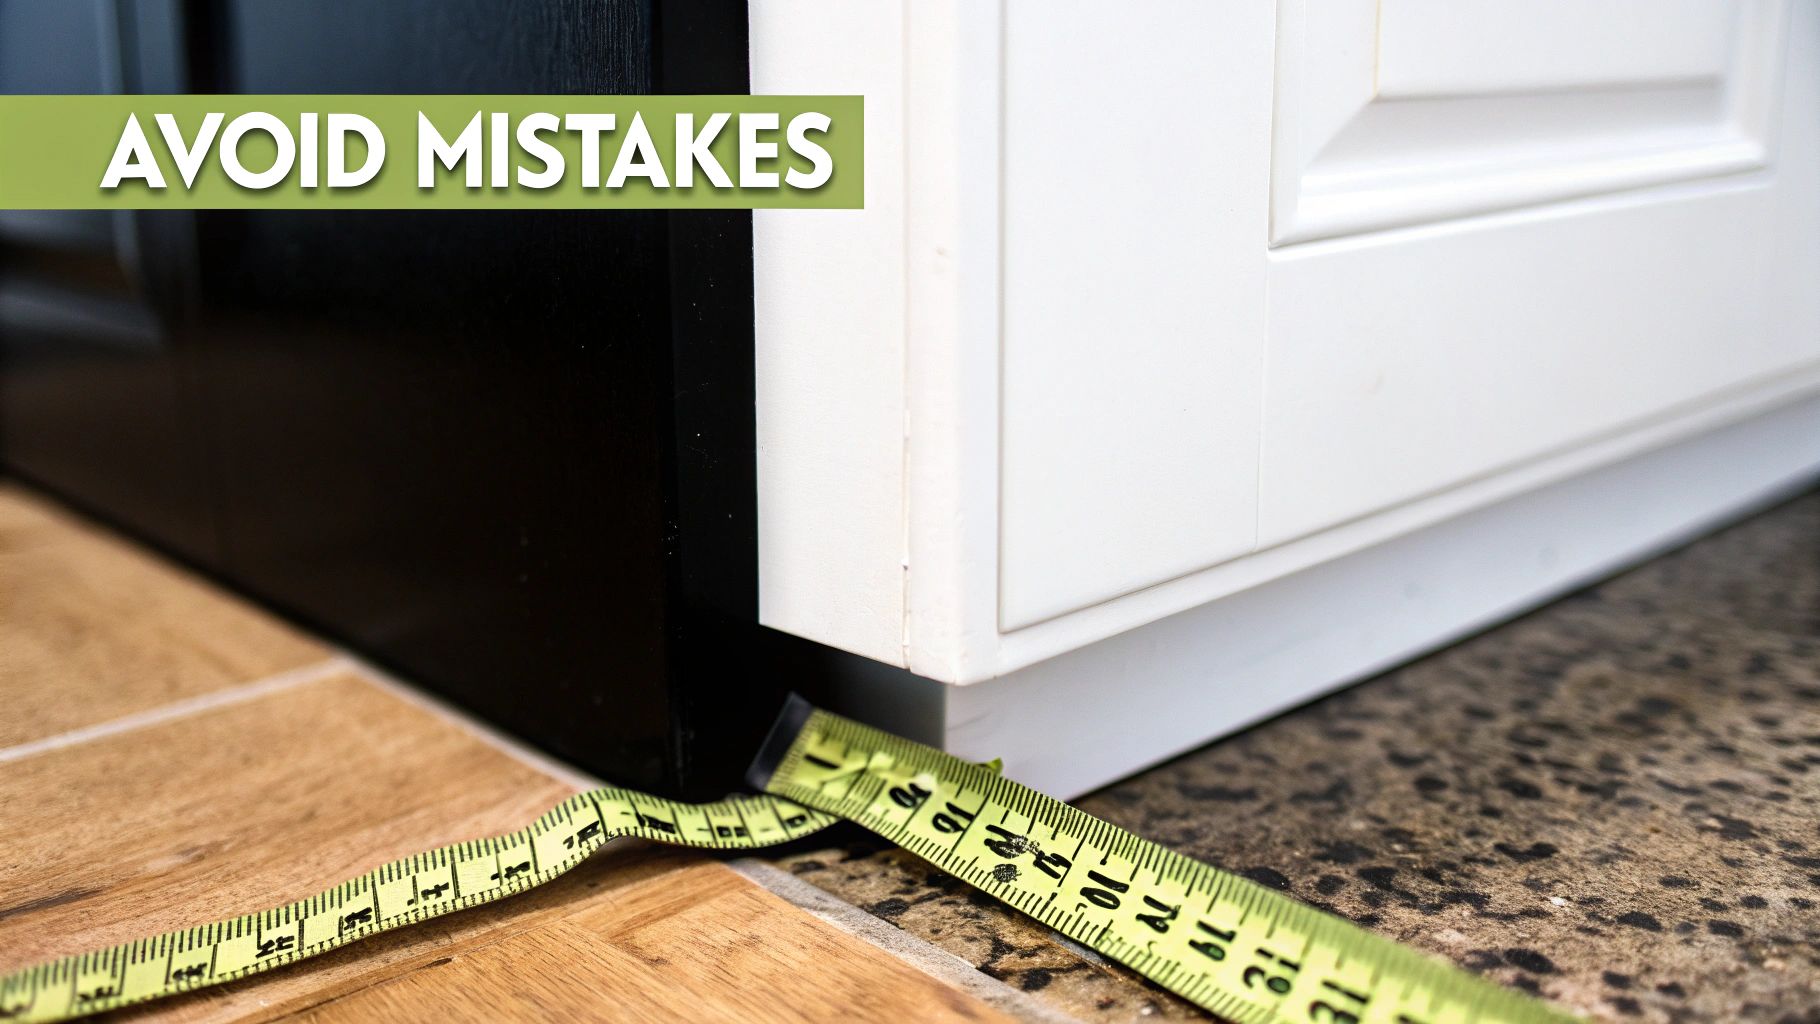
A small mistake with the tape measure now can turn into a huge headache on installation day. I've seen it happen time and again—even seasoned DIYers can fall into a few common traps. Nailing the linear feet calculation for your cabinets is just as much about knowing what not to do.
One frequent oversight is forgetting to account for specialty cabinets. That corner Lazy Susan unit, for example, needs more wall space than a simple length measurement would suggest. Always make a note of corner cabinet intentions on your plan.
Another classic blunder? Trusting the marketing specs for your new appliances. You have to measure the actual unit you have or plan to buy. Those published dimensions rarely account for handles, plugs, or the vital ventilation clearances that can throw off an entire cabinet run.
Trust Your Tape Measure, Not Your Walls
Here's a pro tip: never, ever assume your walls are perfectly straight or your floors are level. In my experience, they almost never are. It's incredibly common for walls to hide a half-inch discrepancy or more, which is more than enough to cause major installation problems.
To catch these sneaky variations, take three separate horizontal measurements for each cabinet run:
- One near the top where the upper cabinets will hang.
- One at countertop height for the base cabinets.
- One near the floor, right along the toe-kick line.
Always use the shortest of the three measurements for your planning. This is your safety net, ensuring your cabinets will fit without any unpleasant surprises when it's time to install.
This simple step is non-negotiable for professionals. It’s the single best way to prevent ugly gaps between your cabinets and the wall, giving you that clean, seamless finish for your Sinclair Cabinetry project.
Finally, resist the urge to convert your numbers to linear feet yourself before talking to a designer. Just provide them with your detailed, inch-by-inch measurements. Cabinet designers use specific software that translates these precise numbers into a functional layout, accounting for fillers and clearances you might not even think about. A little insider advice like this can ensure your project goes smoothly from start to finish.
Answering Your Cabinet Measurement Questions
Even with a detailed guide, you're bound to have a few questions pop up once the tape measure is in your hand. That’s perfectly normal. When it comes to calculating linear feet for cabinets, I've heard the same handful of questions time and again. Let's clear them up so you can keep your project moving with confidence.
Do Height and Depth Affect Linear Feet?
This is easily the most common question I get. Does the linear foot measurement change if you want taller or deeper cabinets?
The short answer is no. A 12-foot wall is always 12 linear feet, plain and simple.
However—and this is a big "however"—the height and depth absolutely change the price per linear foot. Taller wall cabinets or deeper base cabinets require more material and labor to build, which is reflected in the final cost. The linear measurement itself stays the same, but the specifications are what determine the quote.
How to Handle Islands and Other Details
So, what about measuring a kitchen island? It’s actually more straightforward than you might think. Just measure the length of each side where you plan to install cabinets or finished panels.
Add those lengths together to get a total in inches, then divide by 12 to get your final linear feet. It’s also helpful to make a quick note of which sides will have functional cabinets (doors and drawers) and which will just be decorative panels.
Another thing that trips people up is the toe kick—that little recessed space at the bottom of your base cabinets.
Don’t worry about measuring the toe kick. Standard features like toe kicks are already baked into a cabinet's design and the supplier's price-per-linear-foot calculation. Your only job is to get that clean, wall-to-wall measurement for the cabinet run.
By focusing on the primary length of your cabinet runs, you're giving us the exact information needed for an accurate quote. Getting these details right from the start ensures there are no small uncertainties to hold up your project down the road.
Ready to turn those measurements into a stunning new kitchen? The team at Sinclair Cabinetry inc has over 35 years of experience crafting bespoke, real-wood cabinets that bring your vision to life. Explore our custom designs and start your project today.