
Understanding Standard Kitchen Cabinet Dimensions
Getting cabinet measurements right is essential for a successful kitchen renovation. When you understand standard cabinet dimensions, you can properly plan your layout and ensure everything fits together perfectly. These established measurements help cabinets work seamlessly with appliances and countertops while creating an efficient workspace.
Why Standard Dimensions Matter
Cabinet dimensions are carefully designed around how people actually use their kitchens. The heights and depths make it comfortable to prep food, reach items, and move around the space. For example, base cabinets have a standard height of 34.5 inches without the countertop. Once you add the countertop, the total height typically reaches 35-36 inches. Most manufacturers follow these standards to ensure cabinets work well together. You can learn more specifics at The Spruce.
Common Cabinet Dimensions and Variations
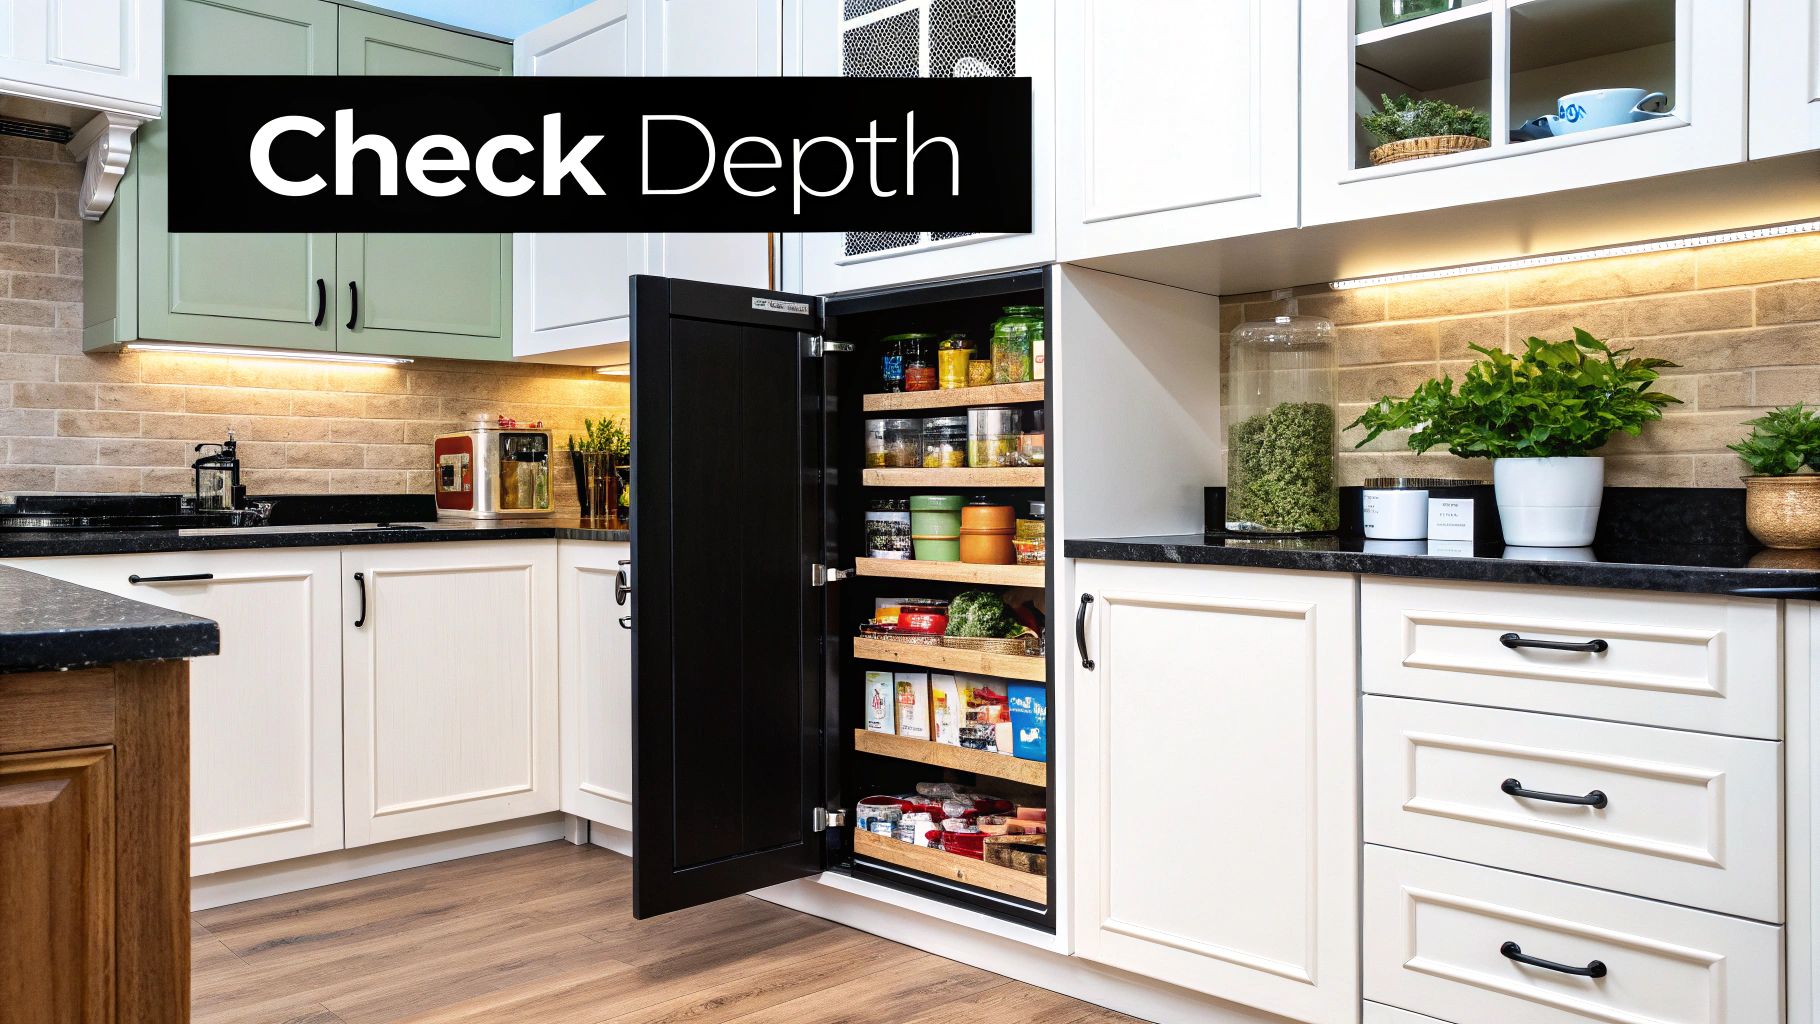
While standard sizes are common, you'll find some variations, especially in cabinet depth. Base cabinets usually measure 24 inches deep to fit standard appliances and provide good storage space. Corner cabinets often have different depths to make the most of awkward spaces. For more cabinet options, check out Cabinets in Cape Coral. Wall cabinets are typically 12 inches deep, though some styles offer more or less depth for specific storage needs.
Key Clearance Considerations
Beyond cabinet size, you need proper spacing between elements for a functional kitchen. For example, you should have 24-30 inches between your stovetop and range hood for good ventilation. The space between countertops and wall cabinets should be 18-20 inches to give you comfortable working room. Getting these clearances right prevents a cramped kitchen where doors and drawers bump into each other.
Standard Dimensions Quick Reference
Use these common measurements as a starting point, but always check your specific cabinet manufacturer's guidelines:
| Cabinet Type | Height (inches) | Depth (inches) | Width (inches) |
|---|---|---|---|
| Base Cabinet | 34.5 (without countertop) | 24 | Varies |
| Wall Cabinet | Varies | 12 | Varies |
| Tall Pantry Cabinet | 84 – 96 | 12-24 | Varies |
Now that you understand standard dimensions, let's look at how to take accurate measurements for your kitchen project.
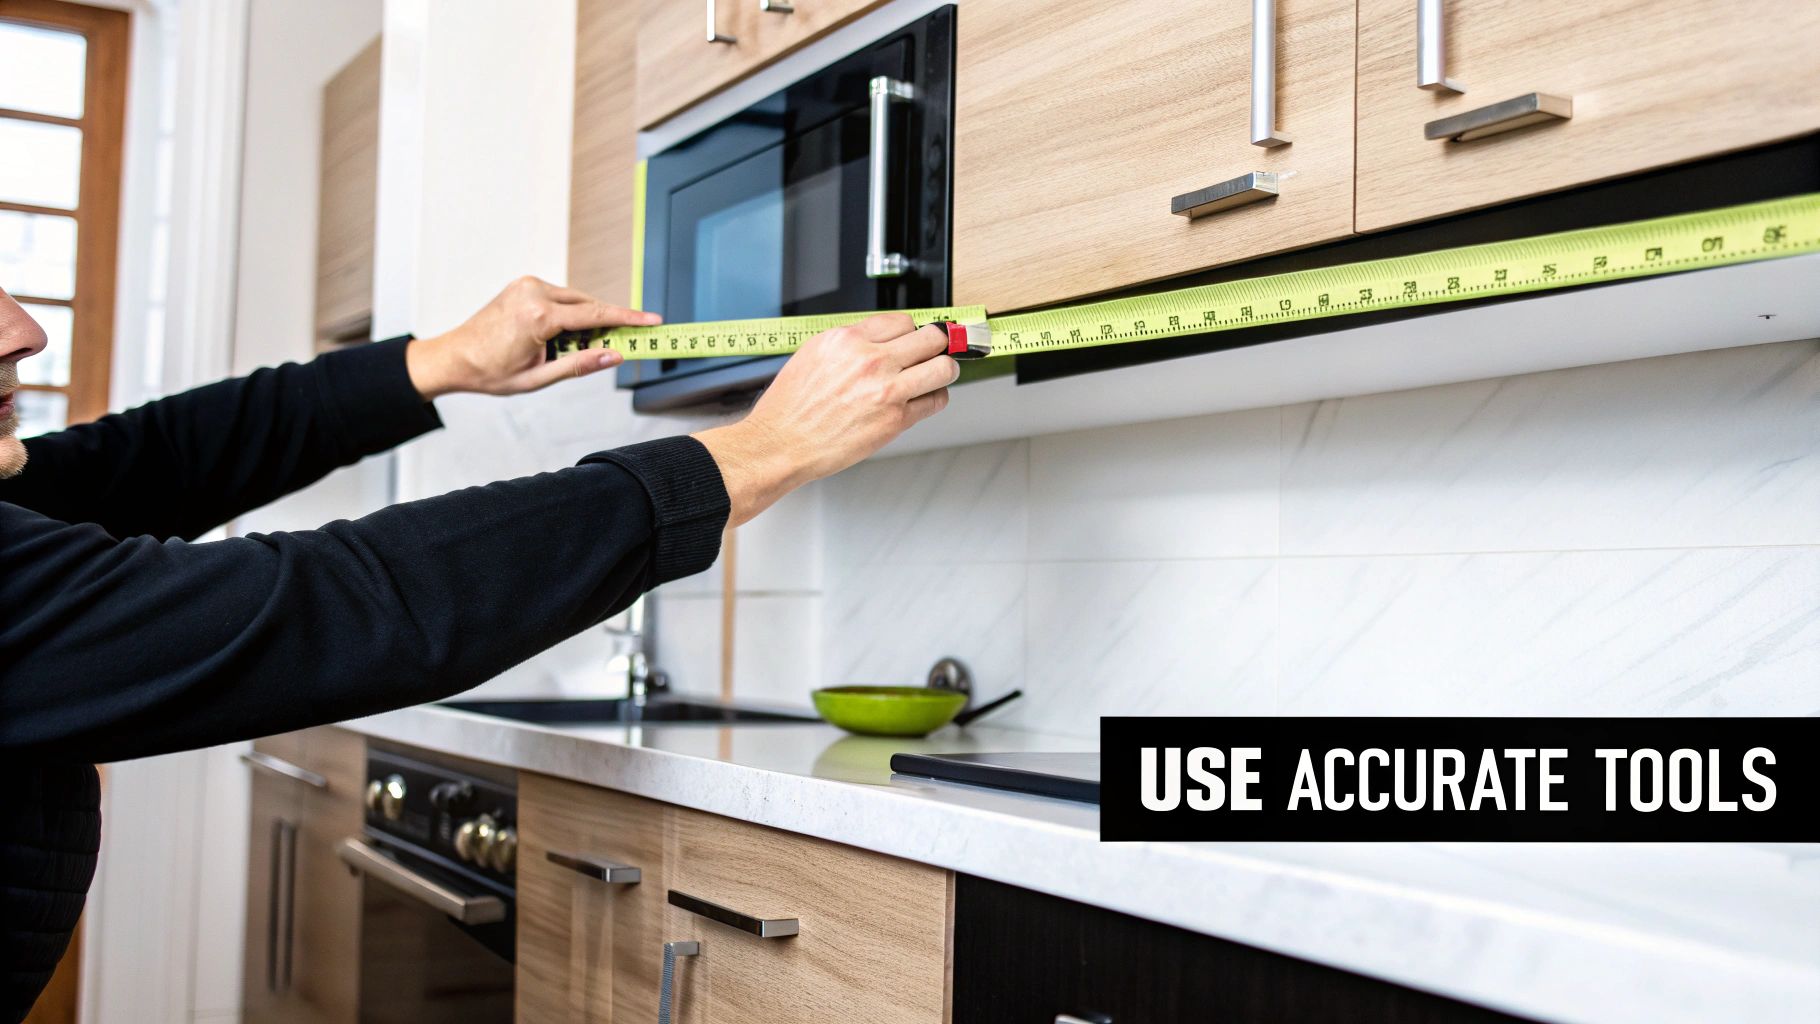
Essential Tools and Preparation Steps

Getting accurate measurements is key to installing kitchen cabinets successfully. Having the right tools and taking time to prepare properly will help ensure your project goes smoothly. Let's walk through what you'll need and how to get started.
Gathering Your Measurement Toolkit
Just like a chef needs quality knives, measuring cabinets requires specific tools for precision. Here's what to have on hand:
- Measuring Tape: Get a 25-foot tape measure to cover all kitchen areas. One with a locking feature helps maintain steady measurements.
- Pencil and Paper: Keep these basics nearby to write down measurements right away. This prevents mistakes from trying to remember numbers.
- Level: A compact level ensures your measurements follow straight, even lines – especially important for wall cabinets.
- Straight Edge: This helps mark clean measurement lines, which really helps when dealing with uneven walls.
- Laser Measure (Optional): While not required, this tool can speed things up and give very precise readings, particularly in bigger kitchens.
Preparing Your Kitchen for Measurement
Good preparation is just as important as having the right tools. Take these steps to create a clear workspace:
- Clear the Area: Take out small appliances, cookware, and decorative items that could get in the way. This gives you easy access to measure all cabinet spaces.
- Clean the Walls: Wipe down the wall surfaces where cabinets will go. This lets your tape measure stick properly without dust or dirt causing inaccurate readings.
- Mark Existing Features: Note where plumbing, electrical outlets, windows and doors are located. You'll need to plan your cabinet layout around these fixed elements.
Documenting and Organizing Your Measurements
Using a system to record measurements helps avoid confusion later. It takes more than just writing down numbers. You might be interested in: How to master your cabinet projects.
- Create a Sketch: Draw a basic layout of your kitchen showing walls, windows and doors. This gives you a visual guide for your measurements.
- Label Each Measurement: Write measurements clearly on your sketch, noting which cabinet section they're for. This prevents mix-ups during installation.
- Double-Check Your Work: After measuring everything, go back and verify each measurement. Small errors can cause big problems when installing.
With proper tools, a clean workspace, and an organized approach to documentation, you're set up for success in measuring your kitchen cabinets accurately.
Mastering Base Cabinet Measurements
Getting your base cabinet measurements right is essential for a smooth kitchen remodel. Professional installers rely on precise measurements to ensure everything fits perfectly. Let's walk through the key steps they use, from basic measurements to handling tricky corner installations.
Measuring for a Standard Base Cabinet Run
When measuring a straight run of cabinets, start with the total wall length where they'll go. This helps determine what cabinet sizes you'll need and where to add fillers – those narrow pieces that create a perfect fit against walls or appliances. For instance, with a 10-foot wall and standard 30-inch cabinets, you'll need to plan for filler pieces to close any gaps.
Key measurements to get right:
- Width: Check both the front and back of the wall since walls can bow. Always use the smaller measurement to avoid fit issues
- Depth: While 24 inches is standard, measure your existing cabinets if you want to match them
- Height: Standard base cabinets are 34.5 inches tall without the countertop. Double-check this with your specific cabinet choice
Handling Corner Cabinets: An In-Depth Look
Corner cabinets need extra attention since they come in different styles like blind corner or lazy susan designs. Getting these measurements right helps maximize your storage space.
For blind corner cabinets, measure:
- The distance from corner to where the adjacent cabinet will start (wall length)
- The perpendicular distance needed for the cabinet to fit
- Any clearance needed for doors and drawers
For lazy susan cabinets:
- Check both wall measurements like with blind corners
- Allow extra space for the rotating shelves to work properly
- Make sure doors can open without hitting anything
Integrating Appliances: Ensuring Seamless Fit
Your appliances need precise spaces to fit correctly between cabinets. Each type has specific requirements:
- Dishwashers: Measure width, height, and depth of the opening, plus space for water lines
- Ovens and Cooktops: Check manufacturer guides for required clearances around the unit
- Refrigerators: Include space for the unit itself plus room for doors to swing and proper ventilation
Accounting for Toe Kicks and Overlays
The toe kick – that recessed space at the bottom of your cabinets – typically measures 4 inches high and 3 inches deep. This detail affects your overall height measurements. Cabinet overlays also matter since they change how doors sit on the frame. A full overlay door covers the entire frame, while partial and inset styles show different amounts. Factor these choices into your total width calculations to avoid surprises during installation.
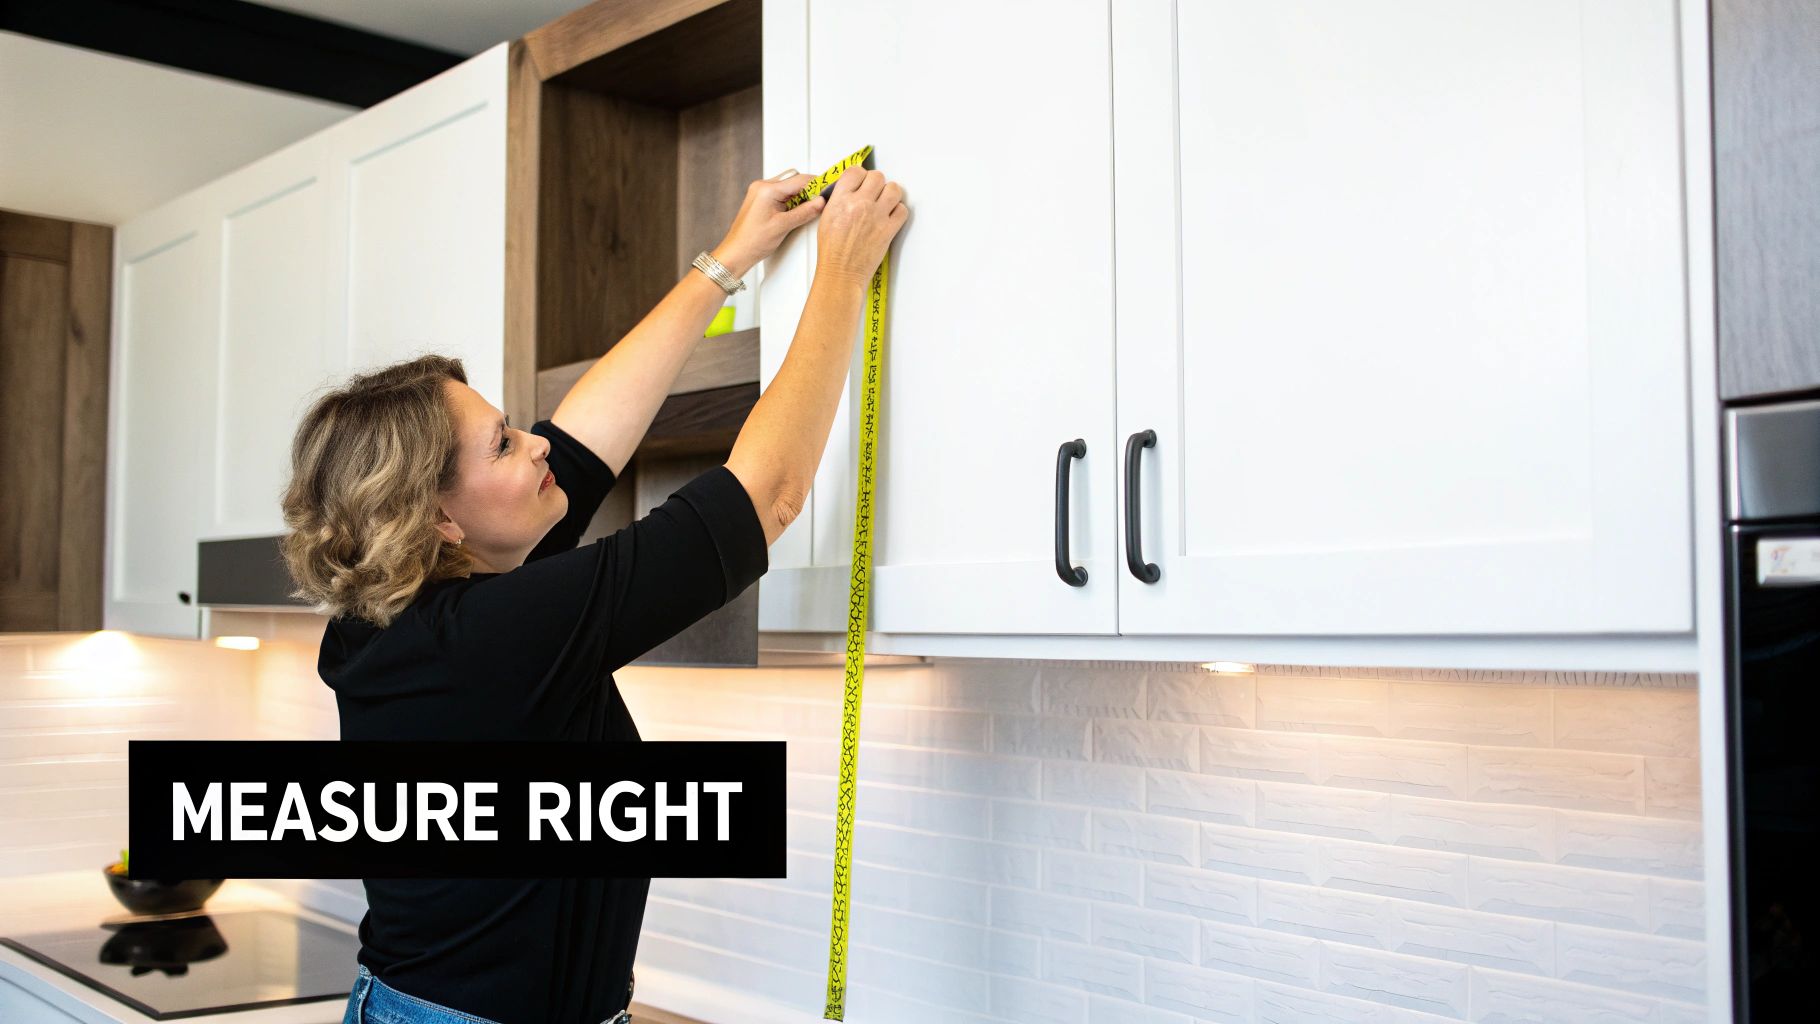
Professional Wall Cabinet Measurement Techniques
Getting wall cabinet measurements right is key to a functional kitchen layout. Unlike base cabinets, wall cabinets need extra attention to detail since they're mounted at eye level where any mistakes are immediately visible. Let's look at how professionals ensure perfect measurements for wall cabinet installations.
Determining Optimal Hanging Height and Alignment
The spacing between countertops and wall cabinets needs careful consideration. Most kitchens maintain a standard gap of 18-20 inches from the countertop to the cabinet bottom. This height works well for most people, but you may want to adjust it based on your ceiling height or design elements like backsplashes. For instance, if you're planning decorative tile work, you might need to mount the cabinets slightly higher. The cabinets also need to line up perfectly with base units below for a clean look.
Navigating Obstacles and Ceiling Variations
Most kitchens have windows, vent hoods, or uneven ceilings that affect cabinet placement. Professional installers measure carefully around these features to maximize storage while ensuring proper clearance. You might need narrower cabinets beside a window, or a custom-sized cabinet to fit above it. When ceilings aren't level, filler pieces can bridge any gaps between the cabinet tops and ceiling, giving a finished look.
Incorporating Design Elements Like Crown Molding
Crown molding adds elegance but requires extra planning in your measurements. The height and projection of crown molding directly impacts where you mount your wall cabinets. For example, with 4-inch crown molding, you'll need to subtract that amount from the total wall space when calculating cabinet placement. This ensures the molding fits flush against the ceiling while allowing cabinet doors to open freely.
Professional Tips for Precise Wall Cabinet Measurement
Here's what experienced installers do to get measurements right:
- Triple-Check Measurements: Take each measurement three times – it's worth the extra time to avoid costly mistakes
- Account for Variations: Check wall straightness at multiple points since few walls are perfectly straight
- Consider Electrical and Plumbing: Mark outlet and pipe locations to prevent conflicts with cabinet placement
- Visualize the Final Layout: Picture how everything will look together before finalizing measurements to catch potential issues early
Taking time with these measurement steps pays off with a smooth installation process. Careful planning prevents problems and ensures your wall cabinets look great while working perfectly in your space. In the next section, we'll explore measurement techniques for custom cabinet projects.
Custom Cabinet Measurement Strategies
Getting measurements right is critical when planning custom cabinets, since they need to perfectly fit your unique space and storage needs. Unlike standard cabinets that come in fixed sizes, custom cabinets let you make the most of every inch while adding personal design touches. Here's how to take the detailed measurements needed for a successful custom cabinet project.
Measuring Irregular Spaces and Angles
Many homes, especially older ones, have quirks like angled walls, uneven surfaces, or sloped ceilings that standard cabinets can't properly accommodate. In these cases, you'll need to document every angle, curve and wall segment with extra care. A laser measure proves especially useful here – it can capture precise dimensions even in hard-to-reach spots that would be tricky to measure with a tape measure alone.
Accounting for Unique Design Elements
When you add special features to your custom cabinets, you need specific measurements to make them work seamlessly. For instance, if you want a built-in microwave, you have to account for the appliance dimensions plus the extra space needed for ventilation and door clearance. The same goes for wine racks, spice drawers, or any other custom storage features – detailed measurements ensure everything fits and functions properly.
Measuring for Specialized Storage Solutions
One of the biggest perks of custom cabinets is creating storage that perfectly fits your needs. Pull-out pantry shelves, pot and pan drawers, and custom islands require careful planning to work well. Take time to measure the actual items you'll store – like your tallest stockpot for deep drawers or widest serving platter for pull-out shelves. These real-world measurements help create storage solutions that truly work for your kitchen.
Translating Measurements into Specifications
Once you have all your measurements, you'll need clear documentation for your cabinet maker. This typically means detailed drawings or digital designs showing every dimension and design element. You might find helpful tips here: How to master custom cabinet projects. Accurate specifications are essential – they're what ensures your cabinets get built exactly as planned and fit perfectly in your space. Taking time to get the details right leads to cabinets that look great and work even better.
Documentation and Verification Methods
After carefully measuring your kitchen cabinets, proper documentation and verification become essential next steps. Keeping detailed records helps ensure smooth communication with manufacturers and prevents costly installation mistakes later.
Creating an Organized Measurement Record
Start by developing a clear system to record all your measurements. A basic spreadsheet works well for this – create columns for cabinet type, location, and specific dimensions. Label each cabinet's position (base, wall, tall) and location (north wall, east wall), along with precise height, width and depth measurements. This organized approach makes it easy to reference exact numbers during the planning and installation phases.
Drawing Your Kitchen Layout
Create a basic sketch showing your kitchen's key elements. Include the placement of walls, windows, doors, and major appliances. While it doesn't need to be perfectly artistic, the drawing should give anyone looking at it a clear understanding of how your cabinets will fit into the space. This visual reference helps both you and your installer plan the cabinet placement effectively.
Double-Checking Your Work
Even small measurement errors can cause big problems, so thorough verification is key. Use the double-check method – after taking initial measurements, go back and measure everything again to catch any discrepancies. Having another person verify your numbers adds an extra layer of accuracy. This is especially important for complex layouts or custom cabinet designs where precision matters most.
Using Digital Tools
While traditional measuring methods work well, digital tools can add precision and make documentation easier. Many kitchen design apps let you input measurements to create 3D models of your space. These tools help spot potential issues before installation and can generate detailed materials lists automatically.
Making Professional Drawings
For custom cabinets or complex installations, consider using design software to create more detailed drawings. Programs like SketchUp can generate precise 2D and 3D plans that clearly show your vision to cabinet makers. These professional-grade drawings help ensure everyone understands exactly what you want.
Taking time to document and verify measurements carefully pays off by preventing confusion and mistakes. For expert help bringing your kitchen vision to life, contact Sinclair Cabinetry Inc.. Our experienced team specializes in creating custom cabinet solutions that perfectly match your style and space requirements.