
A ceramic tile backsplash is one of those classic kitchen features for a reason. Made from fired clay, it’s loved by homeowners and designers alike for its incredible durability, ability to shrug off moisture, and massive design flexibility. It’s more than just a pretty face; it acts as a protective shield for the wall behind your countertops and stove, making it both a functional workhorse and an aesthetic cornerstone in any kitchen.
Why Ceramic Tiles Are a Smart Choice for Your Backsplash

Before we jump into fun stuff like patterns and grout colors, it's worth taking a moment to understand why ceramic tile is still one of the top choices out there. Think of it as the unsung hero of the kitchen—a hardworking surface that perfectly balances toughness with beauty. Its core benefits are what make a kitchen both stunning and practical for the long haul.
This isn’t just a passing trend; it’s a smart, long-term investment. The numbers back it up, too. In the U.S. alone, the ceramic tile market was valued at USD 4.85 billion in 2024 and is expected to nearly double by 2034. A recent survey also found that 34% of homeowners renovating their kitchen went with ceramic for their backsplash, proving it's a trusted go-to in home improvement. You can dig into the U.S. ceramic tile market trends and statistics to see the data for yourself.
The Power of Durability and Resistance
Kitchens are busy places. They’re full of heat, moisture, and the occasional flying spaghetti sauce. A ceramic backsplash is built for this chaos, standing up to daily wear and tear without breaking a sweat. Unlike a painted wall that can stain or warp, ceramic tile is fired at incredibly high temperatures, creating a hard, dense surface that’s ready for anything.
This process gives it impressive resistance to:
- Moisture and Humidity: Most ceramic tiles have a glazed, non-porous surface. This means water won't seep into your walls and cause a world of headaches down the road.
- Stains and Splatters: From tomato sauce to grease, splatters wipe away cleanly without leaving a permanent reminder of last night’s dinner.
- Heat: Ceramic is naturally fire-resistant, which makes it a safe and perfect material to install behind a cooktop.
A well-installed ceramic backsplash is so much more than a decorative touch. It's a functional barrier that protects the integrity of your walls for decades, keeping your kitchen beautiful and hygienic with very little effort.
Unmatched Design Versatility
Beyond its practical strengths, ceramic tile is a playground for creativity. It’s a medium that lets you inject your personality right into the heart of your kitchen, whether your style is classic, contemporary, or a little bit of everything.
The sheer variety of colors, shapes, patterns, and finishes means you can create a look that is completely your own. You could go for glossy subway tiles to brighten up the room or choose matte-finish mosaics to add subtle texture—the options are truly endless. This versatility is what ensures a ceramic tile backsplash can seamlessly tie in with any kitchen design, including the beautiful custom cabinetry solutions offered by Sinclair Cabinetry.
Navigating Tile Types, Finishes, and Sizes
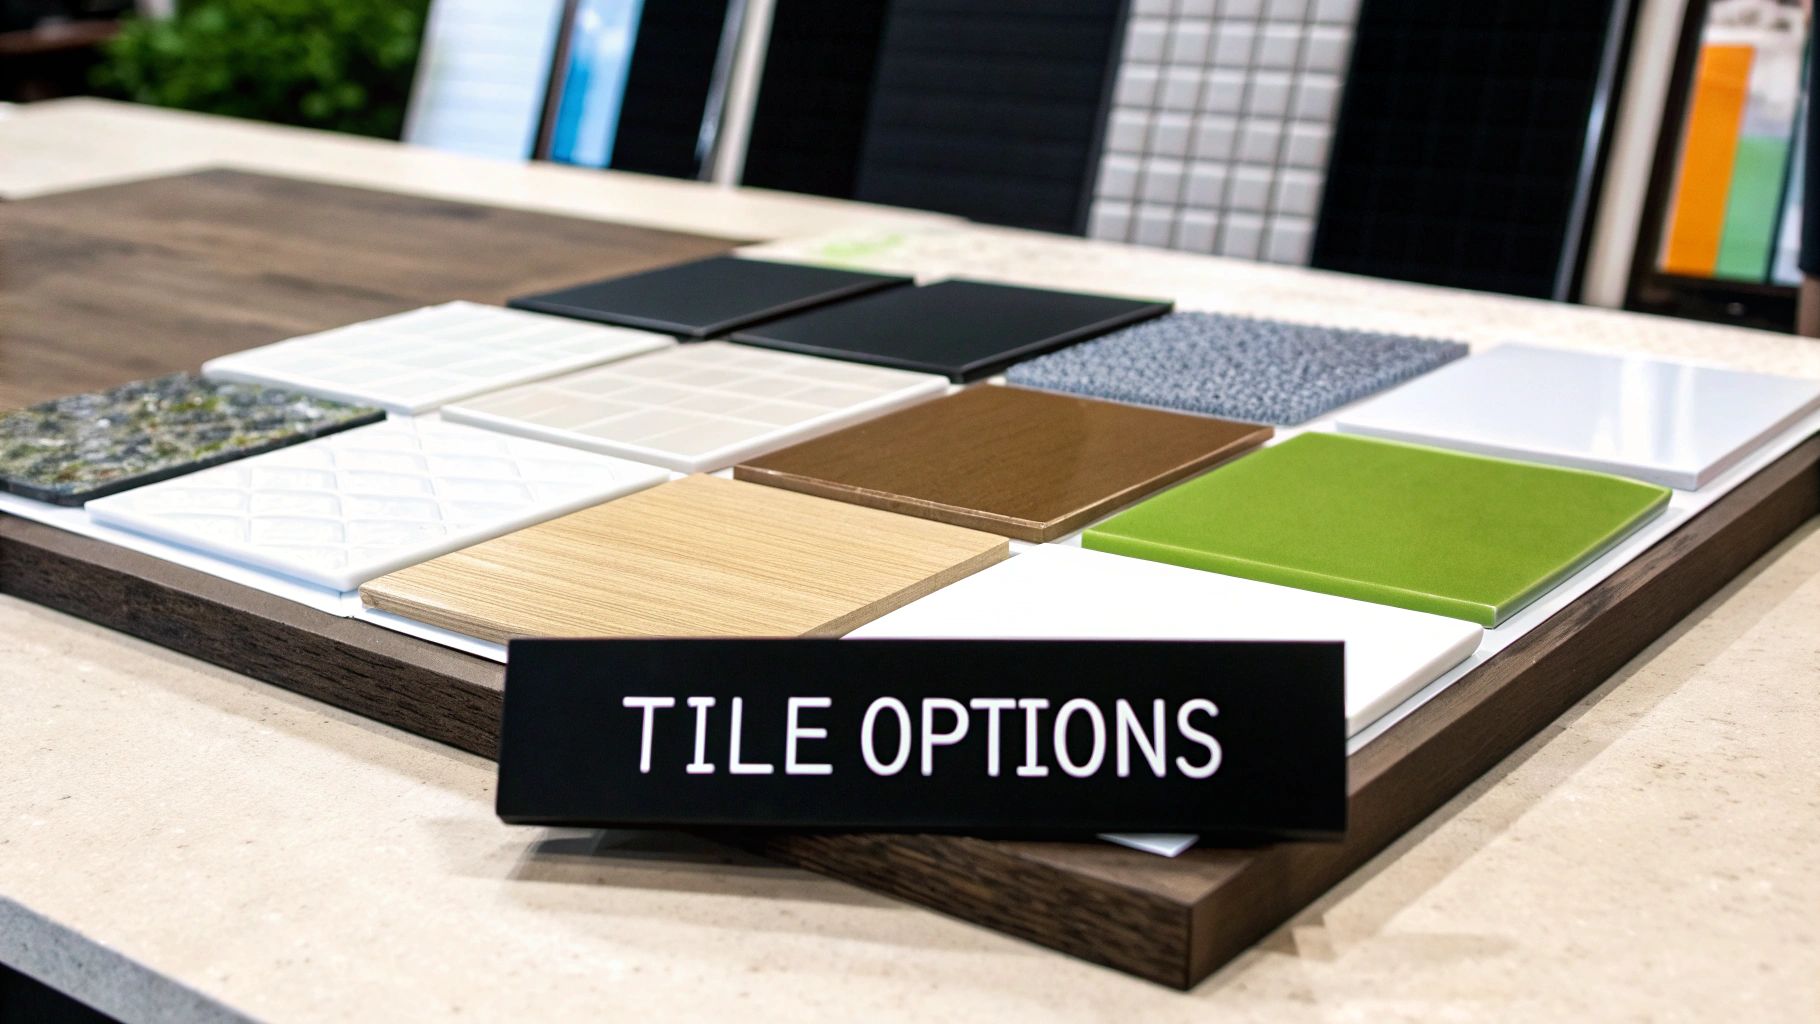
Walking into a tile store can feel a little overwhelming. With what feels like a million options laid out before you, how do you even start? The trick is to break it down. By focusing on three key areas—type, finish, and size—the process becomes not just manageable, but genuinely fun.
This approach helps you land on a ceramic tile backsplash that doesn't just look incredible but also works for the way you actually live.
Glazed Versus Unglazed Ceramic Tiles
At its core, the first big choice in ceramic tile comes down to one thing: a protective shield versus a natural surface. This single difference dictates how your backsplash will stand up to the daily chaos of a busy kitchen.
A glazed ceramic tile is coated with a layer of liquid glass that’s baked right onto the surface during the firing process. Think of it as a built-in, non-porous shield. This glaze is what gives the tile its color and shine, but more importantly, it makes it incredibly resistant to stains and moisture.
For a kitchen backsplash, that’s a game-changer. Splatters from olive oil, tomato sauce, or red wine wipe away without a second thought. Glazed tiles are a breeze to clean, usually just needing a quick wipe-down with a damp cloth to look good as new.
On the other side of the coin, unglazed ceramic tiles are left in their raw, natural state. This gives them a beautiful, earthy texture that’s full of character. However, because they are porous, they can absorb liquids and stain easily unless they’re properly sealed. While they offer a stunning organic vibe, they do demand more upkeep to stay pristine, especially in the splash zone behind a stove or sink.
Selecting the Right Tile Finish
A tile's finish can completely change the mood of your kitchen. It dictates how light bounces around the room, how visible fingerprints and smudges are, and the overall style you’re trying to achieve.
When you're choosing a finish for your ceramic tiles, it helps to see how they stack up against each other. Each one brings something different to the table, from low-maintenance practicality to light-reflecting brilliance.
Comparing Ceramic Tile Finishes for Your Backsplash
| Finish Type | Appearance | Maintenance Level | Best For |
|---|---|---|---|
| Glossy | Highly reflective, shiny, and smooth. | Low (easy to clean, but shows smudges) | Small or dark kitchens; creating a bright, spacious feel. |
| Matte | Non-reflective, soft, and modern. | Very Low (hides smudges and water spots well) | Busy kitchens; achieving a sophisticated, contemporary look. |
| Satin | A gentle sheen, between glossy and matte. | Low to Medium (balances ease of cleaning with smudge resistance) | Kitchens where you want a subtle glow without high reflection. |
Ultimately, the right finish does more than just look good—it makes your kitchen work better for you. A glossy tile can make a small space feel open and airy, while a matte finish is the unsung hero of a busy family kitchen, keeping things looking clean with minimal effort.
The Impact of Tile Size and Shape
The last piece of the puzzle is the size and shape of the tile itself, and this choice has a massive impact on the visual flow and scale of your kitchen. It’s far from a minor detail; it can completely redefine the space.
Classic subway tiles, usually around 3×6 inches, are masters of illusion. Lay them horizontally, and your backsplash will feel wider. Stack them vertically, and you'll draw the eye upward, making the ceiling feel taller than it really is.
If you’re aiming for a clean, contemporary look, consider larger format tiles, like 12×24 inch rectangles. With fewer grout lines, they create a seamless, minimalist vibe that can make a smaller kitchen feel less cluttered and more expansive. If you're curious how different materials work, it’s worth exploring other types of tile for a backsplash to see what fits your vision.
And don’t forget about the fun stuff! Intricate shapes like mosaics, hexagons, or penny rounds can act as an incredible focal point. They’re perfect for adding a splash of personality or an artistic touch behind the range, turning a functional backsplash into a true work of art.
Coordinating Tiles with Your Kitchen Cabinets
Your backsplash is so much more than a functional surface—it's the design glue that holds your countertops and cabinets together. Getting that polished, intentional look you see in magazines hinges on how well these pieces harmonize. The right ceramic tile can truly make your cabinetry sing, pulling the entire kitchen together into one cohesive, beautifully designed space.
Think of your cabinets as the main outfit and your backsplash as the perfect accessory. A clashing choice can feel jarring and throw everything off, but the right pairing creates a style that feels completely effortless. The goal isn't always a perfect match, but to create a visual conversation between the two. When you're dreaming up your ceramic tile backsplash, it's critical to see it as part of the bigger picture and a key piece of how to plan a kitchen remodel. This way, every single decision builds toward a unified final look.
The Power of Contrast and Complements
One of the most effective tricks in a designer's playbook is using contrast to create visual pop. This doesn't mean your choices have to be polar opposites; even a subtle difference in tone or color can make a huge impact.
Picture a kitchen with sleek, dark navy shaker cabinets. Now, pair them with a crisp, white glossy subway tile. It's a classic, high-impact combination that feels both timeless and completely modern. The bright tile bounces light around the room, keeping the dark cabinets from feeling too heavy, while the cabinets anchor the space with a sense of depth and richness.
On the flip side, a complementary approach creates a softer, more blended feel. This is where understanding undertones becomes your secret weapon.
An undertone is that subtle, underlying color you can sense in a neutral shade. A "cool" gray cabinet might have hints of blue or purple, while a "warm" off-white tile could have creamy or yellow undertones. If you mix these the wrong way, the colors can look muddy or just plain "off."
For example, pairing warm, cream-colored cabinets with a backsplash that shares similar warm, beige undertones creates a serene, almost monochromatic vibe. This strategy is perfect if you're going for a tranquil and unified kitchen.
Matching Tiles to Cabinet Styles
The style of your cabinet doors should absolutely guide your tile selection. A sleek, modern door calls for a totally different tile than a detailed, traditional one.
- For Modern Flat-Panel Cabinets: These minimalist cabinets, like the ones you'll see in contemporary designs from Sinclair Cabinetry, look incredible with clean, geometric tiles. Think large-format ceramic tiles with razor-thin grout lines or a stacked vertical subway tile to create a sharp, linear look.
- For Traditional Raised-Panel Cabinets: The rich character of traditional cabinets works beautifully with tiles that have a bit of texture or a classic pattern. Consider handmade-look ceramic tiles, elegant arabesque shapes, or even a tile with a subtle pattern to echo the cabinetry's ornate feel.
- For Shaker-Style Cabinets: Shaker cabinets are the ultimate chameleon, bridging the gap between modern and traditional. They look just as good with a simple, classic subway tile as they do with a bold, patterned mosaic. They're incredibly flexible.
Creating a Cohesive Color Palette
Beyond contrast and style, building a solid color palette is key. An easy way to do this is to pull a secondary color from your countertops and use that for your backsplash. Let's say you have a granite countertop with veins of gray and beige running through it—choosing a ceramic tile in either of those shades will instantly tie the whole room together.
Another approach is to think about the overall mood you want to set. For a bright and airy kitchen, stick with lighter tones for both your cabinets and backsplash. If you're craving a dramatic, cozy space, don't be afraid to go dark. Exploring different kitchen cabinet color combinations can give you a ton of inspiration for finding that perfect tile to complete your vision. By keeping these design principles in mind, you can make sure your ceramic tile backsplash and cabinets work together beautifully.
Mastering Your Backsplash Installation
This is where the magic happens—when your design vision finally starts taking shape on the wall. Whether you’re a dedicated DIYer ready to get your hands dirty or you’re planning to bring in a pro, getting familiar with the installation process is the secret to a flawless finish. A great ceramic tile backsplash isn’t just about sticking tiles up; it's a game of careful prep, precise work, and an eye for the small details.
It’s no surprise that kitchen backsplashes are more popular than ever. The global market for these tiles was valued at around USD 0.73 billion in 2024 and is expected to hit USD 1.19 billion by 2033. This surge shows just how much homeowners appreciate this feature for both its practical and aesthetic punch.
A Checklist for the DIY Installer
If you're tackling your own ceramic tile backsplash, think of yourself as a chef following a recipe. A methodical, step-by-step approach is your best friend here, helping you sidestep common mistakes and keep the overwhelm at bay.
The single most important step? Preparation. Your wall needs to be clean, smooth, and solid because that’s the foundation for a long-lasting installation. Any leftover grease, dust, or bumps can mess with the adhesive’s grip, and you don’t want tiles coming loose later.
Your Step-by-Step DIY Plan:
- Surface Preparation: First things first, give the wall a good scrub with a degreaser to get rid of any kitchen grime. Fill any holes or cracks with spackle, let it dry, and then sand it down until it’s perfectly smooth.
- Layout Planning: Measure the backsplash area and mark the center. Grab a level and draw some straight reference lines to guide you. It’s also a great idea to do a "dry run" by laying out the tiles on your counter to plan your cuts and visualize the pattern.
- Applying Adhesive: Using a notched trowel, spread a thin, consistent layer of thin-set mortar over a small section of the wall. Those little ridges you create with the trowel are key—they give the tiles something to really grab onto.
- Setting the Tiles: Gently press each tile into the adhesive with a slight twist. Pop in tile spacers between each one to keep your grout lines even. This is a non-negotiable step for that polished, professional look.
- Cutting Tiles: You’ll definitely need to cut some tiles to fit around outlets or at the ends of rows. For simple straight cuts, a basic snap tile cutter will do the trick. For trickier shapes, you’ll want a tile nipper or a wet saw.
A classic rookie mistake is mixing way too much adhesive at once. It starts to dry out pretty fast, so only mix enough to use within about 20-30 minutes.
Hiring a Professional Installer
If DIY isn't your thing, hiring an experienced tile setter is a fantastic investment. A pro doesn't just guarantee a top-notch finish; they handle all the tricky parts, saving you a ton of time and potential headaches. But remember, not all installers are created equal.
When you’re talking to potential pros, ask them directly about their experience with ceramic backsplashes. Don't be shy about asking to see a portfolio of their recent work or for a few references. Doing your homework now helps you find a true craftsperson who takes pride in their work.
This little diagram shows how a pro will think—making sure your new tiles and existing cabinets work together beautifully from the very start.
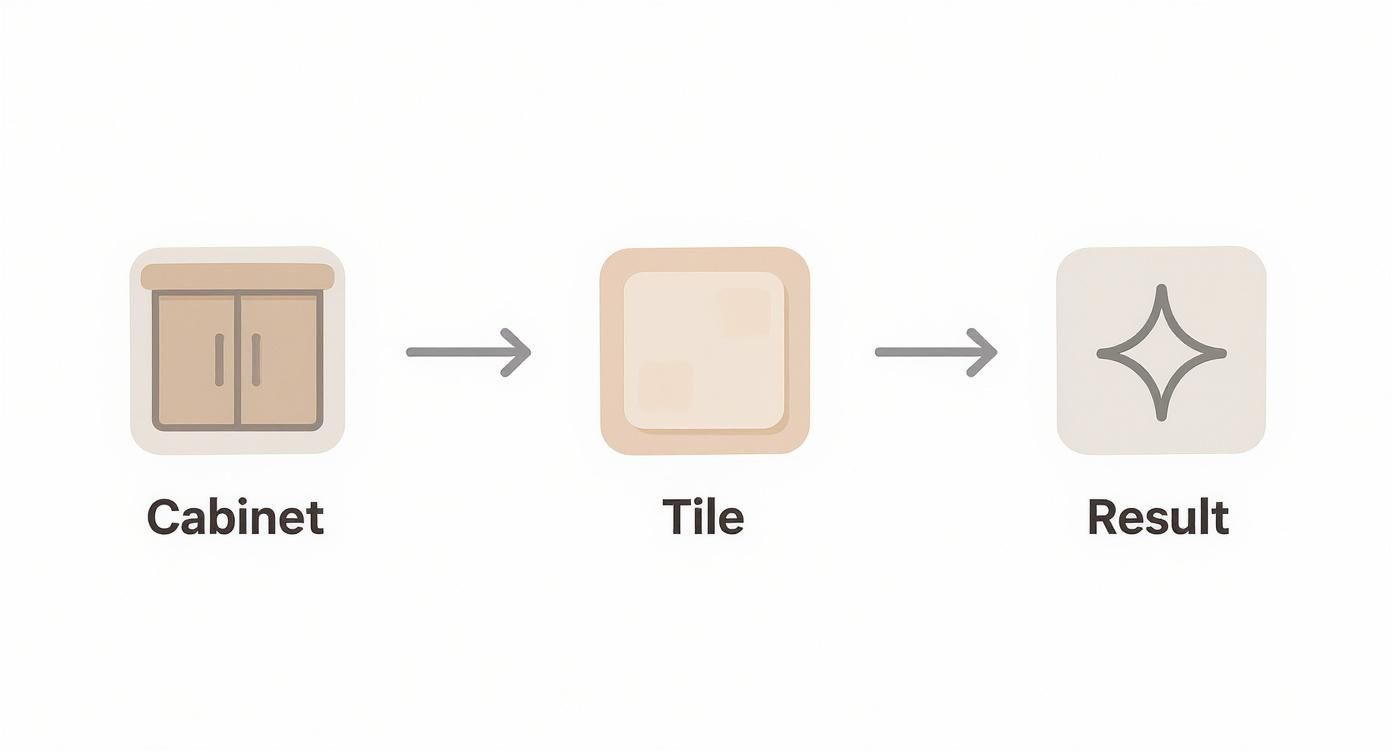
The takeaway here is simple: a stunning result happens when your cabinet style and tile choice are treated as a team from day one.
The Finishing Touch Grout and Sealing
Grout does a lot more than just fill the gaps between tiles. It locks everything together, keeps moisture out, and adds to the final look. Your main choice will be between sanded and unsanded grout.
- Sanded Grout: This type has fine sand mixed in for extra strength, making it perfect for wider grout lines (1/8 inch or more).
- Unsanded Grout: With its smoother texture, this is the go-to for super-thin grout lines (less than 1/8 inch) or for delicate tiles like polished marble or glass that could get scratched.
After the grout has fully cured—which usually takes about 48-72 hours—it's time for the final step: sealing. A good grout sealer creates an invisible shield that protects the porous grout from stains and moisture. This small step makes your backsplash so much easier to clean and keeps it looking fresh for years. If you want to dive deeper into the nuts and bolts of tile work, exploring resources on general tiling practices is a great next step.
How to Budget for Your Backsplash Project
Putting in a beautiful ceramic tile backsplash is a real investment in your kitchen’s vibe and usability, but it doesn't have to drain your wallet. When you understand the full cost picture from the get-go, you can plan with confidence and dodge those nasty surprise expenses later. The final price tag isn't just about the tile itself; it's a mix of materials, labor, and the specific design choices you fall in love with.
It's no secret that people love ceramic tile. The global market was a massive USD 302.3 billion in 2023 and is only expected to keep growing. Kitchens and bathrooms are the biggest drivers, making up over 58% of residential demand, which just goes to show how essential a great backsplash is in today's homes. You can dig deeper into the expansive global ceramic tile market to see the trends for yourself.
Breaking Down the Core Costs
When you're mapping out a budget for your backsplash, it helps to think in three main buckets. Each one plays a big part in the total cost of the project.
- Tile Cost: This is where the price can really swing. A simple, machine-made subway tile might only run you $2-$5 per square foot. But if you have your heart set on a handmade, artisanal tile, you could be looking at $30 per square foot or more. Your design dream directly sets the price here.
- Materials and Supplies: Don't forget the supporting cast! You'll need thin-set mortar to stick the tiles, grout to fill the gaps, spacers for perfect lines, and maybe a sealer to protect it all. These materials usually add another $1-$3 per square foot to your budget.
- Labor: Unless you're tackling this yourself, professional installation is a significant part of the cost. Depending on where you live and how complex your tile pattern is, labor can range anywhere from $10 to $20 per square foot.
Sample Budget Scenarios
Let's put those numbers into perspective. Here are two different scenarios for a pretty standard 30-square-foot kitchen backsplash to show you how it all adds up.
Scenario 1: The Budget-Friendly Classic
- Tile: Simple 3×6 inch subway tile at $3/sq. ft. = $90
- Materials: Mortar, grout, and supplies = $60
- Labor: Professional installation at $15/sq. ft. = $450
- Estimated Total: $600
Scenario 2: The High-End Artisanal Look
- Tile: Hand-painted decorative tile at $25/sq. ft. = $750
- Materials: Mortar, premium grout, and supplies = $90
- Labor: Installation for a complex pattern at $20/sq. ft. = $600
- Estimated Total: $1,440
As you can see, the final cost can change dramatically based on your choices. To get a much clearer financial picture for your entire renovation, a good tool is a game-changer. You can crunch the numbers for your specific project using our kitchen remodel cost calculator to plan everything out.
Smart Ways to Save Money
Sticking to a budget doesn't mean you have to settle for less. There are plenty of smart ways to save money without compromising on the look you want.
Key Insight: The complexity of your tile layout directly influences labor costs. A straightforward running bond or grid pattern is much faster (and therefore cheaper) to install than an intricate herringbone or mosaic design.
Keep these cost-saving tips in your back pocket:
- Choose a Simpler Layout: A standard pattern can seriously cut down on labor hours, which means more money stays in your wallet.
- Mix and Match: Use an affordable tile for the main backsplash area, then splurge on a small, high-impact feature with more expensive tile right behind the stove.
- DIY Demolition: If you're up for it, tearing out the old backsplash yourself is a great way to save a few hundred dollars on labor.
Keeping Your Ceramic Backsplash Looking New
Alright, your beautiful new ceramic tile backsplash is in, and it’s completely transformed the kitchen. So, how do you keep it looking that good for the long haul? The best part about ceramic tile is that its long-term care is surprisingly simple. You won't need an arsenal of harsh chemicals or a ton of elbow grease.
With a quick, consistent routine, you can easily fend off the realities of a busy kitchen—think grease splatters and spaghetti sauce mishaps. The secret is all about gentle but effective cleaning that preserves both the tile and the grout, making sure your backsplash stays the stunning focal point it was meant to be.
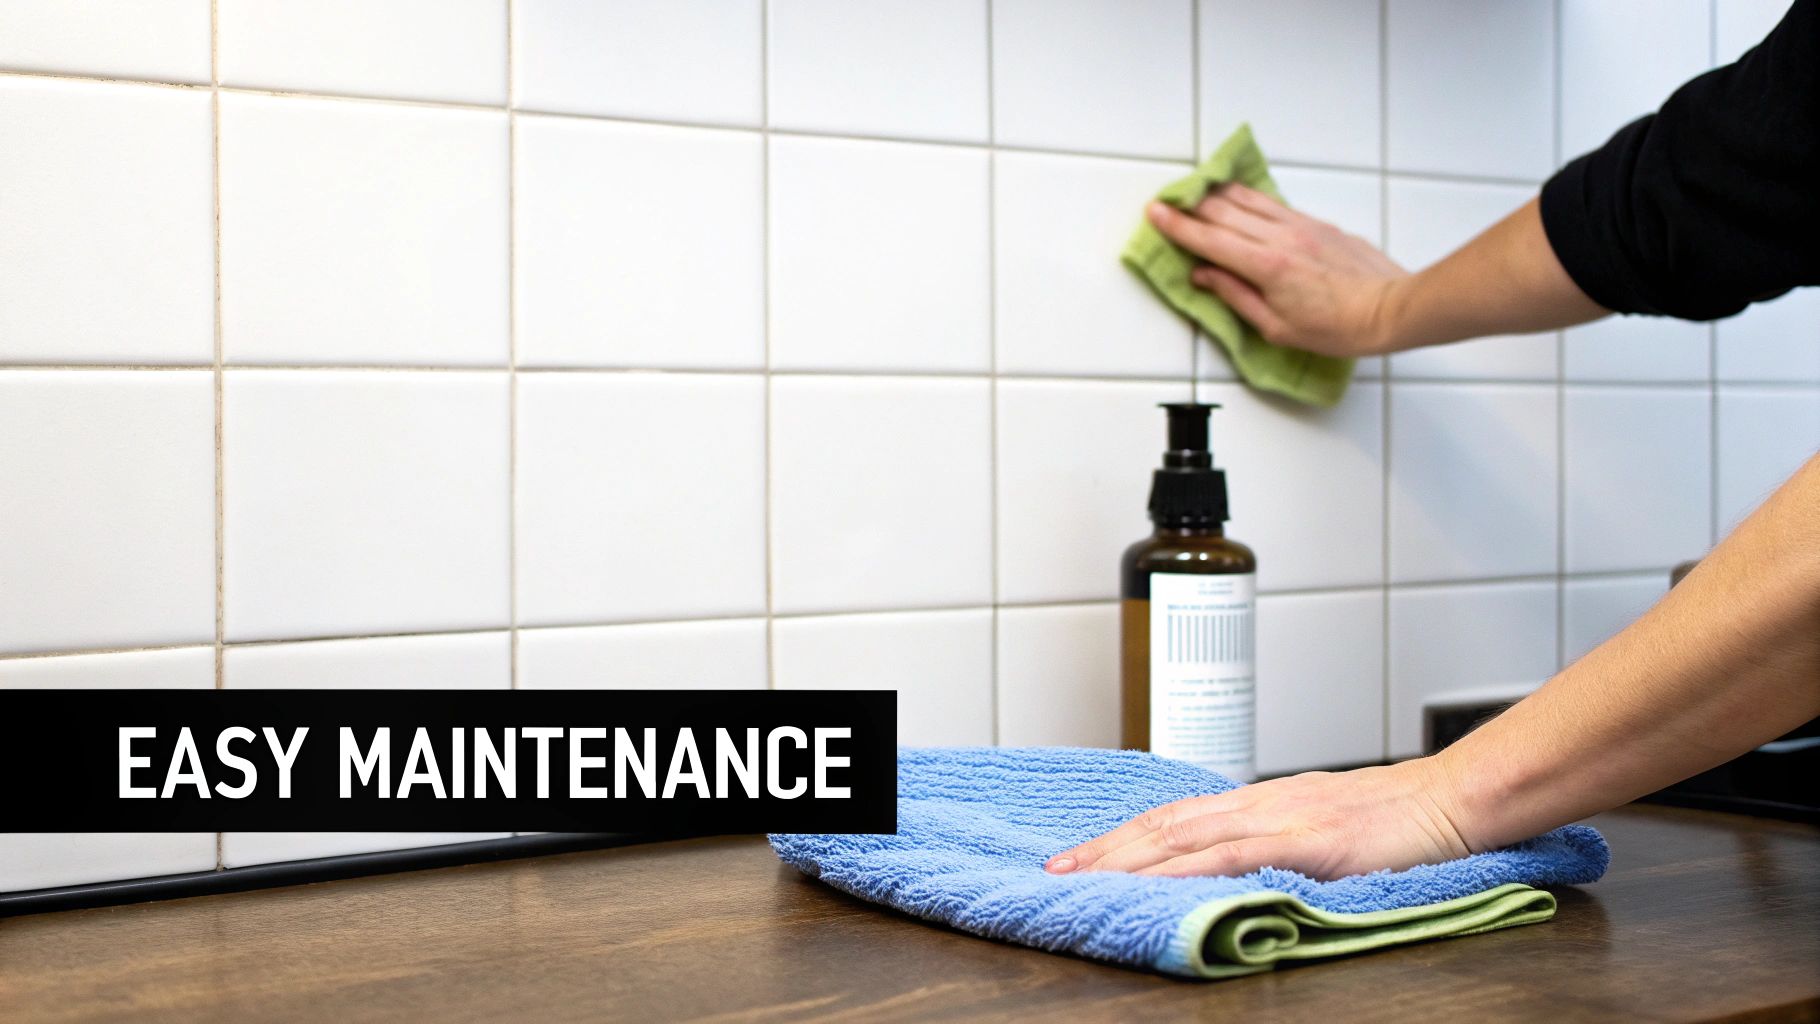
Your Weekly Cleaning Routine
The easiest way to prevent stubborn, grimy buildup is with a quick weekly wipe-down. It’s a simple habit that stops cooking grease and food bits from setting in, which means you’ll almost never have to do a major deep clean. Forget about abrasive scrubbers and heavy-duty chemicals; a gentle touch is all you need.
For most weekly cleanups, a simple homemade solution works wonders:
- Mix a few drops of pH-neutral dish soap with warm water in a spray bottle.
- Lightly mist the backsplash and give it a minute to work its magic on any grease.
- Wipe everything clean with a soft, non-abrasive cloth or sponge.
- Finish by drying the tile with a clean microfiber cloth. This prevents water spots and brings back that brand-new shine.
This method is perfectly safe for almost all glazed ceramic tiles and won't strip away the protective finish that keeps your backsplash looking pristine.
Remember, regular maintenance is all about prevention. A two-minute wipe-down each week can save you hours of scrubbing down the road, especially on that wall behind the cooktop where most of the action happens.
Protecting Your Grout Lines
While ceramic tile itself is famously non-porous and tough, the grout between the tiles is a different story. Grout is the unsung hero holding it all together, but its porous nature makes it a magnet for stains and mildew if you don’t protect it. Taking care of your grout is the real secret to a fresh-looking installation that lasts.
Your best line of defense is a quality grout sealer. It should be applied after the grout has fully cured and then reapplied every one to two years. Think of sealer as an invisible raincoat for your grout; it causes moisture and common kitchen culprits like coffee, wine, and tomato sauce to bead up on the surface instead of soaking in.
And if you ever notice a small chip in a tile, don't sweat it. A single tile can usually be carefully removed and replaced without having to tear out the whole section. You just need to chisel out the old grout, break up the damaged tile, and set a new one in its place. It's a quick fix that keeps a minor hiccup from becoming a major eyesore.
A Few Final Questions About Ceramic Backsplashes
Even with the best plans, a few lingering questions always seem to pop up right before you pull the trigger on a project. When it comes to a ceramic tile backsplash, we find the same handful of uncertainties tend to stall homeowners. Let's get those cleared up so you can move forward with total confidence.
Think of this as your final checklist. We’ll tackle the practical, day-to-day concerns that make all the difference.
How Durable Is a Ceramic Backsplash?
You can’t get much tougher than ceramic tile for a kitchen backsplash. It’s fired at incredibly high temperatures, which makes the surface rock-solid and resistant to scratches, heat, and just about any stain you can throw at it. A professionally installed backsplash can easily last for decades without showing any real wear.
It’s especially great for the wall behind your stove since it won't scorch or discolor from the heat. The non-porous glazed surface also means kitchen messes like grease, tomato sauce, or coffee splatters wipe right off. No permanent marks, just a clean and hygienic look.
Can You Install a Backsplash Over Existing Tile?
Technically, yes, you can tile over existing tile—but it’s rarely the best move. For this to even be an option, the original tiles have to be in near-perfect shape: totally flat, securely bonded to the wall, and with zero cracks. You'd also have to scuff up the old tile surface so the new adhesive has something to grip.
The real problem, though, is that this adds a whole new layer of thickness to your wall. That can create awkward issues around outlets, light switches, and where the backsplash meets your cabinets. For a clean, professional finish, taking the old tile down is almost always the right call.
Expert Tip: Tiling over tile might save a little time upfront, but it adds weight and creates a bulky profile. Most pro installers will strongly advise against it to ensure a seamless, long-lasting installation that sits flush with your countertops and cabinetry.
What Is the Easiest Type of Ceramic Tile to Keep Clean?
If low maintenance is your goal, go for a glazed ceramic tile with a smooth, glossy or satin finish. That slick surface is your best friend—it stops food and liquids from soaking in, so you can wipe messes away with just a damp cloth.
Larger format tiles also make your life easier. Why? Fewer grout lines. Grout is always the trickiest part to keep looking fresh and clean. With big tiles and a simple, non-abrasive cleaner, you’ll have a backsplash that’s built for a busy kitchen where spills are just part of life.
Ready to pair your perfect backsplash with cabinetry that’s just as durable and beautiful? Sinclair Cabinetry inc crafts custom, real-wood cabinets that provide the perfect foundation for any kitchen design. Explore our custom cabinet solutions today.