
To plan a bathroom renovation that actually works for you, the first move is to get crystal clear on your project's scope. This means honestly separating your absolute needs from your wants, pulling together a visual mood board that pins down your design direction, and deciding on a single, clear goal. Are you after a quick cosmetic update, or is this a full-blown functional overhaul? Nailing this down from the start is the foundation for every decision that follows, from your budget to the materials you choose.
Starting Your Renovation Without the Stress
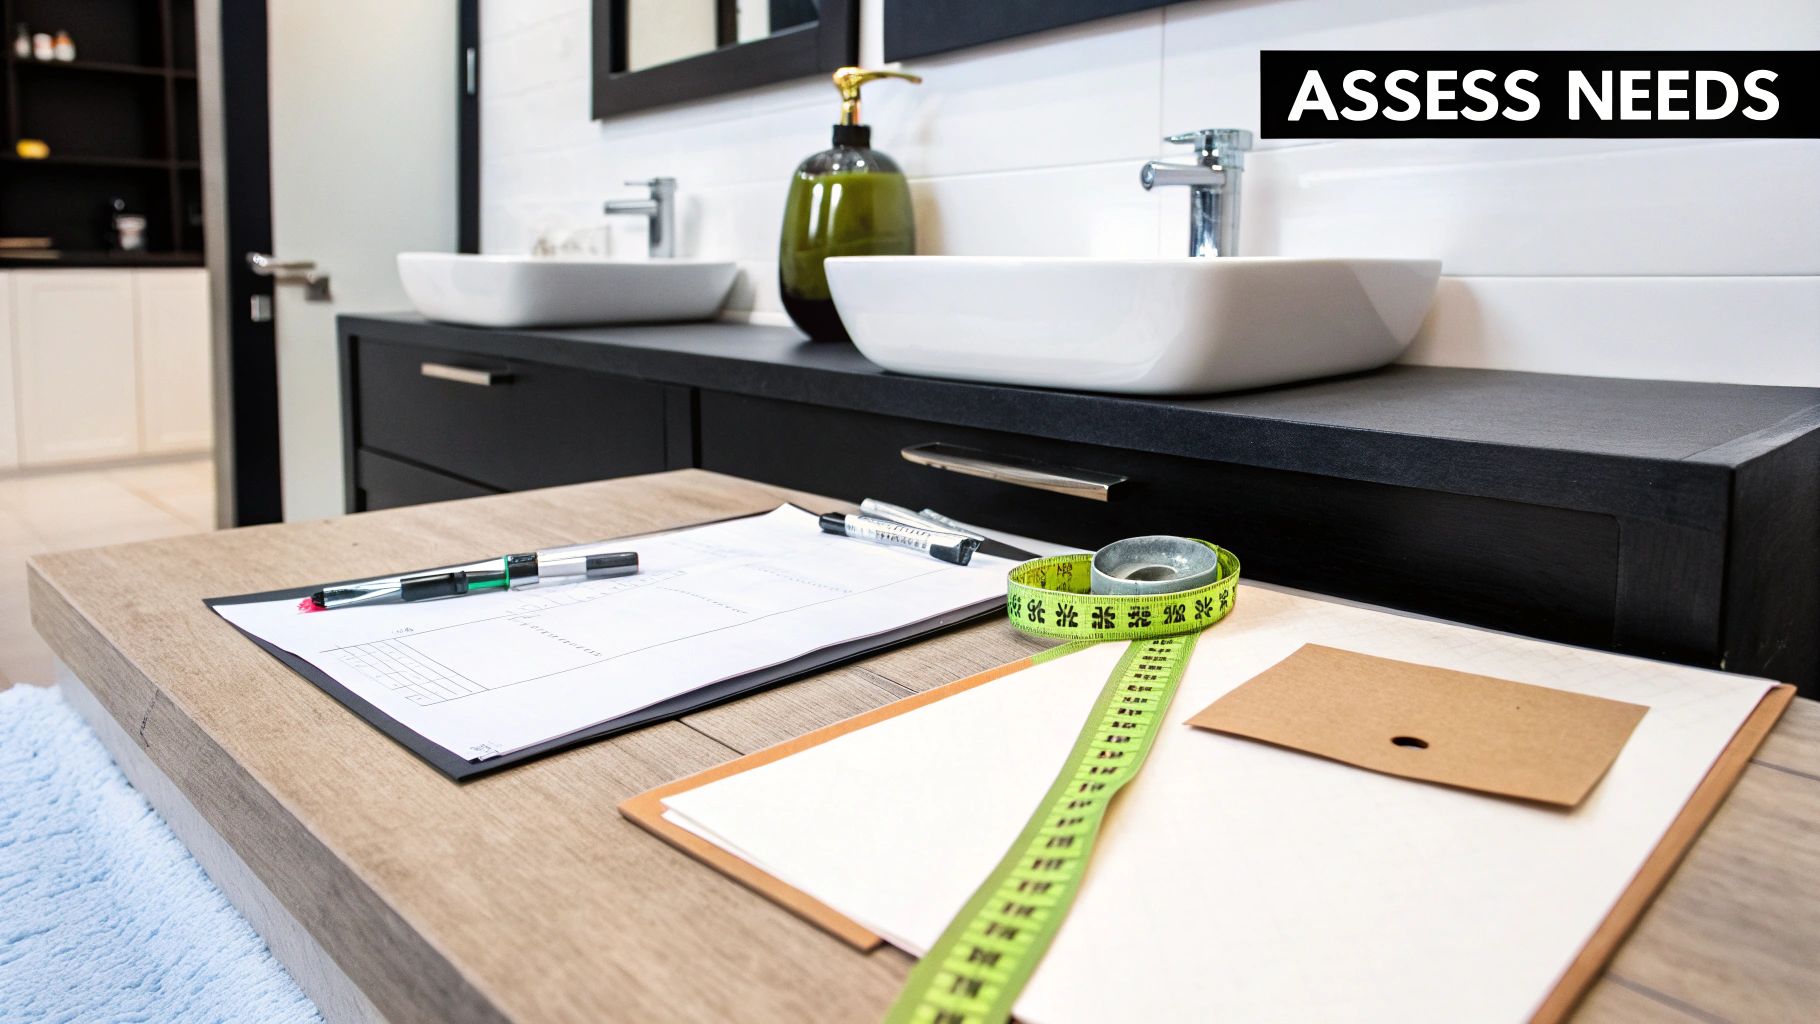
That dream bathroom you've been picturing doesn't just happen overnight. It all starts with a practical, honest conversation about what you truly need versus what you simply want. Before a single tile gets pulled up or a faucet is ordered, defining the real scope of your project is the most critical first step in figuring out https://sinclaircabinets.com/bathroom-renovation-planning/.
This initial stage is all about turning vague ideas into a solid action plan. Skip this, and you're opening the door to scope creep, budget overruns, and a final result that just doesn't quite hit the mark.
Differentiating Needs from Wants
It's time to ask some tough questions. Is this a cosmetic touch-up meant to boost your home's resale value with some modern finishes? Or are you planning a complete overhaul to create an accessible, age-in-place sanctuary you'll use for years to come? The answers will shape every single choice you make down the line.
A really helpful exercise is to create two separate lists:
- Non-Negotiables (Needs): These are the functional elements your bathroom absolutely must have. Think a curbless, walk-in shower for better accessibility, a double vanity to solve the morning traffic jam, or much-improved ventilation to finally deal with that moisture problem.
- Aspirational Items (Wants): This is where you put all the "nice-to-have" features. We're talking heated floors, a stunning freestanding soaking tub, or those fancy smart mirrors. These are also the first things you should be prepared to cut if the budget starts getting tight.
Going through this process forces you to prioritize what truly matters, making sure the core function of your new bathroom meets your family's real-world, everyday requirements.
Creating a Focused Vision Board
Inspiration is everywhere these days, but it can get overwhelming fast. A Pinterest board is a fantastic tool, but it needs to be more than just a dumping ground for pretty pictures. Your goal is to build a focused vision that clearly defines both your practical needs and your aesthetic preferences.
So, instead of just pinning random bathrooms you like, get specific. Create sections for tile patterns, vanity styles, and lighting fixtures. Then, add notes to each pin explaining why you like it. Is it the color scheme? The texture of that tile? The genius storage solution inside the vanity?
"Your mood board isn't just for style; it's a functional blueprint. It should clearly communicate your non-negotiables to your designer or contractor, ensuring everyone is aligned on creating a space that is both beautiful and perfectly suited to your lifestyle."
This detailed approach turns your board from a simple source of inspiration into a powerful communication tool. On a practical note, as you gear up for the renovation, you'll need a place for all your stuff. Looking into personal storage solutions can help reduce clutter and keep your home organized during the messy demolition phase.
Setting a Clear Project Direction
With your needs identified and your vision sharpened, you can finally set a clear direction for the entire project. This clarity is your best defense against decision fatigue and those costly last-minute changes that blow up the budget.
For instance, knowing from day one that you need custom cabinetry to maximize every inch of storage in a small space helps you allocate your budget correctly from the get-go. Our detailed guide to bathroom renovation planning offers more tips on creating a solid project roadmap.
Ultimately, this initial planning phase is about translating inspiration into a concrete plan that feels right for you and your home. It establishes the "why" behind your renovation, giving you a guiding star for every decision that follows and paving the way for a much smoother, less stressful experience.
Building a Renovation Budget That Actually Works
Let's be real for a moment. The budget is where a bathroom renovation dream either gets a solid foundation or crumbles before it even starts. A good financial plan isn't just about landing on one big, scary number. It’s about creating a realistic roadmap that guides every single decision you make and, most importantly, saves you from those gut-wrenching, costly surprises later.
To create a budget that can actually withstand the pressures of a real-world renovation, you have to move past pure guesswork. The same core ideas behind how to effectively budget money for your household apply here—it’s all about detailed planning and being honest about the numbers.
Breaking Down the Costs
One of the biggest mistakes I see homeowners make is focusing only on the showstoppers—the fancy vanity, the freestanding tub—while totally forgetting the dozens of smaller costs that add up incredibly fast. A truly smart budget breaks everything down into specific categories, giving you a clear, complete financial picture.
For instance, people almost always underestimate labor. It's not glamorous, but it can easily eat up 40% to 60% of your entire project cost. Your budget needs to be a detailed, line-by-line plan, not just a ballpark figure scribbled on a napkin.
To give you a better handle on this, here’s a look at how a typical mid-range renovation budget often breaks down by percentage.
Sample Bathroom Renovation Budget Breakdown
This table provides a general framework for allocating funds in a mid-range bathroom project. Think of it as a starting point to help you see where the money really goes.
| Expense Category | Percentage of Total Budget | Example Cost (for a $15,000 Project) |
|---|---|---|
| Labor | 40-60% | $6,000 – $9,000 |
| Fixtures (tub, toilet) | 15-20% | $2,250 – $3,000 |
| Cabinetry & Countertops | 10-15% | $1,500 – $2,250 |
| Flooring & Tiling | 10-15% | $1,500 – $2,250 |
| Lighting & Ventilation | 5% | $750 |
| Permits & Fees | 1-3% | $150 – $450 |
Remember, these are just estimates. A luxury renovation might see the cabinetry and fixtures percentages climb higher, while a more DIY-heavy project could lower the labor costs.
The All-Important Contingency Fund
If I could bold, underline, and highlight one piece of advice, it would be this: build a contingency fund. This is the single most important line item in your budget. It's a separate stash of cash—typically 15-20% of your total project cost—that you set aside only for the unexpected.
And trust me, the unexpected will happen. The plumber opens a wall and finds old, corroded pipes that have to be replaced. Your contractor discovers hidden water damage behind the shower tile from a slow leak you never knew about. These are the moments that can completely derail a project if you don't have a financial cushion.
Think of your contingency fund as project insurance. You hope you never have to use it, but if you do, it will save you from making panicked decisions, cutting corners on quality, or stopping the project dead in its tracks.
The age of your home plays a huge role here. If you live in a house that's over 50 years old, I’d strongly recommend pushing that contingency closer to 20%. The chances of uncovering old wiring, plumbing, or structural surprises are just that much higher.
Finding the Balance Between Saving and Splurging
Knowing where to tighten the belt and where to invest is the key to making your budget work harder for you. Making smart choices here can free up cash for the features that will truly make you love your new bathroom.
Where you can often save:
- Stock Vanities: You can find some fantastic, high-quality stock vanities that offer huge savings over fully custom work, especially if your layout fits standard dimensions.
- Paint and Decor: Never underestimate the power of a great color palette and well-chosen accessories. You can create a high-end feel without a huge price tag.
- Standard Fixtures: A beautiful chrome faucet from a reputable brand can save you hundreds compared to trendier finishes like matte black or brushed gold, and it will still look timeless.
Where you should consider investing more:
- Waterproofing: This is absolutely not the place to cut corners. Professional, top-tier waterproofing behind your shower walls and on the floor is critical to preventing leaks and devastating long-term damage.
- Ventilation: A powerful, properly sized exhaust fan is your number one defense against mold and mildew. It protects your entire investment for years to come.
- Professional Labor: Always hire licensed and insured plumbers and electricians. It's non-negotiable for safety, code compliance, and the final quality of your project.
Ultimately, smart budgeting is about planning for a space that is not only beautiful today but also durable and functional for the long haul. If you want a more personalized starting point, our bathroom remodel cost estimator can help you generate a preliminary budget based on your specific goals.
Designing a Functional and Stylish Bathroom
This is where your vision really starts coming to life. But designing a bathroom that’s both functional and stylish is about so much more than just picking out pretty tiles and trendy fixtures. It's a strategic process. You’re creating a layout that genuinely works for your daily life and squeezes every bit of potential out of your space.
A well-designed bathroom just flows. It doesn't matter if it's a tiny powder room or a sprawling primary suite. The goal is to blend form and function so perfectly that the space feels both effortless to use and beautiful to be in.
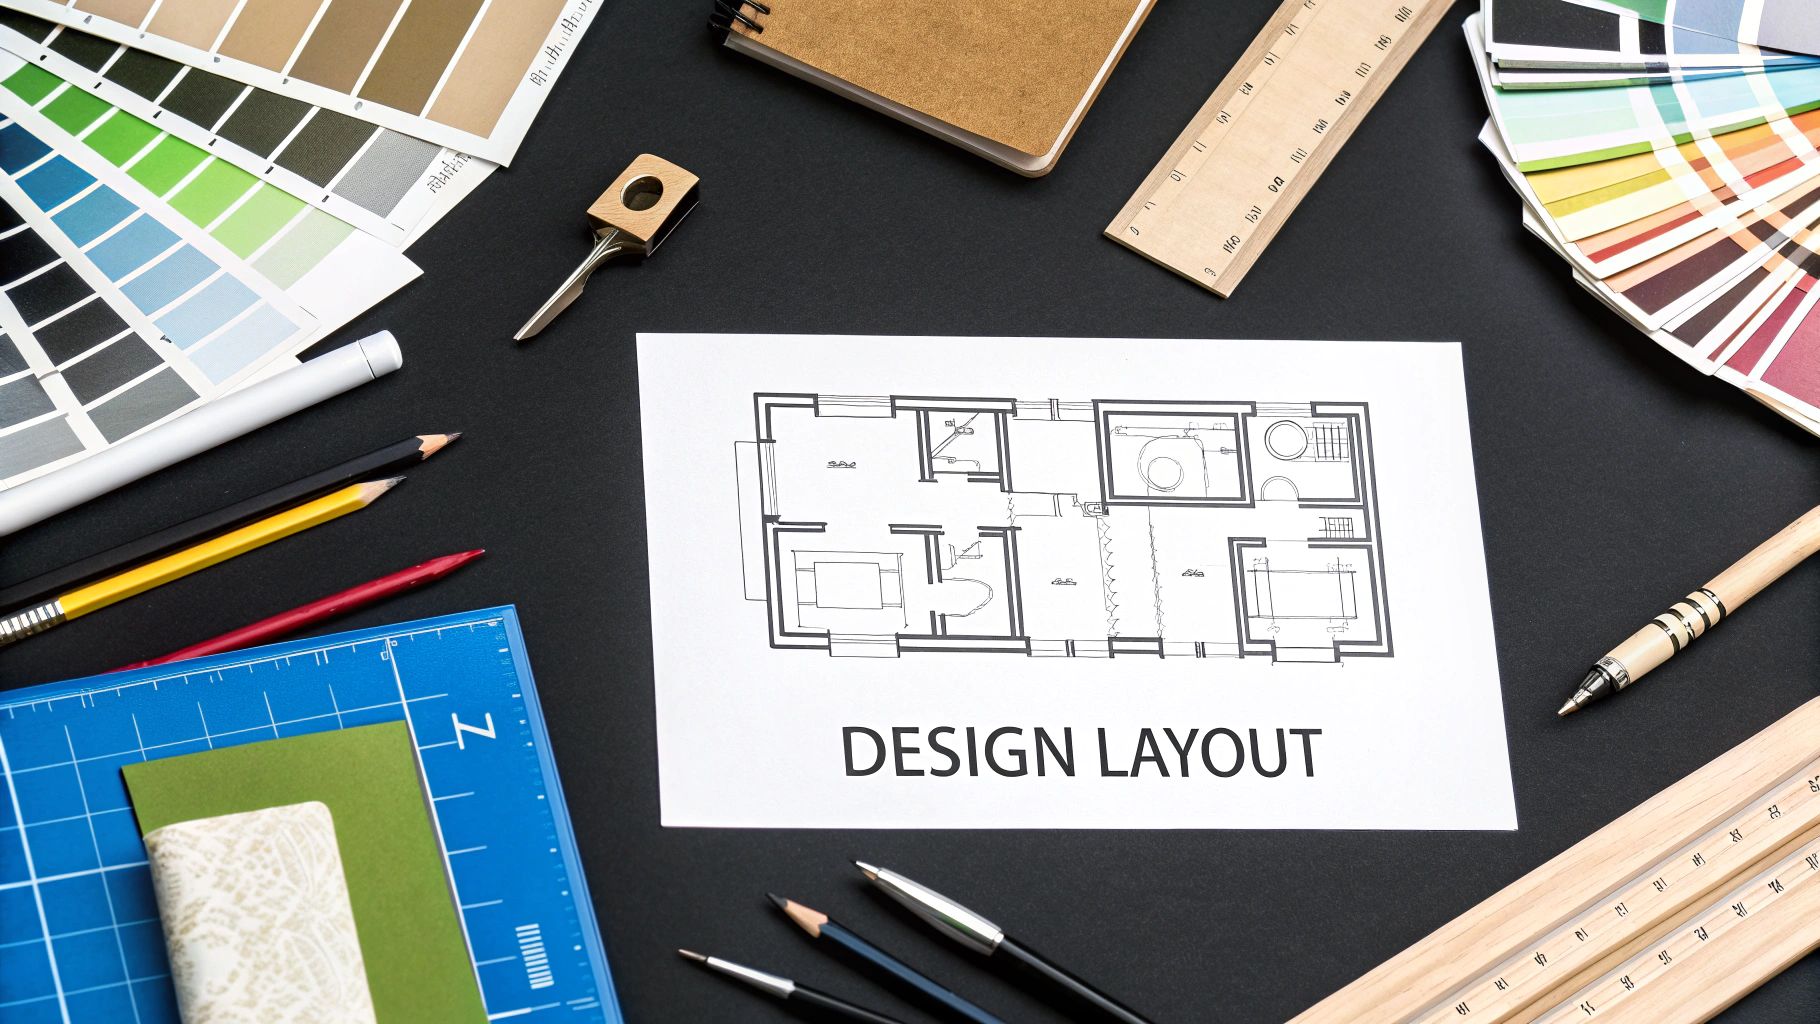
Drafting Your Perfect Floor Plan
Before you fall in love with a single material, start with a simple floor plan. You don't need fancy software—graph paper and a pencil work just fine. Measure your bathroom's exact dimensions and mark where the windows, doors, and existing plumbing are. This simple map is your playground for exploring what’s possible.
Think about the classic "work triangle" of the bathroom: the sink, toilet, and shower/tub. Walk through your morning routine in your head. A layout that minimizes awkward steps and traffic jams, especially in a shared bathroom, will make a world of difference. Can you open the vanity doors without hitting the toilet? Is there enough room to step out of the shower without contorting yourself?
Even small tweaks can have a huge impact. For instance, swapping a traditional swinging door for a pocket door can instantly free up valuable floor space, making a cramped bathroom feel much larger.
Establishing a Clear Focal Point
Every great room has a focal point, and your bathroom is no different. This is the first thing that catches your eye and sets the tone for the whole space. A strong focal point keeps the design from feeling scattered or chaotic.
So, what makes a good focal point in a bathroom?
- A stunning vanity: A beautifully crafted custom vanity with an elegant countertop is an instant showstopper.
- A freestanding bathtub: If you have the room, a sculptural soaking tub immediately creates a sense of spa-like luxury.
- An accent wall: A wall of bold, patterned tile behind the vanity or inside the shower can inject a ton of personality.
Once you’ve picked your star, let it shine. Design the rest of the room to support it, not compete with it.
Implementing a Layered Lighting Plan
Lighting can absolutely make or break your bathroom design. A single, lonely overhead fixture is rarely enough and often casts unflattering shadows. The secret is to think in layers. This approach creates a space that's functional for tasks like shaving or applying makeup and atmospheric for a relaxing soak.
A successful lighting plan really needs three things:
- Ambient Lighting: This is your main light source, like recessed ceiling lights or a central fixture, providing overall illumination.
- Task Lighting: This is focused light where you need it most. Think sconces on either side of the mirror or a dedicated light over the shower.
- Accent Lighting: This is the fun stuff, used to highlight cool features like a piece of art or LED strips under a floating vanity.
Putting dimmers on all your fixtures is a pro move. It gives you total control over the mood, letting you go from bright and energizing in the morning to soft and calming at night.
Integrating Smart Technology Thoughtfully
The way people approach bathroom renovations is definitely changing. We’re seeing a huge trend toward smart technology for extra comfort, efficiency, and a touch of luxury. The bathroom remodeling market, valued at about USD 398.1 billion in 2024, is expected to hit nearly USD 574.1 billion by 2034, and a lot of that growth is driven by these modern upgrades. Homeowners are asking for automated faucets, intelligent toilets, and advanced lighting that not only feel luxurious but also help save water and energy. You can read more about the growth in the smart bathroom products market to see just how big this trend is becoming.
Planning for this tech from the very beginning is crucial. Things like heated floors, a smart shower system, or a waterproof TV all require specific infrastructure—dedicated electrical circuits, good Wi-Fi coverage, and more. Talk about these features with your contractor early to make sure they're properly worked into your plan and budget.
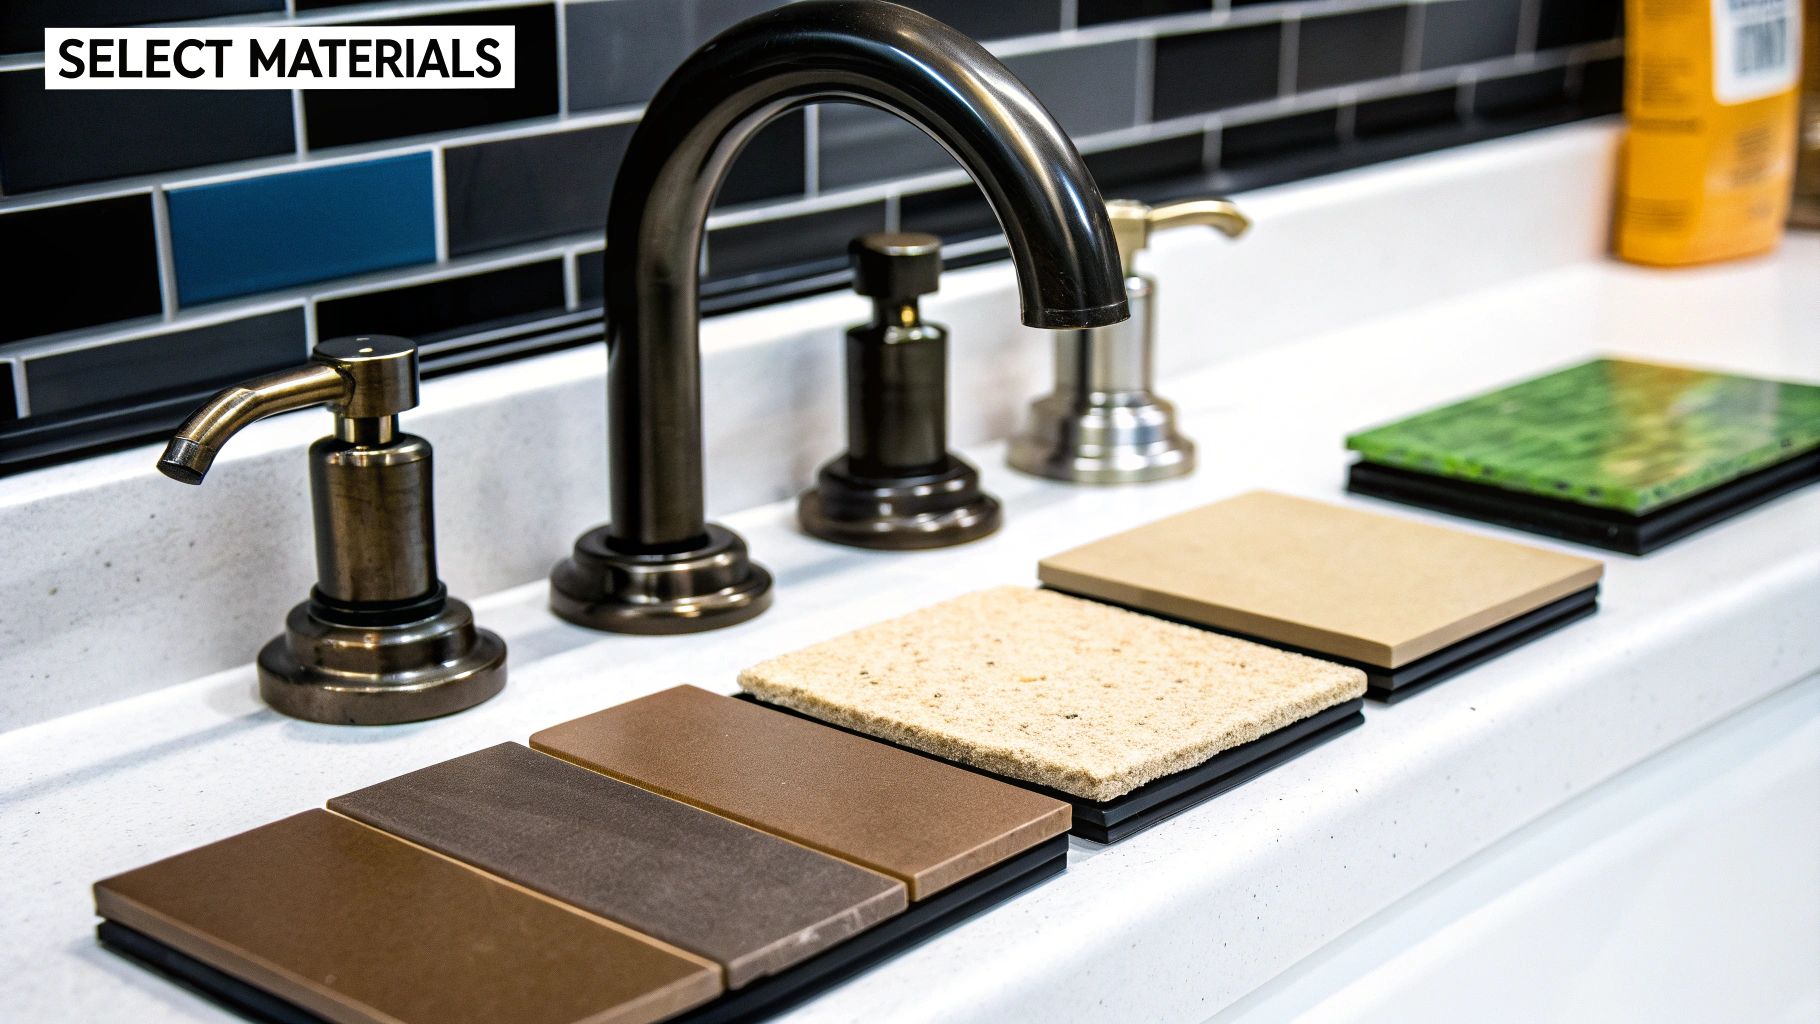
Selecting Materials That Last
Your material choices will define the look, feel, and durability of your new bathroom. It’s a constant balancing act between aesthetics, performance, and what you want to spend. For example, natural stone like marble is undeniably beautiful, but it needs regular sealing and can stain easily.
Porcelain tile, on the other hand, is a true workhorse. It’s incredibly durable and comes in a massive range of styles, from realistic wood grain to perfect marble look-alikes. When you're choosing a vanity, think beyond just the style and consider the height. Standard vanities can feel a bit low for taller people, so understanding the nuances of standard bathroom vanity height is key for long-term comfort.
Ultimately, investing in high-quality materials for high-traffic surfaces like floors and countertops will pay you back for years to come in longevity and easy maintenance.
Assembling Your Renovation Dream Team
Let's be honest—the success of your bathroom renovation rests almost entirely on the people you hire. Your vision and budget are the blueprint, but it’s the skill and professionalism of your team that will turn that plan into a reality.
Assembling the right crew is less about just finding people who can do the work and more about building a partnership you can trust. It might feel like the most intimidating part of the whole process, but it doesn't have to be. With a clear game plan, you can build a team that makes the project run smoother than you ever thought possible.
Defining Your Professional Needs
Not every renovation needs a full-scale army of specialists. If you’re just doing a simple cosmetic update, a great tile setter and a plumber for a new faucet might be all you need.
But if you’re moving walls, relocating plumbing, or changing the electrical layout? Your team will need to be much more robust.
Here’s a quick breakdown of the key players you might need to bring on board:
- General Contractor (GC): Think of them as the project manager. A GC hires and coordinates all the subcontractors (plumbers, electricians, etc.), manages the schedule, and is your single point of contact. For anything complex, a good GC is worth their weight in gold.
- Interior Designer: A designer helps with the overall vision, layout, and material selection. They create a cohesive look and can save you from making costly aesthetic mistakes you’ll regret later.
- Plumber: A licensed plumber is completely non-negotiable for any work involving supply lines, drains, or installing fixtures like toilets and showers. Don't cut corners here.
- Electrician: Similarly, a licensed electrician is essential for any wiring—from installing new outlets and lighting to ensuring your heated floors are safe and up to code.
For most significant remodels, your first and most important hire will be a general contractor. Learning how to hire a general contractor for your renovations is a critical step. They are the conductor of the orchestra, making sure every trade does their part at exactly the right time.
Finding and Vetting Qualified Pros
Once you know who you need, the real search begins. Word-of-mouth referrals from friends, family, or neighbors who've recently tackled similar projects are the best place to start. A personal recommendation gives you immediate insight into a pro’s reliability and the quality of their work.
Beyond referrals, dig into online portfolios and reviews on trusted platforms. A strong portfolio should showcase projects similar in scale and style to what you’re imagining. And don't just glance at the pretty final photos—zoom in. Examine the details in the tile work, the alignment of fixtures, and the overall finish quality.
Before you even pick up the phone, do a quick check to ensure any potential contractor is licensed and insured in your state. This is a baseline requirement that protects both you and them. Don't skip this step.
The bathroom remodeling services market is growing steadily, with a projected growth rate of 4% annually from 2025 to 2033. This boom is driven by homeowners wanting more functional and wellness-focused spaces. For you, this means there are plenty of pros out there, but it also means the best ones get booked up fast. Finding established, local experts is key.
Conducting Interviews and Comparing Bids
Treat this process like a job interview, because that’s exactly what it is. I recommend preparing a list of questions to ask every single candidate you speak with. This consistency makes it so much easier to compare your options later on.
Essential questions to ask include:
- Can you provide proof of your license and insurance?
- How many projects like mine have you completed in the last year?
- What is your preferred method of communication (email, text, phone calls)?
- How do you handle unexpected issues or changes to the plan?
- Can you provide a few references from recent clients? (And actually call them!)
When the bids start rolling in, resist the urge to immediately jump on the lowest number. A detailed, itemized bid is a sign of a thorough and professional contractor. Compare what’s actually included in each quote—one might seem higher but includes better materials or covers permit fees that another leaves out.
You're looking for the best value, not just the lowest price. A cheap bid that leads to delays, mistakes, and change orders is the most expensive one in the end.
Managing Timelines and Securing Permits
Let's talk about the part of the renovation that isn't nearly as exciting as picking out tile: the paperwork and the schedule. Honestly, this is where a project either stays on track or goes completely off the rails. Getting your timeline and permits sorted out is your best defense against chaos.
Think of a well-structured schedule as your project’s roadmap. Permits, on the other hand, are what keep everything safe, up to code, and free from legal headaches down the road. Skipping these steps is one of the fastest ways to turn a dream renovation into a nightmare.
Navigating Building Permits
The word "permit" can sound a little intimidating, but it’s really just a system to make sure the work is done safely and correctly. You won't need one for simple cosmetic updates like painting or swapping out a faucet. The moment you start altering your home's structure or systems, though, you'll need to get your local building department involved.
You will almost certainly need a permit if your project involves:
- Moving plumbing: Relocating a toilet, shower, or sink is a definite permit situation.
- Changing electrical wiring: Any time you're adding new outlets, running circuits for heated floors, or installing new lighting, it requires a permit.
- Altering the structure: This means moving or taking down walls, even if they aren't load-bearing.
The best first step is to visit your local municipality's website or just give their building department a call. They'll tell you exactly what's required for the scope of your project. While your general contractor will usually handle the application process, it's smart to understand the requirements yourself.
Plan for the permit process to take anywhere from a few weeks to over a month. Factoring this administrative time into your initial schedule prevents frustrating delays before any real work can even begin.
Creating a Realistic Project Timeline
One of the most common mistakes I see is underestimating how long everything actually takes. A realistic timeline is built on understanding the logical sequence of construction. You can't tile a floor until the new plumbing is in and has passed inspection, and you can't paint until the drywall is up and finished.
This process flow shows a high-level view of the key decisions that need to happen before the first hammer swings.
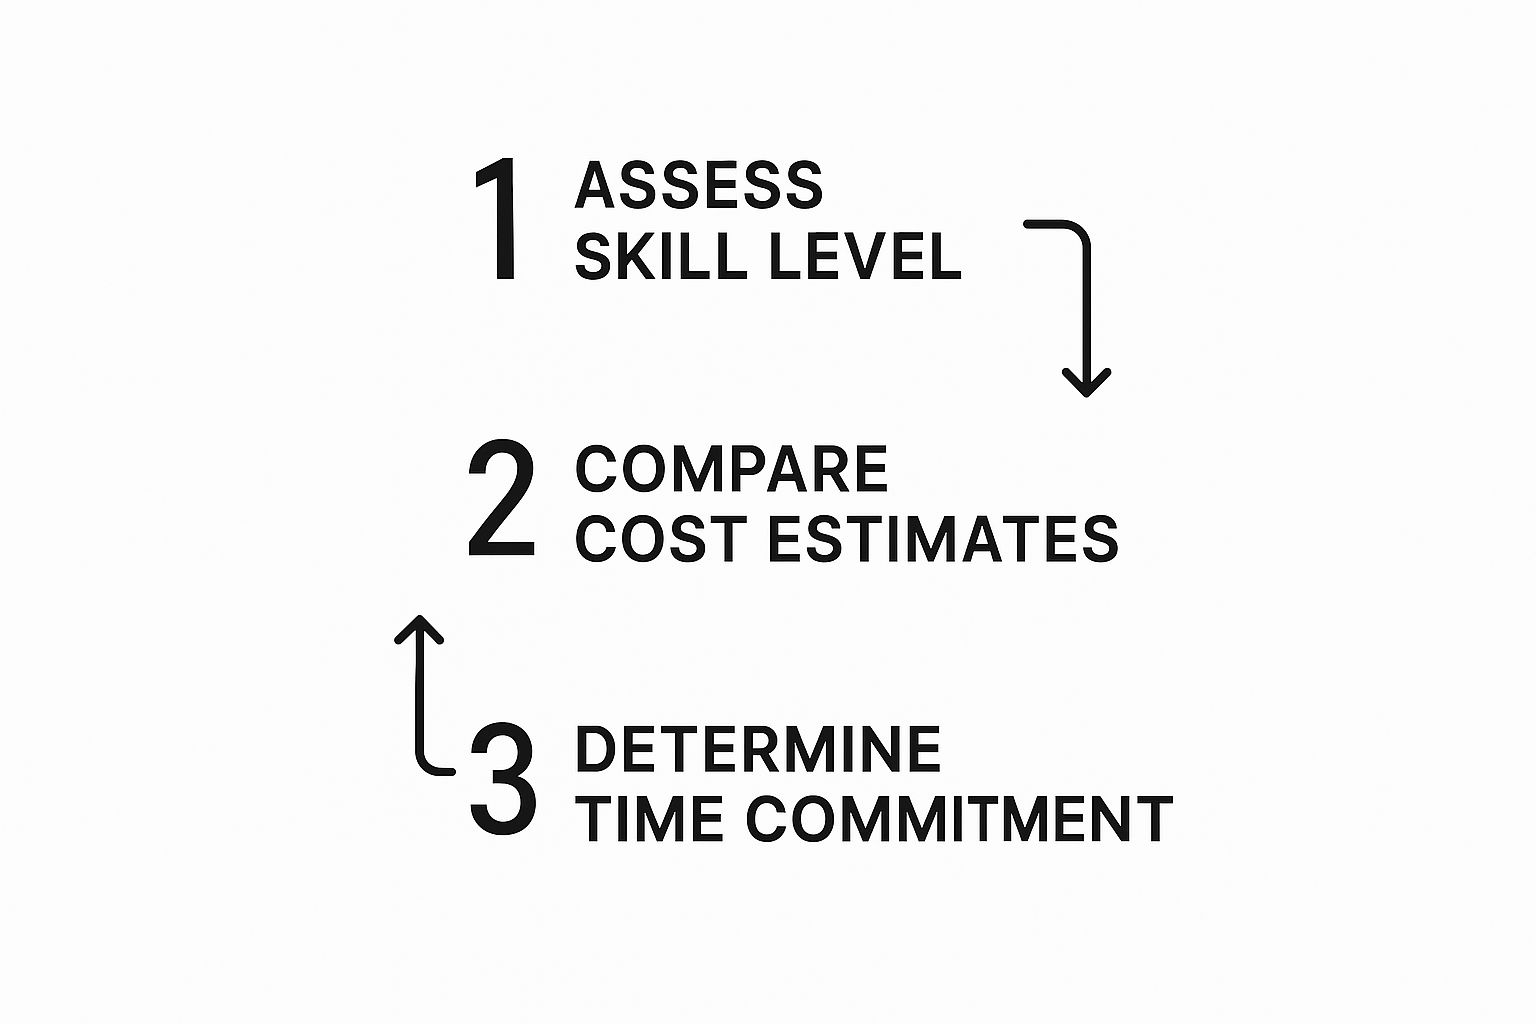
As you can see, assessing your own skills, budget, and available time is critical before you even get to the scheduling part of the project.
A typical bathroom renovation has a specific order of operations. While every project has its own quirks, the general sequence looks something like this:
- Demolition and Prep (2-4 days): This is the messy part—tearing out old fixtures, tile, and cabinetry.
- Rough-in Work (3-6 days): The plumbers and electricians get to work, running new pipes, drains, and wires inside the open walls. This stage almost always requires an inspection.
- Insulation and Drywall (3-5 days): The walls get closed up, seams are taped, and everything is sanded smooth for a perfect finish.
- Waterproofing and Tile (4-7 days): This is a meticulous process, especially in wet areas like the shower. The grout needs plenty of time to cure properly.
- Painting (1-2 days): It's always best to paint before the vanity and toilet are installed to get those clean, crisp lines.
- Final Installations (2-4 days): The big pieces go in—vanity, countertops, toilet, faucets, and lighting fixtures.
- Final Inspection (1 day): The building inspector comes back for one last look to give the final sign-off.
Now, keep in mind this schedule doesn't account for the unexpected. Here's a pro tip: always order your long-lead items as soon as the design is finalized. Custom-ordered tile or a bespoke vanity can have lead times of 8-12 weeks or even more. The last thing you want is for your entire project to grind to a halt while you wait for a crucial piece to arrive. Always build a few buffer days into your schedule. You’ll be glad you did.
Your Top Renovation Planning Questions, Answered
Even the most meticulously planned bathroom renovation will have its share of questions. From timing to materials, getting these common concerns sorted out early can make the entire process smoother and save you from headaches down the road. Let’s dive into some of the questions we hear all the time.
What Is The Best Time of Year to Renovate?
Most people immediately think of spring or summer for renovations. It makes sense, right? The warm, dry weather seems perfect for construction work. While that can be helpful for things like cutting tile outside, the real sweet spot is often the off-season.
We've found that contractors are usually less swamped in the late fall and winter. This can be a huge advantage for you—it might mean better availability, more focused attention on your project, and sometimes even more competitive quotes. Just be sure to work around any major holidays.
How Can I Keep My Open Shower from Feeling Cold?
The open, doorless shower is a stunning look, but the fear of a chilly experience is real. The secret to a cozy, open-concept shower isn't just about the design; it's about building in warmth from the start.
To keep things comfortable, focus on these game-changing elements:
- Heated Floors: Nothing beats the feeling of a warm floor. Extending radiant heating right into the shower base is a touch of luxury that makes a massive difference.
- Smart Shower Head Placement: Position your shower heads away from the opening. This simple trick helps contain the warm water and steam where you want it.
- A Powerful Heat Lamp: Installing an overhead heat lamp provides instant, direct warmth that completely changes the feel of the space, making it feel like a spa.
Should I Put Electrical Outlets Inside My Vanity?
Absolutely. Hiding an outlet inside a vanity drawer or cabinet is one of the smartest upgrades you can make for a clutter-free countertop. It's the perfect spot to keep electric toothbrushes, shavers, and hair tools plugged in and ready to go, but completely out of sight.
This does require a bit of foresight. You’ll need to coordinate with your electrician and cabinet maker to make sure it's installed safely and meets all local building codes. An outlet in a deep drawer is easily one of the most practical and popular features we install in modern bathrooms.
Pro Tip: Have your electrician add an outlet behind the toilet during the rough-in phase. Even if you aren’t planning on a bidet seat right away, it’s an incredibly inexpensive addition that makes future upgrades a breeze.
What Are The Biggest Material Regrets People Have?
It's so easy to fall in love with a look you see online, but not all materials are created equal, especially in a bathroom's wet, high-traffic environment. We’ve seen a few common choices that homeowners end up regretting.
Here are a few materials to think twice about:
- Porous Natural Stone in Showers: That beautiful marble looks incredible, but it's a magnet for stains and requires constant sealing to prevent moisture issues and mold from growing behind the tiles.
- Matte Black Fixtures in Hard Water Areas: While they look sharp and modern, matte black faucets and showerheads are notorious for showing every single water spot and mineral deposit. Be prepared for daily wipe-downs to keep them looking clean.
- Light-Colored Grout on Floors: It looks so crisp and clean at first, but keeping light-colored grout pristine on a bathroom floor is a constant battle. A medium-gray or a durable epoxy grout will save you hours of scrubbing in the long run.
Choosing materials based on durability and low maintenance is a decision you'll thank yourself for every day, long after the renovation is complete.
Ready to create a bathroom that’s both beautiful and built to last? The experts at Sinclair Cabinetry inc specialize in crafting high-quality, custom wood cabinetry that transforms your vision into a stunning reality. Visit us online to start designing your dream bathroom today.