
A successful bathroom renovation doesn't start with a sledgehammer—it starts with a clear vision. It’s all about moving from a vague idea of a "nicer bathroom" to a concrete set of goals. This is the foundation that guides every single decision, from the layout to the last fixture, and ensures your investment results in a space you absolutely love.
Defining Your Bathroom Renovation Goals
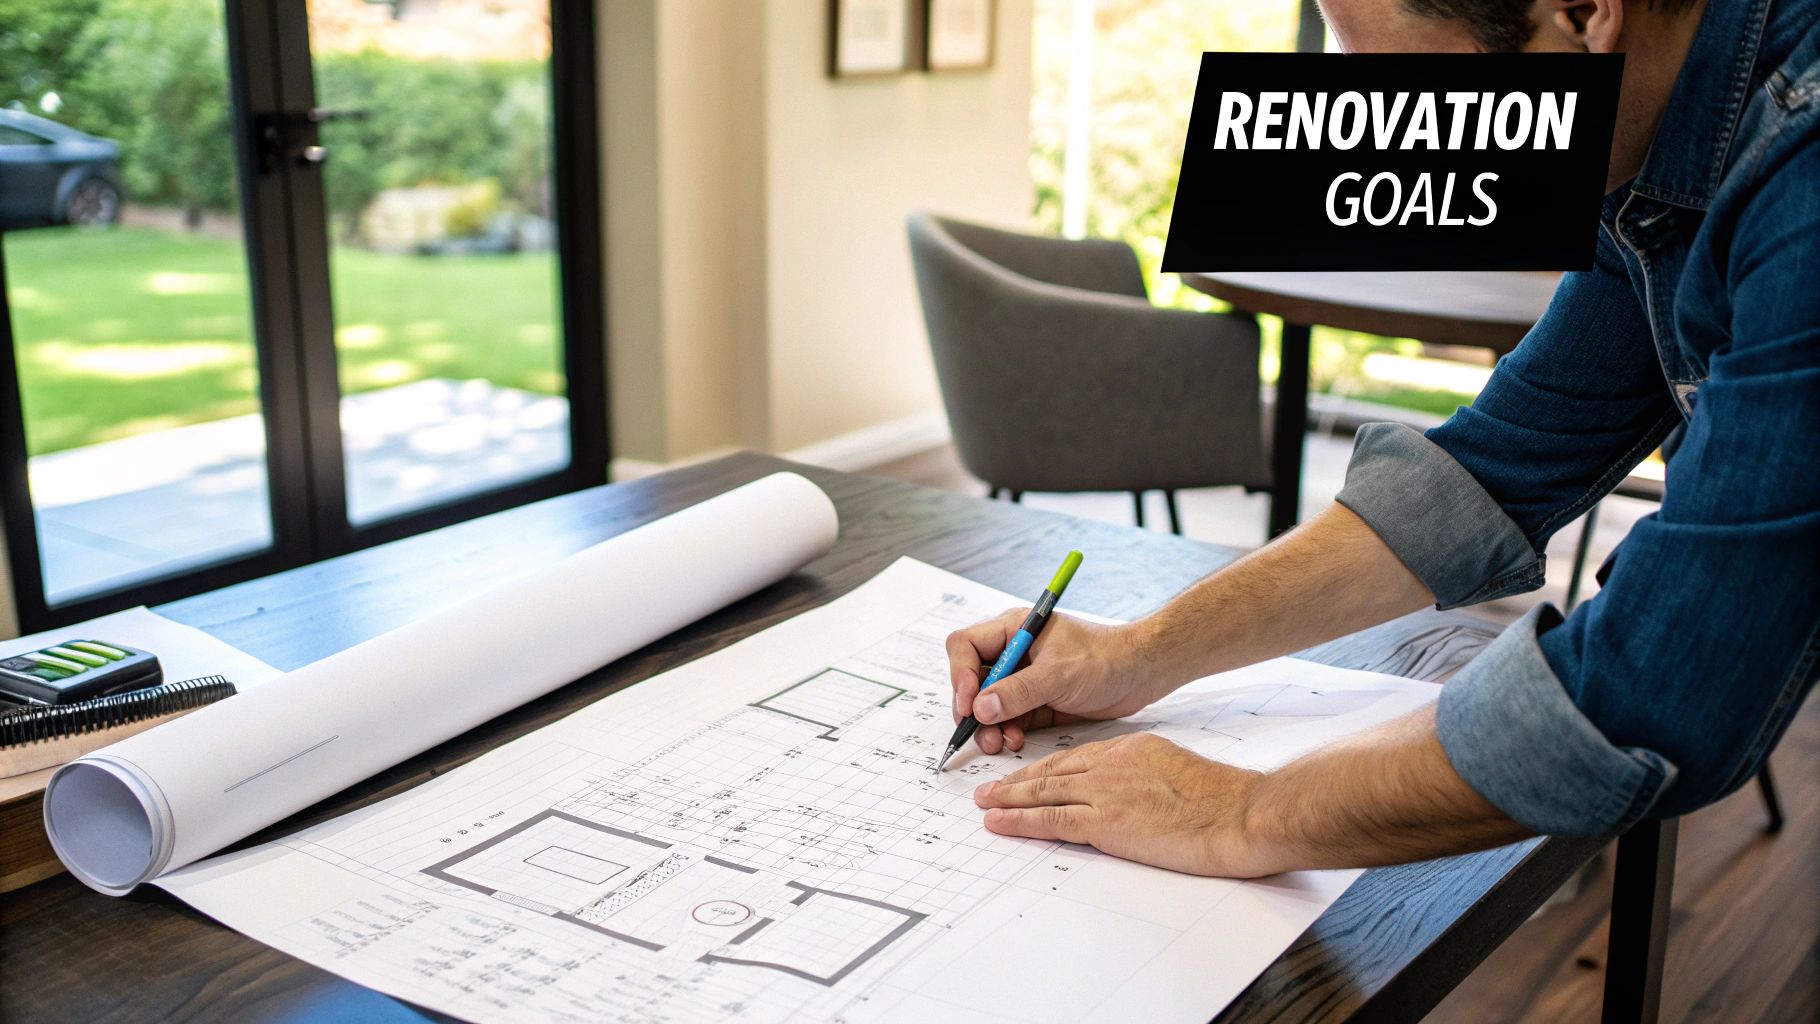
Before you even think about tile or set a budget, the real work begins with some honest reflection. You’re not just remodeling a room; you're solving daily frustrations and making your life better. The first thing to do is pinpoint exactly what isn't working with your current bathroom.
Get started by making a "pain points" list. Is it the cramped, 1980s-era shower? Maybe it’s the constant clutter because there's simply nowhere to store extra towels and toiletries. For many families, the single vanity is a source of daily traffic jams every single morning.
From Problems to Priorities
Once you know what’s driving you crazy, it's time to gather some inspiration. Platforms like Pinterest and home design magazines are fantastic for this, but the trick is to connect those beautiful images back to your practical needs.
- Look Past the Photo to the Function: If you pin a picture of a huge walk-in shower, ask yourself what you really love about it. Is it the rain showerhead, the built-in bench, or just the feeling of spaciousness?
- Think About Who Uses the Space: A primary bathroom for two adults has completely different requirements than a shared family bathroom used by young kids. Your design should reflect that.
- Picture the End Result: What does "done" truly look like for you? Is it a spa-like retreat where you can unwind after a long day? Or is it a highly efficient, easy-to-clean space that streamlines your morning routine?
This shift in focus—from just aesthetics to function-driven design—is what separates an okay renovation from an exceptional one. Thinking through these details is a core part of our comprehensive bathroom remodel planning guide, which dives even deeper into this crucial first phase.
Defining Your Project Scope and Priorities
To help clarify your vision, it's useful to understand the different levels of renovation. This table breaks down common project scales to help you align your goals with a realistic scope and budget.
| Renovation Level | Typical Scope of Work | Primary Focus |
|---|---|---|
| Cosmetic Update | New paint, fixtures, lighting, hardware, mirror. | Improving aesthetics on a smaller budget without changing the layout. |
| Partial Remodel | Replacing the vanity, toilet, and tub/shower within the existing footprint. | Upgrading key functional elements and materials for better performance. |
| Full Gut & Remodel | Removing everything down to the studs, potentially changing the layout. | Completely transforming the space for maximum functionality and style. |
Identifying where your project falls on this spectrum will bring immediate clarity and help you communicate your vision effectively to contractors and designers.
Translate Your Vision into Actionable Goals
Now, it’s time to turn those priorities into clear, actionable goals. This list is your blueprint. It will keep you focused and prevent that dreaded scope creep down the line.
A well-defined goal isn't just "a new vanity." It's "a double vanity with deep drawers and a durable quartz countertop to eliminate morning countertop clutter and provide lasting style." Specificity is your best friend.
This level of detail becomes invaluable when you start talking to contractors and selecting materials. And you're not alone in this—the trend toward upgrading home spaces is growing. In fact, the global bathroom remodeling services market is projected to hit $4.35 billion by 2025, driven by homeowners wanting both better looks and better function.
By taking the time to define what you truly want and need, you're setting the stage for a smoother, more successful renovation. That clarity is your North Star, guiding you through the countless decisions ahead and ensuring your final space isn't just beautiful, but perfectly built for your life.
Creating a Realistic Renovation Budget
If you have a vision for your new bathroom, that’s the creative spark. But the budget? That’s the engine that actually gets the project done. A realistic budget is probably the most critical tool you’ll have for your entire bathroom renovation planning process. It's not just some number you hope to hit; it's the strategic plan that keeps your project grounded, avoids financial headaches, and makes sure you can actually afford the finishes you've been dreaming about.
A common mistake is just adding up the cost of a new tub, vanity, and some tile. Anyone who's been through a renovation knows the real cost is so much more than that. You have to account for every material, every fixture you can see, and all the skilled labor needed to put it all together correctly.
Breaking Down the Costs
Most bathroom renovation budgets boil down to a few key areas. The exact percentages will shift depending on how complex your project is, but here’s a typical breakdown of where the money goes:
- Labor (40-60%): This is almost always the biggest chunk of the budget. It covers the messy work of demolition, all the plumbing and electrical, tiling, painting, and installing your new fixtures. Don't ever underestimate this cost—professional work is what makes a beautiful bathroom last for decades.
- Fixtures (15-30%): This is the fun stuff: the vanity, toilet, tub, shower, and faucets. Prices can swing wildly here, from basic, functional models to high-end designer pieces that make a statement.
- Materials (15-25%): This bucket holds everything from tile and countertops to flooring, paint, grout, and backer board. The quality and type of materials you pick will have a huge impact on this number.
When figuring out how to pay for it all, many homeowners explore different financing routes. For a bigger project, understanding if home equity loans are a good idea can be a really helpful part of your financial planning.
The All-Important Contingency Fund
Here’s a non-negotiable rule of renovating I tell everyone: always build a contingency fund of 15-20% into your budget. So, for a $20,000 project, that means setting aside an extra $3,000 to $4,000. This isn't just "extra" cash; it's your dedicated safety net for the unexpected.
I can almost guarantee you'll find surprises once the walls come down. It might be old plumbing that isn't up to code, hidden water damage from a slow leak you never knew about, or even structural issues that have to be fixed before you can continue. Your contingency fund is what turns a potential crisis into a manageable problem.
Without that buffer, you’ll find yourself making painful compromises later, like swapping out your dream tile for a cheaper option or ditching a feature you were really excited about.
Getting Accurate and Comparable Quotes
To build an accurate budget, you need solid quotes from contractors. The trick is to give every single contractor the exact same detailed information. This means giving them your layout plan, a list of the specific fixtures you want (or at least the quality level), and your material choices.
Doing this lets you compare their bids apples-to-apples. A vague request for a "bathroom remodel" will get you quotes that are all over the place because each contractor will make different assumptions about what you want.
Where Costs Can Inflate Quickly
Some design choices have a much bigger impact on your budget than others. Moving plumbing is a huge one. Keeping your toilet, shower, and sink right where they are will always be the most cost-effective path.
Custom work also adds up. A fully custom vanity, for example, built to your exact measurements, will cost more than a stock vanity from a big-box store. But that investment often pays off in a huge way with superior quality, a perfect fit, and storage solutions a stock piece could never offer.
Smart Saving vs. Costly Corner-Cutting
There are smart ways to save money, and then there are corners you should absolutely never, ever cut.
Where you can potentially save a few bucks:
- Demolition: If you’re not afraid to get your hands dirty, handling the demo yourself can save on labor costs.
- Painting: This is a classic DIY-friendly task that can save you several hundred dollars.
- Fixtures: Keep an eye out for floor models or sales on high-quality faucets and lighting.
Where you should always invest for the long haul:
- Professional Labor: Always hire licensed and insured plumbers and electricians. The cost of fixing a major leak or an electrical fire is astronomical compared to the savings from hiring unqualified help.
- Waterproofing: Proper waterproofing in the shower is non-negotiable. A failure here can lead to thousands of dollars in repairs down the road.
To get a clearer picture of what your project might cost, using an online tool can be a great starting point. For instance, our bathroom remodel cost estimator can give you a solid baseline to work from. A well-planned budget really does transform your renovation from a source of stress into an exciting and totally manageable project.
Designing a Functional and Stylish Bathroom
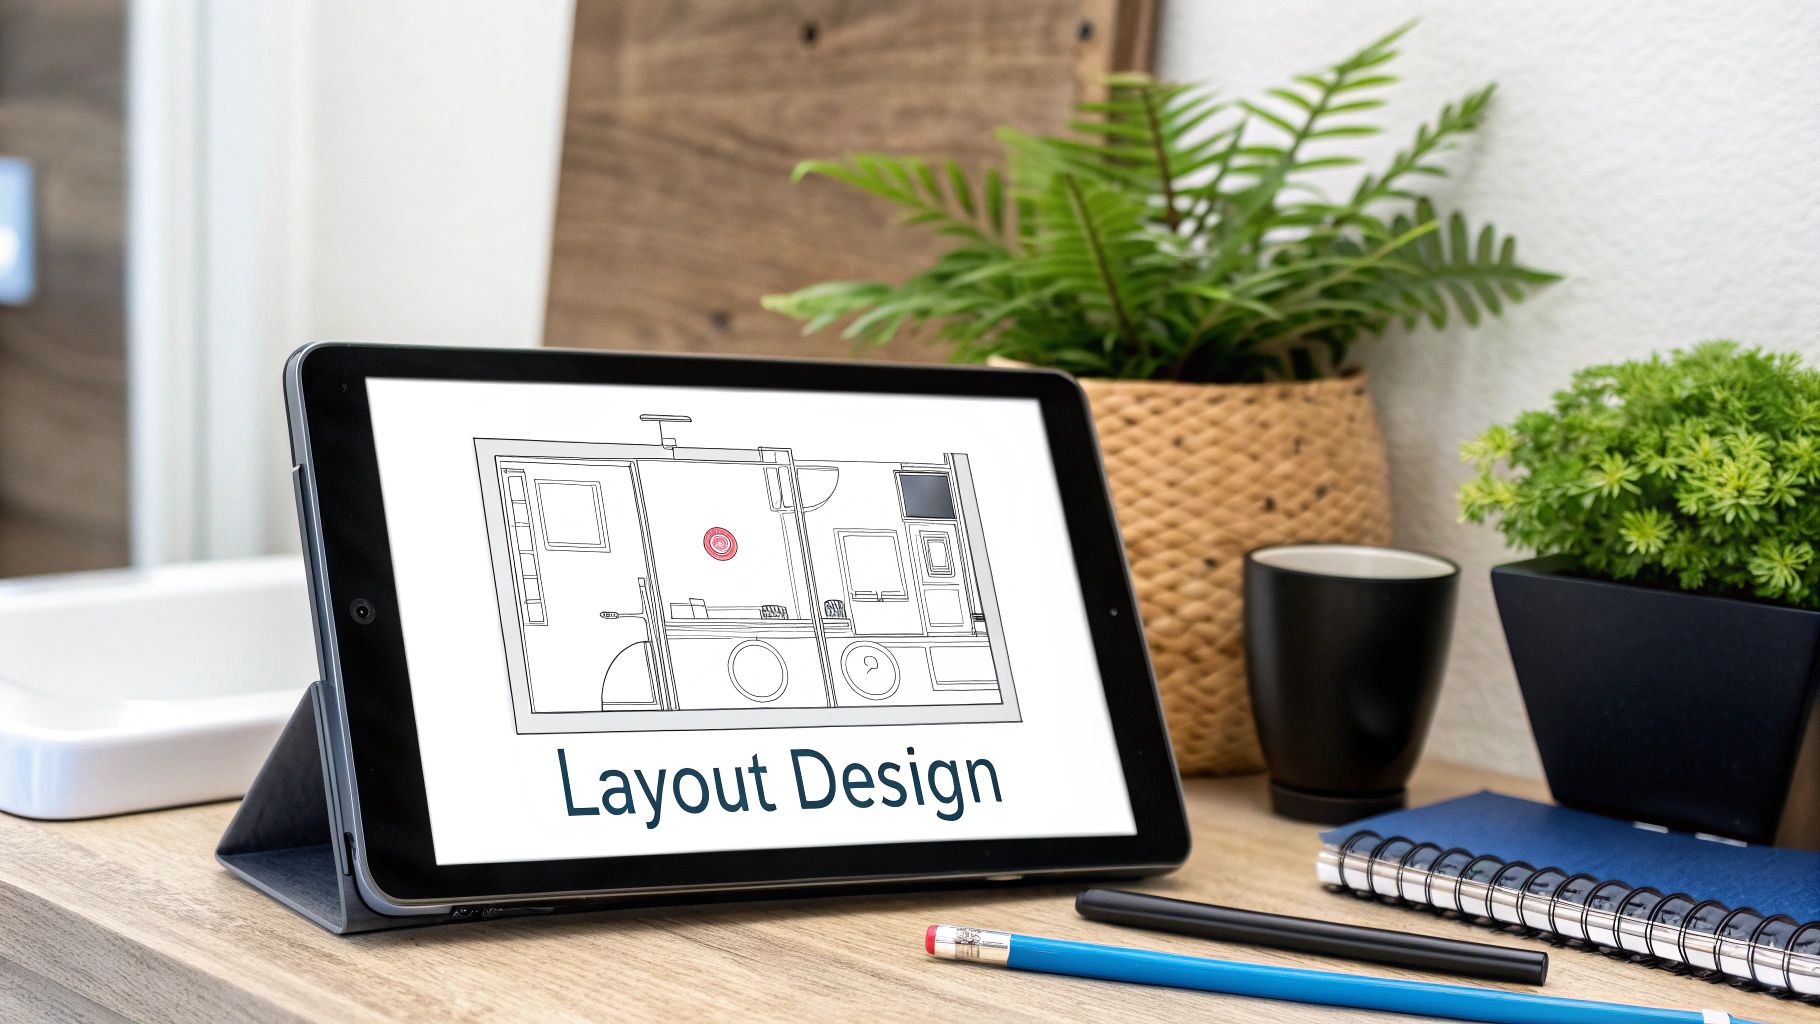
This is where the fun really begins—the part of your bathroom renovation where the vision starts coming to life. But a truly great design isn't just about picking out pretty fixtures and nice tile. It’s about creating a space that feels just right for your daily routines.
We need to think beyond the inspiration photos and get practical. A stunning bathroom that's a nightmare to move around in isn't a success. This is where ergonomics—the science of efficient and comfortable movement—comes into play. For example, building codes give you the bare minimum clearance for a toilet, but real-world comfort often demands more.
My rule of thumb? Aim for at least 21 inches of clear legroom in front of the toilet and 30 inches from its centerline to any wall or fixture. It’s these seemingly small details that make a huge difference in how spacious your bathroom feels. The same logic applies to your vanity; you need enough space to swing open cabinet doors without them hitting the toilet or shower.
Find Your Personal Design Style
Once you’ve got a functional layout mapped out, you can dive into the aesthetics. What’s the vibe you’re going for? Are you dreaming of a modern, spa-like retreat with clean lines and organic textures? Or do you lean toward the timeless appeal of a traditional design, complete with classic details and elegant tilework?
To keep your design cohesive, I always suggest clients nail down three or four keywords that define their style. It acts as a compass for every decision you'll make.
Here are a few examples to get you started:
- Modern & Organic: Think simple forms, natural wood tones, and minimalist fixtures.
- Classic & Elegant: This style features detailed millwork, marble surfaces, and polished nickel or brass hardware.
- Bold & Eclectic: A creative mix of patterns, vibrant colors, and unique, statement-making pieces.
When you’re staring at a wall of tile samples, having this clear direction makes it so much easier to say "yes" or "no." It ensures every element, from the paint to the faucets, works together harmoniously.
Your vanity is often the centerpiece of the bathroom's design. The style of the doors, the color, and the hardware set the tone for the entire room. Don't be afraid to make it a focal point.
Choosing the right vanity is a huge decision. It has to provide the storage you need while perfectly capturing your aesthetic. For a deeper dive, our guide on how to choose a bathroom vanity offers some great insights to help you find a piece you’ll love for years.
The Power of a Great Lighting Plan
Lighting is one of the most overlooked—and most impactful—elements in bathroom design. I’ve seen so many projects get derailed by a single, harsh overhead light that makes the space feel cold and unflattering. A great lighting plan uses layers to create a bathroom that’s both functional for daily tasks and relaxing when you want to unwind.
A layered approach combines three types of lighting:
| Lighting Type | Purpose | Example Fixtures |
|---|---|---|
| Ambient | Provides the room's overall illumination and sets the general mood. | Recessed ceiling lights, a central flush-mount fixture. |
| Task | Focused, bright light for activities like shaving or applying makeup. | Sconces on either side of the mirror, a lighted vanity mirror. |
| Accent | Adds depth and highlights specific features, like artwork or tile. | A small spotlight on artwork or a directional light in a shower niche. |
Getting task lighting right is absolutely critical. The best setup is a pair of wall sconces mounted on either side of the mirror at roughly eye level. This gives you even, shadow-free light on your face—way better than a single fixture above the mirror that casts unflattering shadows. When you’re thinking about light, don’t forget about natural light, either. Exploring some stylish bathroom window treatment ideas can help you control sunlight while adding another layer of style to your design.
By combining a smart layout, a defined style, and a layered lighting plan, you’re well on your way to a bathroom that not only looks incredible but actually makes your daily routine better.
Choosing Durable Materials and Fixtures
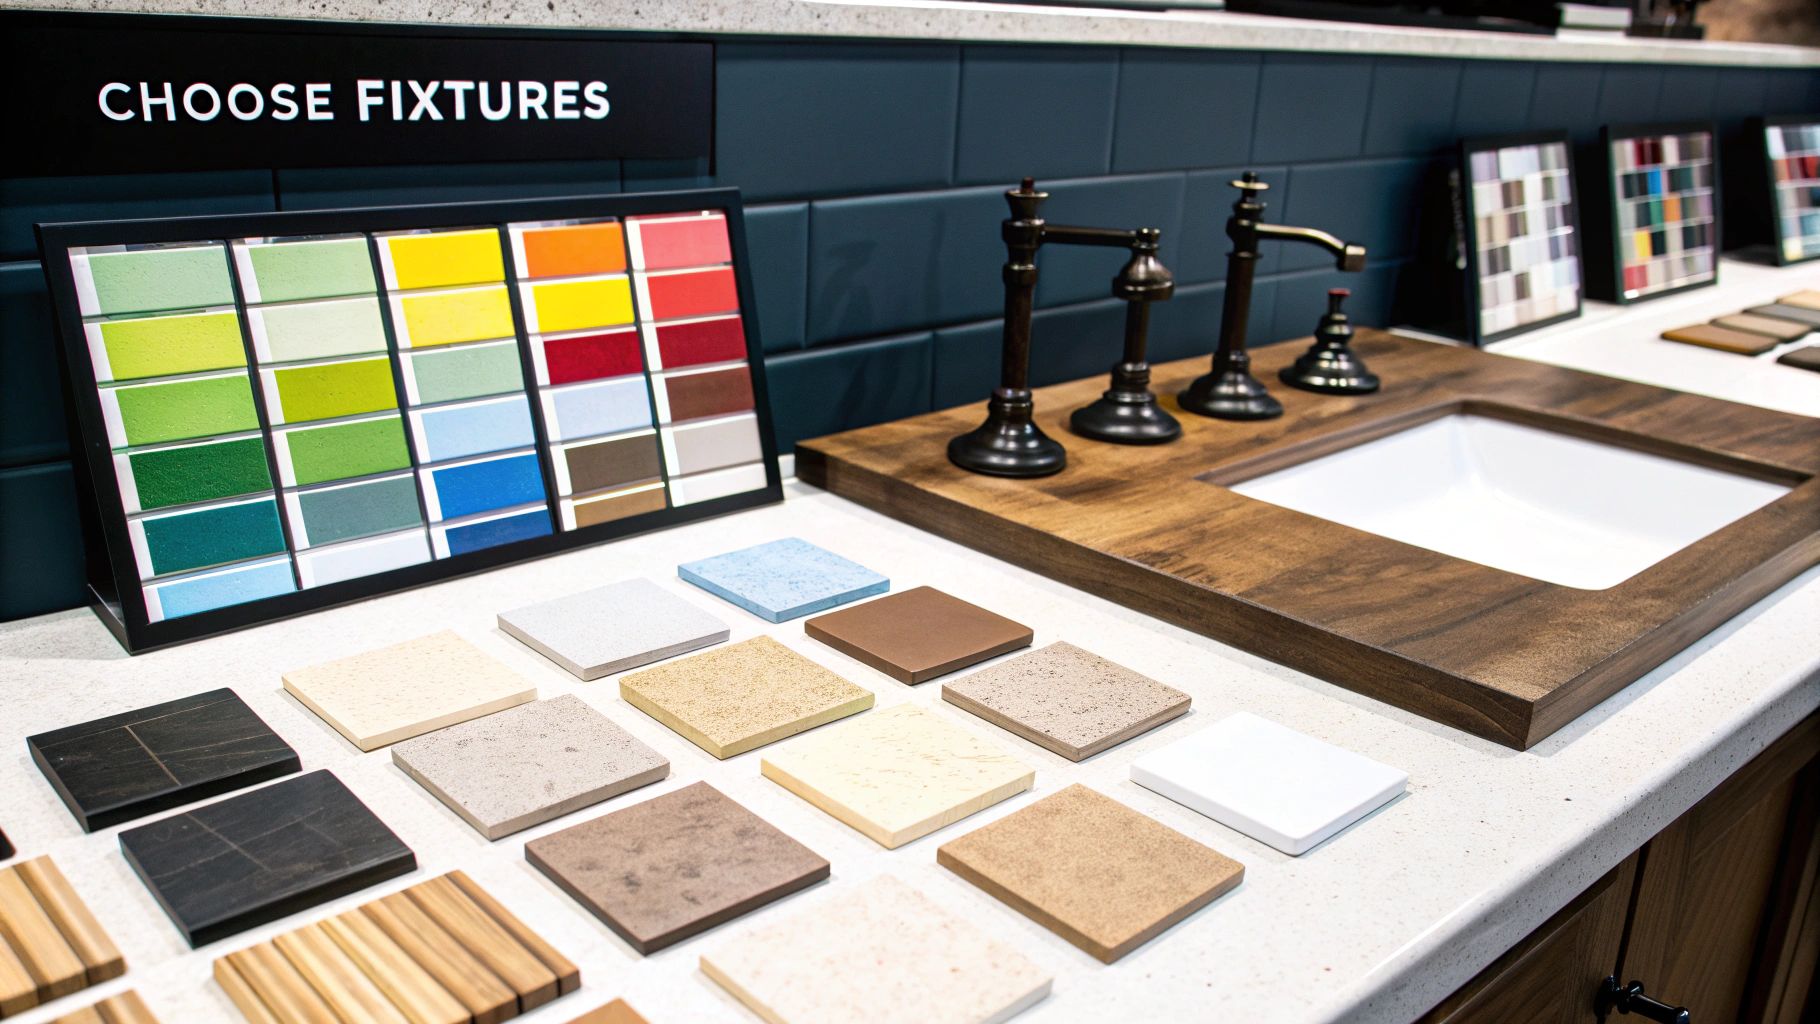
This is where your design vision gets a reality check. In a bathroom—a space defined by moisture and constant use—durability is every bit as critical as style. If you make smart material and fixture choices during your bathroom renovation planning, you’ll end up with a space that doesn’t just look incredible on day one but holds up beautifully for years.
Every single selection, from the flooring under your feet to the vanity that anchors the room, plays a part. They all need to work together to create a cohesive design that can handle the rigors of daily life. Let’s get into how you can pick products that are built to last.
Selecting Resilient Flooring and Walls
The floor is your bathroom's foundation, both visually and functionally. It has to stand up to water, foot traffic, and endless cleaning sessions.
- Porcelain Tile: There's a reason porcelain is a classic. It’s incredibly dense and non-porous, making it almost completely waterproof. It’s also tough as nails, resisting scratches and stains with ease. With a nearly endless variety of styles available—from wood-look planks to massive stone replicas—it’s a versatile pick for any design.
- Luxury Vinyl Tile (LVT): LVT is a fantastic modern alternative. It's 100% waterproof, feels warmer underfoot than tile, and is often easier on the budget. The latest LVT designs offer stunningly realistic wood and stone looks that can fool even a trained eye. It’s a great choice if you’re looking for a slightly less intensive installation process.
When it comes to walls, especially inside the shower's "wet zone," your choices are just as crucial. While classic subway tile is a timeless and budget-friendly go-to, don’t ignore newer options like large-format waterproof panels. These can give you a sleek, seamless look with almost no grout lines—which means a whole lot less scrubbing for you.
Decoding Key Fixtures
When you start shopping for fixtures, you're going to run into a lot of technical jargon. Knowing just a few key terms can help you cut through the noise and make a much better decision.
Take the showerhead, for instance. You'll see a GPM (gallons per minute) rating on every single one. A standard showerhead usually puts out around 2.5 GPM. But water-saving models with a WaterSense label use 2.0 GPM or less, which can drastically cut your water use without making you feel like you're showering in a light drizzle.
Choosing a lower GPM showerhead is a simple decision you make during your bathroom renovation planning that pays you back over time. It saves water, lowers your utility bills, and is just a more responsible choice.
For faucets, the real sign of quality is the material inside. Always look for solid brass construction. It’s more expensive upfront, but brass fixtures are far more resistant to corrosion and leaks than their cheaper zinc alloy or plastic counterparts. That initial investment will save you from headaches and costly repairs down the road.
Choosing Your Vanity and Storage
The vanity is arguably the most important piece of furniture in your bathroom. It's a workhorse that has to provide storage, stand up to daily abuse, and define the room's entire style. It's no wonder that bathroom vanities are a big deal in modern renovations. The global bathroom vanities market is already valued at roughly $13.8 billion in 2025 and is set to grow significantly. You can find more data on the growth of the bathroom vanity market on futuremarketinsights.com.
You essentially have three paths to take when choosing a vanity, and each offers a different balance of cost, customization, and quality.
Comparing Popular Bathroom Materials
Choosing the right materials can feel overwhelming. This table breaks down some of the most common options to help you decide what's best for your project based on how it holds up, how much work it is to maintain, and what it'll cost you.
| Material | Best Use Case | Durability (1-5) | Maintenance Needs | Relative Cost |
|---|---|---|---|---|
| Porcelain Tile | Floors, Shower Walls | 5 | Low (seal grout) | $$-$$$ |
| Luxury Vinyl Tile (LVT) | Floors | 4 | Very Low | $-$$ |
| Engineered Quartz | Countertops | 5 | Very Low | $$$ |
| Solid Brass | Faucets, Fixtures | 5 | Low | $$$ |
| MDF/Particle Board | Budget Vanities | 2 | High (avoid moisture) | $ |
Ultimately, materials that blend high durability with low maintenance, like porcelain and quartz, often provide the best long-term value, even if their upfront cost is higher.
Going with a custom vanity from a cabinetmaker like Sinclair Cabinetry means you can make the most of every single inch, which is a lifesaver in rooms with awkward layouts. You can specify deep drawers for towels, add integrated outlets for hair dryers, and choose a finish that’s specifically designed to handle a humid environment.
Finally, don't forget the finishing touches: the countertop and hardware. For countertops, engineered quartz is a top performer. It's non-porous, so it shrugs off stains and bacteria, and it's incredibly tough against scratches and chips—perfect for a busy family bathroom. The hardware—your knobs and pulls—is the jewelry of the room. It’s a simple and relatively inexpensive way to inject some personality, whether you prefer sleek modern bars or classic, elegant knobs.
Hiring Contractors and Managing Your Timeline
Alright, you’ve done the heavy lifting on the design, budget, and materials. That’s a huge step. Now, it's time to switch gears from planning to doing. This part is all about bringing the right pros on board and getting a feel for the actual sequence of events that will turn your old bathroom into the one you’ve been dreaming about.
Finding a solid general contractor (GC) is probably the most critical move you'll make. A great GC is more than just a builder; they're the project's quarterback. They'll handle everything from scheduling the plumber and electrician to pulling permits and making sure the tile work is perfect. The best way to start? Ask around. A referral from friends, family, or even the local tile shop is worth its weight in gold.
Once you have a shortlist of three or four potential contractors, it’s time to really dig in. A little extra diligence here can save you a world of frustration down the road.
Vetting Your Potential Contractor
Before a single dollar changes hands or any contract gets signed, you have to do your homework. Any true professional will expect this and should have all their information ready to go.
Here's what you need to confirm:
- Licensing and Insurance: Don't just take their word for it. Ask for their license number and proof of both liability insurance and workers' compensation. A quick check with your local licensing board can verify everything.
- Their Go-To Crew: Do they work with the same plumbers, electricians, and other specialists on every job? A contractor with a consistent, trusted team usually runs a much smoother operation.
- Previous Work: Ask to see a portfolio of recently finished bathrooms similar to what you're planning. Look closely at the details—the grout lines, the paint edges, the way fixtures are installed.
- Talk to Past Clients: Get at least three references from recent projects and actually call them. Ask how the contractor was with communication, if they stuck to the budget, and—most importantly—how they handled unexpected problems.
This vetting process is just as important if you’re hiring specialists directly. For critical trades like plumbing, knowing what to look for is key. This is where a detailed guide on how to choose the right plumber can be a lifesaver.
This visual gives you a bird's-eye view of how the pieces fit together, from the initial planning stages to the final install.
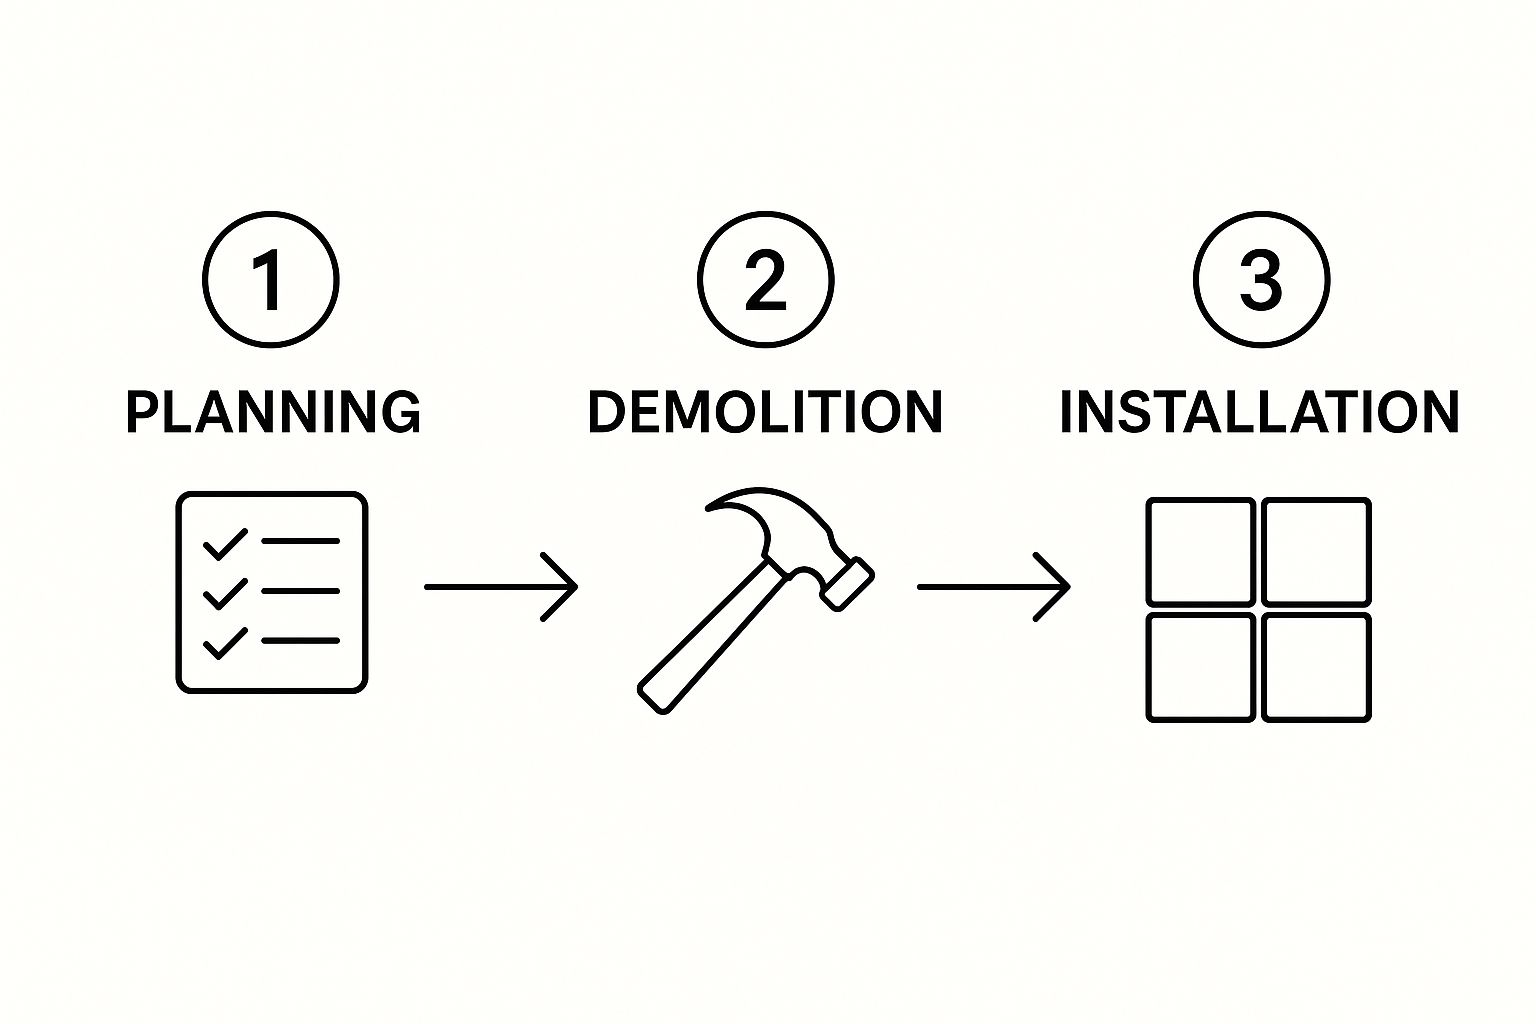
As you can see, demolition is just the beginning. The real magic—and complexity—happens during the installation phase, where all those detailed plans come to life.
Navigating Permits and Contracts
Let's be clear: if your renovation involves moving plumbing, touching electrical wiring, or taking down a wall, you're almost certainly going to need a building permit. Your GC should handle this entire process, but it's ultimately your responsibility to make sure it gets done. Trying to fly under the radar without a permit can lead to fines, stop-work orders, and a massive headache if you ever decide to sell your home.
After you've picked your contractor, you need everything in writing. A handshake agreement is a recipe for disaster.
A detailed contract protects everyone involved. It must spell out the full scope of work, a payment schedule tied to specific milestones, a clear start and end date, and the process for handling any changes. If a contract feels vague, don't sign it.
A common payment schedule might look like 10% upfront to secure the job, followed by three payments of 25% at major milestones—like after the rough-ins pass inspection, after drywall is up, and after the tile is set. The final 15% should only be paid after the project is 100% complete and you've signed off on the final punch list.
Understanding the Renovation Timeline
Knowing the general order of operations will help you feel in control and understand what’s happening in your home. While no two jobs are identical, most full bathroom remodels follow a pretty standard sequence.
- Demolition and Debris Removal: The first step is always the messiest. Out with the old!
- Rough-In Work: With the walls open, plumbers and electricians run new pipes, drains, and wiring. This is the hidden foundation of your new bathroom.
- Inspections: If permits were pulled, a city inspector will need to come out and approve the rough-in work before any walls can be closed up.
- Drywall and Tiling: The room starts to take shape again as new walls go up, waterproofing is applied, and tile is installed.
- Painting: The ceiling and walls get their color before the big fixtures go in. This makes for much cleaner paint lines.
- Fixture and Vanity Installation: The vanity, countertop, tub, and toilet are carefully set in place.
- Final Connections: Faucets, showerheads, light fixtures, and the exhaust fan are all hooked up and tested.
- Finishing Touches: The final sprint includes installing mirrors, cabinet hardware, and trim, followed by a deep clean.
Following this structured process, led by a professional you trust, is the secret to a renovation that stays on track and ends with the beautiful, functional bathroom you set out to create.
Common Questions on Bathroom Renovation Planning
Even when you’ve mapped out every last detail, questions always come up during a renovation. Getting ahead of the most common ones can save you a world of headaches and keep your project on track. This is a huge part of smart bathroom renovation planning.
One of the biggest hang-ups we see is with the contingency fund. It’s so tempting to see those dollars as part of the main budget, but trust me, that’s a mistake you don't want to make.
A contingency fund isn't just "extra" money; it's a dedicated safety net for the inevitable surprises that renovations uncover. Think of it as insurance against budget-breaking problems like hidden water damage or outdated plumbing that needs to be brought up to code.
So, how much is enough? We always advise clients to set aside 15-20% of their total project cost. For a $15,000 remodel, that’s a buffer of $2,250 to $3,000. Having that fund ready means you can handle unexpected issues correctly without sacrificing the beautiful tile or custom vanity you’ve been dreaming of.
The Right Order of Operations
Understanding the sequence of a remodel is absolutely critical. Getting the order wrong is the fastest way to create delays, damage new work, and drive up costs. While every bathroom has its own quirks, a full tear-out and remodel almost always follows a predictable path.
Here’s the typical flow of work:
- Demolition and Debris Removal: The first step is always the messiest. It's time to clear out everything old to make way for the new.
- Rough-in Work: With the walls open, this is when licensed plumbers and electricians run new pipes, drains, and wiring.
- Drywall and Tile Backer: The room starts taking shape again as new walls go up, along with waterproof backer board in the wet areas.
- Painting: It’s much easier to get a clean finish on the ceiling and walls before the major fixtures are installed.
- Flooring Installation: With the painting done, the new floor tile or vinyl goes down.
- Vanity and Fixture Placement: The new vanity, countertop, tub, and toilet are carefully brought in and set in their final positions.
- Final Connections: Faucets, showerheads, and light fixtures are all hooked up and thoroughly tested for leaks and proper function.
- Finishing Touches: This is the fun part! Mirrors, towel bars, cabinet hardware, and trim are installed to complete the look.
Can I DIY My Bathroom Remodel?
This is a question we get all the time, and the honest answer is: it depends on your skills and how deep the remodel goes. For most homeowners, a hybrid approach—part DIY, part pro—is the sweet spot.
Cosmetic updates are fantastic DIY projects. You can definitely save a good chunk of money on labor by tackling things like:
- Painting the walls and ceiling.
- Swapping out an old faucet or light fixture.
- Handling the initial demolition (just be careful!).
However, some jobs should always be left to licensed professionals. This isn’t the place to learn on the fly. We're talking about anything that involves moving plumbing, altering electrical circuits, or changing the room's structure. A tiny plumbing mistake can cause thousands in water damage, and faulty wiring is a serious fire hazard.
The smartest strategy? Let the pros handle the technical work while you take on the finishes. It’s a safe, effective way to stay involved and save money.
Are you ready to bring your vision to life with custom cabinetry that perfectly fits your new bathroom? The expert team at Sinclair Cabinetry inc has over 35 years of experience crafting high-quality, real wood cabinets built to last. Let us help you create a beautiful and functional space you’ll love for years to come. Explore our custom bathroom solutions.