
Kicking off a comprehensive kitchen remodel renovation is easily one of the most exciting and rewarding projects you can tackle in your home. It’s more than just an upgrade; it’s about transforming the heart of your home. But before any walls come down, the real work begins with solid, thoughtful planning. This is the foundation that will set the stage for everything else.
Your Starting Point for a Seamless Kitchen Renovation

The path to your dream kitchen doesn't start with a sledgehammer. It starts with a clear head and a good, long think about how you actually live in your space. This first phase is all about turning those vague ideas floating around in your head into a concrete, actionable plan. Honestly, this is your best defense against the budget creep and last-minute stress that can derail a project.
It's a smart move, especially considering kitchen remodels are consistently the most popular home renovation project out there. Market data shows a whopping 38% of all planned home renovations are for the kitchen, leaving bathrooms in the dust at 26%. Many homeowners, having locked in lower mortgage rates, are now choosing to invest right where they are, focusing on making their current homes more comfortable and functional.
Defining Your Wants Versus Needs
Okay, before you get your heart set on that stunning marble countertop or a specific high-end appliance, let's get practical. You need to draw a clear line between your "must-haves" and your "nice-to-haves." Trust me, this simple exercise is what will keep your budget from spiraling later on.
Start by thinking about your daily life. Are you a gourmet chef who needs serious prep space, or more of a microwave-and-takeout kind of person? How many people are usually in the kitchen at once? Getting honest answers here will bring your true priorities into sharp focus.
- Must-Haves: These are the non-negotiables. They solve a real problem you're facing right now. Maybe it's a desperate need for more counter space, better storage to finally hide the clutter, or new, energy-efficient appliances.
- Nice-to-Haves: These are the dream features you'd love but could live without if the budget gets tight. Think about that fancy wine fridge, a pot filler faucet over the stove, or those custom pull-out spice racks.
Having two distinct lists gives you a solid framework for making tough decisions when your vision and your wallet need to find a happy medium.
Gathering Inspiration and Understanding Layouts
With your priorities straight, now comes the fun part: finding inspiration. Sites like Pinterest and Houzz are fantastic for this, but it’s easy to get lost in a sea of pretty pictures. The trick is to look for the common threads in what you save. Do you keep pinning bright, airy white kitchens, or are you drawn to moodier, darker spaces? Are the lines clean and modern, or do you prefer a more traditional, ornate style?
Pro Tip: Don't just save images because they look good. Pay close attention to the layout. The classic "kitchen work triangle"—the path between the sink, refrigerator, and stove—is an age-old design principle for a reason. It's all about ergonomics and efficiency. Understanding core concepts like this helps ensure your new kitchen works as beautifully as it looks.
This initial legwork—defining needs, gathering focused inspiration, and getting a handle on basic design principles—is the most critical part of the entire process. It gives you a clear roadmap that will guide every single decision you make from here on out.
Crafting a Realistic Budget and Cohesive Design
Now that you've pinned down what you need from your new kitchen, it's time to get into the nitty-gritty. This is where your dreams meet the real world of dollars and cents: budgeting and design. These two things go hand-in-hand, and getting them right from the start is the key to a remodel that's exciting, not stressful.
Let's be honest, a real budget is more than just a number you have in your head. It's a detailed plan, your financial roadmap for the entire project. It’s easy to remember the big stuff like cabinets and appliances, but it's the little things—the hidden costs—that can really throw a wrench in the works if you aren't prepared.
Breaking Down the Costs
To get a true handle on your spending, you need to break it all down. Start with the big categories, then drill into the details. For example, "Cabinetry" isn't just the cost of the cabinets themselves. You also have to account for the hardware, any cool custom inserts you want, and the labor for installation if you're not a DIY warrior.
Apply this thinking to every part of your project:
- Appliances: Don't forget the whole suite—refrigerator, range, dishwasher, microwave, and that all-important vent hood.
- Countertops: This includes the material itself, the fabrication (cutting it to size), and the final installation.
- Flooring: Factor in the flooring material, any necessary underlayment, and the cost to have it installed.
- Lighting: Think about pendants over the island, under-cabinet task lighting, recessed cans for overall brightness, and even new switches.
- Plumbing & Electrical: You'll almost certainly need a pro to move water lines or add outlets, and their labor adds up.
- Permits: Depending on where you live, city or county permits can easily run you several hundred dollars.
It might feel a bit tedious, but this kind of detailed list is the single best way to keep your project on track financially. The kitchen remodeling world is booming, with services from cabinet installation to full-scale changes driving the market. You can dig into the numbers yourself in kitchen remodel market reports at ResearchAndMarkets.com. A solid budget is what separates a successful project from a cautionary tale.
To give you a clearer picture, here’s a common breakdown of where your money will likely go.
Kitchen Remodel Budget Allocation Guide
A sample breakdown of where your budget will likely go during a mid-range kitchen remodel, helping you allocate funds effectively.
| Expense Category | Percentage of Total Budget |
|---|---|
| Cabinetry & Hardware | 29% |
| Installation & Labor | 17% |
| Appliances & Ventilation | 14% |
| Countertops | 10% |
| Flooring | 7% |
| Lighting | 5% |
| Walls & Ceilings | 5% |
| Faucets & Plumbing | 4% |
| Design Fees | 4% |
| Doors & Windows | 1% |
| Other/Miscellaneous | 4% |
Remember, this is just a guide! If you're splurging on custom cabinets or high-end appliances, you'll need to adjust other areas to stay balanced.
The Power of a Contingency Fund
Here’s a piece of advice I give every single homeowner: no remodel goes exactly as planned. I’ve seen it all. You open up a wall and find ancient, faulty wiring. You pull up old flooring and discover hidden water damage. It happens. This is precisely why a contingency fund is your project's most important safety net.
A contingency fund isn't an excuse to upgrade your faucet at the last minute. It's a dedicated emergency fund for the true, unforeseen problems that pop up. The industry standard is to set aside 15-20% of your total project cost for this. If you don't end up needing it? Fantastic—you just came in under budget. But if you do, you'll thank your past self for being so smart.
Designing a Cohesive Look
While you’re crunching the numbers, the fun part is happening right alongside it: the design. Your goal is to create a cohesive look where every single element feels like it belongs. Go back to that inspiration board you made. What's the common theme? Are you drawn to a clean, modern farmhouse vibe, a super sleek minimalist look, or something warm and traditional?
Once you’ve settled on a general style, it's time to choose the "holy trinity" of your kitchen's design. Getting these right makes all the other decisions fall into place.
- Cabinetry: Your cabinets are the biggest visual element in the room, hands down. Their style and color set the entire tone. If you need help sorting through all the options, our kitchen cabinet planning guide is a great resource that dives deep into materials and styles.
- Countertops: This is your main work surface, so it has to be a workhorse. Your choice here is a blend of looks and function. Think about durability, how much maintenance you're willing to do, and how the color and pattern will play with your cabinets.
- Flooring: The kitchen floor takes a beating. It needs to be tough enough to handle high traffic, spills, and dropped pans, all while tying the room's color palette together.
These three choices are the bedrock of your kitchen's aesthetic. Once they're locked in, picking a coordinating backsplash, a paint color, and cabinet hardware becomes so much simpler. It’s all about building the design layer by layer, letting each choice inform the next. When you pair a meticulous budget with a thoughtful design, you end up with a plan that’s not just beautiful, but totally achievable.
Choosing Your Path: DIY vs. Hiring Professionals
Here comes one of the biggest forks in the road for your entire kitchen remodel: deciding who will actually do the work. This choice—whether you tackle it yourself (DIY) or bring in a general contractor and their crew—will have a massive impact on your budget, timeline, and even your stress levels.
There’s no single right answer here. The best path forward really depends on the scale of your project, your own skills, and frankly, how much risk you’re willing to take on. It’s about more than just trying to save a few bucks on labor; it’s about honestly assessing which parts of a remodel are in your wheelhouse and which ones could cause a serious headache if done wrong. Many homeowners find a hybrid approach is the sweet spot, handling the tasks they're confident with and hiring out the rest.
What Can You Realistically DIY?
Even if you aren't a seasoned builder, there are definitely parts of a kitchen remodel that a handy homeowner can manage with confidence. These jobs are typically lower-risk and give you a great way to save on labor costs while getting your hands dirty.
- Painting: A fresh coat of paint can completely transform a room. As long as you do the prep work right—thorough cleaning and priming—you can get a professional-looking finish on walls, trim, and even cabinets.
- Minor Demolition: Ripping out old cabinets or tearing off a backsplash can be incredibly satisfying work. Just be sure to shut off the right utilities and take care not to damage the surrounding drywall.
- Installing Cabinet Hardware: This is a quick win. Swapping old knobs and pulls for new ones is a simple update that instantly makes a kitchen feel more modern.
- Assembling Flat-Pack Cabinets: If you go with ready-to-assemble cabinets from a place like IKEA, putting them together is pretty straightforward and can save you a bundle on assembly costs.
When to Absolutely Hire a Professional
Now for the serious stuff. Some parts of a kitchen remodel are non-negotiable jobs for licensed and insured professionals. Trying to tackle these without proper training isn't just hard; it can be dangerous, illegal, and astronomically expensive to fix if something goes wrong.
The most critical areas to leave to the pros are tasks that could lead to fire, flood, or structural failure. These aren't places to test your skills. A mistake here could void your homeowner's insurance and endanger your family.
A good rule of thumb? Anything hiding behind the drywall or involving a specialized trade should be left to an expert. This always includes:
- All Electrical Work: Moving outlets, adding dedicated circuits for new appliances, or wiring complex lighting systems must be handled by a licensed electrician to meet local building codes.
- Most Plumbing Tasks: You might be able to install a new faucet, but moving supply lines or drainpipes for a sink or dishwasher is a job for a certified plumber.
- Structural Changes: If you’re even thinking about removing or altering a wall—especially a load-bearing one—you need a structural engineer and an experienced contractor. No exceptions.
- Gas Line Adjustments: Moving or installing a gas line for a stove is extremely dangerous and is strictly a job for a licensed professional.
- Countertop Installation: Heavy materials like granite, quartz, or marble demand specialized tools and know-how to transport, cut, and install without causing a costly crack.
More and more homeowners are choosing the professional route. In fact, current data shows that pro-led kitchen remodels are growing at nearly five times the rate of DIY projects. This trend shows a clear recognition of the value and safety that pros bring to these high-stakes renovations. You can dive deeper into these trends and discover insights into the 2025 kitchen and bath market outlook on nkba.org.
How to Vet and Hire a Great Contractor
If you decide to hire out the work, your role shifts from laborer to project manager. Finding the right contractor is everything. Your first step should always be to get at least three detailed bids from different companies.
When you sit down to interview potential contractors, come prepared with a list of questions:
- Are you licensed and insured in my city? (Always ask to see proof).
- Can you give me a list of recent references I can call?
- What’s your projected timeline, and how do you handle unexpected delays?
- What does your payment schedule look like? (A contractor demanding a huge upfront payment is a major red flag).
- Who will be my daily point of contact on the job site?
Finally, never, ever sign a contract without reading every single word. A good contract should clearly detail the full scope of work, a payment schedule tied to project milestones, the exact materials to be used, and a projected start and end date. This document is your ultimate protection.
Managing Demolition and Critical Rough-In Work
With your plans finalized, it’s time to shift from paper to reality. This is the moment the old kitchen starts to disappear, making way for something new. But demolition isn't about brute force; it’s a strategic deconstruction designed to minimize chaos and set the stage for a smooth installation.
Before you swing a single hammer, think about survival. A kitchen remodel completely disrupts the heart of your home, so setting up a temporary kitchen is a non-negotiable step for maintaining your sanity. A small corner in the dining room or basement will do just fine. Stock it with a microwave, a mini-fridge, your coffee maker, and some basic utensils. You'll thank yourself later.
The Art of Safe Demolition
When the tear-out begins, safety is everything. Before even one cabinet comes off the wall, you absolutely must shut off all utilities at the source. That means turning off the water supply to the sink and dishwasher and flipping the breakers for all kitchen circuits.
The demolition process itself should be methodical and controlled.
- Protect Your Home: The dust will get everywhere. Seal off doorways with plastic sheeting and cover the floors in adjacent rooms to keep it contained.
- Remove Appliances First: Start by disconnecting and moving out the refrigerator, stove, and dishwasher.
- Dismantle Cabinets: Carefully unscrew and remove the cabinets. If you plan to donate or sell them, this gentle approach is key to preserving their value.
- Countertop and Flooring Removal: Get ready for some work. These are often the most labor-intensive parts of demo, requiring pry bars, hammers, and a bit of muscle.
As the old kitchen comes apart, you'll generate a surprising amount of waste. Renting a small dumpster is usually the simplest way to manage all the debris.
Uncovering the Bones: Rough-In Work
Once the room is stripped down to the studs, you've hit one of the most critical stages of the entire remodel: the rough-in phase. This is all the foundational work that happens behind the walls, long before any drywall goes up. Think of it as installing the new nervous system and plumbing for your future kitchen.
This stage covers any structural changes, like moving a wall or adding a support beam. More often than not, it’s when electricians and plumbers do their most important work. They’ll run new wiring for your lighting plan, add outlets to handle modern appliances, and move water and drain lines for a new sink location or an island prep sink.
Crucial Insight: The rough-in phase is the absolute backbone of your remodel. Any mistakes made here are incredibly difficult and expensive to fix once the walls are closed up. This is almost always a job for certified professionals to ensure everything is safe and up to local building codes.
Getting this part right is non-negotiable, as this work will be inspected by city officials before you can move on. A detailed kitchen remodel timeline can help you understand how this phase fits into the bigger picture and what to expect. Passing these inspections is a mandatory milestone.
Only after the plumbing, electrical, and any structural work gets the official sign-off can you proceed. That approval is your green light to insulate, hang drywall, and finally start turning that empty shell back into a room.
The Assembly Phase: Bringing Your New Kitchen to Life
Now for the fun part. After all the demolition dust has settled and the critical behind-the-walls work is done and inspected, you’ve finally reached the most rewarding stage of your kitchen remodel. This is the moment your vision jumps off the page and starts to become real. The assembly phase is a methodical process where an empty shell transforms, piece by piece, into the functional, beautiful heart of your home.
The sequence of events here is incredibly important. Seriously. Doing things out of order can lead to scratched finishes, wasted time, and expensive rework. It’s a carefully choreographed dance of flooring, cabinets, countertops, and appliances, with each step building on the last.
Establishing the Foundation with Flooring
Before a single cabinet box enters the room, your new flooring needs to go down. Whether you’ve picked out hardwood, tile, or luxury vinyl plank, installing it first creates a clean, perfectly level surface for everything that follows. This is how the pros do it, and for good reason.
- A Professional Finish: Installing flooring wall-to-wall ensures a completely seamless look. It also means you won't see an ugly, unfinished subfloor if you ever decide to change your kitchen's layout down the road.
- Protection for Cabinets: It keeps your brand-new cabinets from getting damaged during the flooring installation. Imagine trying to lay tile or hammer in hardwood planks right next to freshly installed cabinets—it's a recipe for scuffs and scratches.
- Correct Cabinet Height: This is a big one. It ensures your base cabinets sit at the correct final height, which is crucial for making sure your appliances, like the dishwasher, will slide perfectly under the countertops later.
Once the flooring is in, cover it immediately with protective Ram Board or heavy-duty paper to shield it from all the foot traffic to come.
The Heart of the Kitchen: Cabinets
With the floor protected, it’s time for the main event: installing the cabinets. This is a job that demands precision. Even a tiny error here can throw off the entire kitchen, leading to misaligned doors, uneven countertops, and drawers that just don’t close right.
This isn’t just about screwing boxes to the wall; it’s a process that starts with careful planning and hinges on getting everything perfectly aligned.
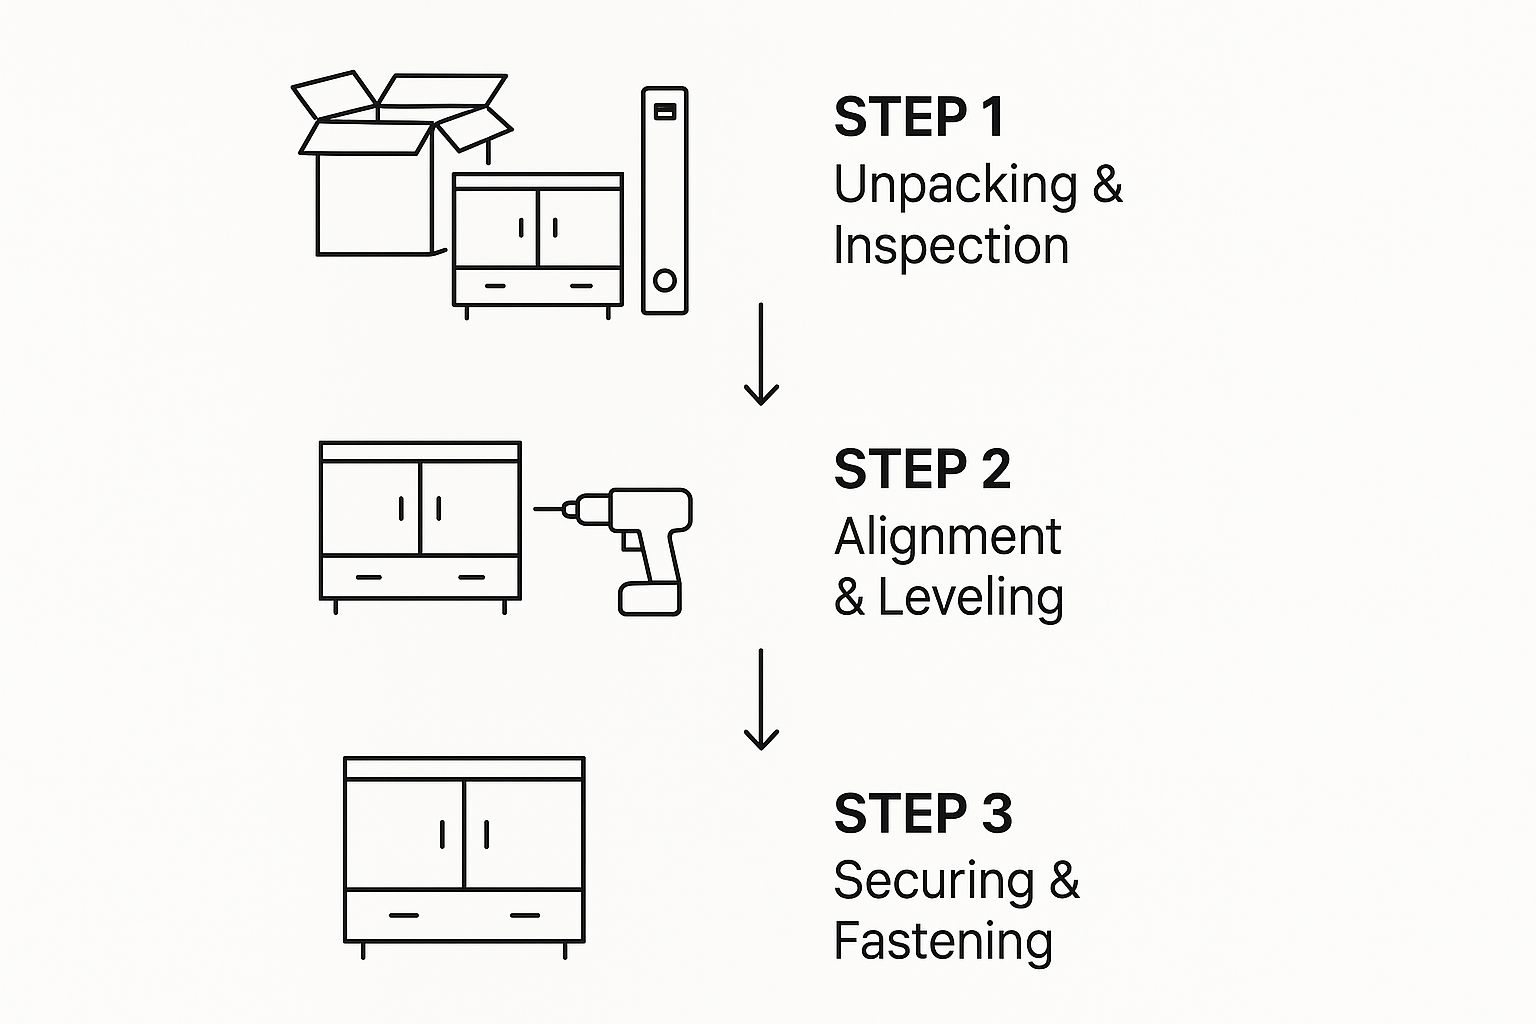
The pros always start with the upper cabinets. This gives you more room to work without having to awkwardly lean over the base cabinets. A laser level is your best friend here. Use it to draw a perfectly level line on the wall to guide the bottom edge of the uppers. From there, you'll secure them directly to the wall studs, clamping each cabinet to its neighbor for a tight, unified look.
Only after the uppers are securely in place should you move on to the base cabinets. You’ll need to find the highest point on the floor and use shims to make sure every single cabinet is perfectly level and plumb—both front-to-back and side-to-side—before fastening them to the wall and to each other.
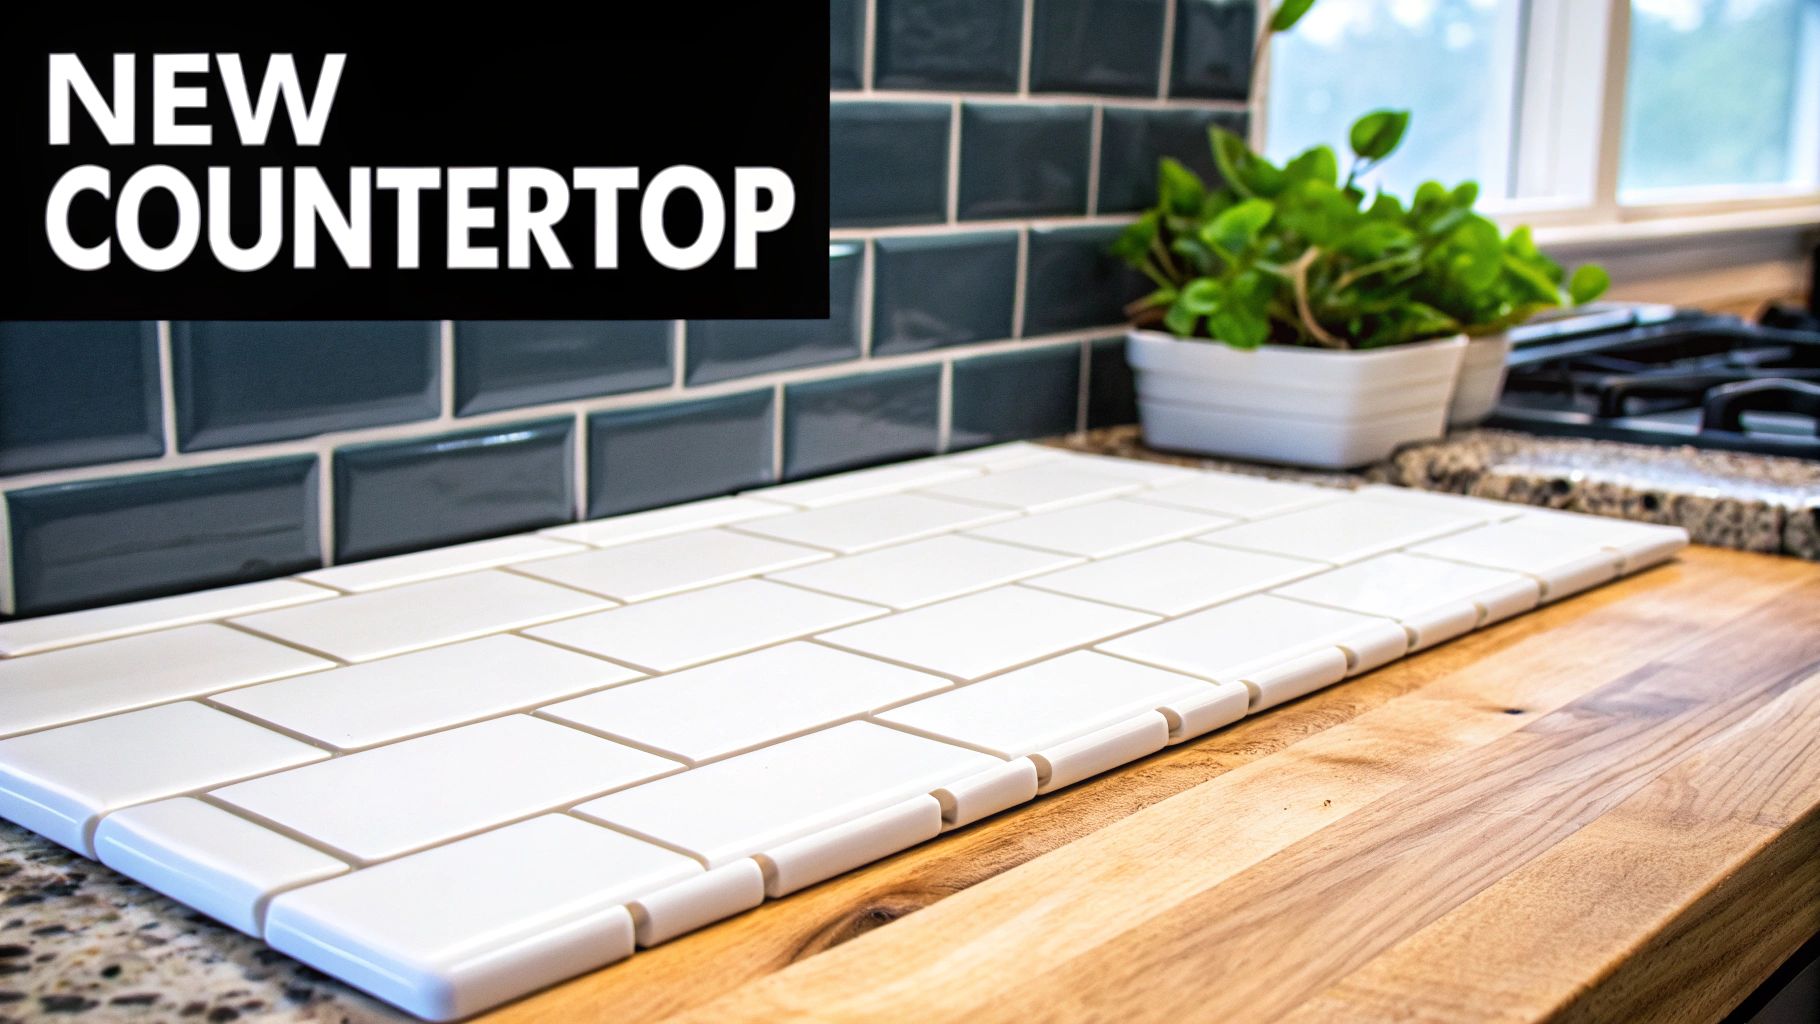
Precision Matters: Countertops and Backsplash
Once your base cabinets are set, it’s time for the countertop templating. A professional installer will come out to create a precise template of your cabinet layout. This is not a step to rush or guess on; they will measure every angle and overhang to guarantee a perfect fit. Keep in mind, the fabrication process can take a few weeks, so make sure to factor that into your project timeline.
Expert Tip: Never install your backsplash before the countertops are in. The backsplash should sit directly on top of the countertop to create a clean, waterproof seal. Installing it first creates an unsightly gap and a place for moisture to potentially seep in behind your new cabinets.
With the countertops installed and sealed, you can move on to the backsplash. This is another spot where careful layout is key. Dry-fit your tiles first and use spacers to guarantee even grout lines and a finish that looks like it was done by a pro.
The Final Connections
Getting the order of operations right during the main installation is key to a smooth project. Here’s a quick rundown of the standard sequence professionals follow to avoid headaches and rework.
Standard Order of Kitchen Installation Tasks
| Installation Step | Key Consideration | Professional or DIY? |
|---|---|---|
| 1. Flooring | Provides a level base and protects new cabinets from damage. | Pro recommended for tile/hardwood; DIY-friendly for LVP. |
| 2. Upper Cabinets | Install first for easier access without leaning over base units. | DIY is possible with precision; Pro for complex layouts. |
| 3. Base Cabinets | Must be perfectly level and plumb for countertops to sit correctly. | DIY is possible; Pro recommended for best results. |
| 4. Countertop Templating | Requires extreme precision; done by the fabricator after base cabinets are set. | Professional Only. |
| 5. Countertop Installation | Heavy, delicate, and requires specialized tools and adhesives. | Professional Only. |
| 6. Sink & Faucet | Plumber installs after countertops are in place. | Pro recommended to ensure no leaks. |
| 7. Backsplash | Installed after countertops to ensure a clean, waterproof seam. | DIY-friendly for many tile types. |
| 8. Major Appliances | Dishwasher, stove, and fridge are installed and connected. | Pro for plumbing/gas connections; DIY for electric slide-ins. |
| 9. Final Electrical | Outlets, switches, and under-cabinet lighting are finished. | Licensed Electrician Only. |
| 10. Cabinet Hardware | Knobs and pulls are the final "jewelry" for your kitchen. | Easy DIY. |
Following this sequence ensures each trade has a clean slate to work on and prevents one installation from damaging another.
Finally, you can bring in the big guns. With countertops and cabinets in place, your plumber and electrician will return to install the sink, faucet, garbage disposal, and hook up major appliances like the dishwasher and range. Each successful connection brings your kitchen one step closer to completion, turning what was once a construction zone into a living, breathing space ready for you to enjoy.
Finishing Touches and Your Final Walk-Through
The heavy lifting is done, but don't let your guard down just yet. I’ve seen it time and time again: the final 10% of a remodel is what separates a good kitchen from a truly great one. This is the stage where the space develops its personality, going from a construction zone to the heart of your home.
This is where you'll handle all the details that bring the design together, from a flawless paint job to installing the cabinet hardware—what I like to call the "jewelry" of the kitchen. All your patience and planning are about to pay off in a big way.
The Art of a Perfect Paint Job
A fresh coat of paint can completely transform a room, but in a kitchen, it has to be more than just pretty. It needs to be tough. Kitchens are high-traffic, high-moisture environments, so getting a lasting finish is all about the prep work.
- Prep Is Everything: Before a single drop of paint hits the walls, you need to clean them thoroughly. I always recommend a good degreaser or a TSP (trisodium phosphate) solution to cut through any construction dust, grease, or grime. If you skip this, your paint simply won't stick properly.
- Pick the Right Sheen: A kitchen is not the place for flat paint. You want something durable and, most importantly, washable. A satin or semi-gloss finish is the way to go. They stand up to moisture and are easy to wipe down, especially around the sink and stove.
- Thin Coats Are Your Friend: It’s tempting to try and get full coverage in one go, but that’s a recipe for drips and an uneven finish. The secret is to apply two or three thin, even coats. Let each one dry completely before starting the next—it makes a world of difference.
Creating and Executing Your Punch List
Before you even think about signing that final check, it's time for the most critical inspection of the entire project: the final walk-through. This is when you'll create a punch list, which is just a detailed list of every single thing that needs to be adjusted, fixed, or touched up.
This is not the time to be polite or shy. Scrutinize every inch of your new kitchen. A punch list is a standard industry practice, and any reputable contractor expects it. It’s your tool to ensure the job is 100% complete before the final payment is released.
Grab a notepad and a roll of blue painter's tape to mark any issues you find. Here's a checklist of what I always look for:
- Cabinet Functionality: Open and close every door and drawer. Do they operate smoothly? Do they have soft-close features that work correctly? Check the alignment—the gaps between doors and drawer fronts should be perfectly consistent.
- Finish Quality: Get close and inspect all the finishes. Look for paint drips, nicks or scratches on cabinet doors, and any chips along the countertop edges. View the walls from different angles with varied lighting to spot any paint or drywall imperfections.
- Appliance and Fixture Check: Turn everything on. Run the dishwasher through a short cycle. Test the faucet, check for any leaks under the sink, and run the garbage disposal. Flip every single light switch and test every electrical outlet.
- Caulk and Grout Lines: Look closely at the bead of caulk where the countertop meets the backsplash. It should be smooth, clean, and consistent. The same goes for any grout lines—check for gaps or sloppy application.
Once you have your list, walk through it with your contractor. After they've addressed every last item to your satisfaction, your kitchen remodel is officially done. Now you can finally step back, take a deep breath, and enjoy the beautiful, functional space you've worked so hard to create.
Questions We Hear All the Time
Even the most buttoned-up remodel plan is going to spark a few questions along the way. It’s just part of the process! Here are some of the most common ones we get from homeowners, along with some straight-to-the-point answers based on our experience.
How Long Does a Typical Kitchen Remodel Take?
For a standard, mid-range kitchen, you should plan for about 6 to 12 weeks of actual construction. That's from the day the sledgehammers come out to the final, satisfying walk-through.
Of course, that timeline can easily stretch if you’re moving walls, re-routing major plumbing, or waiting on highly specialized custom pieces. And don't forget to tack on another 4 to 8 weeks before all that for the design and planning phase. Good planning upfront saves major headaches later.
What Is the Biggest Hidden Cost in a Remodel?
Without a doubt, the most common (and costly) surprises pop up right after demolition. Once the old cabinets and flooring are gone, you might find anything from ancient, non-compliant electrical wiring to hidden water damage from a long-forgotten leak.
This is exactly why a contingency fund of 15-20% of your total budget isn't just a good idea—it's essential. For a deeper dive into budgeting, check out our guide on the average cost of a kitchen remodel.
The single biggest mistake homeowners make is not having a robust contingency fund. It’s not "extra" money; it’s a crucial part of the budget that provides a safety net against the inevitable surprises that come with opening up walls and floors.
Can I Live in My House During Construction?
Yes, you absolutely can, and most people do. But it takes some grit and preparation. The key is to create a makeshift "kitchenette" in another area like the dining room or garage. A microwave, a mini-fridge, and your trusty coffee maker will become your best friends.
Just be ready for the reality of it: there will be dust (everywhere!), constant noise during work hours, and a general sense of chaos disrupting your daily routine.
What Is the Best Time of Year to Start?
While you can remodel any time, we've found that late fall through winter can be a strategic choice. Many contractors see a dip in their schedules after the summer rush, which can mean better availability and sometimes more favorable pricing.
Plus, remodeling during the colder months means you're not missing out on prime grilling season. You'll already be cozy inside, making the disruption feel a little less intrusive.
Ready to take the next step toward your dream kitchen? The expert designers at Sinclair Cabinetry inc can help you craft a space that is both beautiful and functional. Explore our custom cabinetry options and start your project today.