
Decoding Kitchen Cabinet Design Layout Fundamentals
Think of your kitchen's layout not as a simple arrangement of boxes, but as the very DNA of the entire space. A successful kitchen cabinet design layout is the invisible force that makes your daily routines feel completely natural. It’s the difference between a kitchen that works with you and one that fights you every step of the way, turning a simple task like making coffee into a frustrating trek across the room.
The secret to a great kitchen isn’t just about having stylish finishes or trendy hardware; it’s about the underlying logic of placement and flow. This logic is built on core components that each play a specific part. Just as a skeleton supports a body, these elements provide the structure for everything else. Understanding their purpose is the first step toward creating a layout that is both practical and comfortable.
For example, the space between your countertops and upper cabinets, known as the backsplash area, is typically 18 inches high. This isn't a random number; it’s a carefully considered standard that leaves enough room for small appliances like your toaster or blender without making the upper cabinets too high to reach. Base cabinets are the foundation of your workspace, supporting the countertops where all the action happens, and their standard dimensions are designed for ergonomic comfort.
Key Components and Their Roles
A well-planned kitchen layout is a system where every part has a purpose. When each element is thoughtfully arranged, the result is an intuitive environment where you can move and work without constantly bumping into doors or digging for items in hard-to-reach corners.
This careful planning prevents common frustrations, like a dishwasher door that blocks a major walkway when open or a refrigerator that can’t open fully because it hits an adjacent counter. The goal is to design a space where movement is fluid and every necessary tool is within a logical, comfortable reach.
To better understand how these pieces fit together, let's look at the essential cabinet elements and how their dimensions affect daily functionality.
Kitchen Cabinet Layout Components Comparison
Essential cabinet elements and their impact on daily functionality
| Component | Standard Dimension | Functionality Impact | Design Consideration |
|---|---|---|---|
| Base Cabinets | 34.5" H x 24" D | Forms the primary work surface foundation; affects posture and comfort during food prep. | Must accommodate plumbing, major appliances like dishwashers, and support countertop weight. |
| Upper Cabinets | 12"–24" D | Provides accessible storage for everyday items like glasses and plates. | Depth must not obstruct countertop workspace or feel imposing. A 12" depth is common. |
| Pantry Cabinets | 84"–96" H | Offers high-capacity storage for dry goods, reducing clutter elsewhere. | Placement is crucial; it shouldn't create a visual "wall" or block natural light. |
| Countertop Height | 36" H (with top) | The standard ergonomic height for most cooking and preparation tasks. | Can be adjusted for accessibility or specific needs, like a lower baking station. |
This table shows that each component's size is directly tied to its function and your comfort. Getting these basics right is the foundation for a kitchen that is not only beautiful but also a joy to use every single day.
Popular Kitchen Cabinet Layouts That Actually Work
Choosing the right kitchen cabinet design layout is like picking the foundation for a house; it sets the stage for how your space will function, feel, and hold up to daily life. It’s easy to be charmed by layouts in glossy magazines, but the real test is how they perform day-to-day. The secret is finding the perfect match between a layout’s strengths and your room’s shape, your family's needs, and how you cook.
Let's break down the most common configurations to see where each one truly shines.
The infographic below shows how three core layouts—the L-Shape, U-Shape, and Galley—affect the space and workflow in a kitchen.
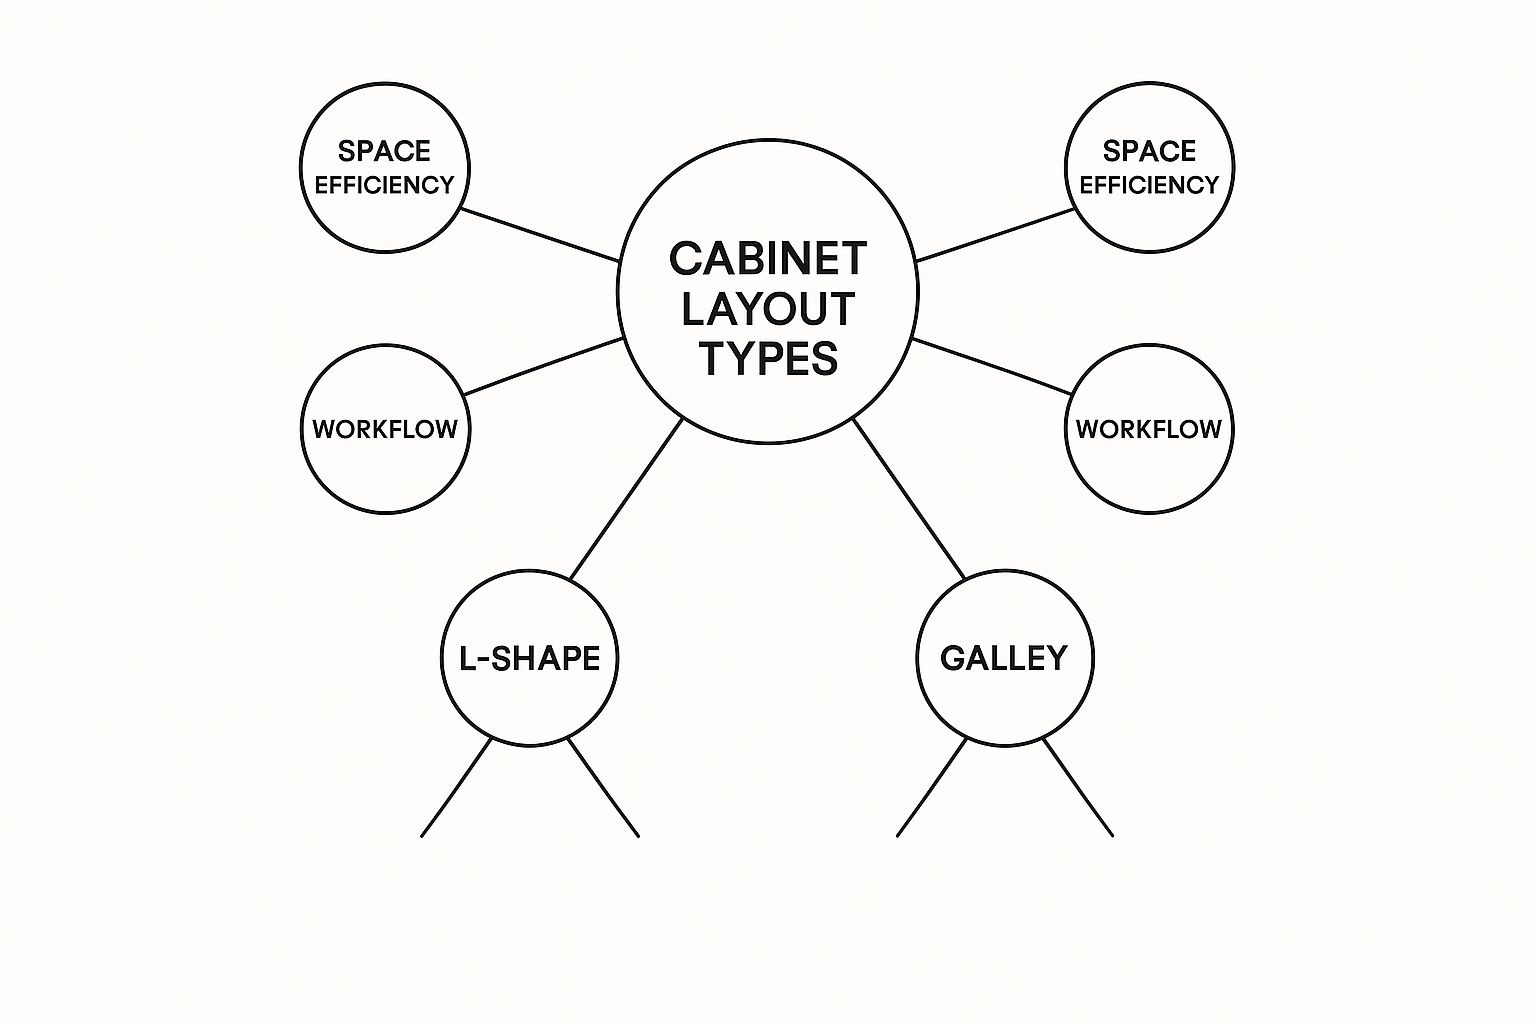
As you can see, each layout offers a different mix of efficiency and open space, helping you decide what’s best for your home’s unique footprint.
The L-Shaped Kitchen: The Versatile Corner Player
The L-shaped layout is a crowd-pleaser for a good reason. By using two adjoining walls in an "L" formation, it naturally opens up the rest of the room. This design is fantastic for creating an open-concept feel and can easily fit a dining table or a small island without making the space feel congested.
- Best For: Small to medium kitchens, corner spaces, and open floor plans. It creates a natural work triangle and directs foot traffic away from the main cooking area. A family member can walk through to the backyard without getting in the chef's way.
- Potential Pitfalls: The corner cabinet can turn into a frustrating "black hole" where pots and pans go to disappear. This is easily fixed with modern hardware like a Lazy Susan or a pull-out corner system. Without one, you could lose up to 4 cubic feet of prime storage.
The U-Shaped Kitchen: The Storage Powerhouse
Take an L-shaped kitchen and add a third wall of counters and cabinets, and you get the U-shaped layout. This design is a true workhorse, delivering an incredible amount of storage and countertop real estate. It wraps around the cook on three sides, placing everything within arm's reach. It's the ideal setup for serious home chefs who need lots of room for prep work, cooking, and plating.
- Best For: Larger kitchens where maximizing storage is the main goal. A U-shape is perfect for homeowners who want to create dedicated zones, such as a baking station on one side and a coffee bar on another.
- Potential Pitfalls: If the space between the parallel sides is too tight (less than 8 feet is often considered cramped), the kitchen can feel boxed in, making it a "one-cook-only" zone. It's also less suitable for open plans unless one of the legs is a peninsula that opens into another room.
The Galley Kitchen: The Comeback Kid
Once seen mostly in small apartments and on boats, the galley kitchen is making a major comeback. This layout features two parallel runs of cabinets and is a model of efficiency. Think of it like a professional chef's station—everything you need is just a quick step and turn away. This direct path cuts down on wasted movement, making it one of the most ergonomic designs you can choose.
A key trend that pairs perfectly with this layout is the move toward frameless cabinetry. These cabinets don't have a face frame, so the doors and drawers cover the entire cabinet box. This gives you full, easy access to the interior and makes the most of every square inch—a great match for the galley's efficient design. This clean, modern look also aligns with the streamlined functionality that many homeowners are looking for. You can learn more about this trend and its market growth by exploring the global kitchen cabinet reports.
Design Principles That Create Kitchen Magic

A truly great kitchen cabinet design layout isn't just about looking good—it’s about feeling right. That intuitive flow you notice in a well-designed kitchen isn't an accident. It comes from applying core design principles that center on how people actually move and work in the space. Many have heard of the classic kitchen work triangle, but its old-school application doesn't always account for the reality of a modern home.
The original work triangle connected the three main work points: the sink, refrigerator, and stove. While it's a solid starting point, today’s kitchens are so much more than just places to cook. They’re social hubs, homework stations, and the central command of a busy household. A more practical approach evolves this triangle into a system of activity zones, creating dedicated mini-workstations for specific tasks, from unloading groceries to making morning coffee.
Thinking in zones completely changes how you plan your cabinet layout. Instead of just finding a spot for everything, you organize items around the tasks they support. This creates a logical and efficient workflow, cutting down on wasted steps and making daily routines feel effortless.
Beyond the Triangle: Zoning for Real Life
Imagine your kitchen organized not by where things fit, but by how you use them. This method creates an environment where every action is intuitively supported by its surroundings. A well-zoned kitchen doesn't just save you time; it reduces the mental effort of constantly searching for what you need. In fact, studies on home habits show that an organized kitchen can meaningfully reduce meal prep time and daily stress.
Here’s how you can think about creating zones in your own space:
- Prep Zone: This is your primary countertop workspace, ideally situated between the sink and the stove. Cabinets and drawers here are perfect for cutting boards, mixing bowls, knives, and spices—the command center for creating meals.
- Cooking Zone: Centered around the stove and oven, this area’s cabinets should hold pots, pans, baking sheets, and cooking utensils. Having these items within arm's reach makes cooking safer and more fluid.
- Cleaning Zone: This area includes the sink and dishwasher. Nearby cabinets are best for storing cleaning supplies, dish soap, trash bins, and everyday dishes and silverware to make unloading a breeze.
- Storage Zone: This zone includes the pantry and refrigerator, acting as the first stop when you arrive with groceries. Placing it near an entrance minimizes the trek to put everything away.
- Consumables Zone: Think of this as a coffee bar or breakfast station. Grouping the coffee maker, toaster, mugs, and breakfast items together streamlines morning routines and contains the daily clutter.
To help you put these ideas into practice, this table breaks down how to apply core design principles in a real-world kitchen.
| Design Principle | Purpose | Implementation Steps | Common Mistakes |
|---|---|---|---|
| Kitchen Work Triangle | To create an efficient path between the sink, refrigerator, and stove. | Position the three points to form a triangle. Keep each leg between 4 and 9 feet long. Ensure the total perimeter is between 13 and 26 feet. | Making the triangle too large (too many steps) or too small (cramped workspace). Having an island block the path. |
| Activity Zones | To organize the kitchen by function, creating dedicated areas for tasks. | Group items by use: prep tools near a clear counter, pots near the stove, dishes near the dishwasher. Designate zones for prepping, cooking, cleaning. | Storing items illogically (e.g., spices far from the stove). Not leaving enough counter space in the prep zone. |
| Traffic Flow | To ensure easy movement through the kitchen without blocking work areas. | Plan main walkways to be at least 42 inches wide. For multi-cook kitchens, aim for 48 inches. Keep primary paths clear of obstructions. | Creating narrow pathways that cause bottlenecks. Placing seating in a high-traffic area. |
| Lighting | To provide safety, functionality, and a welcoming atmosphere. | Layer lighting: ambient (overhead), task (under-cabinet), and accent (in-cabinet). Maximize natural light where possible. | Relying on a single overhead light, which creates shadows. Forgetting task lighting over key work areas. |
This table shows that a functional kitchen is a balanced kitchen. By thinking about how each principle works together, you can design a space that supports your daily life instead of working against it.
The Unseen Forces: Traffic Flow and Light
Beyond task-oriented zones, two other factors quietly shape a kitchen's success: traffic flow and lighting. Traffic flow refers to the paths people take as they move through your kitchen. A good layout ensures this household traffic doesn't cut through your main work areas, which prevents interruptions and potential collisions. Aim for pathways that are at least 42 inches wide in work areas and 48 inches wide if you expect multiple cooks.
Natural light is another game-changer, making a space feel larger, cleaner, and more inviting. To get a better sense of how to integrate it effectively, you can find great kitchen skylight ideas that can transform a room. Proper lighting, both natural and artificial, improves safety during food prep and helps create a pleasant atmosphere for gathering. By balancing these principles, your kitchen cabinet design layout becomes more than an arrangement—it becomes the foundation for a better daily life.
Your Step-By-Step Kitchen Cabinet Layout Planning Process
Turning your kitchen vision into a working reality starts with a clear, step-by-step plan. While the idea of a full remodel can feel huge, breaking the kitchen cabinet design layout process into smaller stages makes it manageable. The journey doesn’t begin with picking out pretty cabinet doors; it starts with a tape measure and an honest look at the room you actually have. This first step is key to avoiding the disappointment of a dream design that just won’t fit.
Think of yourself as an investigator mapping out a scene—every single inch is a crucial piece of evidence. This initial phase is all about collecting the facts of your space, not getting carried away with design ideas just yet.
Stage 1: Measure and Map Your Existing Space
Before you can build your future kitchen, you have to get to know its present state. The first and most important step is to create an accurate sketch of your kitchen’s architectural footprint. You don’t need to be an artist; a simple drawing on graph paper works perfectly.
- Measure Wall to Wall: Jot down the exact length of every wall in your kitchen.
- Locate Doors and Windows: Measure the width of each opening, trim included. Also, note the distance from the corner of the wall to the outer edge of the trim.
- Note Ceiling Height: Measure from the floor to the ceiling. If you have any soffits or bulkheads, measure their height and depth, too.
- Mark Utilities: This is a step many people forget, but it's a big one. Pinpoint the exact center of your sink’s plumbing, the gas line for the stove, and every electrical outlet. While these can sometimes be moved, doing so adds significant cost and complication to the project. Knowing where they are now helps you design a layout that works with your home's existing systems.
Stage 2: Analyze Your Lifestyle and Workflow
With your physical space measured and mapped, it’s time to think about how you actually use it. A stunning kitchen that fights against your daily routine is a design failure. Be honest about your real needs, not the idealized ones you might see online.
- Who Cooks? Is it usually a one-person operation, or do you often have multiple cooks working at the same time? This answer will dictate how wide your walkways should be. A 42-inch clearance is a good minimum for one person, but 48 inches is much more comfortable for two.
- What’s Your Routine? Are you a grab-a-quick-coffee-and-go person, or do you host elaborate family dinners? Your answer will shape whether a simple layout will do or if you need dedicated zones for serious prep work.
- What Annoys You Now? Create a list of all the frustrations in your current kitchen. Is there not enough counter space next to the stove? Do you wish the dishwasher was right next to the dish cabinet? These pain points are your roadmap to a much better layout.
By following this two-stage approach, you build your kitchen cabinet design layout on a solid foundation of facts and personal needs. For a more detailed look at this planning phase, you can check out our guide on kitchen cabinet planning, which goes deeper into creating a space that is both functional and beautiful. This initial work makes all the later decisions, from choosing cabinets to placing appliances, much simpler and more successful.
Custom Kitchen Cabinet Options That Actually Matter
Going beyond standard layouts, custom features are what make a kitchen truly feel like it’s yours. This isn’t about adding showy details that bloat the budget. It’s about picking strategic upgrades that fix everyday headaches and improve your **kitchen cabinet design layout**. True customization is all about function first, building a space that works for your life, not the other way around.
As you plan your layout, think about where you can invest in features that bring lasting value. For someone who loves to cook, a stock cabinet layout might not offer the specific storage required. With a smart approach, you can weave in solutions that make a genuine impact. If you're comparing your choices, our team can help you understand the world of custom cabinet design.
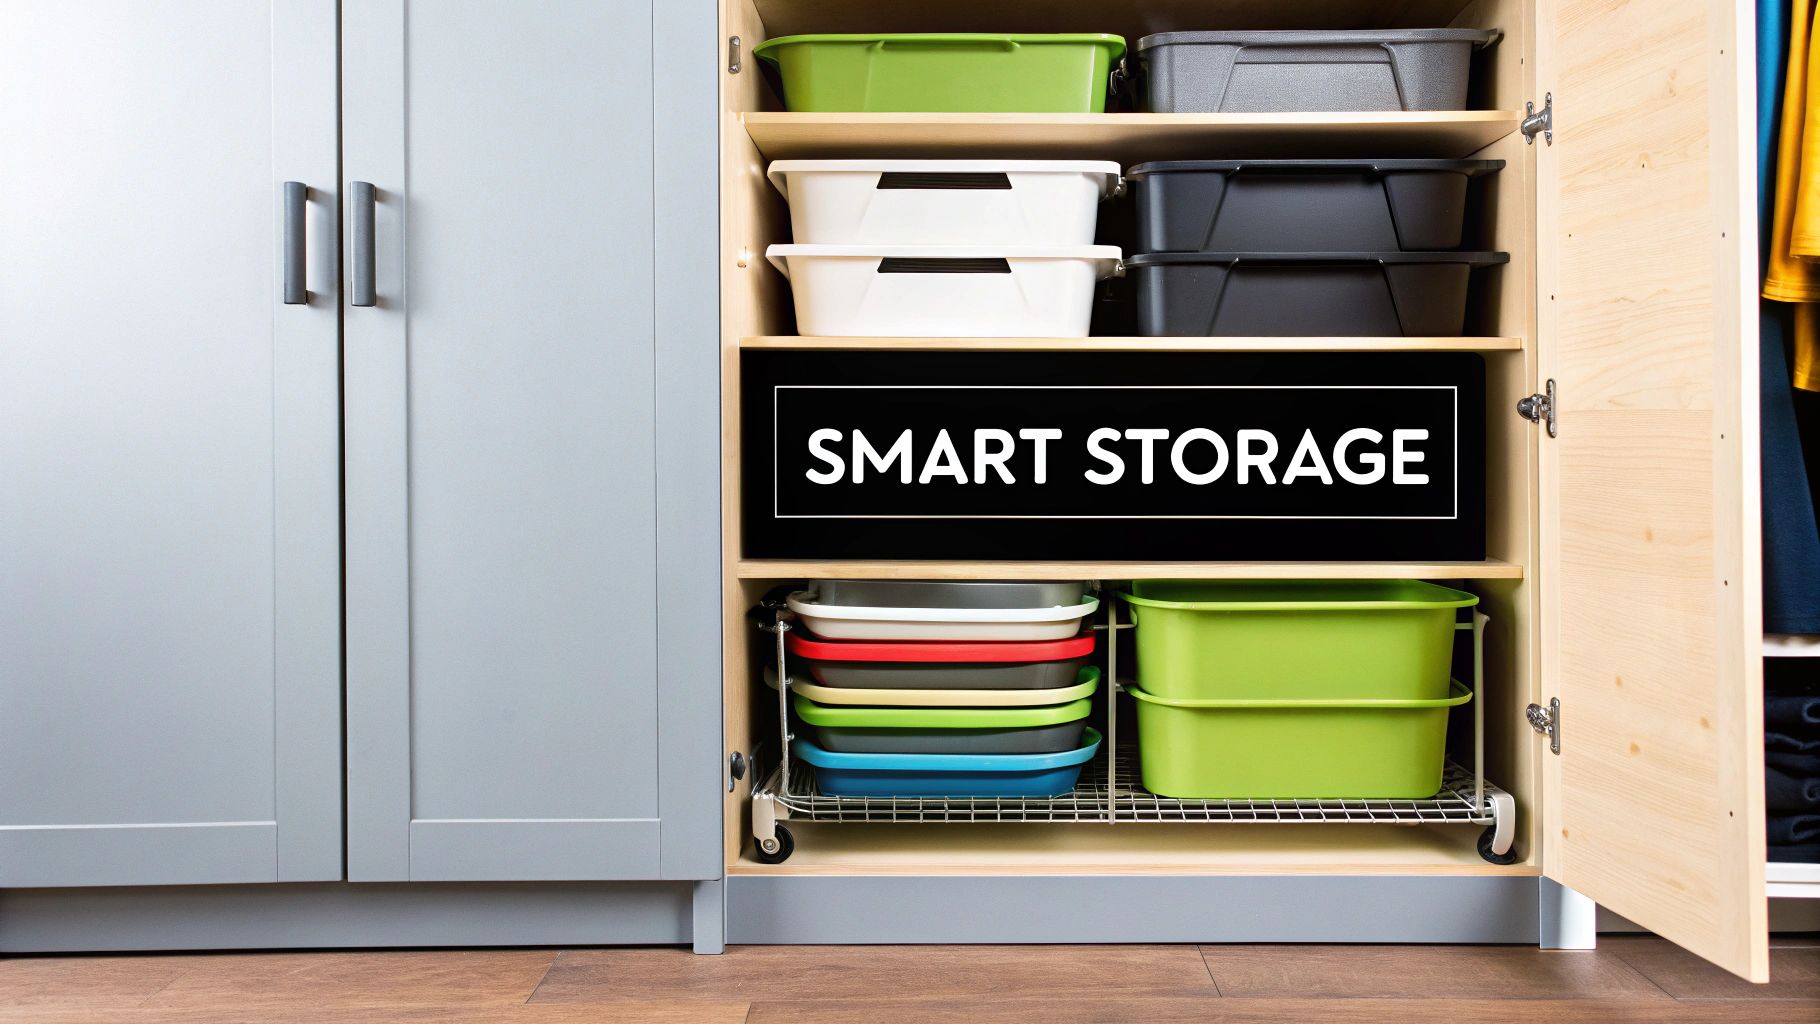
Game-Changing Storage Solutions
The most valuable custom options are the ones you’ll appreciate every single day. They cut through the clutter and make your kitchen work more smoothly, transforming frustrating moments into satisfying ones. Look past the basic shelf and think about upgrades that solve specific problems.
- Pull-Out Systems: Instead of a deep, dark cabinet where spices get lost, a narrow pull-out spice rack beside the stove keeps everything in sight and within reach. In the same way, pull-out pantry shelves mean no can of beans will ever again be forgotten in the back of a cabinet.
- Appliance Garages: These are special cabinets with lift-up or pocket doors designed to hide bulky countertop appliances like mixers and blenders. They instantly free up your main prep areas. A well-placed appliance garage can make a small kitchen feel much bigger.
- Corner Cabinet Solutions: The notorious "dead corner" can finally be put to good use with clever hardware. A Lazy Susan is a classic fix, but modern pull-out swing trays or "magic corners" bring the cabinet's entire contents out to you, making every last inch accessible.
Personalizing with Color and Materials
Customization also covers the look and feel of your cabinets, which sets the entire mood of the room. Current trends show a strong shift toward natural, calming colors that link the kitchen with the outdoors. Green continues to be a top pick, with 76% of designers calling it a favorite color. Blues and browns are also popular, helping to create a warm, nature-inspired feeling.
This focus on nature is often paired with sustainable materials like bamboo, which is a fast-growing and strong alternative to traditional woods. These material and color choices go well with clean, simple layouts that hide appliances and reduce visual noise, creating a sense of calm. You can read the full research about these kitchen trends to learn more about how color influences modern design.
Ultimately, the best custom options are the ones that solve your unique frustrations and fit your lifestyle. By focusing on practical solutions, you can create a kitchen that is not only beautiful but also a genuine pleasure to use every single day.
Real Kitchen Cabinet Layout Transformations And Hard-Won Lessons
Theory is a great starting point, but nothing beats seeing a kitchen cabinet design layout come to life in the real world. When you step into an actual renovation project, you get the unvarnished truth—the messy "before" pictures, the surprise challenges, and the smart solutions born from real budgets and quirky old houses.
Let's look at a few transformation stories to see how different families solved common layout problems and what they learned. These experiences offer practical wisdom you just can't get from a showroom floor.
What this really shows is that there’s no single "right" layout. The best solution is always the one that fits the home and the people living in it.
Case Study 1: The Budget-Conscious Galley Remodel
The Holstein family decided to update their 1960s cabin kitchen on a very tight budget. They went with a galley layout, a smart and efficient choice for long, narrow rooms. To manage costs, they turned to IKEA cabinets, a favorite among DIY renovators.
- The Challenge: A small budget required them to make careful choices. They wanted a premium look without the custom price tag, which can easily climb upwards of $25,000 for professional projects.
- The Solution: They used affordable IKEA cabinet boxes and fronts, keeping their total for cabinetry and appliances around $6,500. They then elevated the entire look by spending more on high-impact items like quality countertops and a stylish tile backsplash.
- The Lesson: This "high-low" method is a brilliant strategy. You can save money on the cabinet boxes but invest in the finishes you see and touch every day, like countertops, hardware, and tile. However, the Holsteins noticed their budget-friendly cabinet fronts started showing wear after just one year. Their hard-won advice? They wish they had used the IKEA boxes but bought more durable doors from a third-party company. This would have given them the longevity of a custom kitchen for a fraction of the cost.
Case Study 2: The DIY Peninsula Predicament
Another homeowner took on a DIY renovation in their 100-year-old house, which came with its own set of problems, like uneven floors and walls that weren't quite straight. They chose an L-shaped layout with a peninsula to connect the kitchen to the living space.
- The Challenge: The primary hurdle was installing modern, perfectly square cabinets into a house where nothing was level. The floor had a slope of over 3 inches from one side of the room to the other.
- The Solution: They made a smart call and hired professional installers just for hanging the cabinets. The pros used their skills to scribe filler pieces and trim the toe kicks to match the crooked surfaces, creating a seamless finish that hid the home's imperfections.
- The Lesson: It's important to know your limits. While assembling cabinet boxes can be a straightforward DIY task, the final installation—especially in an older home—is truly an art form. Paying for professional help at this final stage ensured the whole kitchen looked polished and worked correctly, preventing wobbly counters and crooked doors. It's a small expense that protects the much larger investment you made in the cabinets.
Making Your Kitchen Cabinet Design Layout Dreams Reality
With your plans laid out and custom features chosen, the final phase is about turning your detailed kitchen cabinet design layout from a drawing into a real, working space. This is where inspiration meets installation, and it's a journey that needs a clear roadmap to navigate successfully. The key is to approach this part with a mix of a firm vision and practical flexibility, so you can manage contractors, timelines, and the occasional surprise that comes with any renovation.
Think of this process like you're directing a play. You’ve already written the script (your layout plan) and designed the set (your cabinet choices). Now, you need to coordinate the actors (your contractors) and manage the stage production to bring your vision to life without blowing the budget or schedule.
From Blueprint to Build: Managing the Project
The shift from planning to construction is where everything comes together. Clear communication is your most important tool. When you hire professionals, they need to understand not just what you want, but why you want it. Explaining that you need a wide walkway because two people often cook at the same time is more helpful than just giving them a measurement. This context allows them to find better solutions if unexpected structural issues come up.
It’s also crucial to know which decisions are set in stone and which can be adjusted.
- Locked-in Decisions: The overall cabinet layout, where appliances will go, and major plumbing or electrical points must be finalized early. Moving a drain pipe or a 240-volt outlet after the walls are closed is a costly mistake that can delay a project by weeks.
- Flexible Choices: Items like hardware, backsplash tile, and paint colors can often be decided later. This flexibility lets you see how light actually works in the new space before you commit to the final decorative touches.
Staying on Budget Without Sacrificing Your Goals
Every renovation project faces budget pressures. The trick is to have a plan for them without giving up on the core features that made you want to remodel in the first place. When a dream feature seems too expensive, look for creative workarounds. For example, if custom floor-to-ceiling pantry cabinets are out of reach, think about using standard tall cabinets paired with smart internal organizers. You can find great ideas for kitchen cabinet storage solutions that make the most of space in standard cabinets, giving you similar function for a lower cost.
Here are some proven ways to stay on track:
- Get Itemized Quotes: Ask contractors for detailed bids that break down labor and material costs. This transparency helps you see exactly where your money is going and find areas to trim if you need to.
- Set Aside a Contingency Fund: A good rule of thumb is to hold back 10-15% of your total budget for surprises. Finding old plumbing or needing to level a subfloor are common issues that a contingency fund can handle without causing stress.
- Watch for Red Flags: Be careful with contractors who ask for large upfront payments, offer vague contracts, or are hard to get in touch with. A good professional will provide clear paperwork and keep communication open throughout the project.
Maintaining Perspective During Renovation Chaos
Living through a renovation can be disruptive. Your home will be noisy, dusty, and a bit chaotic for a while. Remember to keep your eye on the prize: the beautiful, functional kitchen waiting for you at the end. Set up a temporary kitchen station somewhere else in your home with a microwave, coffee maker, and mini-fridge to make daily life easier. Taking photos along the way helps you see the progress and reminds you how far you’ve come.
By breaking down the process into these clear phases—good communication, smart budgeting, and realistic expectations—you can successfully turn your kitchen dreams into a reality.
Ready to bring your perfect kitchen cabinet layout to life with unmatched quality and craftsmanship? At Sinclair Cabinetry, we specialize in creating bespoke real wood cabinets that are built to last. Explore our custom cabinetry services at SinclairCabinets.com and let our 35 years of expertise help you build the kitchen you’ve always wanted.