
Understanding Cabinet Hardware Placement Fundamentals
Cabinet hardware placement might seem simple, but it's a crucial detail that can make or break your kitchen's functionality and looks. Getting it right means your cabinets will be easy to use and look professionally finished. Think of hardware placement like setting a dining table – each piece needs to be in exactly the right spot to create a polished result.
Why Proper Placement Matters
Placement affects both how your cabinets work and how they look. Poor placement can cause real problems – knobs that are too high make upper cabinets hard to reach, while pulls that sit too low on base cabinets can hit your toe kicks. When hardware isn't lined up properly across multiple cabinets, it creates an uneven look that catches the eye in all the wrong ways.
Consistency is Key
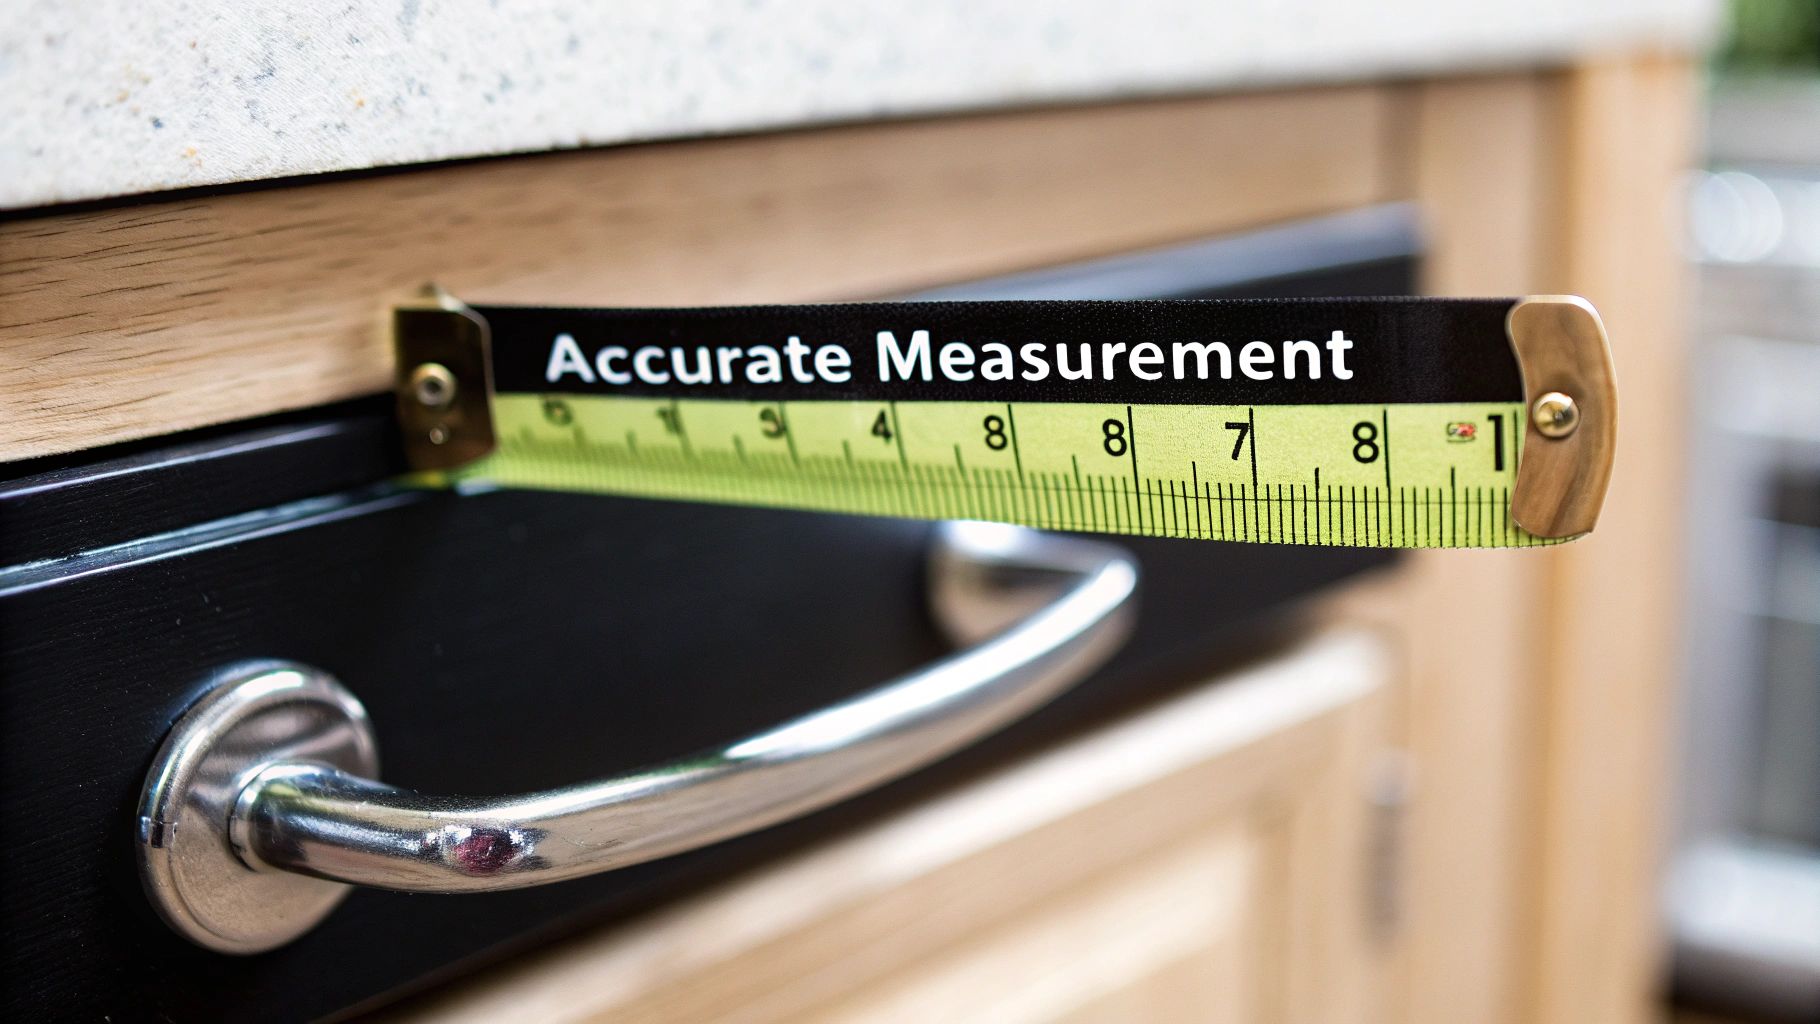
Getting hardware placement perfectly even across all your cabinets is essential for a professional-looking result. Simple tools like a combination square or cabinet hardware jig help ensure uniform placement. According to This Old House, expert Tom Silva recommends using a combination square to mark your hardware locations. Set it to your chosen measurement from the cabinet edge, mark the center point, then repeat this process on each cabinet to keep everything lined up.
User-Centric Design
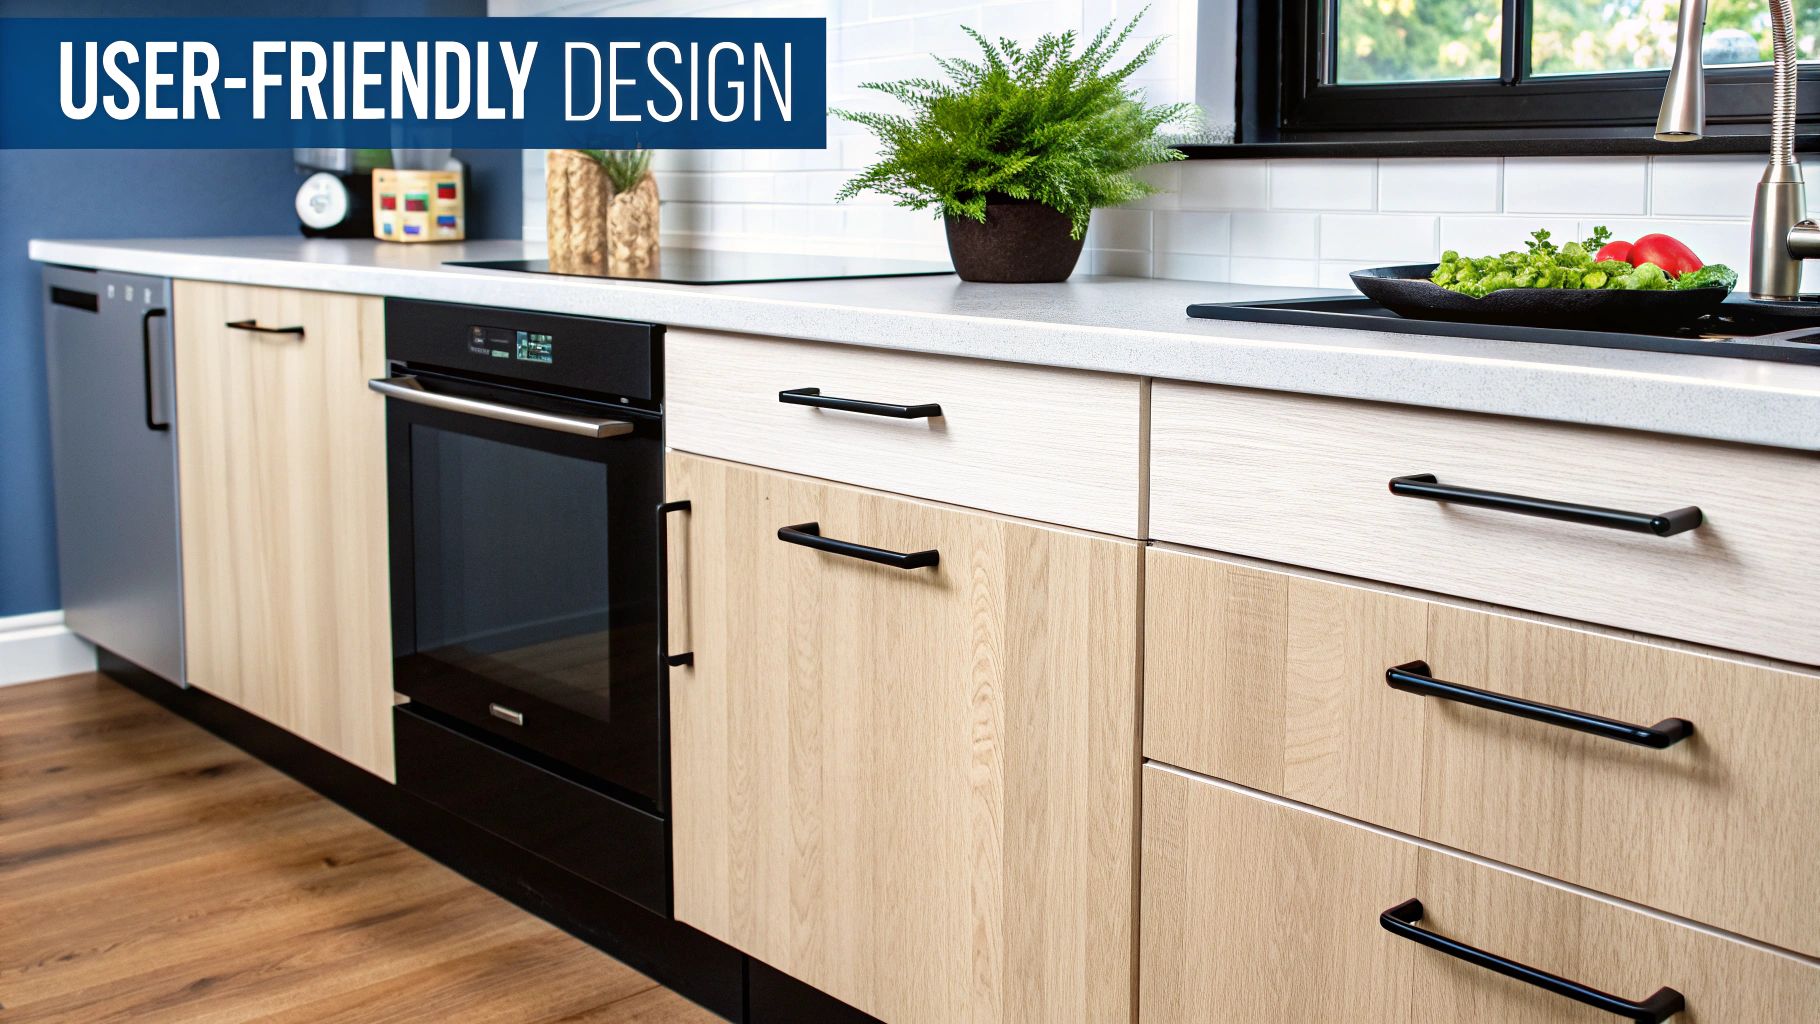
While there are standard measurements to follow, the best placement depends on who uses your kitchen. Consider your household's needs – the height of family members matters, especially for children or people with limited mobility. You can adjust placement slightly to make cabinets more comfortable to use, but remember to keep the overall look balanced. These practical considerations lead us to our next topic: standard measurements and positioning guidelines.
Mastering Standard Measurements and Positioning Guidelines
Creating perfect cabinet hardware placement requires understanding basic measurements and positioning. While these guidelines provide a solid foundation, they're meant to be flexible – adapt them to match your specific needs and preferences.
Standard Practices for Knobs and Pulls
For upper cabinets, place knobs and pulls in the lower corner opposite the hinges for easy access. Keep them 2-3 inches from the bottom edge of the door. On lower cabinets, position hardware in the upper corner opposite hinges, also 2-3 inches from the top edge. This makes opening and closing smooth while keeping contents accessible. For more detailed guidance, check out Van Dyke's guide to cabinet hardware placement.
Drawer Placement Considerations
For drawers, placement depends on size. Small drawers work well with a single centered knob or pull. Larger drawers over 30 inches wide need two pulls for better control and even weight distribution. Using just one pull on a wide drawer can make opening awkward and may cause strain over time.
Special Cases and Adaptations
While standard measurements fit most situations, some cases need adjustments. Inset doors require hardware placed further from edges to clear the cabinet frame. Door thickness also matters – thicker doors may need hardware positioned outward for comfortable grip. Learn more about hardware options at Sinclair Cabinets' guide to handles and pulls.
Achieving Visual Harmony
Consistency creates professional results. Picture your hardware like points on a grid – they should line up perfectly across all cabinets and drawers. Keep the same distance from edges and maintain even spacing between pieces. Taking time to align everything properly gives your kitchen that clean, polished look that marks quality craftsmanship. By following these basic guidelines while staying flexible for your space, you'll create a kitchen that works beautifully and looks great.
Essential Tools and Templates for Professional Results
Getting cabinet hardware perfectly placed requires the right tools and techniques. Much like you wouldn't build a house without a level, installing cabinet hardware demands proper tools for accuracy. Let's explore the key tools and templates that help achieve professional results.
Must-Have Tools for Cabinet Hardware Placement
Here are the essential tools that make cabinet hardware installation easier and more precise:
- Combination Square: Perfect for marking consistent measurements from cabinet edges
- Drill with Depth Stop: Prevents drilling too deep and keeps screws at the right depth
- Cabinet Hardware Jig: Pre-set templates that make marking holes quick and accurate, especially helpful for multiple cabinets
- Center Punch: Makes a small dent to guide your drill bit exactly where needed
- Level: Ensures knobs and pulls are perfectly straight
The Power of Templates and Jigs
Using templates and jigs helps you work faster and more accurately. True Position Tools makes hardware jigs that let you install knobs and pulls quickly while getting perfect results. With 25 years of experience making these tools, they've refined their designs to make installation simple and precise. Learn more about proper hardware placement in their cabinet hardware guide.
Choosing the Right Tools for Your Needs
The tools you need depend on your project size. For a single cabinet update, basic tools like a combination square might be enough. But for bigger projects with many cabinets, a good hardware jig is worth the investment since it saves time and prevents mistakes.

Time-Saving Techniques for Professional Installers
Professional installers use these methods to work efficiently:
- Batch Processing: Drill all holes first, then install hardware later
- Pre-Sorting Hardware: Group items by type and size before starting
- Dry-Fitting: Test placement with tape first to check the look
Using the right tools and methods helps ensure your cabinet hardware looks professionally installed. This careful approach sets you up for success when working with different cabinet styles, which we'll cover next.
Adapting Placement for Different Cabinet Styles
Getting cabinet hardware placement right means going beyond basic guidelines to account for each cabinet's unique characteristics. Just like a custom suit needs precise measurements, cabinet hardware needs thoughtful placement for both looks and usability.
Inset vs. Overlay Cabinets
The way your cabinets are built affects where hardware should go. With inset cabinets, the doors sit flush with the frame, so you'll need to place hardware a bit further from the edges than usual – more than the standard 2-3 inches. Overlay cabinets give you more flexibility since the doors overlap the frame, letting you stick closer to standard placement measurements.
Handling Different Door Styles
Each door style needs its own approach to hardware placement. For clean-lined Shaker-style cabinets, placing knobs or pulls in the middle of the rail looks classic and balanced. More decorative cabinet styles might need hardware positioned to highlight carved details or complement raised panels. Learn more in our article about cabinet doors and drawers.
Working with Various Door Thicknesses
The thickness of your cabinet doors matters when choosing and placing hardware. Thick doors need pulls or knobs with longer stems so they're comfortable to grip. A thicker door works well with a pull that sticks out more, while thinner doors look better with sleeker, closer-mounted knobs.
Specialty Cabinets: A Unique Approach
Special cabinet types need extra thought for hardware placement. Glass-front cabinets often look best with smaller, lighter hardware that won't block the view inside. For appliance garages, focus on sturdy pulls that can handle frequent use and heavy doors.
Creating a Harmonious Look
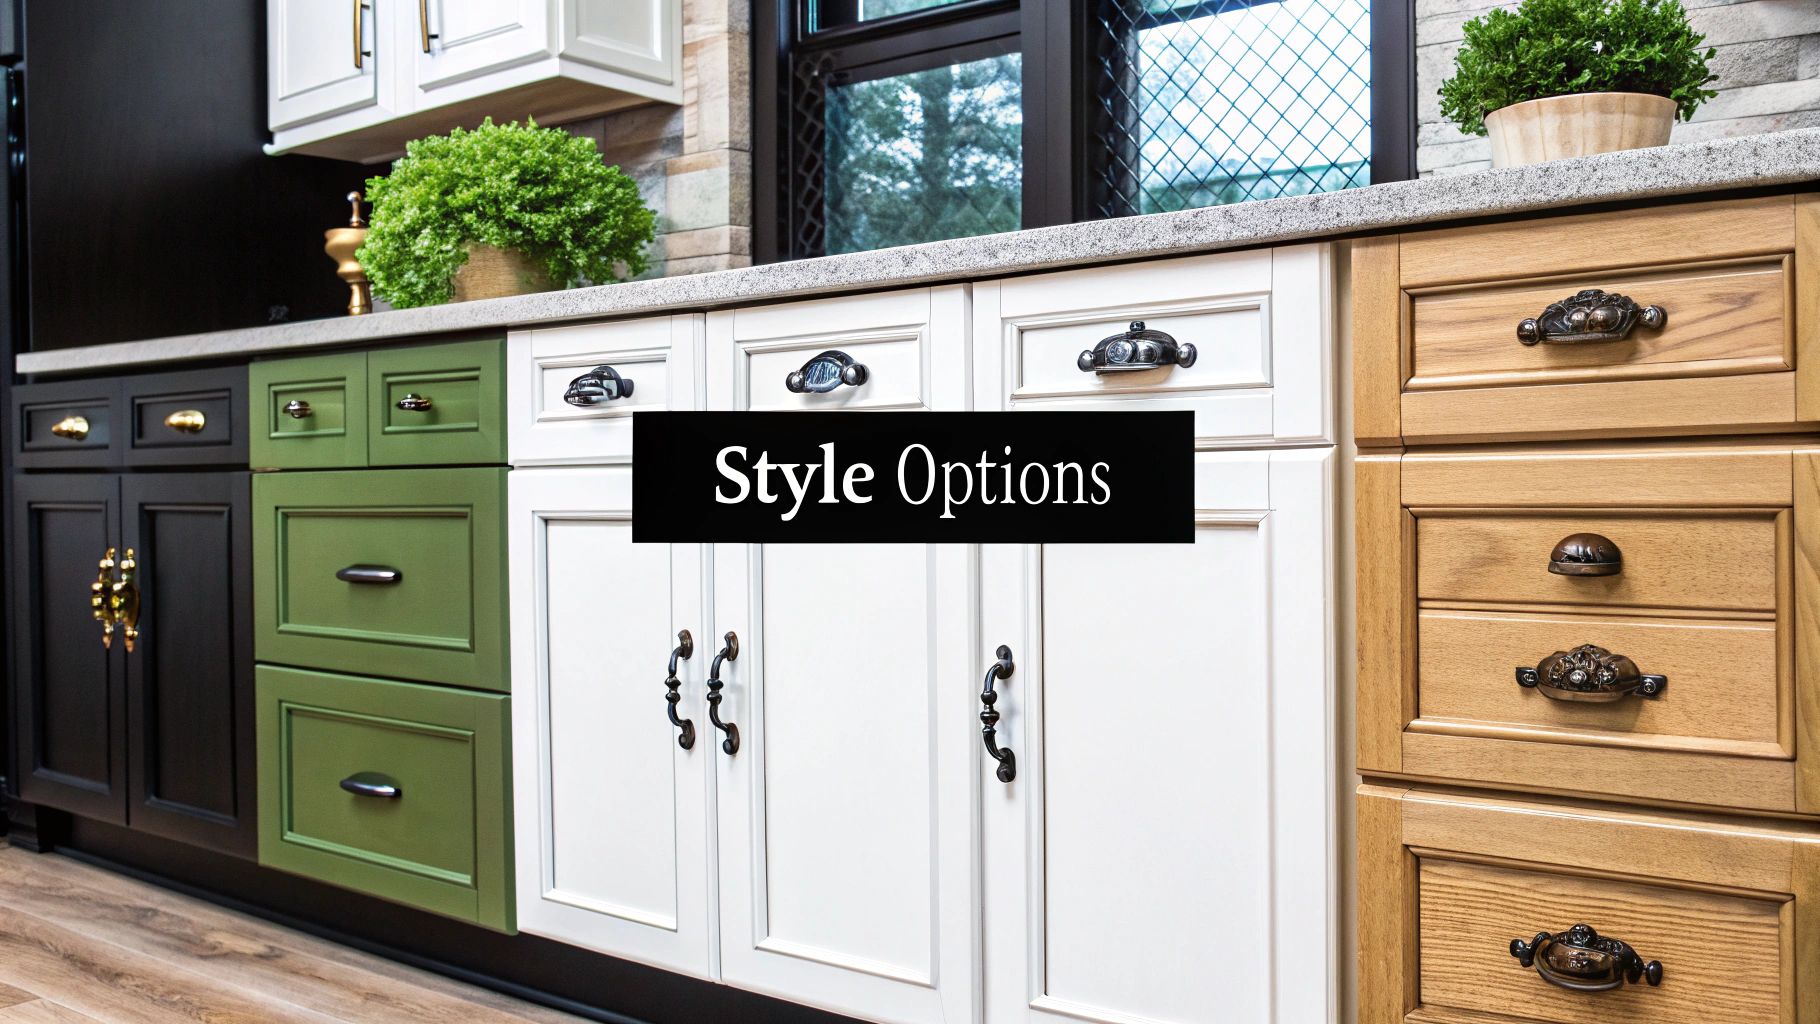
Keep your hardware choices consistent across all cabinets, even with different styles. If you use knobs on upper cabinets, try matching pulls on lower cabinets for a unified look. Match your hardware to your kitchen's overall style – simple, clean lines for modern kitchens, or more detailed pieces for traditional spaces. For more ideas, check out How to Choose Cabinet Hardware Styles.
Paying attention to these details for each cabinet helps create a kitchen that looks polished and works smoothly. Getting the placement right sets you up for success with more complex hardware projects.
Solving Complex Hardware Placement Challenges
Installing cabinet hardware requires more than basic measurements – it's about handling real-world issues that pop up during installation. Like a skilled carpenter, you need practical solutions for when things don't go exactly as planned.
Troubleshooting Common Issues
Even with careful planning, you'll likely face some challenges. Older homes often have uneven walls that affect cabinet alignment. Door misalignment and tricky corner installations can stump even experienced DIYers.
- Uneven Surfaces: Place shims behind hardware before drilling to create a level mounting surface. This prevents wobbling and ensures professional results.
- Misaligned Doors: Before marking hardware spots, adjust the hinges for proper door alignment. This step prevents awkward placement issues.
- Corner Installations: Think about how doors will open and close in tight spaces. For more tips on special installations, check out Sinclair Cabinets' custom cabinet guide.
Correcting Installation Mistakes
Don't panic if you drill a hole in the wrong spot – there are ways to fix common errors and save your cabinets.
- Filling Holes: Use wood filler that matches your cabinet color to patch incorrect holes. Let it dry completely before drilling new ones.
- Hardware Adjustment: For small placement errors, you might be able to slightly widen the existing hole. This works best with larger knobs or pulls.
Adapting to Unique Cabinet Configurations
Just like no two houses are identical, cabinets come in all shapes and sizes. Special materials and tight spaces need creative solutions.
- Problem Materials: Glass fronts and thin panels need special drill bits to prevent damage. Always drill pilot holes first.
- Space Constraints: Choose compact hardware or adjust placement in tight spots. See How to Choose Cabinet Hardware Styles for size recommendations.
- Perfect Lines: A laser level helps ensure straight hardware placement across multiple cabinets. This is especially helpful on large drawer banks or cabinet rows.
By mastering these practical fixes and strategies, you can handle any hardware installation challenge. Taking time to solve problems properly leads to cabinets that both look great and work well for years to come.
Professional Tips for Lasting Success
A high-quality cabinet hardware installation requires more than just following basic placement rules. Success comes from smart planning and focusing on both looks and daily use.
Adapting for Different Users
While standard measurements help guide installation, think about who will use the kitchen. Some family members might need hardware placed higher or lower for easy access. For homes with multiple cooks, consider everyone's height and reach when placing handles. This practical approach helps ensure your kitchen works well for everyone.
Mixing Hardware Styles
Adding different hardware styles can bring charm and character to your kitchen. The key is finding the right balance. Think of it like putting together an outfit – every piece should work together. For example, small knobs on upper cabinets often pair well with longer pulls on lower cabinets. Just avoid mixing different metals on the same cabinet type, as this can look unplanned.
Ensuring Long-Term Durability
Quality installation means your hardware will look good and work well for years. Pick strong, well-made pieces even if they cost more upfront – you'll save money by not having to replace them later. Use the right screws and make sure they're tight to prevent wobbling over time.
Maintenance and Care
Your cabinet hardware needs regular attention to stay in top shape. Clean knobs and pulls often to remove everyday dirt and fingerprints. Fix loose screws right away before they cause bigger problems. Some special finishes like unlacquered brass may need extra protection to stay looking fresh. These basic care steps help your hardware last longer.
Professional Checklists and Secrets
Expert installers use simple checklists to make sure every detail is perfect. Here are key points they always check:
- Double-check all measurements before drilling any holes
- Test hardware placement with painter's tape to see how it looks
- Sort and organize hardware before starting installation
These small but important steps lead to better results.
By following these tips, you'll achieve an installation that looks great and works perfectly. Your attention to detail will show in a kitchen that's both beautiful and practical.
Ready to upgrade your kitchen with beautiful, high-quality cabinetry? Contact Sinclair Cabinets today for a personal consultation. We offer custom cabinet solutions for every style and budget. Let's work together to create your ideal kitchen.