
So, how long does a bathroom remodel really take? If you’re thinking about a standard, full-scale project, you should plan for anywhere from three to eight weeks. That timeline gets you from the first swing of the sledgehammer to the final coat of paint, but it's completely dependent on a few big "ifs"—like the project's complexity and whether you have every single material ready to go on day one.
What a Bathroom Remodel Timeline Really Looks Like
Before you get excited about tearing out that dated vanity, let's talk about setting some realistic expectations. One of the biggest mistakes I see homeowners make is seriously underestimating how long a renovation actually takes. Sure, a simple cosmetic refresh—a little paint, a new faucet, and some updated light fixtures—might only take a weekend. But a full gut remodel? That's a completely different beast.
The timelines you see squeezed into a 30-minute home improvement show are pure fantasy. They don't show the real-world hiccups that almost always pop up. An honest, practical timeline accounts for these potential roadblocks from the very beginning. Trust me, planning for them now will save you a world of stress down the road.
Factoring In Common Delays
Believe it or not, the biggest delays often happen before any real work even starts. Supply chain issues are a massive headache right now. That custom vanity you fell in love with or the specialty tile you just have to have could be backordered for weeks, bringing your entire project to a screeching halt.
Then there's contractor availability. The good ones are almost always booked out for months. Your ideal start date might be much further away than you'd like.
Expert Tip: Order all of your finish materials—tile, vanity, fixtures, lighting, everything—before you even think about scheduling demolition. There is nothing worse for a project's momentum than having your crew stand around waiting for a crucial part to arrive. Having everything on-site is the single best thing you can do to keep your remodel on track.
And, of course, there are the unexpected surprises—the true bane of any remodel. Once you open up the walls and floors, you never know what you'll find. It's common to run into issues that need immediate attention, such as:
- Hidden Water Damage: A slow, sneaky leak can lead to rotted subfloors and wall studs, which means major repair work.
- Outdated Plumbing or Electrical: In older homes, it's almost a guarantee you'll find pipes or wiring that don't meet today's building codes. These aren't optional fixes; they're necessary, time-consuming upgrades.
- Pest Infestations: Finding termites or carpenter ants means everything stops until an exterminator can handle the problem.
Estimated Timeline for Each Remodel Phase
To help you get a clearer picture of the process, it’s helpful to break down the timeline by each major construction phase. The duration for each step can vary, but this table gives you a general idea of what to expect for a standard remodel.
| Remodel Phase | Typical Duration |
|---|---|
| Demolition | 1-3 Days |
| Rough Carpentry | 1-4 Days |
| Rough-in Plumbing & Electrical | 2-5 Days |
| Insulation & Drywall | 3-5 Days |
| Tile Work & Flooring | 3-7 Days |
| Painting | 1-3 Days |
| Cabinet & Vanity Installation | 1-2 Days |
| Plumbing & Electrical Finals | 1-3 Days |
| Final Touches & Punch List | 1-3 Days |
Keep in mind these are just estimates. A complex tile layout or unexpected structural repairs can easily add days to the schedule. This is why building a buffer into your overall plan is so important.
Visualizing the Core Phases
To give you a better sense of how it all flows together, this visual breaks down the key active construction stages of a typical bathroom project.
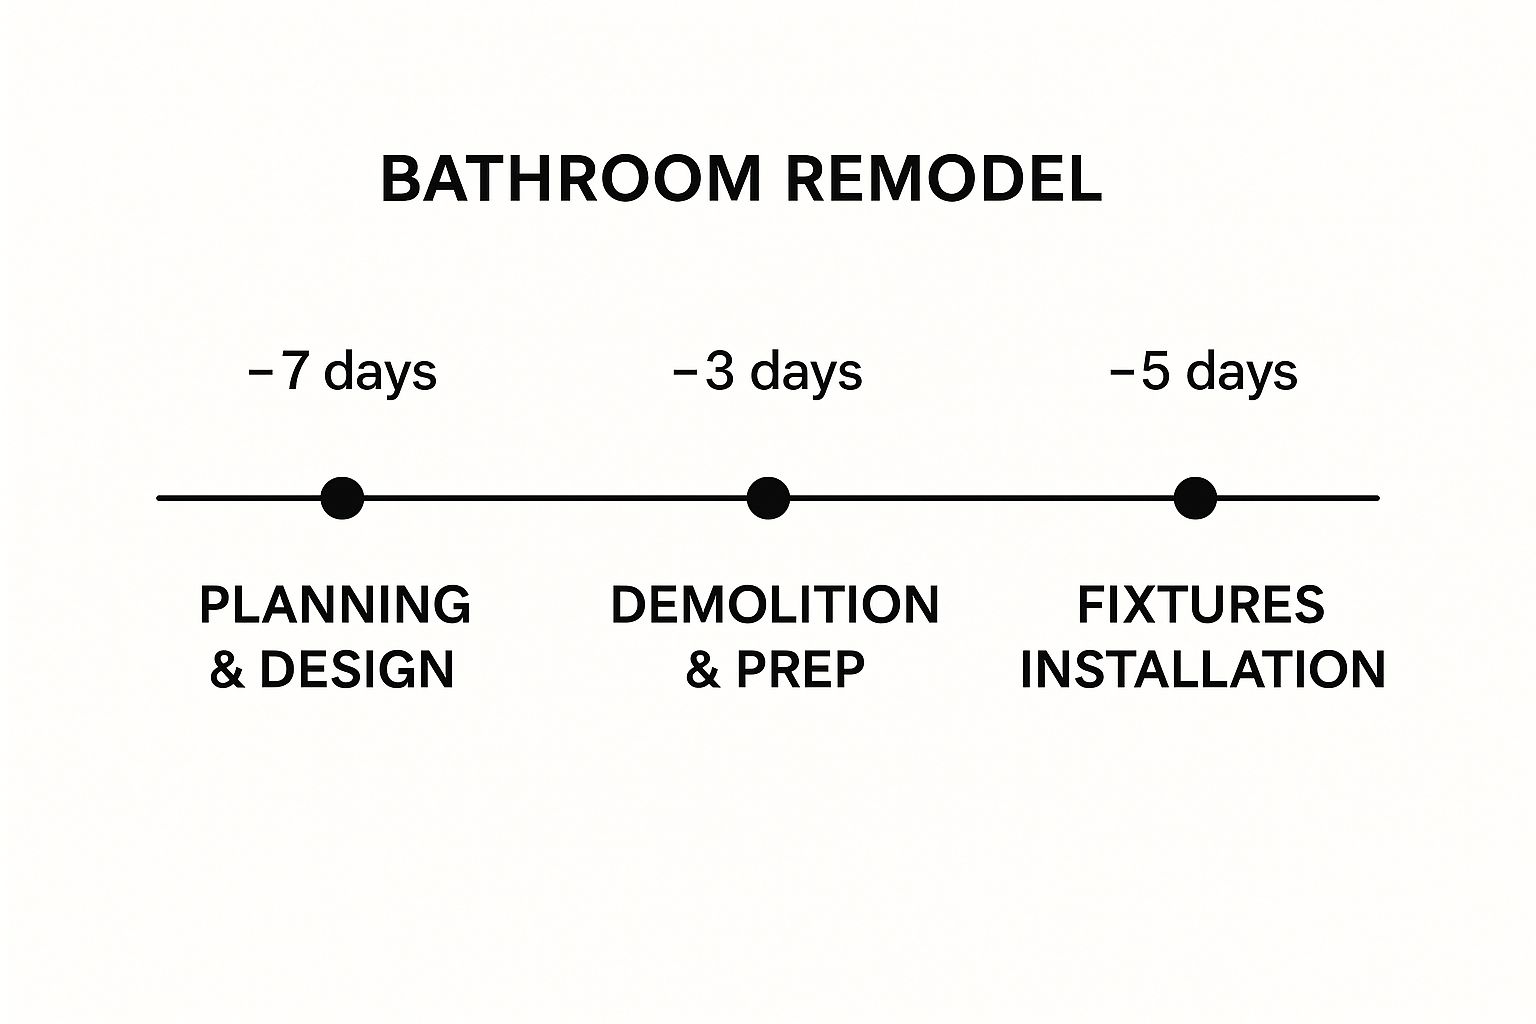
What this really highlights is that the initial planning and design phase is often the longest part of the entire journey. By putting in the time and effort upfront to get every detail right, you can make the hands-on construction work move much more smoothly and quickly.
Laying The Groundwork For Your Renovation
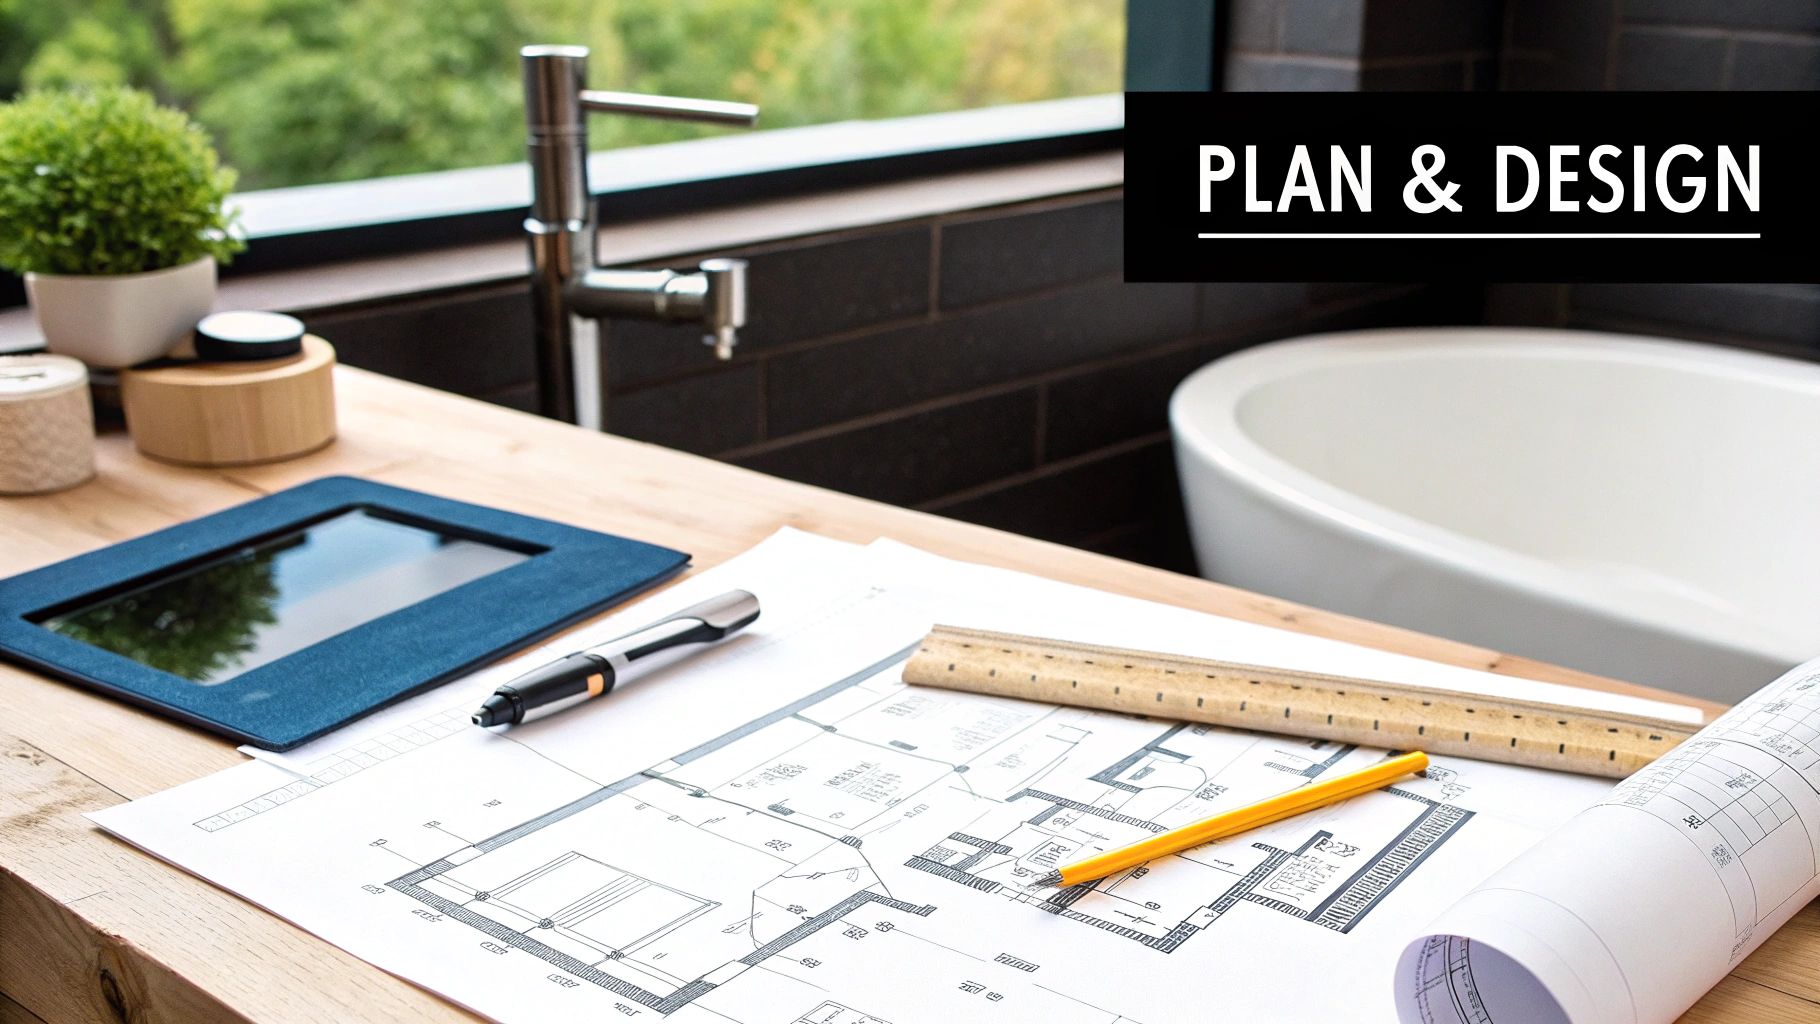
I’ve seen it time and time again: the difference between a remodel that’s a nightmare and one that goes smoothly almost always boils down to the planning phase. This is your foundation. Rushing through these initial decisions is a surefire way to invite stress and budget overruns into your home. This is where you set the course for your entire bathroom remodel timeline.
Take a moment to get crystal clear on the scope. Are you just swapping out a vanity and a light fixture, or are we talking about a full gut job where walls and plumbing lines are on the move? Knowing exactly what you want to accomplish is the only way to set a budget that makes sense. For a really deep dive into this, our https://sinclaircabinets.com/bathroom-remodel-planning-guide/ is a fantastic place to start.
Securing Your Materials And Your Team
Once you have a solid plan and budget, you get to the fun part—picking out all the finishes. This is everything from the tile and grout to the vanity, faucet, and lighting. But here’s a pro tip that can make or break your schedule: order everything far in advance.
That perfect handcrafted tile you fell in love with online? It could have a 12-week lead time. The vanity you’ve bookmarked might be on backorder for two months. If you wait until your contractor is ready to start installing, you’re setting yourself up for expensive delays while your crew has nothing to do.
A project is only as fast as its slowest part. If your custom shower door takes eight weeks to arrive, your entire project timeline is now at least eight weeks long, regardless of how quickly the other work gets done. Order everything before demolition day.
At the same time you're ordering materials, you need to lock in your crew. This is a great time to begin researching local professional bathroom renovation services to find the right fit for your project.
Vetting And Hiring Your Contractor
Finding a contractor you can trust is about more than just comparing a few quotes. You’re inviting this person and their team into your home for weeks on end, so you need to do your homework. When you sit down with potential contractors, be ready with some direct questions:
- Are you licensed and insured? This is non-negotiable. Ask to see physical proof.
- Will you use your own employees or subcontractors? It’s good to know exactly who will be showing up at your door each day.
- How do you handle change orders or unexpected problems? Their answer speaks volumes about their professionalism and communication skills.
Make sure you check at least three recent references. Don’t just ask if the client was happy. Dig deeper—ask how the contractor handled issues that popped up and whether the project finished on time and on budget.
Demystifying The Permitting Process
Finally, let's talk permits. A lot of homeowners get caught off guard here. The reality is, any project that involves moving plumbing, touching electrical wiring, or altering structural elements will almost certainly require a permit from your city or county.
Trying to skip this step is a bad idea. It can lead to fines, failed inspections, and major problems when it comes time to sell your house. It’s wise to factor in anywhere from two to six months just for the permitting process before any construction begins. Getting this right ensures your remodel is safe, legal, and won’t cause you headaches down the road.
Navigating Demolition and Rough-In Work
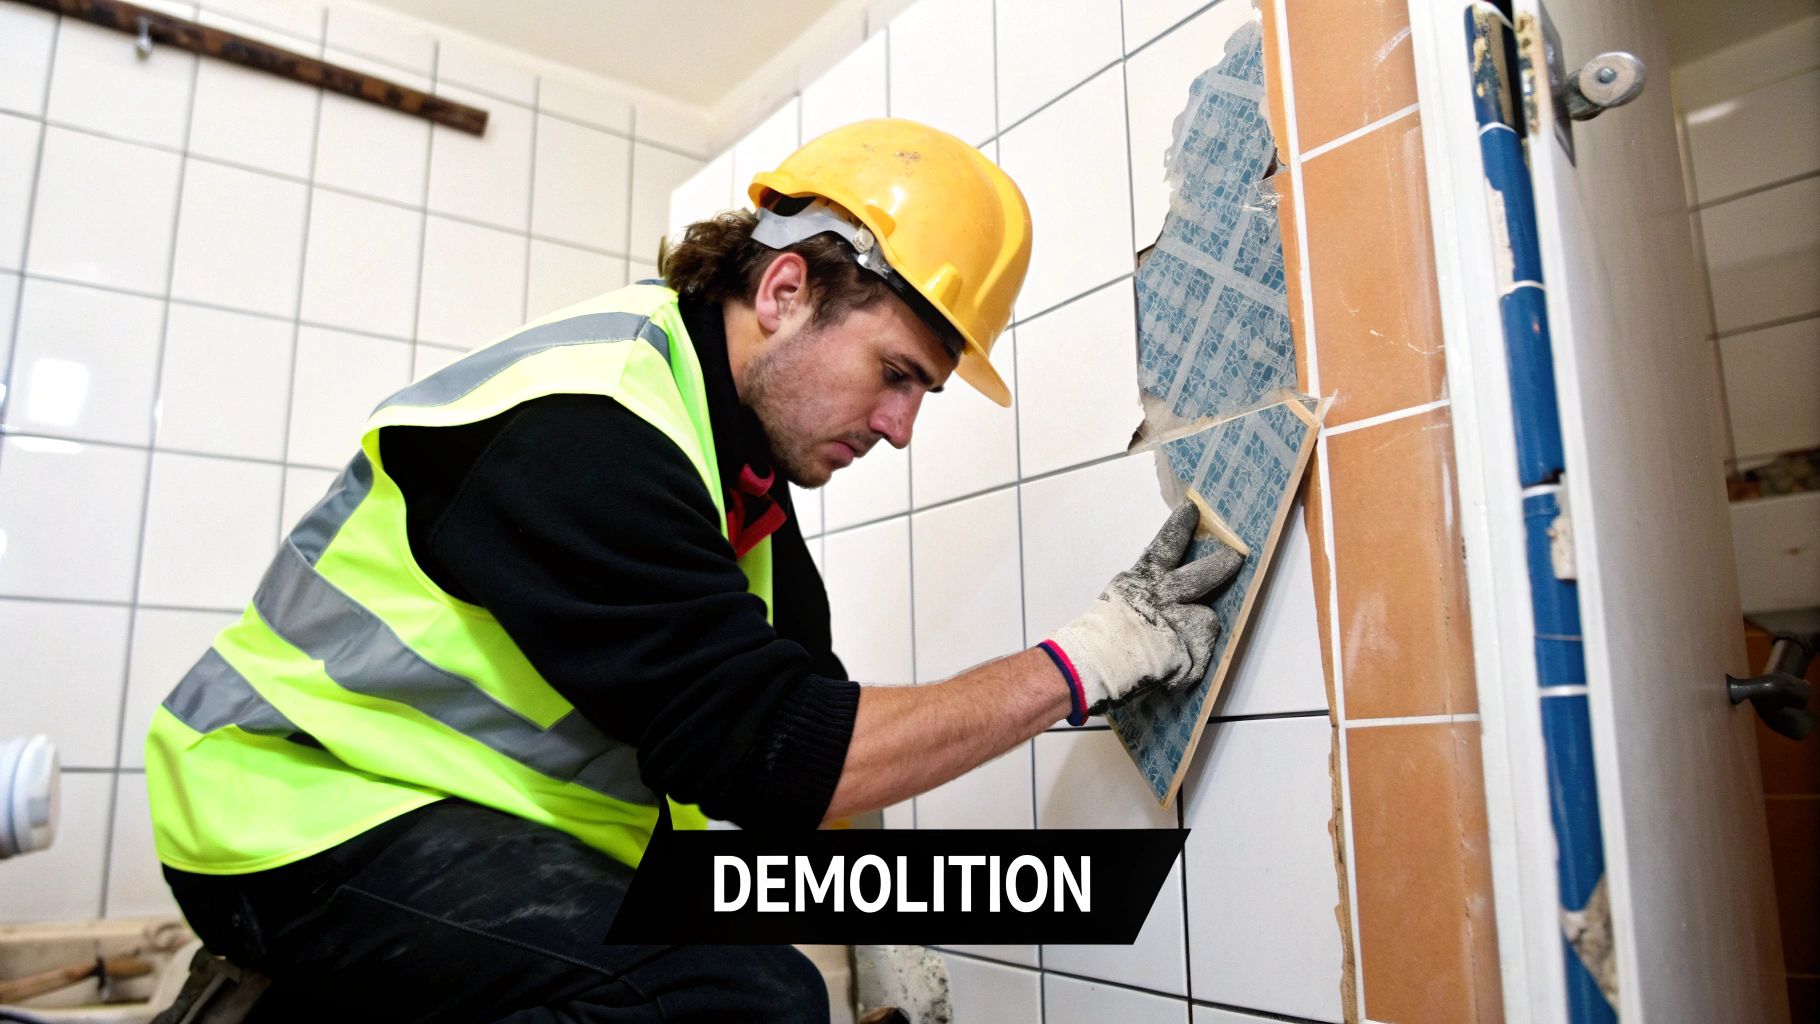
Okay, you've got your plans locked in and the new vanity is waiting in the garage. Now for the fun part: demolition. This is where your old bathroom starts to disappear, and it’s a phase that’s both incredibly satisfying and unbelievably messy.
Whether you've hired a pro or are grabbing the sledgehammer yourself, this is where your bathroom remodel timeline officially gets loud.
The demo and rough-in stage can take anywhere from three to nine days. That timeline can stretch in a heartbeat if we uncover any surprises hiding in the walls, like old plumbing leaks or wonky framing. This is easily the dustiest, noisiest part of the entire job, so careful prep is non-negotiable if you want to avoid a fine layer of drywall dust on everything you own.
Before anyone swings a hammer, you absolutely must contain the chaos. Here’s how we do it on our job sites:
- Seal the Area: Use heavy plastic sheeting and painter’s tape to completely seal off the bathroom doorway. For extra protection, I recommend creating a simple "airlock" with a second sheet of plastic a few feet away.
- Protect Your Floors: Lay down rosin paper or cardboard to create a protected path from the bathroom all the way to the nearest exterior door. Your floors will thank you.
- Shut Off Utilities: This one is critical. Turn off the water and electricity to the bathroom at the breaker and the main shut-off valve. No exceptions.
The Critical Rough-In Work
Once the room is stripped down to the studs, it's time for the "rough-in." I can't stress this enough: this is the most important stage of the entire remodel. It’s the skeleton of your new bathroom, and any mistakes made here will be a nightmare to fix later. If the bones aren't set right, the finished product will never look or function correctly.
Rough-in work is all the behind-the-scenes stuff that makes a bathroom actually work. We're talking about moving water supply and drain lines for a new shower layout, running new electrical wiring for those beautiful sconce lights you picked out, and setting the new shower pan or tub.
A flawless finish is impossible without a perfect rough-in. This is also when your first major inspection happens. A city inspector needs to sign off on all the new plumbing and electrical work before any drywall goes up. Passing this inspection is a huge milestone.
As you get through this phase, it helps to remember the scale of what you're undertaking. Homeowners are making serious investments in these spaces. The National Kitchen & Bath Association (NKBA) market outlook shows just how significant this spending is.
This chart just reinforces why getting the foundational rough-in work done perfectly is so vital. You're not just putting in a new toilet; you're protecting a major investment and ensuring you get a high-quality bathroom that will last for years.
Bringing Your New Bathroom to Life
The demolition dust has finally settled, and all that critical behind-the-scenes work is done. Now for the fun part—watching your new bathroom actually come to life. This is the stage in the bathroom remodel timeline where your vision starts taking shape, and the room begins to feel less like a construction zone and more like a real, functional space. From here on out, it’s all about precision, patience, and attention to detail.
With the rough-in inspection passed, the first real visual change is closing up the walls. Your contractor will hang fresh drywall or, more likely, moisture-resistant green board. This is followed by taping and mudding the seams. Don't be surprised if this takes a few days; the joint compound needs to dry completely between coats to create that perfectly seamless surface you need for a great paint job.
Building the Visual Foundation with Tile
Once the walls are smooth and ready, the tile work can begin. Honestly, this is where the artistry of a great remodel really shines. It’s also where a meticulous installer is worth their weight in gold. Whether you’re tiling the floor, the shower surround, or adding a backsplash, the layout is everything.
A seasoned tiler will spend a good amount of time just planning the layout to minimize awkward, skinny cuts and ensure the final look is balanced and symmetrical. After the tiles are set, they need to sit for at least 24 hours to cure properly before any grout is applied. Grouting comes next, followed by sealing—a non-negotiable step to protect both your tile and grout from moisture and future stains.
The sequence of installation here is critical for a truly professional finish. For instance, floor tile should almost always go down before the vanity and toilet are installed. This gives you a clean, continuous surface and makes it much easier to replace a fixture down the road without having to deal with patching tile.
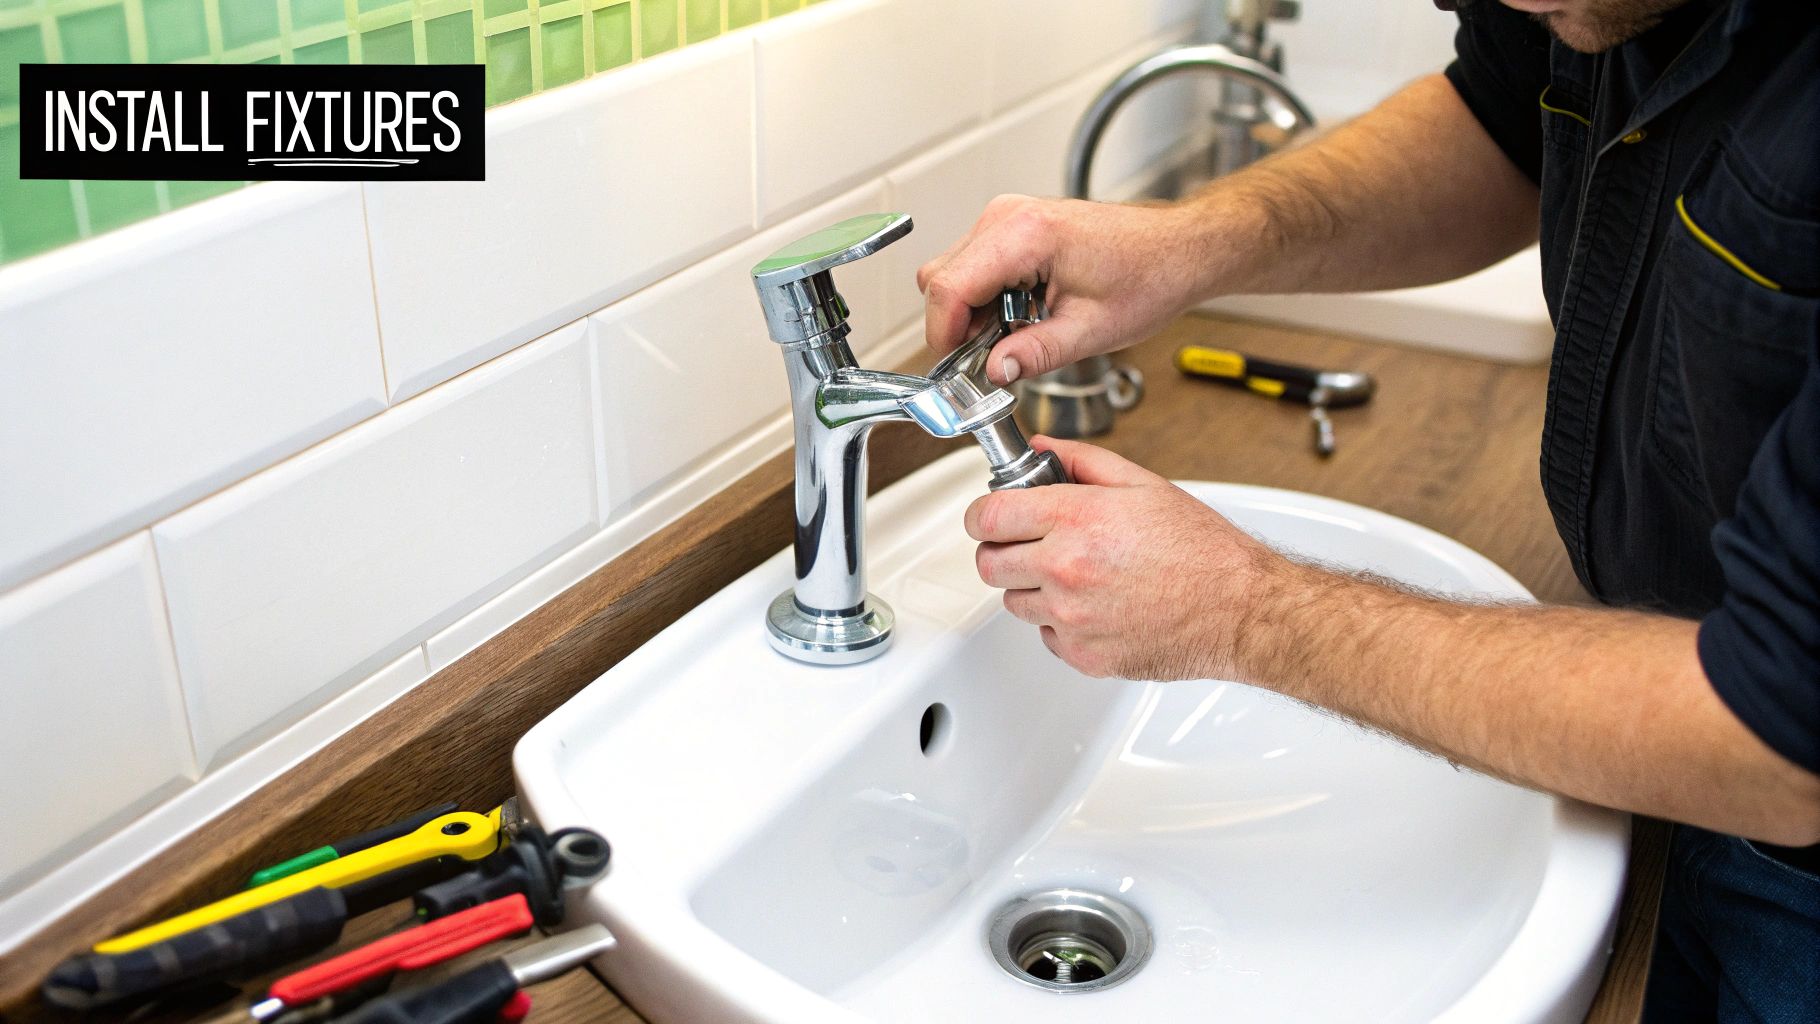
Installing the Core Fixtures
With the tile work complete and fully cured, it's time to bring in the big pieces. This is the moment the room’s layout and design are truly anchored. The process usually follows a pretty logical order:
- Vanity and Countertop: The vanity cabinet is the first major piece to be set in place and secured to the wall. The countertop is then carefully installed on top.
- Toilet Installation: Next, the toilet is set onto a new wax ring and bolted firmly to the floor.
- Major Fixture Placement: If your design includes a freestanding tub, this is when it gets carefully moved into its final position.
This is also when you see your statement pieces come to life. Choosing the right fixtures is everything, and elegant glass shower doors can completely define the space, adding a touch of luxury and openness.
Adding the Finishing Touches
The final details are what truly pull the entire design together and give the room its personality. The first order of business is usually painting the walls, ceiling, and trim—a job that's so much easier now that the major fixtures are in.
After the paint has dried, the electrician and plumber come back for their "trim-out" or "finals." They’ll connect the sink and shower faucets, install the light fixtures, outlets, and switches, and mount the exhaust fan cover. Finally, the mirrors, towel bars, robe hooks, and other accessories are carefully installed, completing both the function and the look of your new bathroom.
It's this focus on creating beautiful, highly functional spaces that is fueling major homeowner investment. The bathroom remodeling services market is on track to hit around $4.353 billion by 2025. This growth isn't just about updating old tile; it's driven by a desire for spa-like features and smart home integrations that turn a basic room into a personal retreat.
The Final Stretch and Project Punch List
You’ve made it through the dust and disruption, and now you’re in the home stretch. This is the part of your bathroom remodel timeline where all the loose ends get tied up, turning a construction site into your beautiful, finished bathroom. This final stage usually takes one to three days, but whatever you do, don't rush it. The details here are what make or break the final result.
This is what we call the "trim-out" phase, where all the smaller—but absolutely essential—components get installed. Think of it as adding the jewelry to your new room. We’re talking about attaching the handles to your new vanity, installing light switch and outlet covers, and connecting the faucet and shower head. It’s also when the shower door is carefully mounted and sealed. After that, it’s time for a thorough, deep cleaning to get rid of every last speck of construction dust.
Creating Your Final Punch List
Before you hand over that final payment to your contractor, it’s time to create a "punch list." This is just a formal list of every tiny detail that still needs to be corrected or finished. The entire point is to make sure the job is 100% complete and exactly to your satisfaction.
Grab a roll of blue painter’s tape and a notepad, then walk through the space. Be incredibly picky—this is your last real chance to get things perfect without any hassle.
Here are some common things you might find for your punch list:
- A paint drip on the baseboard.
- A small scratch on a cabinet door.
- A tile with a tiny chip in the corner.
- A light fixture that isn't perfectly straight.
- Grout that needs a minor touch-up.
Don’t feel bad about pointing out small imperfections. Any professional contractor worth their salt expects this process and genuinely wants you to be happy with their work. This list is the formal agreement on what needs to be done before the project is officially closed out.
Passing the Final Inspection
If your remodel required permits, you have one last hurdle: the final inspection. A building inspector will come back to review the completed work and give their official sign-off. They’re mostly concerned with safety and making sure everything is up to code.
The inspector will check to make sure:
- All electrical outlets are GFCI-protected.
- The exhaust fan is vented correctly.
- All plumbing fixtures work without any leaks.
- The toilet is installed securely.
Once you have that signed-off permit, your remodel is legally complete. This is a crucial step, especially when you consider the investment. The kitchen and bath remodeling market is on track to hit around $235 billion in the U.S. in 2025, largely driven by high-end projects with custom specs.
With the punch list finished and the inspection passed, you can now officially sign off on the work, make your final payment, and finally enjoy your stunning new bathroom. Now that you've wrapped up this project, you'll have a solid idea of your total investment. For those already dreaming up their next project, our bathroom remodel cost estimator can be a huge help for budgeting.
Common Questions About Bathroom Remodels
Even the most buttoned-up remodel plan is going to spark a few questions. It’s only natural. Thinking through these common concerns now will help you navigate your bathroom remodel timeline with way more confidence and dodge the usual snags that catch people off guard.
Let's walk through the questions we hear all the time from our clients before they kick off a project. Getting straight answers today will save you a ton of stress down the road.
How Can I Shorten My Bathroom Remodel Timeline?
Honestly, the single best way to tighten up a remodel schedule is to do all your homework before a single tool comes out. Your main goal is to eliminate dead time spent waiting around.
That means having every single material—the vanity, the tile, the fixtures, even the grout—on-site and ready to go before the demolition starts. Once you've finalized your design, lock it in. Changing your mind mid-stream is the number one killer of schedules and budgets. A seemingly simple tweak, like shifting an outlet six inches, can throw everything off by forcing the electrician and drywaller to reschedule, adding days or even a week to your timeline.
The most frequent cause of delays is waiting on materials. A backordered faucet or tile can stop a project dead in its tracks for weeks. The second biggest culprit? Unexpected surprises hiding in the walls—think hidden mold, a rotted subfloor, or old plumbing that needs to be brought up to current code.
Can I Use My Bathroom During The Remodel?
If you're doing a full gut remodel where the toilet, sink, and shower are coming out, the short answer is no. The room will be a full-on construction zone and completely unusable. If it's the only bathroom in your house, you absolutely must line up an alternative, whether that's crashing with a neighbor, family, or even booking a short-term rental.
Now, for a simple cosmetic facelift—like a fresh coat of paint, a new light fixture, or a faucet swap—you might be able to duck in and out. But it's always smartest to plan on the space being off-limits during the core work hours. It keeps you safe and lets the pros work without interruption.
What Is The Best Sequence For Installation?
Once the drywall is finished, there's a specific order to installing everything else that ensures a clean, professional result. Following this sequence is key to avoiding scuffs, scratches, and dings on your brand-new materials.
- Paint First: It's so much easier to get a perfect paint job on the walls and ceiling when you don't have to cut in around a new vanity or toilet.
- Flooring Goes Down: Next, the new floor tile or vinyl gets installed across the entire space.
- Set the Vanity and Countertop: The vanity cabinet is installed right on top of the finished floor.
- Install Major Fixtures: Now's the time for the toilet and any freestanding tub to be set in place.
- Make Final Connections: This is when the faucets, shower heads, and light fixtures are wired and plumbed.
- Add the Finishing Touches: Finally, accessories like towel bars, mirrors, and cabinet hardware are mounted.
Getting this order right does more than just look good; it sets your bathroom up for long-term success. A great installation today makes future updates easier and is essential for maximizing your storage. To really make your new space work for you, check out our guide for some brilliant bathroom cabinet organization ideas—they're most effective when you plan for them from the very beginning.
At Sinclair Cabinets, we believe a successful remodel starts with expert planning and flawless execution. If you’re ready to transform your bathroom with custom cabinetry built to last, visit us today to see how our 35 years of craftsmanship can bring your vision to life.