
That crooked cabinet door driving you crazy? The one that sags just enough to catch your eye or refuses to close all the way? Good news: this is almost always a super quick fix. You don't need to call a handyman—just grab a standard Phillips screwdriver, and I'll walk you through how to adjust cabinet hinges for a perfect fit in minutes.
So, Why Do Cabinet Doors Get Out of Whack?
It’s a super common headache for homeowners. One day your kitchen looks flawless, and the next, a door is hanging just a little bit crooked. This isn’t a sign that your cabinets are cheap or poorly made; it’s just what happens as a house “lives” and breathes.
Over time, things like daily use, small shifts in humidity, and even the house settling can knock your hinges out of alignment by just a few millimeters.
This tiny, gradual shift is what creates those frustrating problems. A door that was once perfectly level might start to droop, or the gap between two doors suddenly looks uneven. It’s one of those small details that can make an otherwise beautiful kitchen feel just a little bit off.
Common Signs Your Hinges Need a Tweak
You don't need a level or any fancy tools to spot a problem. Just keep an eye out for these tell-tale signs that your hinges need a quick tune-up:
- Uneven Gaps: The space between doors—or between a door and the cabinet frame—is wider at the top or bottom.
- Sagging Doors: One corner of the door, usually the top corner opposite the hinges, hangs lower than everything else.
- Doors That Rub or Stick: You hear that slight scraping sound when you open or close a door. That's it making contact with a neighboring door or the cabinet frame.
- They Won't Shut Properly: The door pops back open a tiny bit instead of closing flush against the frame.
Here’s the best part: modern hardware is designed for exactly this. Hinge manufacturers build these adjustment features right in, knowing that small corrections will be needed over the life of your cabinets. Once you understand how these simple mechanisms work, you're golden.
Figuring Out Your Cabinet Hinge Type
Before you even think about reaching for a screwdriver, the first move is to figure out exactly what kind of hinge you're dealing with. It's the most important step in learning how to adjust cabinet hinges.
Just open up one of your cabinet doors and take a close look. More often than not, you'll be looking at a European-style hinge, which is also called a concealed hinge. These have become the modern standard for a good reason—they're completely invisible when the door is shut and offer a fantastic range of adjustments.
You'll notice this hinge is made of two main parts: the part screwed to the door (the hinge arm) and the mounting plate that's fixed to the cabinet frame itself. All those little screws you see are your ticket to perfect alignment, with each one controlling a specific direction of movement.
What's the "Overlay" All About?
You'll hear the term "overlay" a lot when talking about hinges. It’s pretty simple—it just refers to how much the cabinet door overlays or covers the front of the cabinet frame. Your specific hinge is built for a certain type of overlay, and getting it right is crucial for the door to work properly.
Here’s a quick breakdown of what you might have:
- Full Overlay: This is where the door completely covers the front edge of the cabinet box. It's a popular choice for a clean, seamless look, especially when you have cabinets lined up next to each other.
- Half Overlay: The door covers about half of the cabinet frame. You often see this style when two doors share the same middle partition, allowing both to open without hitting each other.
- Inset: Instead of sitting on top of the frame, the door sits inside it, flush with the front edges. This gives a classic, furniture-like finish to your cabinetry.
Understanding your overlay helps you know what a "perfectly aligned" door should look like for your setup. If you want to go deeper, our guide on different kitchen cabinet hinge types is a great resource.
Here's the key takeaway: Don't get intimidated by all the screws. Each one has a very specific job—moving the door up/down, left/right, or in/out. Once you figure out which screw does what, the whole adjustment process clicks into place.
It's amazing how far hinge technology has come. The best manufacturers have rolled out features like soft-close mechanisms and simple micro-adjustments, responding directly to what homeowners want. In fact, some studies show that nearly 60% of homeowners say ease of adjustment is one of their top priorities when picking out cabinet hardware.
Mastering The Three-Way Hinge Adjustment
This is where the magic happens. Those few screws on your European-style hinges are the key to fixing just about any alignment issue you'll run into, from sagging doors to uneven gaps. Learning how to adjust cabinet hinges is really just about understanding these three simple movements.
Instead of getting bogged down in technical terms, let's connect each adjustment to a common, real-world problem you might be seeing. It makes the whole process feel more intuitive and ensures you're turning the right screw for your specific headache.
This image shows the variety of hinge types you might encounter. Getting familiar with your specific hardware is always the first step.
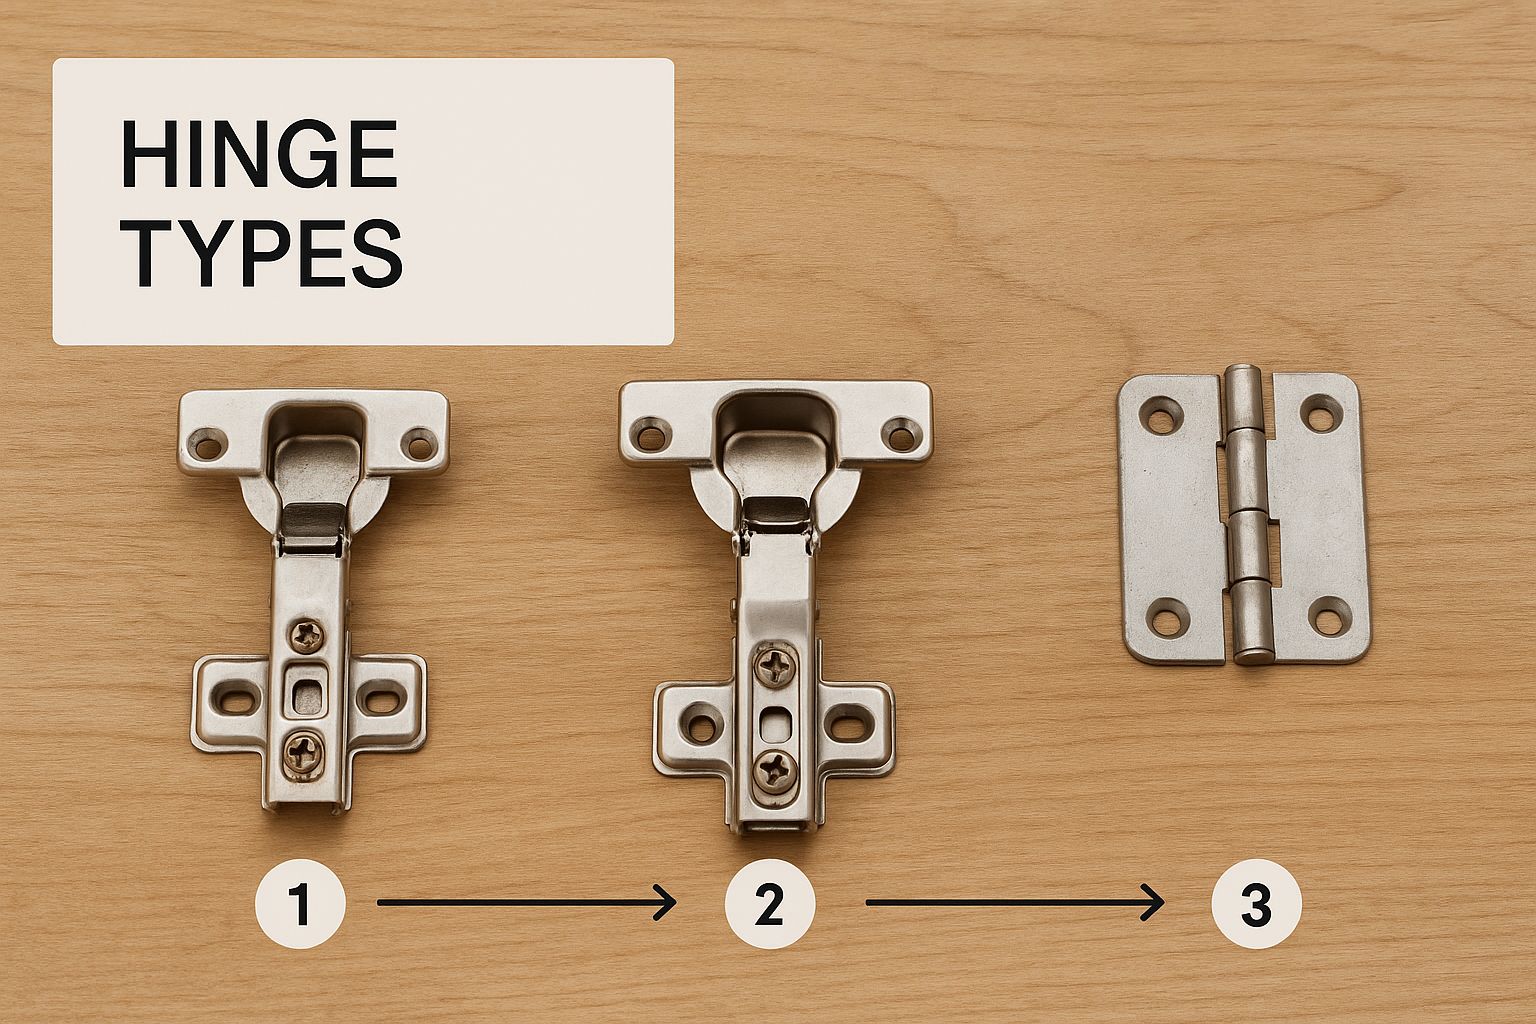
Knowing what you’re working with is half the battle. Once you’ve identified your hinge, you can start making targeted adjustments.
Side-to-Side Horizontal Fixes
The problem: You've got an uneven gap between two cabinet doors, or one door is rubbing against its neighbor when you try to close it.
This is, by far, the most common tweak you'll ever need to make. Find the screw on the hinge arm that's furthest away from the cabinet box itself. That’s your horizontal adjustment screw.
- To move the door left (away from the hinge side), turn the screw counter-clockwise.
- To move the door right (towards the hinge side), turn the screw clockwise.
The key here is to make small, quarter-turn adjustments on both the top and bottom hinges. Check your alignment after each turn. This subtle approach prevents you from overcorrecting and gives you a much cleaner, professional-looking result.
Up-and-Down Vertical Fixes
The problem: One door is sitting higher or lower than the one next to it, creating an annoying "step" effect. Over time, this can make a door look like it's sagging.
For this fix, your focus is on the mounting plate—the part of the hinge that’s attached to the cabinet wall. You’ll see it’s held in place by two screws (sometimes just one).
All you need to do is slightly loosen these mounting plate screws on both the top and bottom hinges. Don't take them all the way out; just get them loose enough for the hinge to slide up or down. Physically lift or lower the door until it’s perfectly level with its neighbor, hold it steady, and then re-tighten the screws. It's that simple.
Working alone can make this a bit tricky. If you're struggling to hold the door and tighten the screws simultaneously, you might find it easier to take the door off completely. We have a great guide on how to remove cabinet doors that can make this part of the job much smoother.
In-and-Out Depth Adjustments
The problem: The door doesn't close flush with the cabinet frame. Maybe it sticks out at the top or bottom, or it just won't stay completely shut.
Look for the screw located toward the back of the hinge arm. It’s often set a little deeper than the others. This is the screw that moves the door closer to or further away from the cabinet frame itself.
- Turning this screw clockwise will pull the door closer to the frame.
- Turning it counter-clockwise will push the door further away.
This final adjustment is crucial for getting that tight, seamless seal when the door is closed. It’s what gives a run of cabinets that clean, uniform look and ensures your doors aren't just hanging there, but are properly seated against the frame.
Dealing With Those Stubborn Cabinet Hinge Problems
Every now and then, you'll run into a cabinet door that just won't play nice, no matter how much you tweak the standard adjustment screws. It’s the kind of thing that can make you want to throw your screwdriver across the room. But don't give up—most of these stubborn issues have straightforward fixes that go beyond a simple turn of a screw. Let's walk through some of the curveballs you might face.
One of the most common headaches is a stripped screw hole. You know the feeling: you turn and turn, but the screw just spins in place without ever getting tight. This happens when the wood fibers are worn out and can no longer grip the screw, making a solid alignment pretty much impossible.
The Spinning Screw and Stripped Holes
The old-school fix for a stripped hole is a classic for a reason—it works like a charm.
Grab a couple of wooden toothpicks (a golf tee also works great), dip them in some wood glue, and gently push them into the hole. Snap them off so they're flush with the cabinet surface. Give the glue about an hour to dry, and you’ve essentially created new wood for the screw to bite into. Problem solved.
Here's a pro tip: Avoid over-tightening screws, especially if you're working with particleboard or MDF cabinets. The moment you feel the screw become snug, stop. This single habit will prevent you from stripping the hole in the first place and save you a ton of future frustration.
Another annoying problem is a door that keeps popping back open just a crack, even after you've dialed in the depth adjustment perfectly. This usually means the problem isn't the hinge itself. More often than not, it's either something inside the cabinet blocking the door or—the usual suspect—a warped door.
To check for warping, just lay a straight edge across the door. If you see any gaps between the straight edge and the door's surface, you've found your culprit. We have a whole guide on how to handle that, which you can find right here: warped cabinet door repair.
Finally, what about a door that sags no matter what you do? If the vertical adjustment screw isn't holding its position, it’s a strong sign that the hinge itself is worn out or bent from years of opening and closing. When this happens, your best bet is to replace both hinges on that door. This ensures they'll work together smoothly for years to come.
Pro Tips for Perfect Cabinet Alignment
Getting from a "good enough" fix to a flawless, professional-looking finish really comes down to a few insider tricks. These are the small details that separate a decent DIY job from one that looks like it was done by a seasoned cabinet maker. And honestly, it's simpler than you might think to get it right every time.
One of the best habits to get into is to always adjust doors in pairs. Think about it: when you tweak one door, it immediately changes the visual line of the door right next to it. By tackling them together, you can guarantee the gaps between them are perfectly uniform, giving you that clean, seamless look across a whole bank of cabinets.
Nail the Spacing Every Time
When it comes to those vertical gaps between doors, consistency is everything. You don't need fancy tools for this; a simple credit card works wonders.
- Just slide the card into the gap at the top of the door.
- Turn the horizontal screw until you feel just a little bit of resistance on the card.
- Do the exact same thing at the bottom.
This little trick ensures you have a uniform, professional-looking space from top to bottom.
If you take away only one piece of advice, let it be this: make small, incremental turns—we're talking no more than a quarter-turn at a time. The biggest mistake people make is turning the screw too far, which leads to overcorrection and forces you to backtrack. Slow and steady really does win the race here.
Once you've got everything looking perfect and are completely happy with the alignment, do one final pass. Go back and give every adjustment screw one last, gentle tightening. This locks all your hard work in place and makes sure nothing shifts out of alignment with daily use.
Still Have Questions About Hinge Adjustments?
Even with a good guide, a few questions always pop up, especially when you're tackling a project for the first time. Let’s clear up some of the most common things homeowners ask when they start adjusting their cabinet hinges.
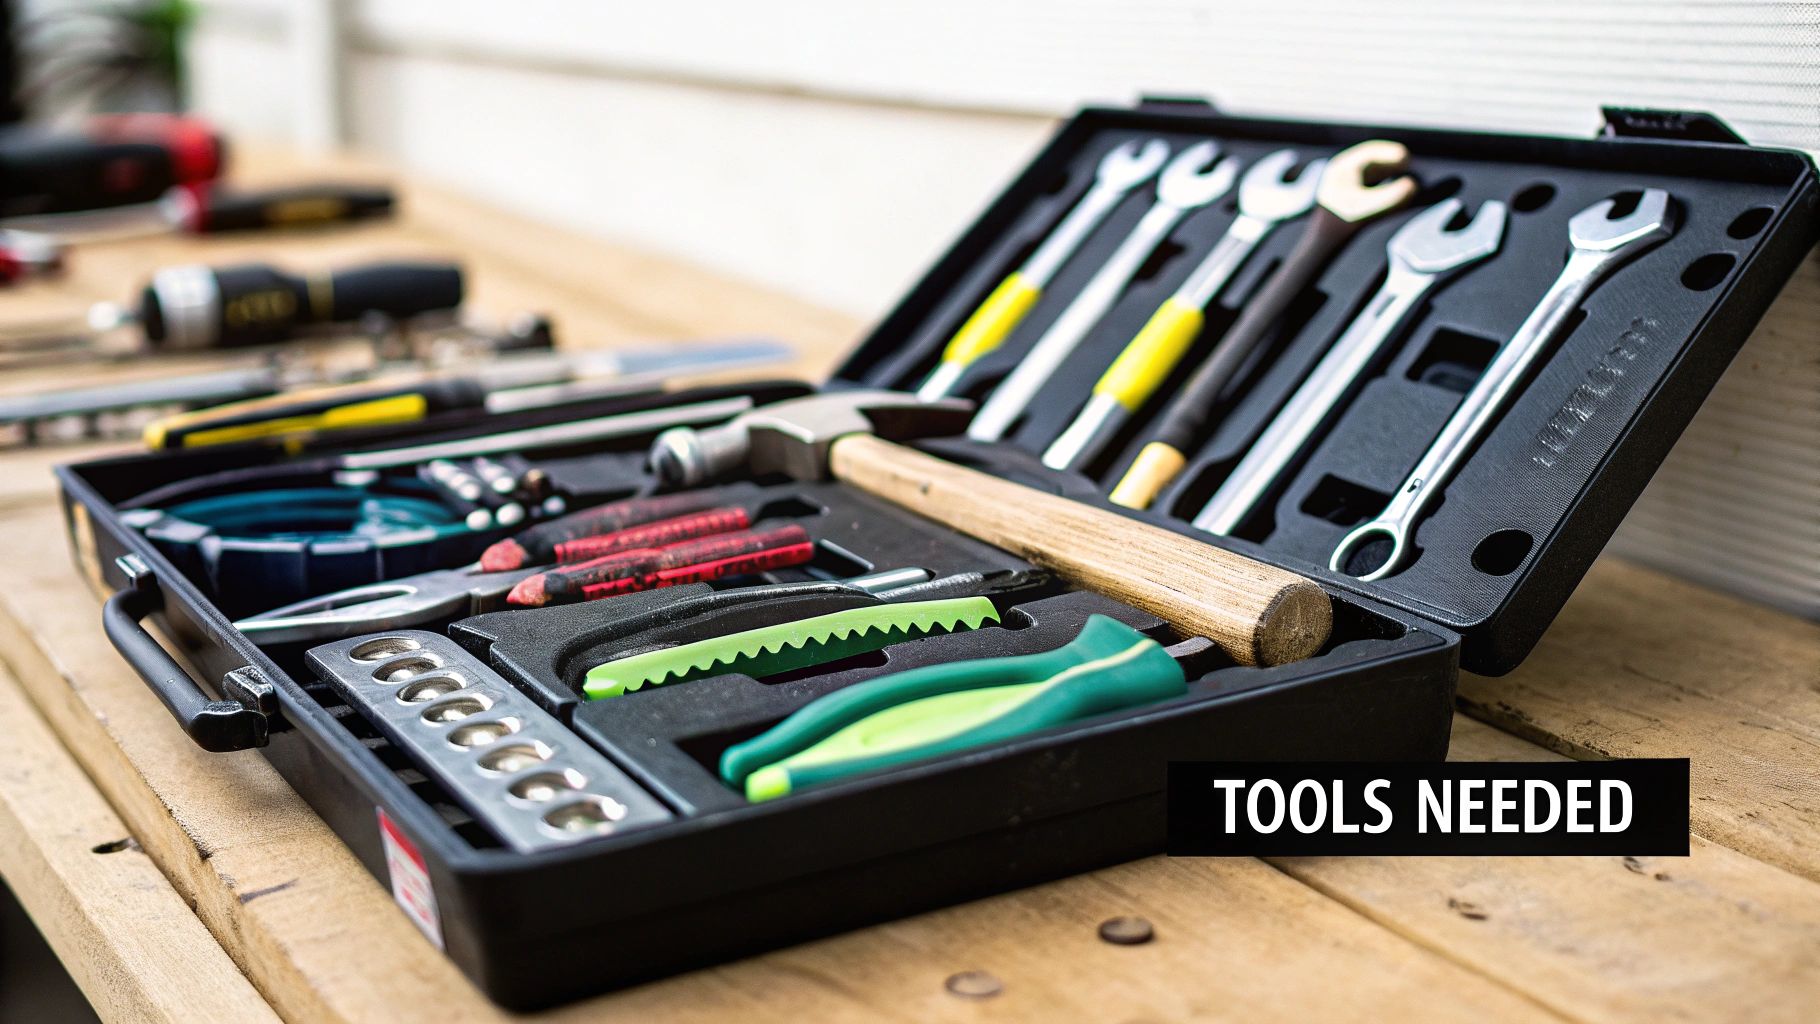
What Tools Do I Really Need for This?
Honestly, for most modern European-style hinges, a simple #2 Phillips head screwdriver will get the job done. That’s it.
If you want to be extra precise, having a small level on hand is great for checking your work. And of course, a step stool is a must for safely reaching those upper cabinets. While some old-school hinges might need a flathead, the Phillips is your go-to tool nine times out of ten.
How Do I Know Which Screw Does What?
This is the million-dollar question, and it's simpler than it looks. For the common European-style hinges, here’s a quick cheat sheet:
- The screw closest to the cabinet door handles your side-to-side (horizontal) movement. This is the one you'll use most often to fix gaps.
- The screw at the very back of the hinge arm is for depth, moving the door in and out.
- The two screws on the mounting plate (where the hinge attaches to the cabinet frame) let you adjust the door up and down (vertically). You'll need to loosen both slightly to make the adjustment.
My best advice? Make one tiny, quarter-turn adjustment on a single screw and just watch what the door does. It’s the fastest way to learn how your specific hinges work. You'll get the hang of it in no time.
My Door Is Sagging and Won't Shut. Is It a Hinge Problem?
Almost certainly. A sagging door is the classic sign that your hinges are out of alignment, and a quick vertical adjustment usually fixes it right up.
If the door pops open or just won't stay closed, the depth adjustment is the likely culprit. It could also mean the cabinet frame isn't perfectly square, but always start with the hinges. Adjusting them solves the problem over 90% of the time.
Can I Just Replace One Hinge on a Door?
You can, but I really wouldn't recommend it. It's always best practice to replace all the hinges on a single door at the same time.
Hinges wear down over the years, and a brand-new hinge will have much more tension and strength than the old ones. Mixing old and new puts uneven stress on the door and the new hardware, which can cause alignment problems down the road. Replacing them as a set ensures the door hangs perfectly and operates smoothly for years to come.
For custom cabinetry that combines timeless craftsmanship with modern functionality, trust the experts at Sinclair Cabinetry inc. With over 35 years of experience, we build beautiful, durable real wood cabinets designed to last a lifetime. Explore our gallery and start your project today at https://sinclaircabinets.com.