
Think of your bathroom renovation planner as the master blueprint for your entire project. It’s more than just a to-do list; it’s the bridge that takes your dreams from a Pinterest board to a real, functional space. This is where you get honest about your goals, lock in a realistic budget, and make the tough priority calls before a single tile gets ordered.
Building Your Renovation Blueprint
Before you start falling for a specific freestanding tub or that perfect mosaic tile, a successful remodel always begins with two things: a crystal-clear vision and a practical budget. This is where your planner starts to take shape. It’s time to move past a vague wishlist and define what you truly need from your new bathroom.
Define Your Vision and Priorities
First things first, ask yourself the big question: what’s the main reason for this renovation? Your answer will steer every single decision you make down the line.
- A Spa-Like Escape: Is this your personal sanctuary? This vision puts a premium on features like a deep soaking tub, a multi-head shower system, dimmable ambient lighting, and high-end materials that feel serene and luxurious.
- A Durable Family Hub: If this bathroom needs to survive the morning rush hour, your focus shifts to durability and easy cleaning. Think tough-as-nails porcelain tiles, tons of storage for everyone's stuff, and fixtures that can handle heavy daily use.
- An Accessible Space for the Future: This is all about smart, forward-thinking design. We're talking about a curbless walk-in shower, well-placed grab bars, a comfort-height toilet, and maybe even a wider doorway to accommodate future mobility needs.
Getting these priorities straight from the start is absolutely critical. For example, if you're building a family-friendly hub, you might skip the pricey rain shower head to free up funds for custom cabinetry with built-in laundry hampers. If aging-in-place is the goal, you’ll want to pour more of the budget into the structural work for a zero-threshold shower instead of splurging on decorative tile.
Establish a Realistic Budget
Once you know what you want, it's time to figure out what you can spend. A detailed budget is the single best tool you have to keep your project from spiraling out of control financially. So many homeowners make the mistake of underestimating costs or, worse, not planning for the unexpected. For a deeper dive into managing the entire process, this ultimate guide to a stress-free bathroom remodel is an excellent resource.

As you can see, materials and labor are the two biggest slices of the pie. This really highlights why choosing your materials wisely and hiring the right professionals is so important. To get a more granular look, here’s how that budget often breaks down.
Realistic Bathroom Renovation Budget Breakdown
Here’s a typical look at how a renovation budget is allocated. These percentages are solid starting points but will shift based on your project's scope and location.
| Expense Category | Estimated Budget Percentage | What This Covers |
|---|---|---|
| Labor | 40% – 50% | Plumbers, electricians, tilers, painters, general contractor fees. |
| Cabinetry & Countertops | 10% – 20% | Vanity, storage cabinets, countertop material and fabrication. |
| Fixtures | 10% – 15% | Toilet, sink, faucet, showerhead, bathtub. |
| Tile & Flooring | 5% – 10% | Floor tile, wall tile, grout, and installation materials. |
| Lighting & Ventilation | 5% – 10% | Sconces, overhead lighting, exhaust fan. |
| Doors & Windows | 3% – 5% | New door, window replacement, or privacy glass. |
| Paint & Finishes | 2% – 5% | Primer, paint, trim, and other finishing touches. |
| Permits | 1% – 2% | Fees required by your local municipality for the work. |
Keep in mind that these are just estimates. A high-end, custom vanity could easily take up a much larger percentage, while a simple paint-and-fixture swap would be much lower.
More and more, homeowners are turning to professionals to get the job done right. In the United States, spending on kitchen and bathroom remodeling is projected to grow by 2.6% in 2025. What’s really telling is that pro-led projects are expected to jump by 2.9%, while DIY renovations are only forecast to grow by a sluggish 0.6%. This trend shows a clear preference for expert management to avoid costly mistakes.
Crucial Tip: Always—and I mean always—build a contingency fund into your budget. Set aside 15-20% of your total project cost. This isn't "play money." It's a dedicated fund for the inevitable surprises, like discovering hidden water damage behind a wall, finding out old plumbing isn't up to code, or having a fixture arrive damaged.
With a clear vision and a solid financial plan, your bathroom planner goes from a simple idea to a powerful roadmap. It gives you the structure you need to confidently tackle material selections, contractor interviews, and timeline management, ensuring your project starts strong and finishes on budget.
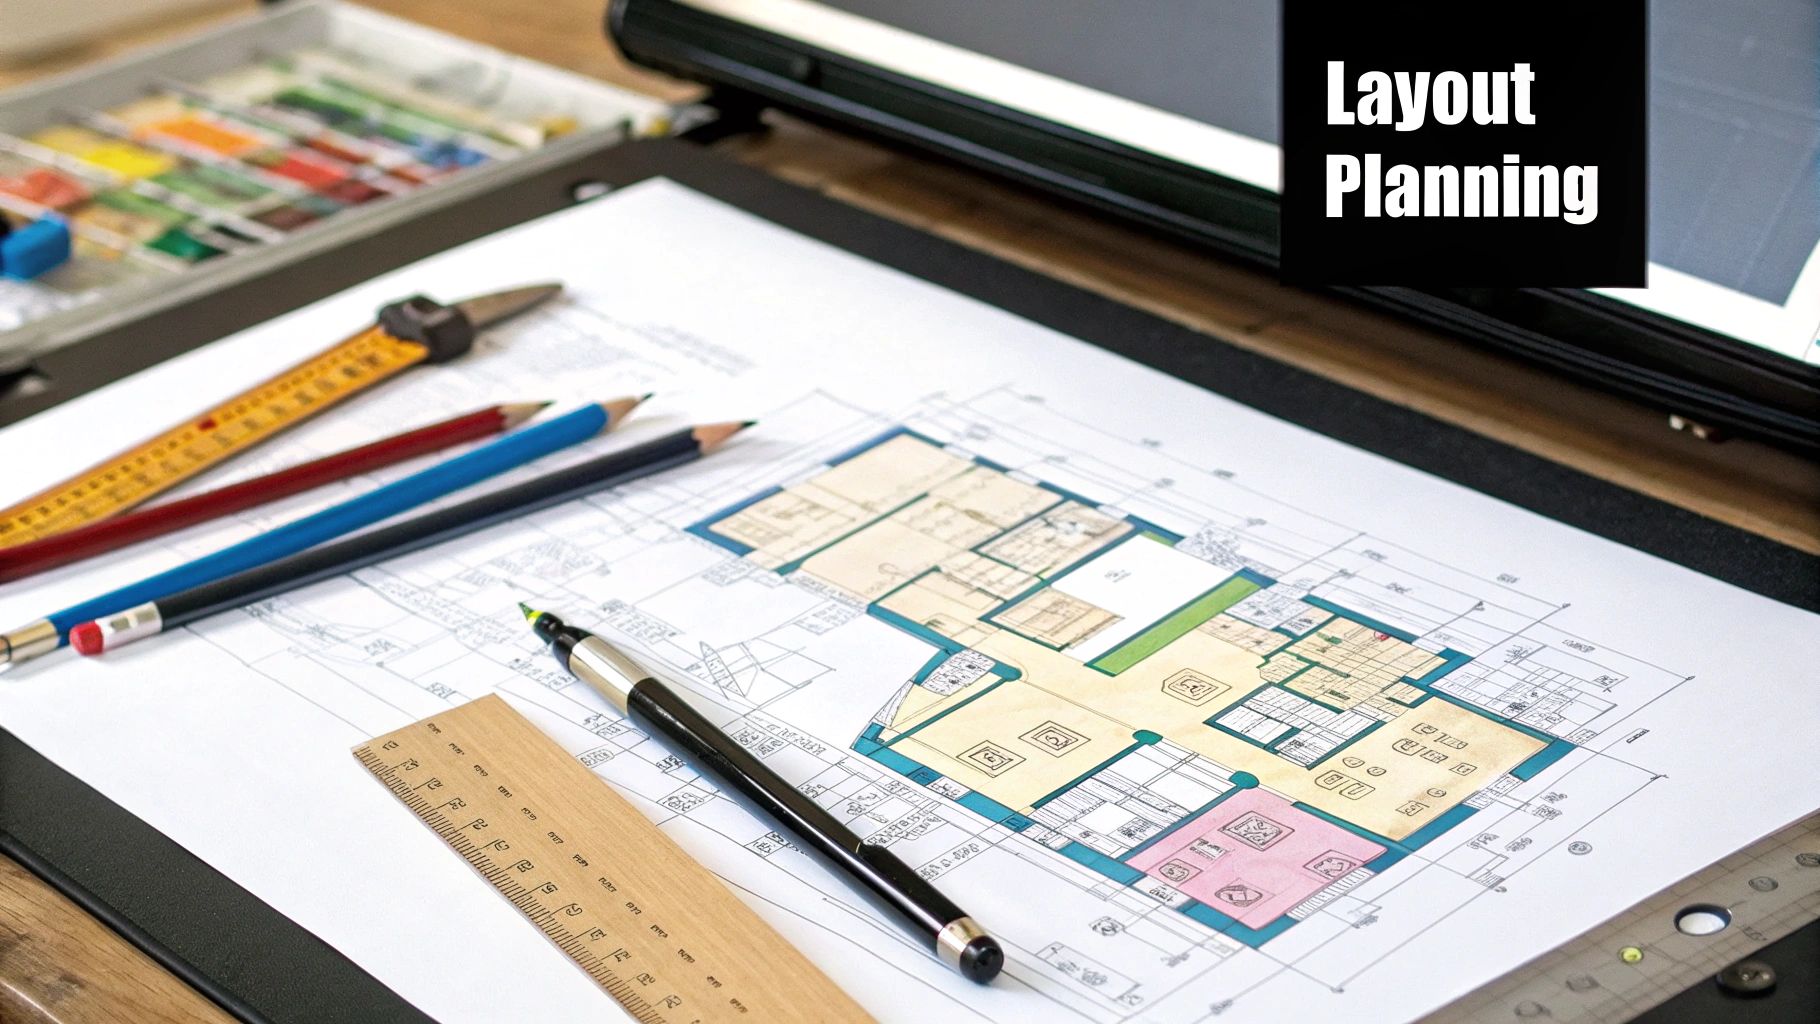
Designing a Functional and Modern Space
Alright, with your budget outlined and priorities straight, we get to the fun part: the design. But this isn't just about picking out tile and paint colors. This is where we sculpt the very footprint of your new bathroom, shaping it to fit your real, everyday life—not just to look good in a picture. A smart design can take a cramped, awkward room and make it feel open, intuitive, and a genuine pleasure to use.
One of the biggest mistakes I see homeowners make is trying to force too much into a small area. The best layouts always prioritize flow and function. Think about your morning routine. Do you and your partner create a traffic jam between the sink and the shower? Is the toilet positioned so the door is always in the way?
Thinking through these little daily annoyances is the key to great spatial planning. If you need some inspiration to get the creative juices flowing, you can find some truly innovative bathroom renovation ideas to help you visualize what's possible. Sometimes the most powerful change isn’t adding more stuff, but cleverly repositioning what’s already there.
Optimizing Your Bathroom Layout
Even a tiny adjustment to the layout can have a massive impact. For example, simply swapping a standard swinging door for a pocket door can instantly free up 9 square feet of floor space. That's huge in a small bathroom! Another great move is installing a wall-mounted toilet, which makes the room feel much larger by keeping the floorline clear and unbroken.
Here are a few layout strategies I often recommend to clients:
- Go for a Wet Room: By waterproofing the entire room and blending the shower area with the main floor (usually with a sleek, single drain), you can create an incredibly open and airy feel, even in a tiny space. It's also a fantastic move for accessibility.
- Install a Floating Vanity: Lifting the main cabinet off the ground does two things. It shows more flooring, which tricks the eye into seeing a bigger room, and it makes cleaning underneath an absolute breeze. For some great examples of this in action, check out our guide on bathroom cabinet remodel ideas.
- Use Mirrors Strategically: A single, large, well-placed mirror is your best friend in a small bathroom. It will bounce light around and reflect the space, effectively doubling the room's perceived size.
Pay close attention to the "wet wall"—the wall that houses most of your plumbing lines. The most budget-friendly approach is to keep the sink, toilet, and shower all along this one wall, as it keeps the plumbing work simple. But if your budget has some wiggle room, splitting these fixtures up can sometimes lead to a more functional and luxurious layout.
Integrating Smart Features That Actually Matter
Technology in the bathroom isn't just about flashy gimmicks anymore; it's about adding real-world convenience and hygiene to your daily routine. The smart bathroom market is booming for a reason, valued at USD 9.24 billion in 2024 and expected to more than double to USD 24.83 billion by 2034. This isn't just a trend; it's driven by features that solve real problems.
The key is to choose smart features that solve a problem for you.
Expert Insight: Before you get sold on any new tech, ask yourself this: "Will this feature actually make my life easier, or is it just another thing to manage?" The best smart home additions are the ones that blend in so seamlessly you forget they're even there.
Heated floors, for instance, are an absolute game-changer in colder climates. They turn a chilly morning into a small moment of luxury, use a surprising amount of energy, and even help dry out the room faster to prevent mildew.
Here are a few other practical technologies worth considering:
- Touchless Faucets: A huge win for hygiene, especially in a busy family or guest bathroom. They drastically cut down on the spread of germs and help conserve water.
- App-Controlled Lighting: This lets you change both the brightness and color temperature of your lights. Think bright, energizing light for your morning shower and a warm, soft glow for a relaxing bath at night—all from your phone.
- Smart Shower Controls: You can set your perfect water temperature before you even step in. Some systems even let different family members save their own presets. No more fighting over the temperature!
- Ventilation with Humidity Sensors: A smart fan that kicks on automatically when it detects steam is your number one defense against moisture and mold. It’s a small addition that protects your entire investment.
By blending a smart layout with technology that serves a real purpose, you’ll end up with a bathroom that’s not just beautiful, but truly intelligent, functional, and tailored perfectly to your life.
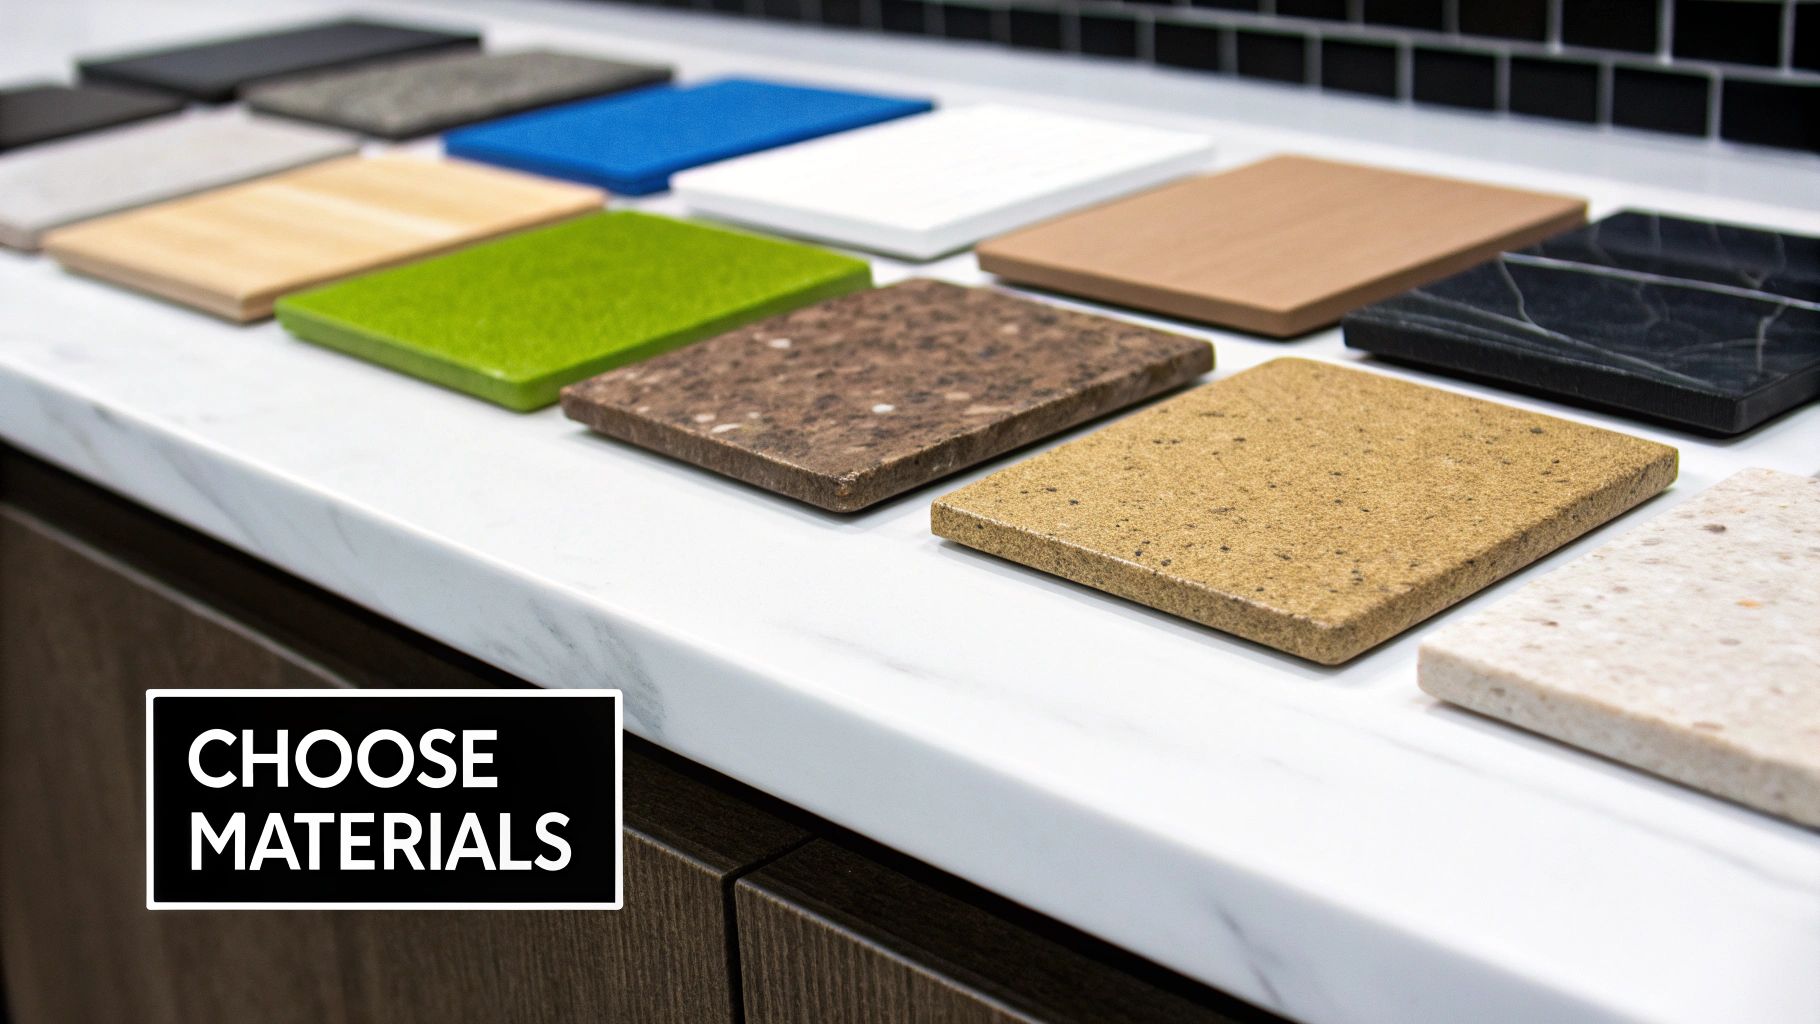
Choosing Materials and Fixtures That Last
This is where the personality of your bathroom really starts to shine through. The materials and fixtures you pick will not only define the look and feel of the space but also determine how well it holds up to daily life. Think of this as choosing the core components that need to balance timeless style with rock-solid performance.
Your materials are the workhorses of the design. They have to handle constant moisture, regular cleanings, and foot traffic without losing their luster. It’s less about picking a pretty color and more about selecting the right tool for the job.
Smart Material Selections For High-Impact Surfaces
Two areas demand your full attention: the floor and the vanity countertop. These surfaces take the most daily abuse and command the most visual real estate, so getting this choice right is crucial for both the long-term durability and the overall aesthetic of your bathroom.
Let's walk through some of the most popular options to see what makes the most sense for your home and budget.
Flooring Face-Off: Porcelain vs. Luxury Vinyl Tile (LVT)
- Porcelain Tile: This is, without a doubt, the reigning champion of bathroom flooring. Because it's fired at much higher temperatures than its ceramic cousin, porcelain is incredibly dense. That means it’s exceptionally resistant to water, scratches, and stains. It also comes in a dizzying array of styles, from hyper-realistic wood looks to sleek, modern slabs. The only real drawbacks? It can be cold underfoot, and those grout lines will need sealing and regular cleaning.
- Luxury Vinyl Tile (LVT): LVT has become a seriously impressive and popular alternative. It's 100% waterproof, feels much softer and warmer underfoot than tile, and is often easier on the budget. Modern LVT planks and tiles look shockingly realistic, mimicking natural wood and stone textures beautifully. This makes it an amazing choice for busy family bathrooms where comfort and toughness are top priorities.
I once worked with a homeowner whose biggest remodel regret was choosing tiny mosaic tiles for their shower floor. They found themselves in a never-ending battle with grout lines. Choosing larger format tiles, whether porcelain or LVT, is a pro tip—it dramatically cuts down on grout and makes your life so much easier when it comes to cleaning.
Countertop Comparisons: Quartz vs. Granite
For your vanity top, the goal is a non-porous surface that can laugh off water spots, soap scum, and stray cosmetics without a hint of staining.
- Quartz: This engineered stone is the hands-down winner for most modern bathrooms. It's made from crushed natural quartz mixed with resin, which creates a bulletproof, non-porous surface that never needs to be sealed. It’s incredibly tough and comes in a huge range of colors and patterns, from pure, crisp whites to designs that mimic expensive marble.
- Granite: As a natural stone, every slab of granite is completely unique, which is a big part of its appeal. It's very durable, but it's also naturally porous. This means you’ll need to seal it about once a year to keep it from absorbing water and stains.
For most people, quartz is the more practical, set-it-and-forget-it choice for a bathroom, thanks to its zero-maintenance and highly durable nature.
Choosing Fixtures With an Eye on Function and Finish
Think of your fixtures—the faucet, showerhead, toilet, and sink—as the jewelry of the room. They add that final sparkle, but their design and finish also play a massive role in how the bathroom functions day-to-day.
A Note on Finishes: While matte black fixtures are having a major moment for their dramatic, modern aesthetic, be warned: they are magnets for water spots and fingerprints. Finishes like brushed nickel and chrome are the reliable workhorses of the bathroom world. They are extremely durable and do a fantastic job of hiding minor splashes, making them a far more practical pick for a high-traffic family bathroom.
To truly elevate the space, consider how certain fixtures can transform both the look and function. For instance, incorporating custom glass shower doors can instantly make a bathroom feel larger, brighter, and more luxurious.
Don't overlook water efficiency, either. Opting for WaterSense-labeled fixtures is a smart decision that keeps paying you back. A modern low-flow toilet, for example, can cut your water use by 20-60% compared to an old one, saving an average family hundreds of dollars over its lifespan without any loss in performance. Similarly, a water-saving showerhead delivers a great shower experience while significantly cutting down on hot water use, which in turn lowers your energy bill. It’s a simple choice that benefits both your wallet and the environment.
How to Handle Permits and Project Timelines
Alright, you’ve dreamt up the design, and now it's time to get into the nitty-gritty. We're moving from the fun design phase into logistics—the part of the plan that keeps everything legal, on schedule, and actually moving forward.
This is where many homeowners get tripped up. Permits and scheduling can feel like a mountain of paperwork and phone calls. But ignoring them is a recipe for disaster, leading to stressful delays, surprise costs, and even fines from your local building department.
Let’s be clear: this part of the project doesn’t have to be a nightmare. A little foresight goes a long way. With the right approach, you can create a timeline that keeps your renovation on track and your sanity intact. This is where a detailed plan truly proves its worth.
Demystifying the Permit Process
I get it. The word "permit" can spark a little bit of dread. But think of it as a safety check. A permit is simply your city's way of ensuring the work done in your home meets local building codes. These codes aren't there to annoy you; they exist to protect you, your family, and the long-term value of your property. Skipping this step can create huge headaches when you eventually decide to sell.
So, when do you actually need one? While every city and county has its own rules, you can bet on needing a permit for any of these major changes:
- Moving or adding plumbing: Any time you relocate a toilet, sink, or shower drain.
- Altering the electrical system: Think adding new outlets, installing a dedicated circuit for a fancy jetted tub, or moving existing wiring.
- Changing the structural layout: This means moving, removing, or even adding walls—even non-load-bearing ones.
- Modifying ventilation: Installing a bigger window or moving your exhaust fan usually requires a permit.
On the other hand, just swapping out a faucet or a light fixture typically won't require you to pull a permit. Your best first move is to check your local building department’s website or just give them a call. They'll have a clear checklist for you.
Even better? If you’ve hired a reputable general contractor, they will almost always handle the entire permitting process for you. That includes the application, the paperwork, and coordinating the final inspection. It’s one of the biggest perks of working with a pro.
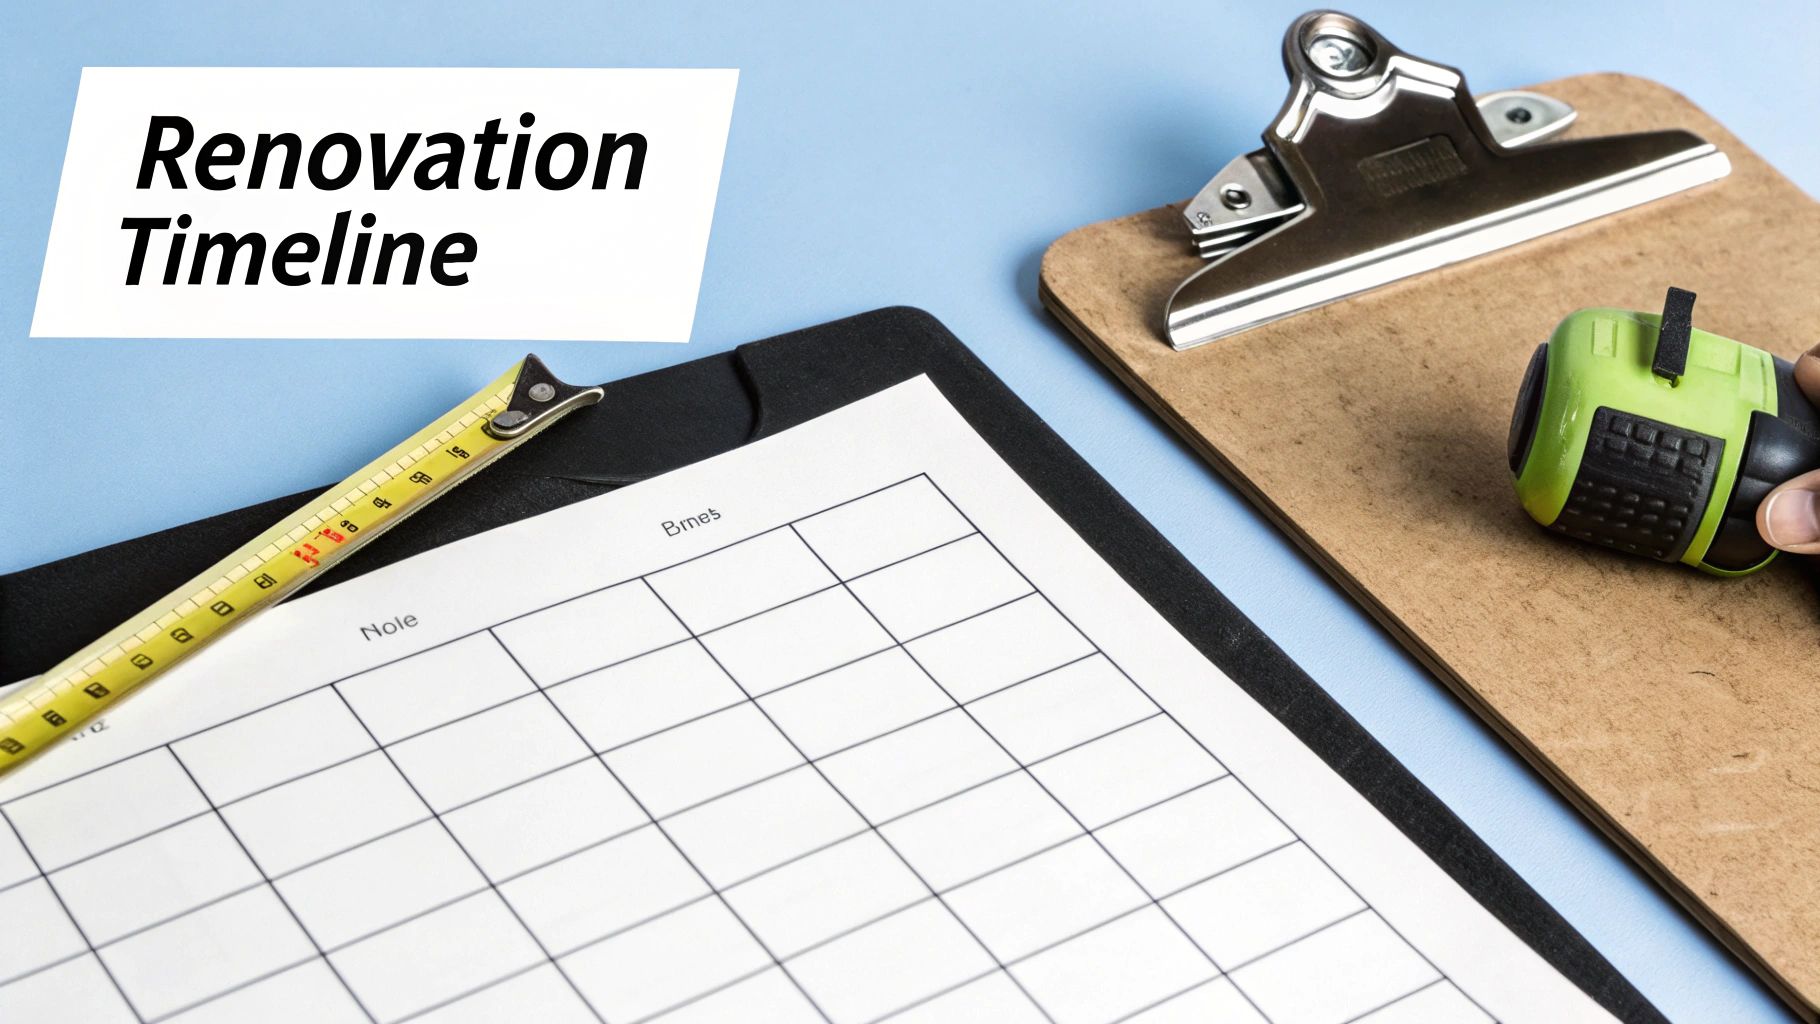
Building a Realistic Project Timeline
A successful renovation runs on a logical sequence. You can't tile a floor that hasn't been prepped, and you can't install a vanity before the flooring is down. Creating a realistic timeline helps you coordinate with your tradespeople, order materials so they arrive at the right moment, and just generally understand what’s happening and when.
Pro Tip: Your timeline is a roadmap, not a rigid set of commandments. Always, always build in a buffer of 15-20%. If you think the job will take four weeks, plan for five. This contingency time is your secret weapon against unexpected delays—like a vanity arriving damaged or discovering old, corroded pipes that need replacing—without throwing the whole project into chaos.
The Standard Order of Operations
Most full bathroom gut-jobs follow a pretty predictable flow. Getting a handle on this sequence is the key to effective planning.
- Demolition and Debris Removal: The first, and definitely the messiest, stage. The old bathroom gets completely gutted and hauled away.
- Framing and Structural Changes: If new walls are going up or old ones are coming down, this is when it happens.
- Rough-in Work: This is a crucial phase. Plumbers and electricians come in to run all the new pipes, drains, and wires while the walls are still open. This has to happen before any drywall.
- Insulation and Drywall: The walls are finally closed up, then taped and mudded to create a smooth surface.
- Tiling and Flooring: Tile for the shower, walls, and floor goes in, followed by grouting and sealing.
- Painting: The room gets its color before the big, bulky fixtures are brought in. It’s so much easier to paint an empty room.
- Cabinetry and Countertop Installation: Now the vanity and any other storage cabinets are set in place.
- Final Fixture Installation: The plumber returns to install and connect the toilet, sink, faucet, and all the shower trim.
- Finishing Touches: Finally, the electrician comes back to install light fixtures and switches. Then, all the last details—mirrors, towel bars, and the shower door—are put in place.
Understanding the project's sequence and potential bumps in the road is absolutely essential. For an even more detailed breakdown, you can dive into this guide on bathroom remodel planning. This kind of structured approach is what turns a potentially chaotic process into a manageable series of steps.
Finding and Working With the Right Pros
Let's be honest. A brilliant design and a pile of top-tier materials don't mean much if the person putting it all together isn't up to the task. The ultimate success of your bathroom remodel really boils down to the quality, communication, and professionalism of the pros you hire.
This is, without a doubt, the most critical part of your bathroom renovation planner. Finding the right team is more than a quick Google search; it’s a careful vetting process to build a partnership you can truly trust. Your renovation is a huge investment, and the team you assemble is responsible for protecting it and bringing your vision to life.
Where to Find Reputable Contractors
A simple online search is a fine place to start, but it absolutely shouldn't be your only tool. The best, most reliable leads almost always come from real-world recommendations and trusted sources where reputation is everything.
I always tell people to start by asking friends, family, or colleagues who’ve recently gone through a remodel. Getting a firsthand account of their experience—both the good and the bad—is pure gold. From there, expand your search to a few key places:
- Local Building Supply Stores: Go talk to the folks at the pro desk at your local lumberyards and tile shops. They know who the good contractors are because they see who pays their bills on time and who consistently buys quality materials.
- Reputable Trade Associations: Groups like the National Association of the Remodeling Industry (NARI) maintain directories of members who are held to a strict code of ethics and professional standards. It’s a great filter for finding serious professionals.
- Interior Designers and Architects: If you're already working with a designer, they will have a short list of trusted contractors they've worked with before. They won't recommend anyone who makes them look bad.
Your goal here is to gather a solid list of three to five potential contractors. This gives you enough options to compare without getting completely overwhelmed.
Vetting Your Pros With the Right Questions
Think of this as a job interview, because that's exactly what it is. This is your chance to look beyond the pretty portfolio pictures and get a feel for their business practices, communication style, and overall reliability. A true professional will welcome your questions, so don't be shy.
Here’s a quick checklist of what you need to cover:
- Licensing and Insurance: Ask for their contractor's license number and proof of both general liability insurance and workers' compensation. This is completely non-negotiable. It protects you from financial disaster if an accident happens on your property.
- Experience with Similar Projects: Have they done bathrooms like yours before? Ask to see photos, but more importantly, ask for references from a couple of their most recent projects.
- Communication and Project Management: How will they keep you in the loop? Will you have a dedicated project manager? Do they use a specific app or software for updates, or is it all done through daily texts and calls?
- Subcontractor Relationships: Do they have a regular crew of plumbers, electricians, and tilers they trust, or do they just hire whoever is available? A consistent team almost always means a smoother schedule and much better quality control.
Expert Takeaway: Pay close attention to how they answer. Are they transparent and direct, or do they seem vague and defensive? How a contractor communicates during this interview is a massive clue as to how they’ll communicate when the project gets stressful.
Comparing Bids and Understanding the Costs
Once you have bids from your top candidates, it's time for a careful comparison. The biggest mistake homeowners make is jumping straight to the lowest number. A suspiciously cheap bid is often a red flag for cut corners, low-grade materials, or an inexperienced contractor who has completely underestimated the job.
Instead of just looking at the price, focus on the value. A proper, professional bid is a detailed document, not just a single number scribbled on a piece of paper.
What to Look For in a Professional Bid
| Element | Why It Matters |
|---|---|
| Detailed Scope of Work | It should clearly list every single task, from demolition and plumbing rough-in to final paint and cleanup. |
| Material Allowances | This specifies the budget for your selections, like tile, fixtures, and the vanity. It helps you see where the money is going. |
| Payment Schedule | A professional schedule outlines when payments are due, almost always tied to specific project milestones being met. |
| Change Order Process | This explains exactly how unexpected changes or additions will be documented, priced, and approved by you. |
| Projected Timeline | It provides a realistic start date and an estimated completion date. |
If one bid comes in significantly lower than the others, you need to ask why. It’s very possible they missed a huge piece of the scope of work, which will just pop up later as an expensive "surprise" change order. The best contractor is almost always the one who provides the most detailed, transparent, and comprehensive bid—even if it isn't the rock-bottom cheapest.
Common Questions About Planning a Bathroom Remodel
Even with the most detailed plan, a few nagging questions always seem to surface during a bathroom renovation. As you start turning your ideas into actual demolition and construction, you'll inevitably run into some "what ifs."
We've been there. So, we've put together some of the most common questions we hear from homeowners, along with practical answers from our years of experience. Getting these details right can make all the difference between a project that just looks good and one that truly works for your daily life.
Can I Put New Tile Over Old Tile?
This question comes up a lot, usually because homeowners are hoping to skip the messy, labor-intensive job of tearing out the old tile. The short answer is yes, you can… but it’s a big "but." For this to even be an option, your existing tile has to be in perfect shape—we’re talking no cracks, no loose spots, and a completely level surface.
An installer would need to scuff up and prime the old tile to give the new adhesive something to grip. The biggest headache, though, is the added height. Raising the floor creates an awkward lip at the doorway, which almost always means you'll have to trim the bottom of the bathroom door. While it might save a bit of money upfront, most pros will tell you to tear it out. A full removal gives you the best, most durable foundation for your new floor.
How Can I Make My Small Bathroom Feel Bigger?
Ah, the classic small bathroom dilemma. Luckily, there are a handful of design tricks that genuinely work wonders. The key is to create long, unbroken visual lines and bounce as much light around as possible.
- Floating Vanity: Getting the main cabinet off the floor is a game-changer. Seeing more of the floor instantly makes a room feel more open and airy.
- Large Mirror: Don't be afraid to go big with your mirror. A single, large mirror reflects light and the room itself, creating a powerful illusion of depth.
- Wall-Mounted Toilet: These designs hide the tank inside the wall, which frees up precious floor space and gives you a clean, seamless look.
- Glass Shower Panel: Swap that bulky shower curtain or framed door for a simple glass panel. It keeps sightlines open and stops the room from feeling choppy and divided.
Using a few of these strategies together can completely transform how large your bathroom feels. If you need more inspiration, you can find a ton of great bathroom renovation ideas that show how to master a small space.
Is an Open Shower a Good Idea?
The "wet room" style, with its doorless or open shower, looks absolutely stunning and is fantastic for accessibility. But it’s not for everyone. The number one complaint we hear? It gets cold. Without a door to trap steam, you might find yourself shivering, especially in the winter.
Real-World Feedback: Many homeowners who install open showers later say they wish they'd put in heated floors—not just in the main bathroom area, but right inside the shower itself. It's a small upgrade that makes a massive difference in comfort.
Drainage is the other critical piece. The shower floor needs a much more aggressive slope than a standard shower to guarantee water flows directly to the drain and doesn't creep into the rest of the bathroom.
What Is the Most Practical Fixture Finish?
Matte black and brushed brass are having a moment, and they look fantastic. The catch? They aren't the most forgiving choices for a busy family bathroom. These darker, matte finishes are notorious for showing every single water spot, fingerprint, and bit of soap scum, meaning you'll be wiping them down constantly.
When it comes to pure practicality and easy maintenance, you just can't beat finishes like brushed nickel and chrome. They do an excellent job of hiding minor splashes and are incredibly tough against scratches and wear. They're the workhorses of the bathroom world.
The global Bathroom Master market, valued at USD 586.5 million in 2024, is projected to reach USD 1.06 billion by 2033, reflecting a growing consumer interest in both high-end design and practical, long-lasting materials.
Ultimately, the best fixture finish is a balance between the style you love and the amount of daily cleaning you’re willing to do.