
Knowing how to fix cabinet doors isn't some dark art; it really just comes down to one simple rule: diagnose the problem first, then apply the right fix. Most of the time, common headaches like crooked doors or frames that rub are just caused by misaligned hinges. All it takes is a screwdriver and a few minutes of your time.
Your Diagnostic Guide to Common Cabinet Problems
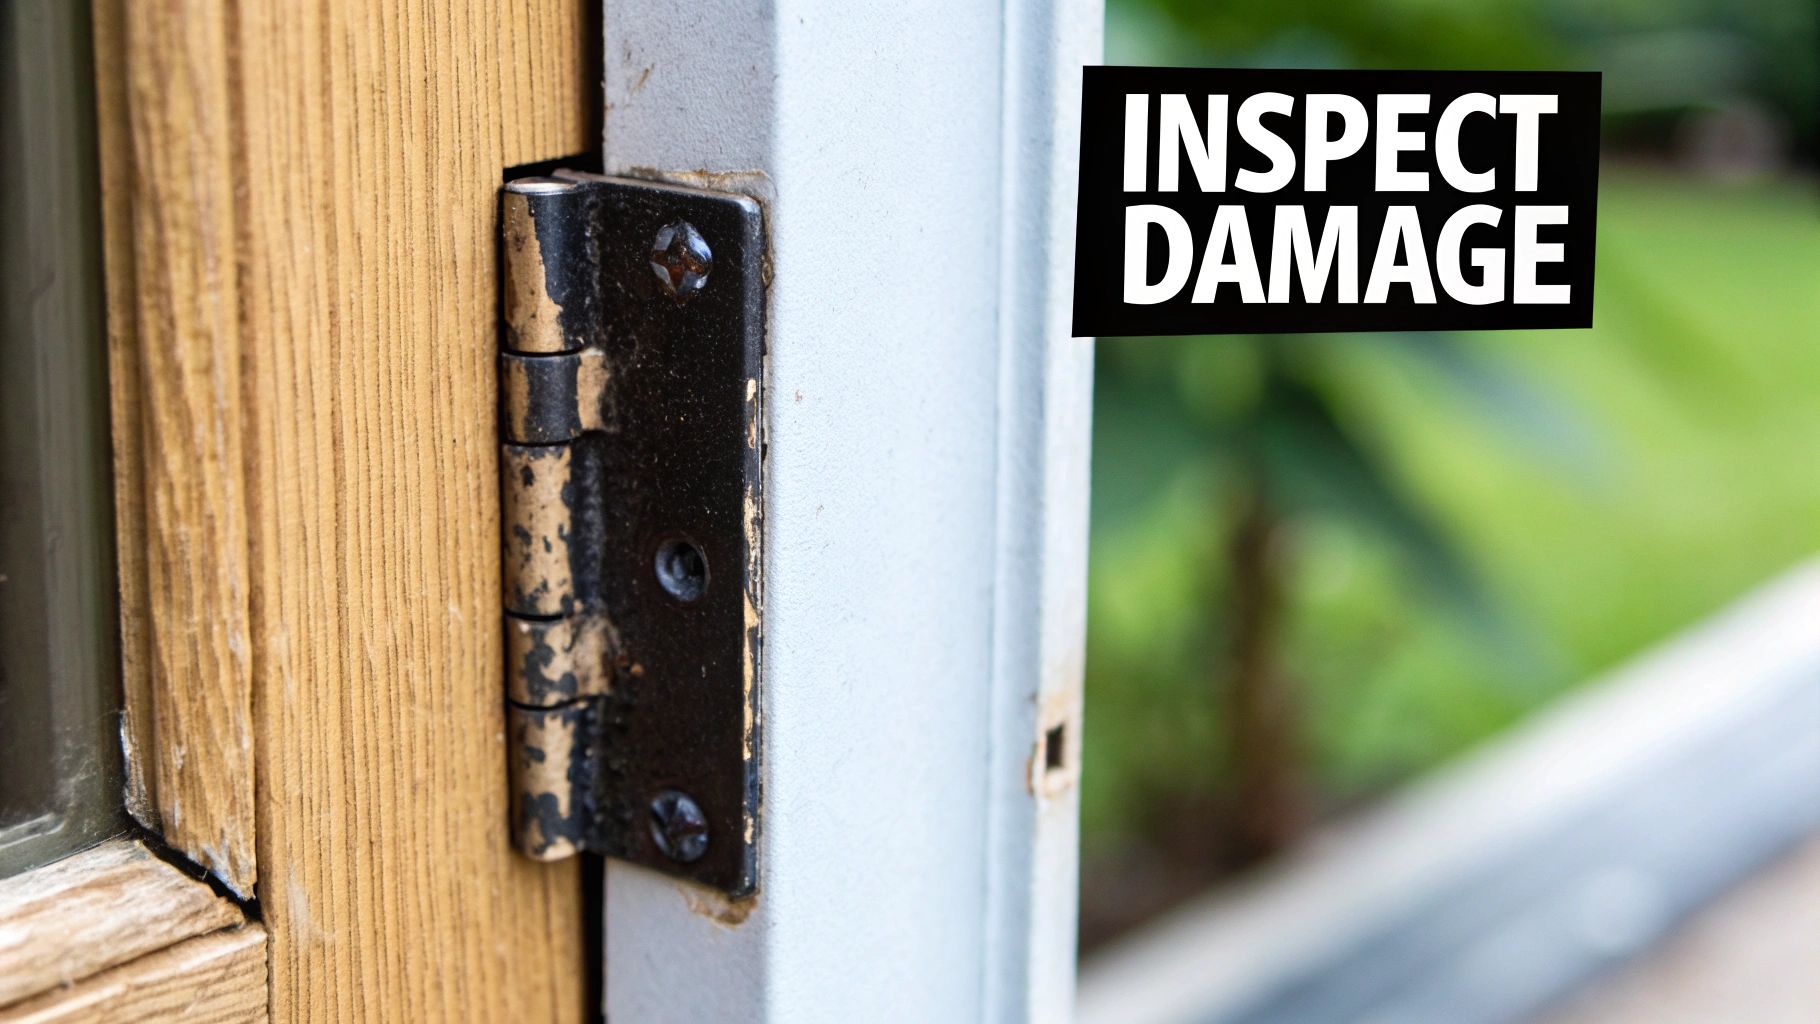
Before you start cranking on screws or reaching for the wood glue, you need to play detective for a minute. Trust me, correctly identifying what’s actually wrong with your cabinet door is the most important part of the whole process.
It's so easy to misdiagnose the issue and create more frustration—like spending ages trying to adjust a hinge when the real culprit is a stripped screw hole. A quick visual inspection is usually all you need to figure out what's going on and grab the right tools.
This approach saves you from accidentally making things worse. For instance, a sagging door might look like a huge deal, but nine times out of ten, it’s just a loose hinge screw. Tightening it takes seconds, whereas jumping to a more complicated “fix” is just a waste of a perfectly good afternoon.
Identifying the Real Issue
Start by simply opening and closing the door a few times. Watch it. Listen to it.
Does it scrape against the door next to it? Does it droop, creating an ugly, uneven gap at the top? Or does the whole thing just feel wobbly and loose? These are all clues that point you straight to the source of the problem.
Here’s a quick rundown of what to look for:
- Uneven Gaps: If the space around the door looks off—wider at the top than the bottom, for example—it’s almost always a hinge alignment issue.
- Door Sags or Droops: This is the classic sign of a loose hinge, either on the door side or the cabinet frame side. In some cases, it can also mean the screw holes are stripped out.
- Door Won't Close Fully: Assuming there’s nothing blocking it inside, this usually means the hinge needs an "in-and-out" adjustment to bring it flush with the frame.
- Wobbly or Loose Door: The hinge screws have likely worked themselves loose from daily use. A quick tightening is all that’s needed.
A proper diagnosis turns a potentially frustrating project into a quick win. Taking five minutes to observe how the door moves and where it fails will tell you exactly what tools to grab and which of the following sections to focus on.
A Quick Diagnostic Guide for Cabinet Door Issues
To make things even easier, here's a simple table to help you match the symptom to the cause and the tools you'll need. Think of it as your cheat sheet for cabinet repairs.
| Common Problem | Likely Cause | Essential Tools |
|---|---|---|
| Uneven Gaps Around Door | Hinge is out of alignment | Phillips head screwdriver |
| Door Sags or Droops | Loose hinge screws or stripped screw holes | Screwdriver, toothpicks & wood glue (for strips) |
| Door Won't Close Properly | Hinge needs depth adjustment or obstruction | Screwdriver, flashlight |
| Door Feels Wobbly/Loose | Hinge screws have loosened over time | Screwdriver |
With this guide, you can quickly pinpoint the issue and move straight to the solution without any guesswork.
Why Keeping Up With Cabinet Care Matters
Keeping your cabinets in good shape is more than just a matter of convenience; it’s a key part of maintaining your home's value. Believe it or not, the kitchen cabinet doors market was valued at USD 15.2 billion in 2024 and is expected to keep growing.
This trend shows just how much homeowners are investing in their kitchens. Small repairs are a smart, cost-effective way to protect that investment. You can find more insights on the cabinet market's growth over at Verified Market Reports.
By learning how to fix cabinet doors yourself, you’re not just solving a daily annoyance—you’re helping maintain the longevity and appeal of one of your home’s most important features.
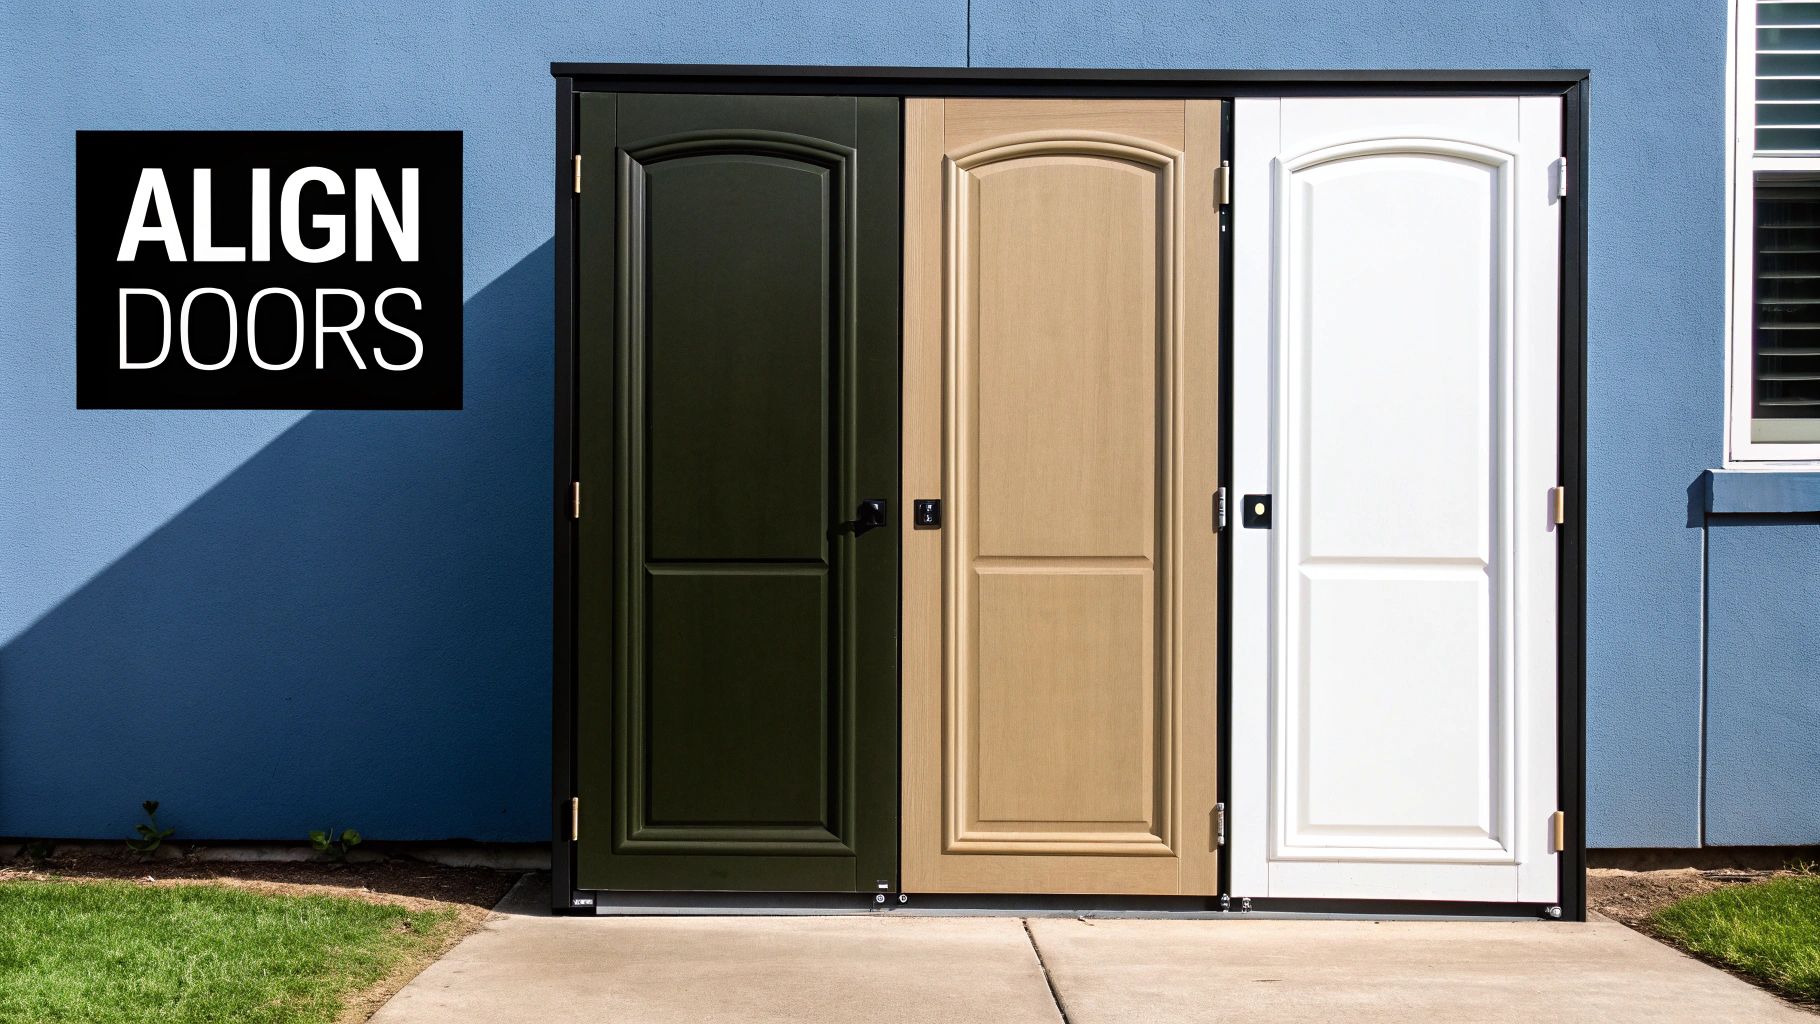
Mastering Hinge Adjustments for Perfect Alignment
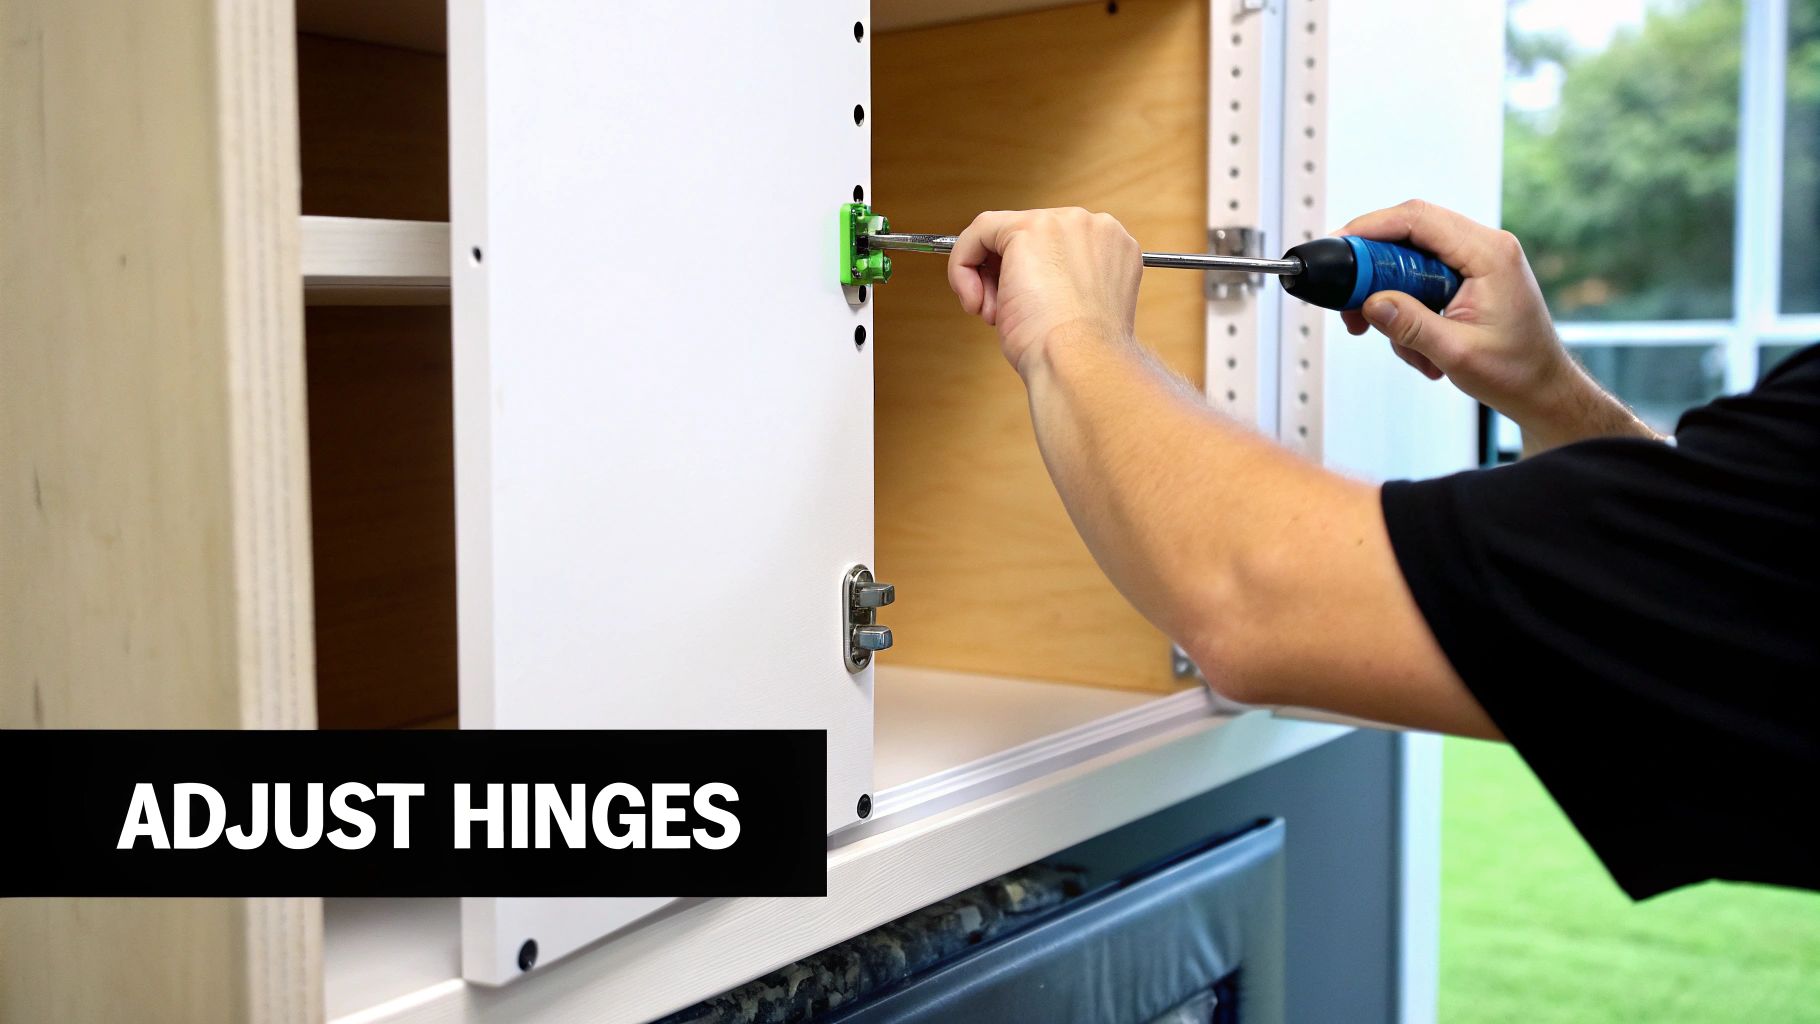
If your cabinet doors are looking a little wonky or just won't close right, the culprit is almost always the hinges. Most modern kitchens have those European-style concealed hinges, and I know they can look intimidating. But the truth is, they're designed for easy, super-precise adjustments.
Forget twisting screws randomly and hoping for the best. The real key is knowing what each screw does. Think of these hinges as having three distinct controls, each moving the door in a specific direction. All it usually takes is a small, deliberate quarter-turn to close those annoying gaps, level the doors, and get everything sitting perfectly flush again. This approach turns a frustrating guessing game into a simple, predictable fix.
The infographic below gives you a quick rundown of what to do before you even pick up a screwdriver.
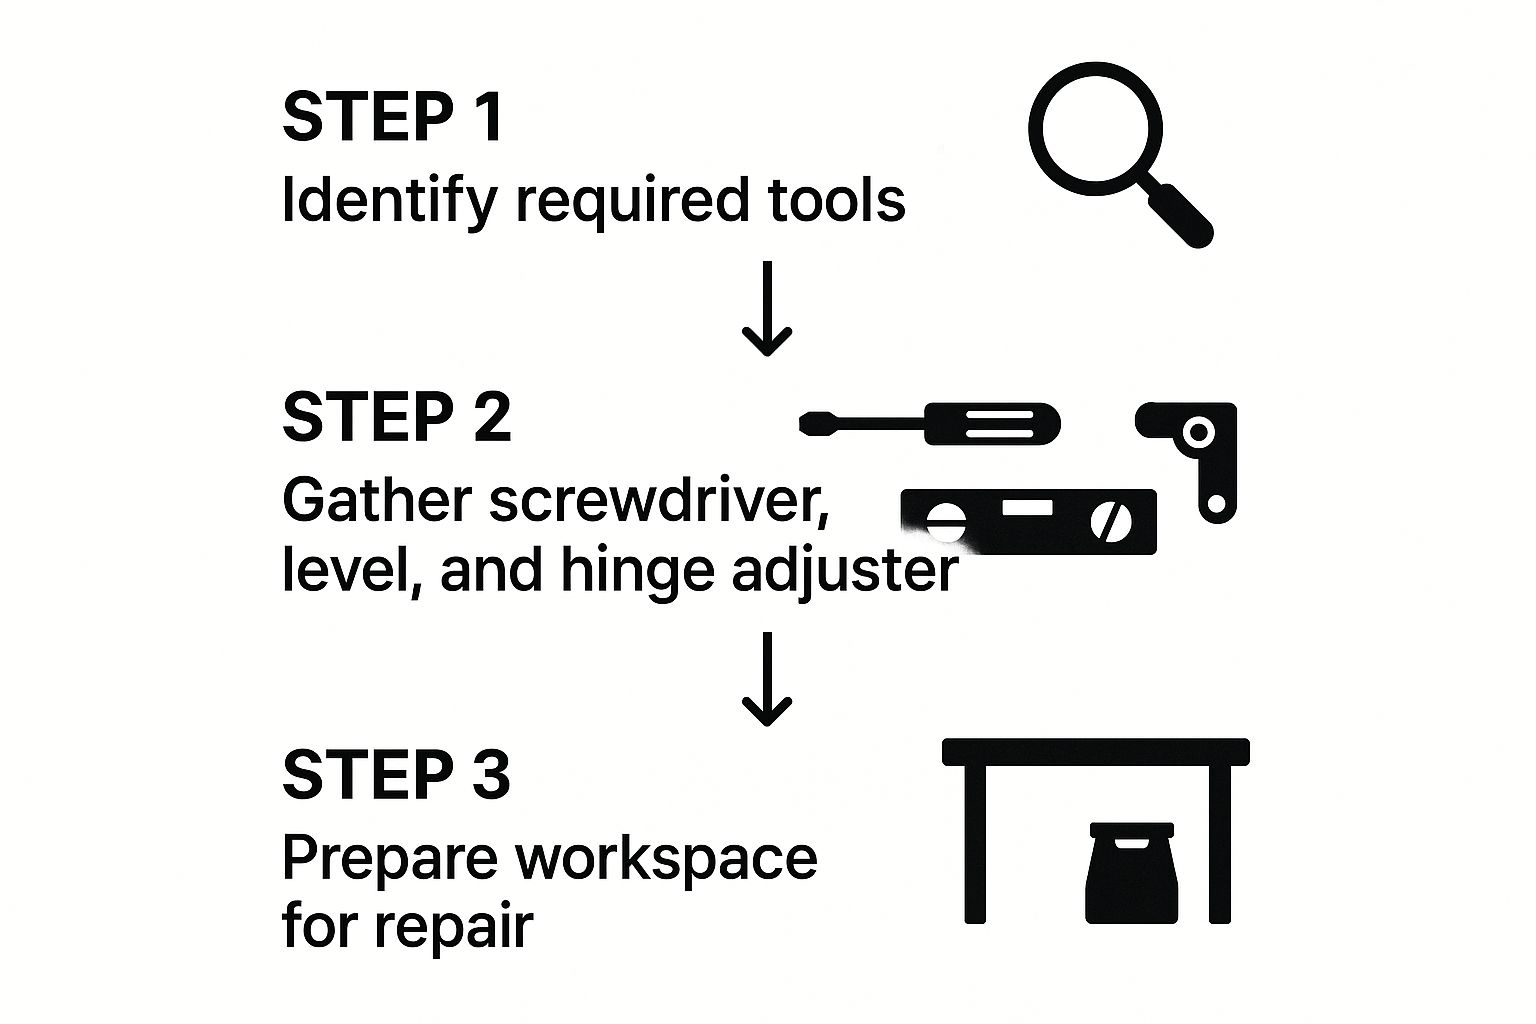
As you can see, just having the right tools on hand and a clear workspace makes the whole process smoother and keeps you from getting interrupted.
Decoding the Three Main Adjustment Screws
Let's break down what each screw on a typical European hinge actually does. Once you get this, you can fix just about any alignment issue you come across.
- Side-to-Side Adjustment: This is the screw you'll probably use most often. It’s usually the easiest one to get to, located closest to the cabinet door itself. Turning it clockwise pulls the door toward the hinge, while turning it counter-clockwise pushes it away. This is your go-to for fixing those uneven gaps between a pair of doors.
- In-and-Out (Depth) Adjustment: This screw sits a little further back on the hinge plate. It’s what controls how flush the door sits against the cabinet frame. If your door isn't closing all the way or sticks out at an angle, a few small turns here will pull it in or push it out until it's perfectly aligned.
- Up-and-Down (Height) Adjustment: This one lets you raise or lower the entire door. You'll often find it on the mounting plate, right between the other two screws. To use it, you need to slightly loosen the mounting screws on both the top and bottom hinges, shift the door up or down to the perfect height, and then tighten everything back up.
For a closer look at the mechanics with some great visuals, you can learn more about how to adjust cabinet hinges in our detailed guide. It really helps to see exactly which screw is which.
Putting It All Into Practice
Okay, let's walk through a real-world scenario. Say you have two adjacent doors that scrape against each other when you close them.
First, figure out which door is the offender by slowly closing them. You'll see one start to overlap the other. Grab your screwdriver and use the side-to-side adjustment screw on that door's hinges. Just make small quarter-turns to move it away from the other door until the gap is nice and even, and the scraping is gone.
Another classic problem is a door that looks like it's sagging, creating a wider gap at the top corner. This is a job for the up-and-down adjustment. Gently loosen the height screws on both the top and bottom hinges, lift the door just a bit to get it level, and then tighten the screws back down firmly. Pro tip: it’s way easier if you can get a second person to hold the door in place while you tighten.
Remember, the key here is patience. Make one small adjustment at a time, then step back and check your work. This slow-and-steady approach keeps you from over-correcting and creating a whole new problem.
By mastering these three simple adjustments, you can honestly solve nearly 90% of all alignment issues. It’s a fantastic skill to have in your DIY toolkit and the secret to keeping your kitchen looking sharp and functioning perfectly.
Dealing With Loose Hinges and Stripped Screw Holes
There's nothing more maddening than a hinge screw that just spins and spins, refusing to tighten. You can twist that screwdriver all day, but it won't grab. While it’s easy to blame the screw, the real culprit is the wood around it—the screw hole has been stripped out, leaving the threads with nothing to bite into. This is an incredibly common headache, especially with cabinets made from softer materials like particle board or MDF.
Once a screw hole is stripped, the door will start to sag, wobble, or just refuse to hang straight, no matter how much you fiddle with the adjustments. You have to give the screw some fresh, solid material to grip. The good news is that this is a classic DIY fix that doesn't require a workshop full of tools.
Knowing how to handle this repair is a fundamental skill for any homeowner. As home renovations continue to trend upward, more people are looking for ways to extend the life of their existing fixtures. In fact, the global market for cabinet door replacement services was valued at around USD 3.2 billion in 2023 and is only expected to grow. A simple fix like this can keep your money in your pocket. You can learn more about these market trends over at dataintelo.com.
The Classic Toothpick and Glue Method
For a quick and surprisingly sturdy fix, the old toothpick trick is a time-tested winner. It’s perfect for minor stripping, especially in solid wood or plywood cabinets, and you can get it done in just a few minutes.
- Prep the Hole: Start by removing the hinge from the cabinet. Use a small screwdriver or vacuum to clean out any loose wood dust or debris from the stripped hole.
- Fill It Up: Dip a few wooden toothpicks into wood glue—you want them nicely coated but not dripping. Shove them into the hole one by one until it’s packed tight.
- Snap and Dry: Snap the toothpicks off so they’re flush with the cabinet surface. Wipe away any glue that squeezed out and let it dry completely. Be patient here; it can take a few hours.
- Re-Drill and Re-Attach: Once the glue is fully cured, the mix of toothpicks and glue has created a solid new block of wood. Now you can drill a small pilot hole right into the center of your repair and re-attach the hinge. The screw will grab like new.
Using Wood Dowels for a Rock-Solid Fix
The toothpick method is great for a quick fix, but it might not hold up on heavily used doors or cabinets made from particle board. If you want a permanent, bomb-proof repair, using a wood dowel is the way to go. This method doesn't just patch the hole; it creates a brand-new foundation of solid wood for the screw.
This dowel method is what the pros do, and for good reason. You’re not just filling a gap—you’re completely replacing the failed material. This ensures the hinge will be just as strong, if not stronger, than it was when it was new.
To do this, you’ll need to drill out the stripped hole to create a clean, uniform opening (a 1/4-inch bit usually works well). Next, coat a wood dowel of the same diameter with wood glue and gently tap it into the hole until it’s flush. After the glue has cured, you’ll have a solid wood plug ready for a fresh pilot hole and a secure hinge.
For a deeper dive into this technique and other pro tips, check out our complete guide on how to repair cabinet door hinges.
Repairing Scratches, Dings, and Other Cosmetic Flaws
Even if your cabinet doors hang perfectly straight and close like a dream, years of dings, nicks, and everyday bumps can make a whole kitchen feel tired. Let's be honest, tackling these cosmetic issues is one of the most satisfying parts of fixing cabinet doors. The visual payoff is huge.
The good news? You don't need to be a master woodworker to make these surface-level imperfections vanish. A few simple, targeted repairs can bring back the beauty of your cabinetry, whether it's stained or painted. Think of it less as a chore and more as essential home maintenance.
It’s a smart move, too. The global cabinet door market hit a value of about USD 14.75 billion in 2024, showing just how much people invest in their kitchens. Maintaining what you have is always more cost-effective than replacing it.
Quick Fixes for Stained Wood Cabinets
For those minor scratches and scuffs on stained wood, your best friends are going to be stain markers and wax filler sticks. I keep a few of these in my toolbox for quick touch-ups that blend right in.
- Stain Markers: These work just like a regular marker but are filled with wood stain. Find a color that’s a close match to your cabinets, test it somewhere out of sight (like the inside of a door), and just color in the scratch. It's that easy.
- Wax Filler Sticks: Got a deeper gouge or a noticeable ding? A wax stick is what you need. Just rub the stick firmly over the damaged spot until the wax fills the void completely. Grab a plastic putty knife or even an old credit card to scrape away the excess, and you're left with a smooth, filled-in surface.
These simple tools offer a fantastic return for just a few minutes of your time. If you want a more detailed walkthrough, we've got a whole article on how to fix cabinet scratches.
Touching Up Painted Cabinet Doors
Fixing painted surfaces takes a slightly different approach, but it's just as straightforward. The real key here is prepping the area correctly so the new paint blends in seamlessly.
First, lightly sand the damaged spot with fine-grit sandpaper—something around 220-grit works great—just enough to smooth out any rough edges. Clean the area thoroughly to get rid of any dust. Next, dab a thin layer of primer only on the sanded spot.
Once the primer is dry, use a small artist's brush to carefully apply a thin coat of your matching paint. You’ll probably need a second coat to get full coverage, but patience is key.
Pro Tip: When you go to get touch-up paint, bring a cabinet door or drawer front with you to the store. They can match it precisely. Even a tiny variation in shade will stick out like a sore thumb, so getting an exact match is crucial for a flawless repair.
Of course, if your cabinets need more than just a few touch-ups, a complete repaint can be a game-changing project. For anyone thinking about going that route, this guide on how to paint kitchen cabinets is an excellent resource with a full step-by-step process.
Deciding When to Repair or Replace Your Cabinet Doors
Knowing how to fix a cranky cabinet door is a great skill to have in your back pocket, but sometimes a quick repair is just putting a band-aid on a bigger issue. The real trick is knowing when to put down the screwdriver and start browsing for replacements.
Making that call really comes down to a few key things that go way beyond a single loose hinge. You've got to weigh the real extent of the damage, what your cabinets are actually made of, and whether a fix is truly cost-effective in the long run. For instance, if you find yourself constantly fixing the same stripped screw holes on old particle board doors, you're fighting a losing battle. The material itself is giving up, and each repair is just a temporary patch. In a case like that, replacement is the smarter long-term move.
Assessing the Damage and Material
Minor cosmetic stuff like light scratches or a single wonky hinge? Those are perfect candidates for a straightforward repair. But when you're dealing with structural damage, it's a whole different ballgame. You need to keep an eye out for signs of irreversible wear, because those are huge red flags telling you a replacement is probably in your future.
Here's what to look for:
- Warping: If the door is visibly bent or bowed, it’s never going to close right or create a proper seal again. This is a classic symptom of water damage or living in a high-humidity spot (hello, steamy kitchens!).
- Widespread Water Damage: Check for swelling, bubbling paint, or weird discoloration, especially along the bottom edges of doors under the sink. Once particle board or MDF swells up with water, there's no compressing it back to its original shape.
- Major Structural Cracks: A split in the frame of a solid wood door can often be glued and clamped back to life. But a crack running through the main panel, or one in a composite door, usually means its structural integrity is shot.
Think of it this way: if the "bones" of the door are broken, a simple repair just won't hold up. Solid wood doors are much more forgiving and can often be saved, but once composite materials like particle board start to crumble, it's pretty much game over.
Repair or Replace Your Cabinet Door: A Decision Guide
To help you feel confident in your choice, it’s useful to see a side-by-side comparison. This little guide breaks down what you can expect from each approach when it comes to the big factors: cost, time, skill, and long-term value.
| Decision Factor | Best for Repair | Best for Replacement |
|---|---|---|
| Cost | Low initial cost for supplies | Higher upfront investment |
| Time | Quick, often under an hour for minor fixes | A longer project that requires ordering and installation |
| Skill Level | Basic DIY skills are usually enough | Moderate skills needed for precise measurements and fitting |
| Long-Term Value | Extends the life of your existing doors | A lasting solution that can improve your home's value |
Ultimately, looking at these factors should give you a clear picture. A quick, cheap repair is great for small problems, but investing in a replacement is often the better path for significant damage, ensuring your kitchen looks great and functions perfectly for years to come.
Got a Cabinet Problem? We've Got Answers
Even the best guides can't cover every little hiccup you might run into. When you’re elbow-deep in a project, questions always come up. Learning how to fix your own cabinet doors means running into a few unique challenges, and that’s perfectly normal.
To help you push through those common sticking points, we’ve gathered the questions we hear the most from homeowners just like you. Think of this as your quick-reference guide for those moments when you're staring at a stubborn hinge and wondering, "Now what?"
How Do I Fix a Stripped Screw Hole in Particle Board?
Ah, the classic stripped screw hole. It’s a frustratingly common issue, especially with particle board. While the old toothpick-and-glue trick can work in a pinch, if you want a repair that’s going to last, upgrading to a wood dowel is the way to go. It’s a much more solid, durable fix.
Here’s how you do it:
- Drill It Out: Start by drilling out the stripped hole. You want a clean, uniform opening for the dowel to sit in. A 1/4-inch drill bit usually does the trick.
- Plug It with a Dowel: Cut a small piece of a 1/4-inch wood dowel so it’s the same depth as the hole you just drilled. Dab a little wood glue on it, then gently tap the dowel into the hole until it’s perfectly flush with the cabinet surface.
- Drill a New Pilot Hole: Let the glue cure completely. Once it’s dry, you’ve basically created a solid wood plug inside the particle board. Now, you can drill a fresh, small pilot hole right into the center of that dowel. Your hinge screw will have solid wood to bite into, giving you a secure fit that won't wobble.
Which Screw Does What on My Hinge?
Those modern European-style hinges can look like a tiny, confusing machine. The good news is they usually only have three main adjustment screws, and each one has a very specific job.
The secret is to make tiny adjustments—a quarter-turn at a time is perfect. Tweak one screw a little, close the door to see what changed, and then adjust again if you need to. This slow-and-steady approach keeps you from overcorrecting and accidentally creating a whole new alignment problem.
Here’s a simple breakdown of the screws:
- The screw closest to the cabinet door moves the door side-to-side (left or right).
- The one at the very back of the hinge plate adjusts the depth, moving the door in or out from the frame.
- There's often a third screw sitting between the other two; that’s the one for adjusting the height (up or down).
My Cabinet Doors Keep Sticking. What’s Going On?
When cabinet doors start sticking, it’s almost always one of two things: they're out of alignment, or the wood has swollen due to humidity.
First, check the alignment. Use the hinge screws to see if the door is rubbing on an adjacent door or the cabinet frame itself. If the gaps look even and nothing seems out of place, then humidity is your likely culprit. Wood breathes, and when the air is damp, it expands.
For a quick fix, you can rub a little wax (paraffin from a candle works great) on the spots where the door and frame are making contact. For a more permanent solution, you’ll want to tackle the root cause by improving the room’s ventilation or using a dehumidifier to keep moisture levels in check.
Ready to transform your kitchen or bathroom with cabinets that are truly built to last? The experts at Sinclair Cabinetry inc have over 35 years of experience crafting high-quality, real wood cabinetry designed to your exact specifications. Explore our custom solutions and see the Sinclair difference.