
Decoding Cabinet Anatomy: Types That Transform Spaces
Understanding cabinet construction starts with knowing the basics. These core components, like the foundation of a house, support the entire unit. This means getting familiar with face frames, boxes, doors, and hardware. Each part plays a vital role in how the cabinet functions and its overall style.
Face Frames: The Cabinet's Foundation
The face frame is the visible framework attached to the front of the cabinet box. It provides structural support and a surface to attach doors and drawers. This frame is usually made of solid wood for strength and stability. The face frame also contributes to the cabinet’s design, giving it a traditional or contemporary feel.
Cabinet Boxes: The Storage Core
The cabinet box is the main storage area of the unit. These boxes are typically made from plywood or particleboard, offering a sturdy yet affordable solution. The construction of these boxes is crucial for the cabinet’s durability. Accurate measurements and strong joints are essential for a well-built cabinet box.
Doors and Drawers: Style Meets Function
Cabinet doors and drawers are the most prominent features, heavily influencing the overall look. They also serve the practical purpose of hiding stored items and providing easy access. From simple slab doors to detailed raised panels, many styles are available to fit various design preferences. Proper installation contributes to the final impression of quality.
Hardware: The Finishing Details
Hardware, such as hinges, handles, pulls, and drawer slides, impacts both functionality and aesthetics. High-quality hardware ensures smooth operation and enhances the cabinet's overall style. Investing in durable and attractive hardware can significantly improve the look of your cabinets.
Framed vs. Frameless Cabinet Construction
Two main construction methods define cabinet anatomy: framed and frameless. Framed cabinets have a face frame attached to the front of the cabinet box. This traditional method provides a strong structure and a classic look. Frameless cabinets, however, do not have a face frame. This creates a modern, sleek look and maximizes interior storage space.
Custom vs. Stock Cabinets
Another important factor is choosing between custom and stock cabinets. Stock cabinets come pre-made in standard sizes and styles. They are readily available and often more budget-friendly. But for unique designs or specific space needs, custom cabinets offer more flexibility. Custom builds allow you to choose the exact dimensions, materials, and finishes you want.
The global kitchen cabinet market is expected to grow at a CAGR of 6.4% from 2022 to 2030. It's projected to reach about $160 billion USD by the end of the decade. This growth is driven by the increasing demand for kitchen renovations and the growing trend of modular kitchens. You can find more statistics here: https://www.woodworkingnetwork.com/news/almanac-market-data/cabinets-countertops-industry-snapshots. This thriving market shows the continuing importance of cabinets in modern homes. Choosing the right construction method depends on your budget, project goals, and the level of customization you desire.
Tools and Materials: Building Your Cabinet Arsenal
Building cabinets involves more than just wood and screws. Having the correct tools and materials is essential for a successful project. It's like preparing a gourmet meal – the right ingredients and utensils are crucial for the perfect dish. This section explores the essential equipment and materials needed to build beautiful, long-lasting cabinets.
Essential Tools For Cabinet Construction
Precision and efficiency are the cornerstones of cabinet making. The right tools can significantly improve both. Just as a surgeon needs precise instruments, a cabinet maker needs specialized tools for accurate cuts and secure joints.
-
Measuring and Marking Tools: These include a tape measure, combination square, marking gauge, and a level. Accurate measurements are fundamental to cabinet making, and these tools ensure precision from the start.
-
Cutting Tools: A circular saw, jigsaw, and table saw are necessary for cutting different materials. A miter saw is helpful for angled cuts, and a router is vital for creating decorative edges and intricate joinery.
-
Drilling and Fastening Tools: A drill, impact driver, and nail gun are essential for joining cabinet components. Pocket hole jigs, like the Kreg Jig, create strong, hidden joints, especially helpful for beginners.
-
Clamping Tools: Clamps hold pieces together while the glue dries, ensuring strong and stable joints. Different types of clamps, such as bar clamps and quick clamps, are used throughout the assembly process.
-
Safety Equipment: Safety glasses, hearing protection, and a dust mask are crucial for protecting yourself during the construction process. Safety should always be a priority.
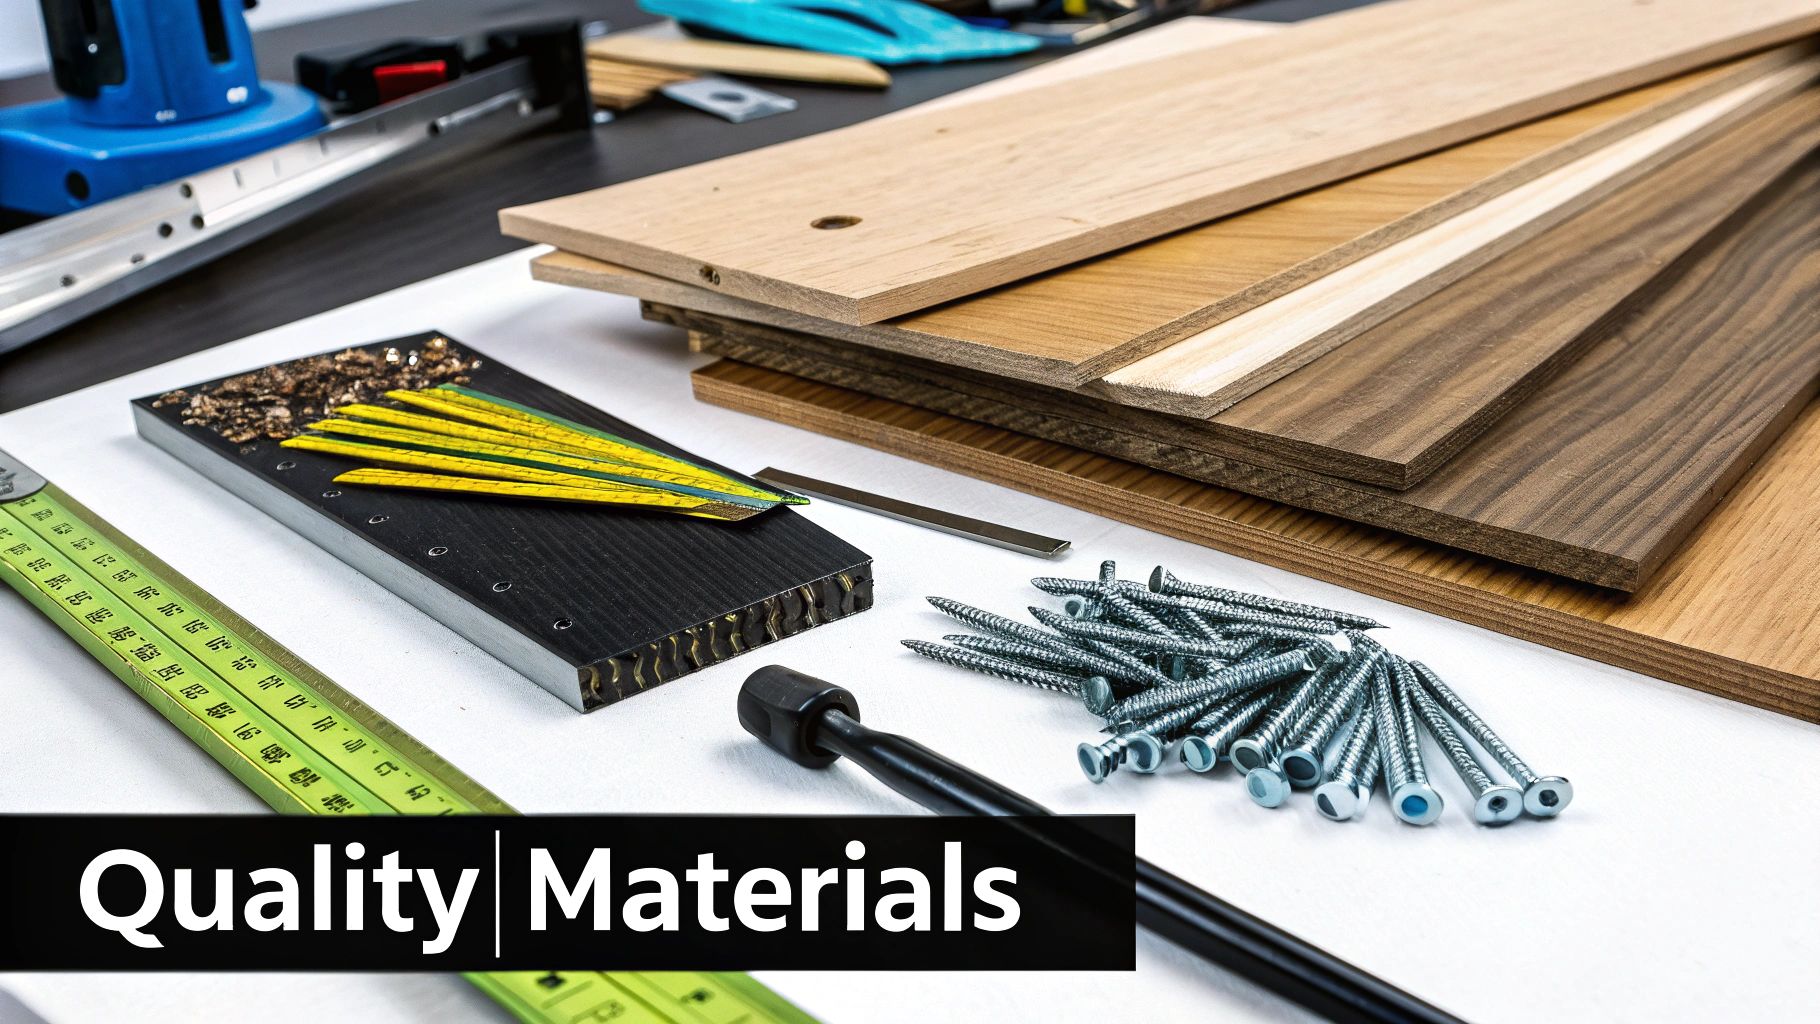
Choosing The Right Materials
Material selection greatly impacts a cabinet’s durability, appearance, and cost. This includes the type of wood, sheet goods, and hardware.
-
Wood Species: Solid wood like maple, oak, and cherry offers strength and a beautiful aesthetic but can be expensive. Selecting the right wood often involves balancing desired look with budget constraints.
-
Sheet Goods: Plywood and MDF are commonly used for cabinet boxes, offering affordable and stable surfaces for construction.
-
Hardware: Hinges, drawer slides, and handles impact both function and style. Soft-close hinges and drawer slides offer smooth, quiet operation, while handles and pulls add to the overall design.
To help you understand the different material options available, let’s take a look at a comparison table. This table outlines the pros and cons of each material, helping you make the best decision for your project.
Cabinet Construction Materials Comparison
This table compares common materials used in cabinet construction, helping readers make informed decisions based on project requirements and budget.
| Material Type | Cost Range | Durability | Ease of Working | Best Applications |
|---|---|---|---|---|
| Solid Wood (Maple, Oak, Cherry) | High | Excellent | Moderate to Difficult | Face frames, doors, drawer fronts |
| Plywood | Medium | Good | Easy | Cabinet boxes, shelving |
| MDF | Low | Moderate | Easy | Cabinet boxes, painted finishes |
By carefully considering the materials and investing in quality tools, you're setting the stage for successful cabinet construction. This ensures your cabinets are not only visually appealing but also built to withstand daily use. This foundation is key to achieving professional-looking results.
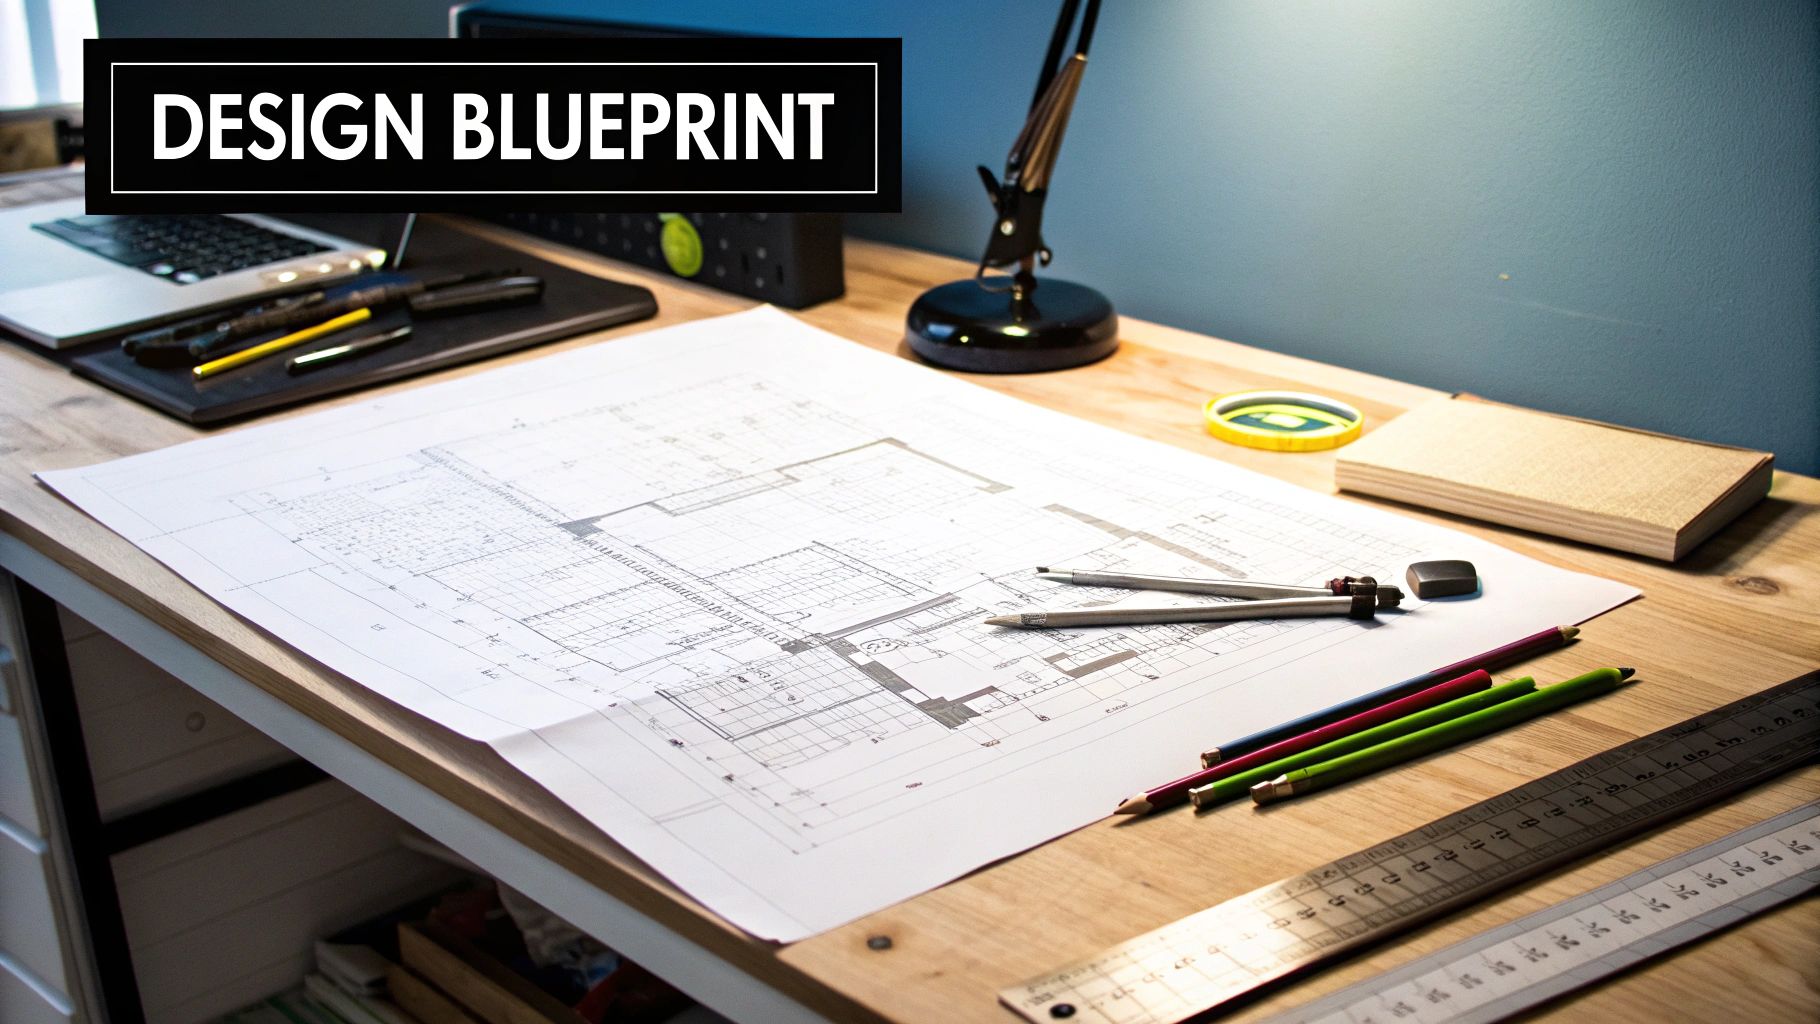
Designing Cabinets That Work As Well As They Look
Exceptional cabinet construction begins with thoughtful design. This involves harmonizing aesthetics with practical functionality, similar to how an architect balances form and function in a building. Skilled cabinet makers excel at turning client wishes into detailed plans. This careful planning prevents costly errors and minimizes wasted materials, setting the stage for a smooth project from initial measurements to the final installation.
Dimensioning for Success: From Islands to Vanities
Accurate measurements are essential for cabinet construction. Whether designing a kitchen island or a bathroom vanity, understanding dimensioning principles ensures a perfect fit. Precise measurements ensure proper proportions within the allotted space.
Standard kitchen counter height typically falls between 36 and 39 inches. Bathroom vanity heights, however, can vary depending on individual needs. This attention to detail seamlessly integrates the cabinetry into the room. For more information, check out this helpful resource: How to master cabinet design basics.
Ergonomics: Transforming Everyday Interactions
Ergonomic principles are key to good cabinet design. Consider the average reach of a person and the natural flow of movement within the room. Incorporating these principles will make your daily interactions with your cabinets more enjoyable and efficient.
Think about optimal counter heights for comfortable food preparation. Smart storage solutions can also eliminate daily frustrations. These seemingly small details significantly improve the overall user experience.
Specialized Features: Maximizing Utility and Aesthetics
Specialized features can significantly enhance the functionality of your cabinets. Pull-out organizers, dividers, and spice racks are just a few examples. These features maximize storage space while maintaining a clean, uncluttered aesthetic.
Easy access to stored items contributes to a more organized and efficient kitchen. Your cabinets transform from simple storage units into functional elements that truly enhance your space.
Anthropometric Data: Designing User-Friendly Cabinets
Understanding human dimensions is crucial for creating user-friendly and accessible cabinets. Anthropometric data, which is the study of human body measurements, informs important design decisions.
Studies like the National Health Survey provide insights into human dimensions. This information is invaluable for designing cabinets that fit comfortably within a living space. Learn more about this topic: Human Dimension and Interior Space. This ensures your cabinets are both beautiful and practical.
By prioritizing both aesthetics and ergonomics in the design phase, you create cabinets that not only look great but also enhance your interaction with your home. This strong design foundation sets the stage for a successful and rewarding cabinet construction project.
Building Rock-Solid Cabinet Boxes That Last For Decades
The cabinet box is the heart of your cabinetry. It provides the unseen strength and structure for everything else. Just like a house needs a solid foundation, a well-built cabinet box is essential for long-term durability. This section guides you through building cabinet boxes that can handle years of use.
Precision Cutting For Sheet Goods
Accurate cutting is key for tight joints and a professional look. This starts with taking precise measurements and marking carefully on your sheet goods, usually plywood or MDF. A sharp blade on your table saw is important for clean, straight cuts, minimizing later adjustments.
A fine-tooth blade helps avoid tear-out, especially on veneered plywood. This gives you a smoother surface for finishing.
Joinery Methods: From Pocket Screws To Dados
There are several joinery methods for cabinet construction basics. Each offers unique advantages. Pocket screws are quick and beginner-friendly.
For more strength and a cleaner appearance, consider dados and rabbets. Dados are channels cut into one board to receive another, creating a strong, interlocking joint. Rabbets, similar to dados but along the board's edge, are great for creating a lip for shelves or back panels. Your chosen method will depend on your skill, tools, and desired look.
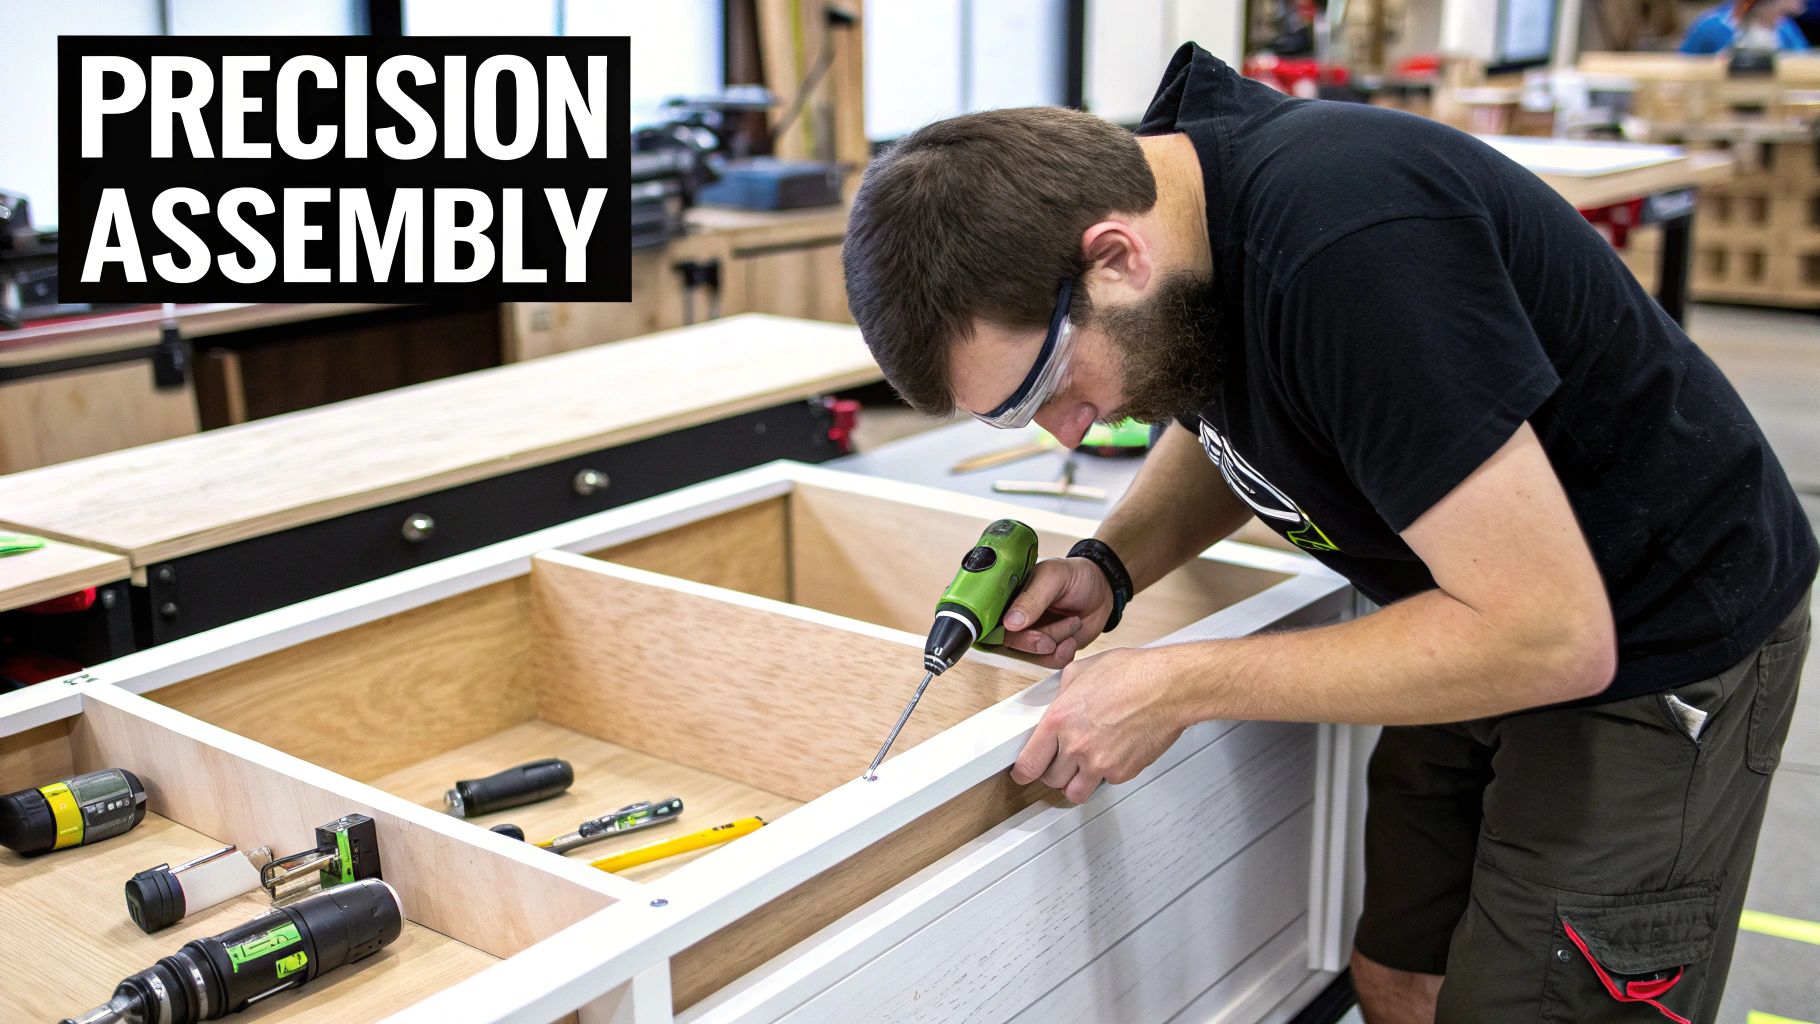
Assembly Sequence And Clamping Strategies
The cabinet box assembly order is crucial to avoid alignment problems. It’s like building with LEGOs – some pieces connect before others. Start by joining the sides to the bottom panel, making sure they're perfectly square.
Then, attach the top and finally the back. Proper clamping is vital for maintaining squareness and tight glue-up joints. Even clamping pressure prevents warping and ensures a strong glue bond. Corner braces can boost the structural integrity, especially for large cabinets.
The U.S. cabinets market is influenced by residential and commercial construction. Between 2018 and 2023, the market grew significantly, driven by new housing and renovations. For more statistics, see this U.S. Cabinets Market Report.
By focusing on precise cutting, choosing the right joinery, and mastering assembly, you can build strong, square cabinet boxes. This foundational strength ensures your cabinets stay functional and beautiful for years.
Crafting Stunning Cabinet Doors: A Guide to Elevated Design
Cabinet doors are more than just functional closures; they're the face of your kitchen, instantly transforming the space. From sleek slab doors to the intricate charm of raised panel doors, each style brings its own unique personality. This guide explores the techniques that elevate cabinet doors into captivating centerpieces.
Joinery Methods: Building a Strong Foundation
The core strength of a cabinet door lies in its rails and stiles, the horizontal and vertical framing pieces. The joinery method you select affects both the door's robustness and its ability to withstand wood movement due to seasonal changes.
-
Mortise and Tenon: This time-honored technique offers unmatched strength and a classic look. It involves precisely fitting a projecting tenon from one board into a corresponding mortise (hole) in the other.
-
Dowel Joinery: A simpler but effective alternative to mortise and tenon, dowel joinery uses dowels to reinforce the joint. This is particularly helpful for those newer to cabinet making.
-
Cope and Stick: Frequently used with router bits, this method creates a decorative and secure joint, perfect for raised panel doors. The edges of the rails and stiles are shaped to interlock.
The right joinery ensures your cabinet doors remain structurally sound and beautiful, regardless of humidity fluctuations.
Reveals and Gaps: The Subtleties of Visual Harmony
The reveal, the small gap between adjacent doors and drawers, plays a significant role in the overall aesthetic. Consistent reveals create a sense of visual harmony and demonstrate meticulous attention to detail.
Calculating reveals requires precise measurements. A common guideline is a 1/8-inch reveal, but this can be adjusted based on your design and the overall style of your cabinetry. Accurate calculations ensure a polished, professional result with perfectly aligned doors and drawers. For more detailed guidance, check out this helpful article: How to master cabinet door and drawer construction.
Edge Treatments: Adding Style and Protection
Edge treatments protect the vulnerable edges of your doors while enhancing their visual appeal. Options range from simple bevels and rounds to more elaborate profiles.
-
Eased Edges: Slightly rounded, these edges soften the door's appearance and resist chipping.
-
Chamfered Edges: Angled edges contribute to a clean, modern aesthetic.
-
Ogee Edges: These S-shaped profiles introduce a touch of elegance, particularly suited to traditional designs.
The edge treatment you choose should complement your overall cabinet design and personal style.
Panel Construction: Preventing Warping in Raised Panel Doors
For raised panel doors, understanding panel construction is crucial to avoid warping. The panel should “float” within the frame, allowing for expansion and contraction with humidity changes. This means avoiding gluing the panel tightly to the frame.
This float allows for natural wood movement and prevents warping or cracking. Using stable wood species for the panel, like plywood or MDF, further minimizes warping.
To help you choose the best door style for your project, take a look at this comparison:
Cabinet Door Style Comparison: This table compares different cabinet door styles, highlighting characteristics, complexity of construction, and appropriate applications.
| Door Style | Appearance | Construction Difficulty | Material Requirements | Best Applications |
|---|---|---|---|---|
| Slab | Sleek, minimalist | Simple | Solid wood, plywood, MDF | Modern, contemporary kitchens |
| Shaker | Simple, versatile | Moderate | Solid wood, plywood, MDF | Traditional, transitional kitchens |
| Raised Panel | Classic, elegant | Complex | Solid wood, plywood | Traditional, formal kitchens |
| Inset | Custom, high-end | Advanced | Solid wood | Traditional, luxurious kitchens |
This table highlights the varying complexities and aesthetic qualities of different door styles, helping you make an informed decision. From the simplicity of slab doors to the intricate detail of raised panel doors, each style offers a unique solution for your cabinetry needs.
By focusing on meticulous joinery, precise calculations, and thoughtful edge and panel treatments, you transform cabinet doors from simple closures to statements of craftsmanship. They become focal points, significantly enhancing the value and beauty of your overall design.
Hardware Installation and Finishing: The Defining Details
The subtle details of hardware installation and finishing often distinguish professionally crafted cabinetry from amateur work. These final touches elevate basic cabinet construction, transforming simple storage into striking focal points in your home.
Precision Hardware Installation: Achieving Seamless Functionality
Proper alignment of hinges, drawer slides, and pulls is crucial for both visual appeal and smooth operation. Think of it as the intricate workings of a well-crafted timepiece – each part must function in perfect harmony. This requires careful measuring, marking, and pre-drilling techniques. A systematic approach to pre-drilling not only prevents wood from splitting but also ensures years of effortless operation. For guidance on hardware selection, explore resources like How to master cabinet handle and pull selection.
-
Hinges: Precise placement ensures doors hang level and swing freely. A jig or template helps achieve consistent results across multiple doors.
-
Drawer Slides: Correctly installed drawer slides provide smooth, effortless drawer movement. Consult the manufacturer's instructions for optimal installation procedures.
-
Pulls and Handles: Accurate placement of pulls and handles completes the cabinet's aesthetic. Consider ergonomics when deciding on placement for comfortable, easy use.
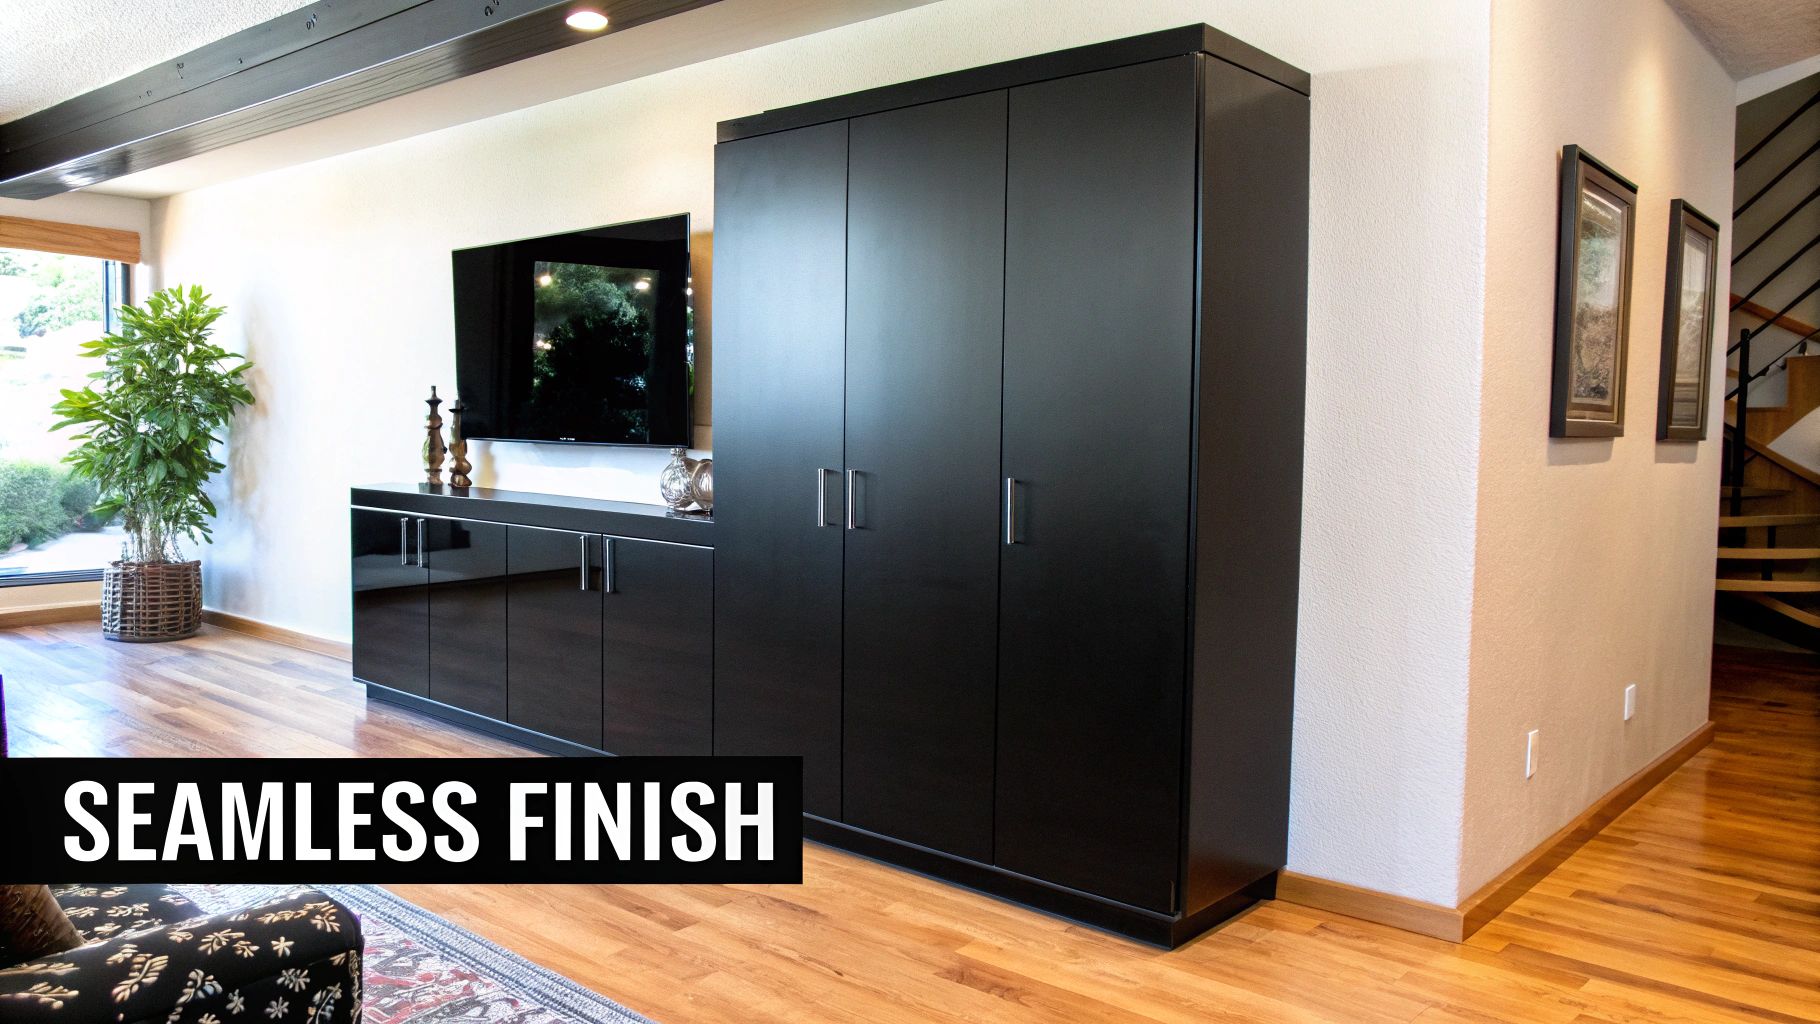
Finishing Strategies: Creating Lasting Beauty and Protection
The chosen finish significantly impacts both the appearance and longevity of your cabinets. Professional finishing techniques involve a methodical approach, including thorough surface preparation, careful application, and protective topcoats. This is similar to creating a fine painting – proper preparation is the foundation of a flawless result.
-
Surface Preparation: Sanding and cleaning creates a smooth, uniform surface for the finish to adhere to, preventing imperfections and achieving a professional look.
-
Application Methods: Whether painting, staining, or lacquering, consistent application ensures a uniform finish. Multiple thin coats, allowing each layer to dry thoroughly, are generally preferable to one thick coat to avoid drips and runs.
-
Protective Topcoats: A durable topcoat seals and protects the finish, increasing resistance to scratches, moisture, and everyday wear. This preserves the beauty of your cabinets and extends their lifespan.
Installation Essentials: Ensuring Stability and Style
Once built and finished, proper installation is the crucial final step. This involves precise leveling, secure fastening, and the impactful addition of crown molding. Accurate leveling guarantees that cabinets sit evenly, while secure fastening prevents shifting over time.
-
Leveling: Use shims to achieve perfect level across base cabinets, establishing a solid base for countertops and other elements.
-
Securing: Use appropriate fasteners to secure cabinets to the wall, preventing movement and ensuring stability. Fastener choice depends on wall material and cabinet weight.
-
Crown Molding: Crown molding elevates the appearance of cabinets, transforming them from ordinary units to built-in features. This final touch adds a sense of elegance and refined craftsmanship.
By attending to these essential details of hardware installation and finishing, you ensure your cabinets not only look beautiful but also function flawlessly for years to come. These final steps are the hallmarks of high-quality cabinet construction, elevating your project from simple storage to a true centerpiece.
Troubleshooting Cabinet Challenges Like A Pro
Cabinet construction, even with the most careful planning, can sometimes present unexpected challenges. Knowing how to troubleshoot these issues effectively is a key skill for any cabinetmaker. Just like a doctor diagnoses medical conditions, a skilled cabinetmaker uses diagnostic techniques to identify the root cause of problems. This section explores common cabinet construction problems and offers practical solutions.
Diagnosing Common Cabinet Problems
Understanding the source of a problem is the first step towards a solution. Several issues can arise during the cabinet building process, each requiring a unique approach.
-
Doors That Won't Align Properly: This common issue can stem from a variety of factors, including incorrect hinge installation, warped doors, or an uneven cabinet box. Carefully inspect the hinges to ensure they are properly aligned and check the door for any warping.
-
Drawers That Bind During Operation: Binding drawers are often the result of misaligned drawer slides, incorrect drawer box dimensions, or obstructions within the cabinet. Check the drawer slides for smooth operation and make sure the drawer box fits squarely within the cabinet opening.
-
Unexpected Gaps: Gaps can appear between cabinet components due to inaccurate measurements, improper joinery, or wood movement. Double-check all measurements and ensure the joinery is tight and secure.
Adjustment Methods: Fine-Tuning For Perfection
Once the problem is identified, various adjustment techniques can help resolve the issue. These fine-tuning adjustments can make all the difference. For example, slightly adjusting hinge screws can realign a crooked door. Similarly, shimming under a cabinet can correct unevenness.
-
Hardware Adjustments: Fine-tuning hardware, such as adjusting hinge screws or drawer slide positions, can often resolve alignment problems without major disassembly.
-
Shimming: Small wood shims can correct minor unevenness in cabinets or countertops, creating a level and stable surface.
Repair Techniques: Fixing Structural Issues
Some problems may require more extensive repairs. Addressing these structural issues preserves the cabinet's appearance and ensures long-term functionality. For example, filling gaps with wood filler and then sanding and refinishing can seamlessly repair minor damage.
-
Filling Gaps: Wood filler is a useful tool for repairing minor cracks, gaps, or dents. After the filler dries, sand and refinish the area for a seamless repair.
-
Reinforcing Joints: Loose joints can be reinforced with wood glue and screws, ensuring the cabinet’s structural integrity.
Preventative Measures: Avoiding Common Pitfalls
The best way to troubleshoot problems is to prevent them altogether. Accurate measurements and careful attention to detail during construction are essential. Just as a well-maintained car is less prone to breakdowns, carefully constructed cabinets are more likely to stand the test of time. This includes using proper clamping techniques during assembly and sealing wood surfaces to prevent moisture damage.
Taking these preventative measures saves time and effort down the road. By understanding common cabinet construction challenges and implementing these troubleshooting techniques, you can ensure your projects are completed successfully. From minor adjustments to more involved repairs, this knowledge empowers you to achieve professional results.
Ready to transform your home with stunning, custom-built cabinetry? Contact Sinclair Cabinetry Inc. today for expert craftsmanship and personalized design solutions. Visit Sinclair Cabinets to explore their extensive portfolio and discover how they can bring your vision to life.